
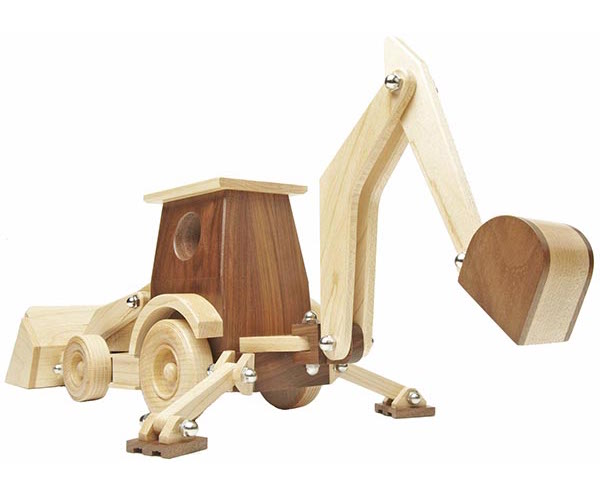
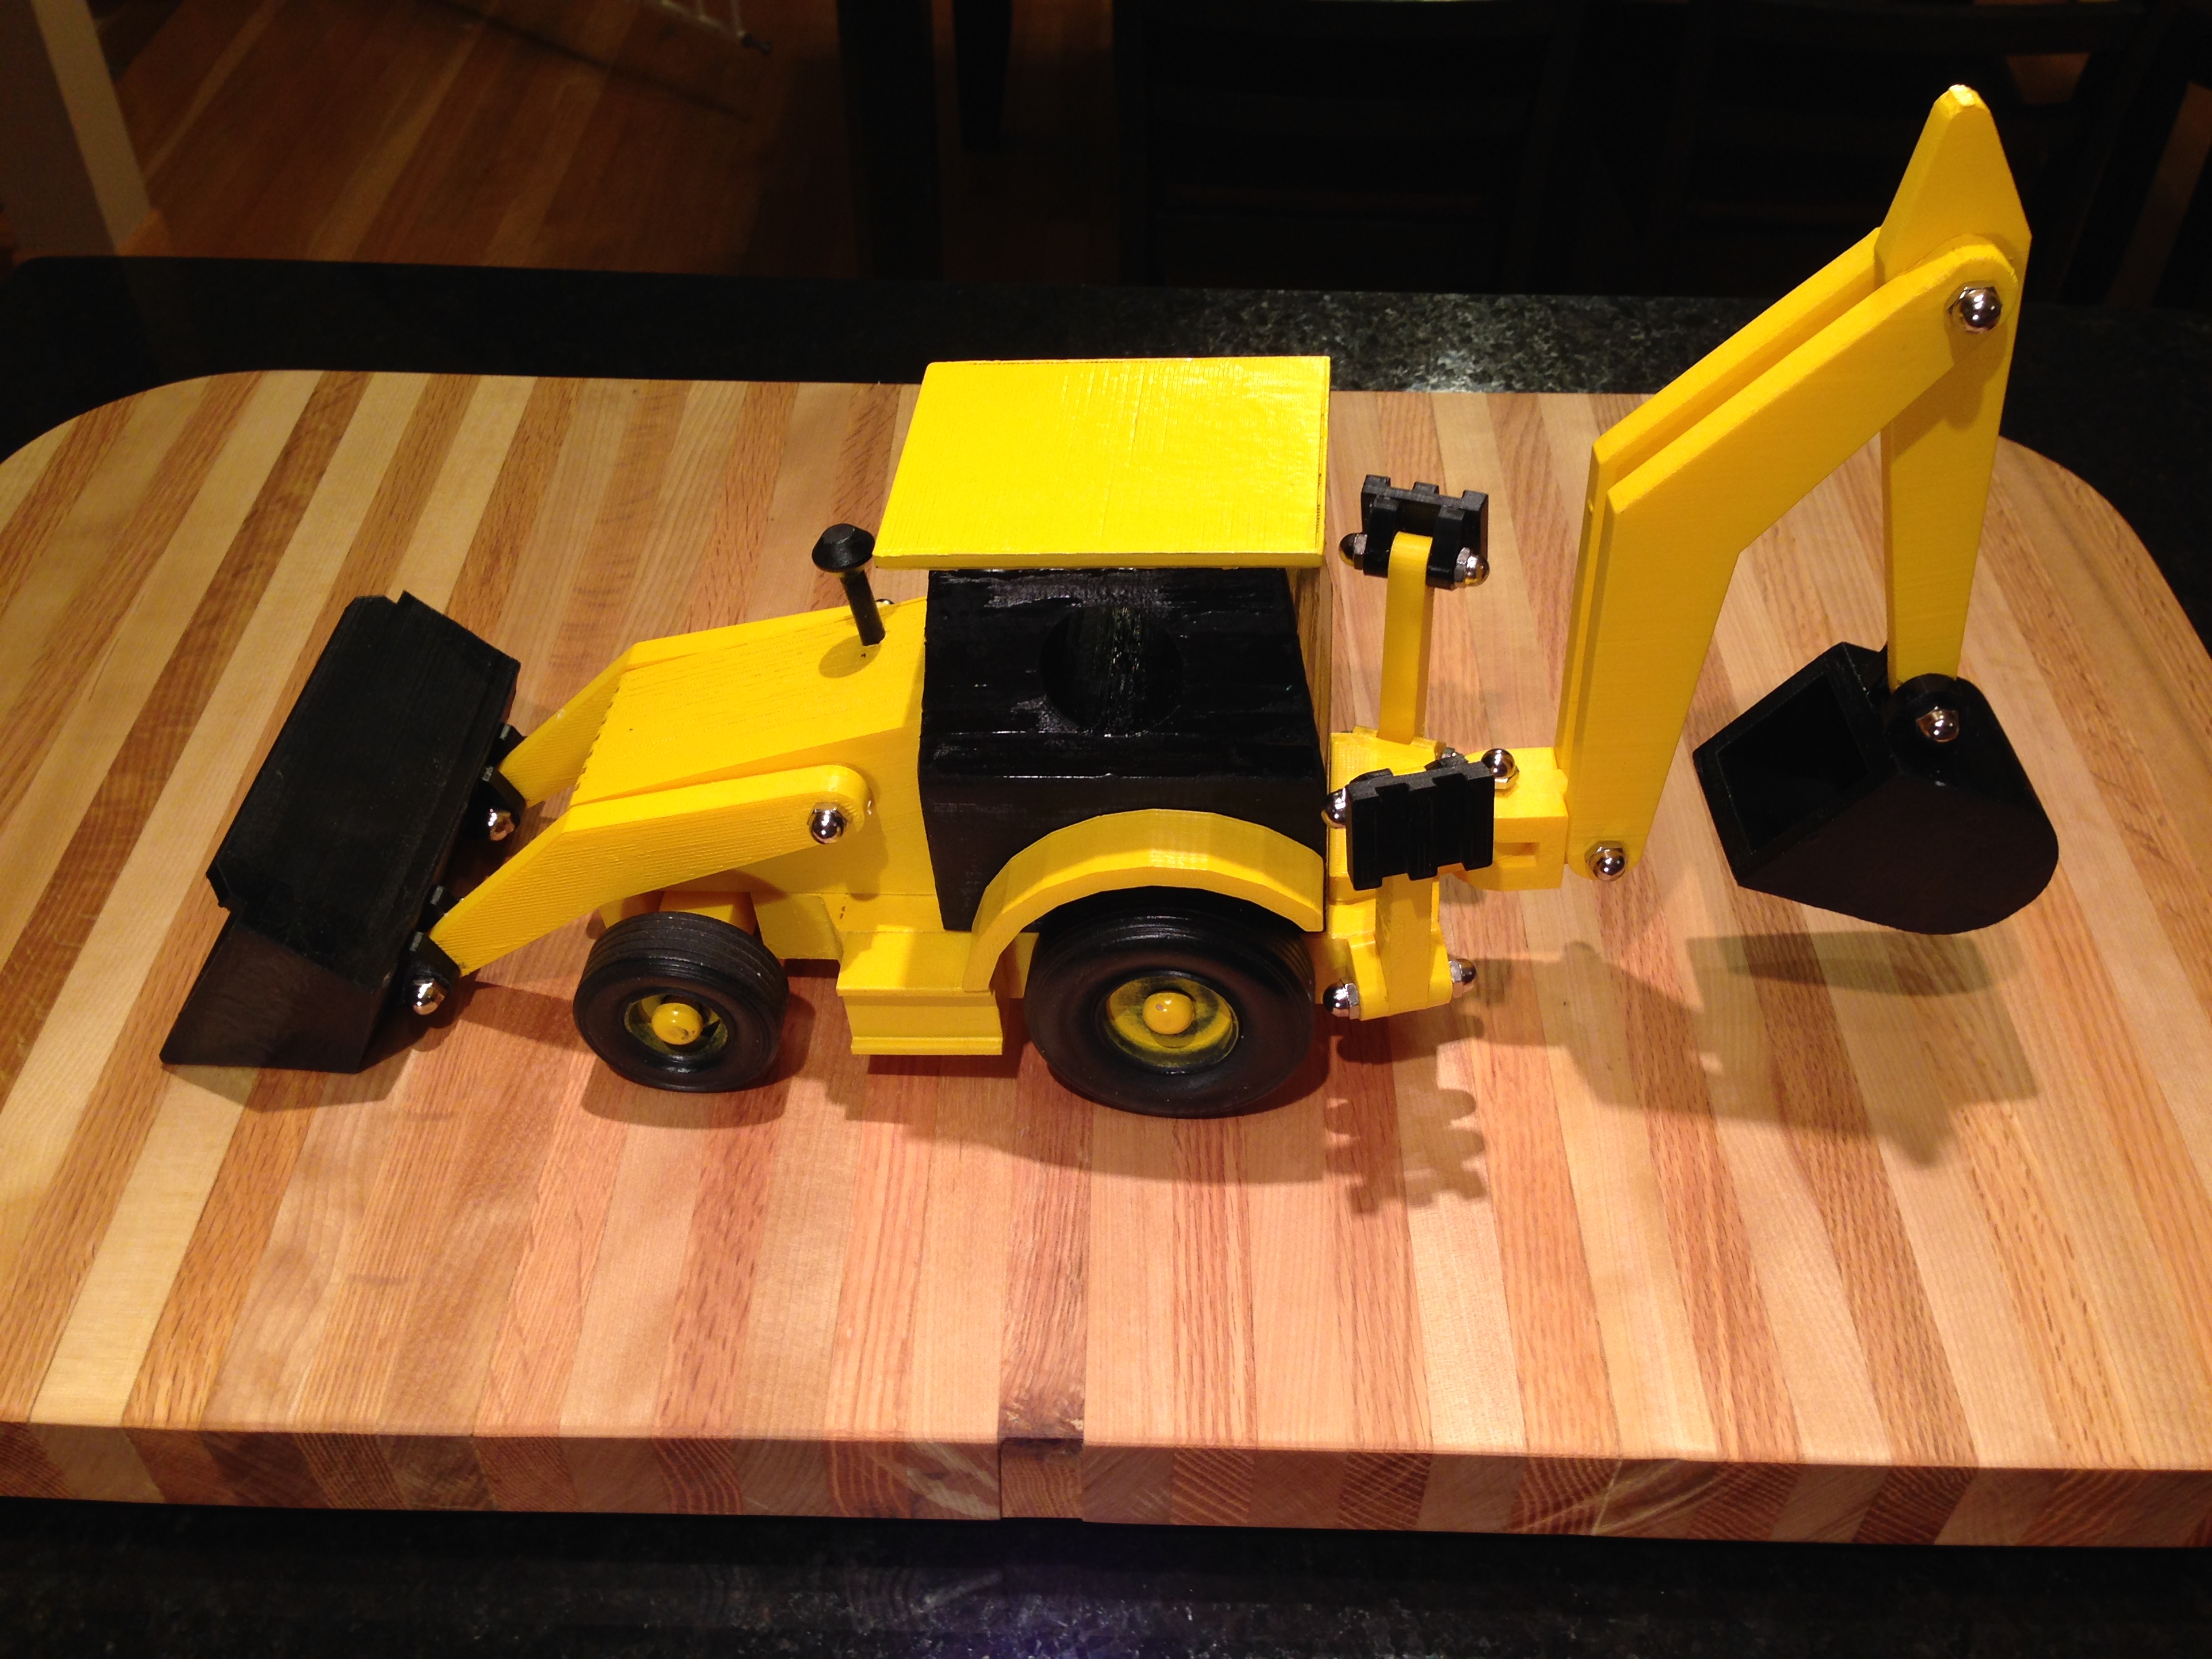
For Father’s Day, my wife and kids got me this “Construction-grade Backhoe Loader” kit from WOOD Magazine. The kit contains hardware and wheels; you build the rest of the backhoe yourself:
I planned on doing this project with my sons (ages 5 and 3) until I realized that the fine detail woodworking involved would bore them and I’d end up all alone in the garage. I decided to do something experimental and 3D-print the backhoe instead.
I’ve had a 3D printer for about six months, but I’ve only attempted small projects with it: printing new hardware for a dresser, fixing a pair of sunglasses, creating small hooks to hang towels on our oven’s handle… Reproducing this toy in plastic on my desktop would give me a chance to explore my printer’s capabilities and expand my 3D modeling skills.
Design
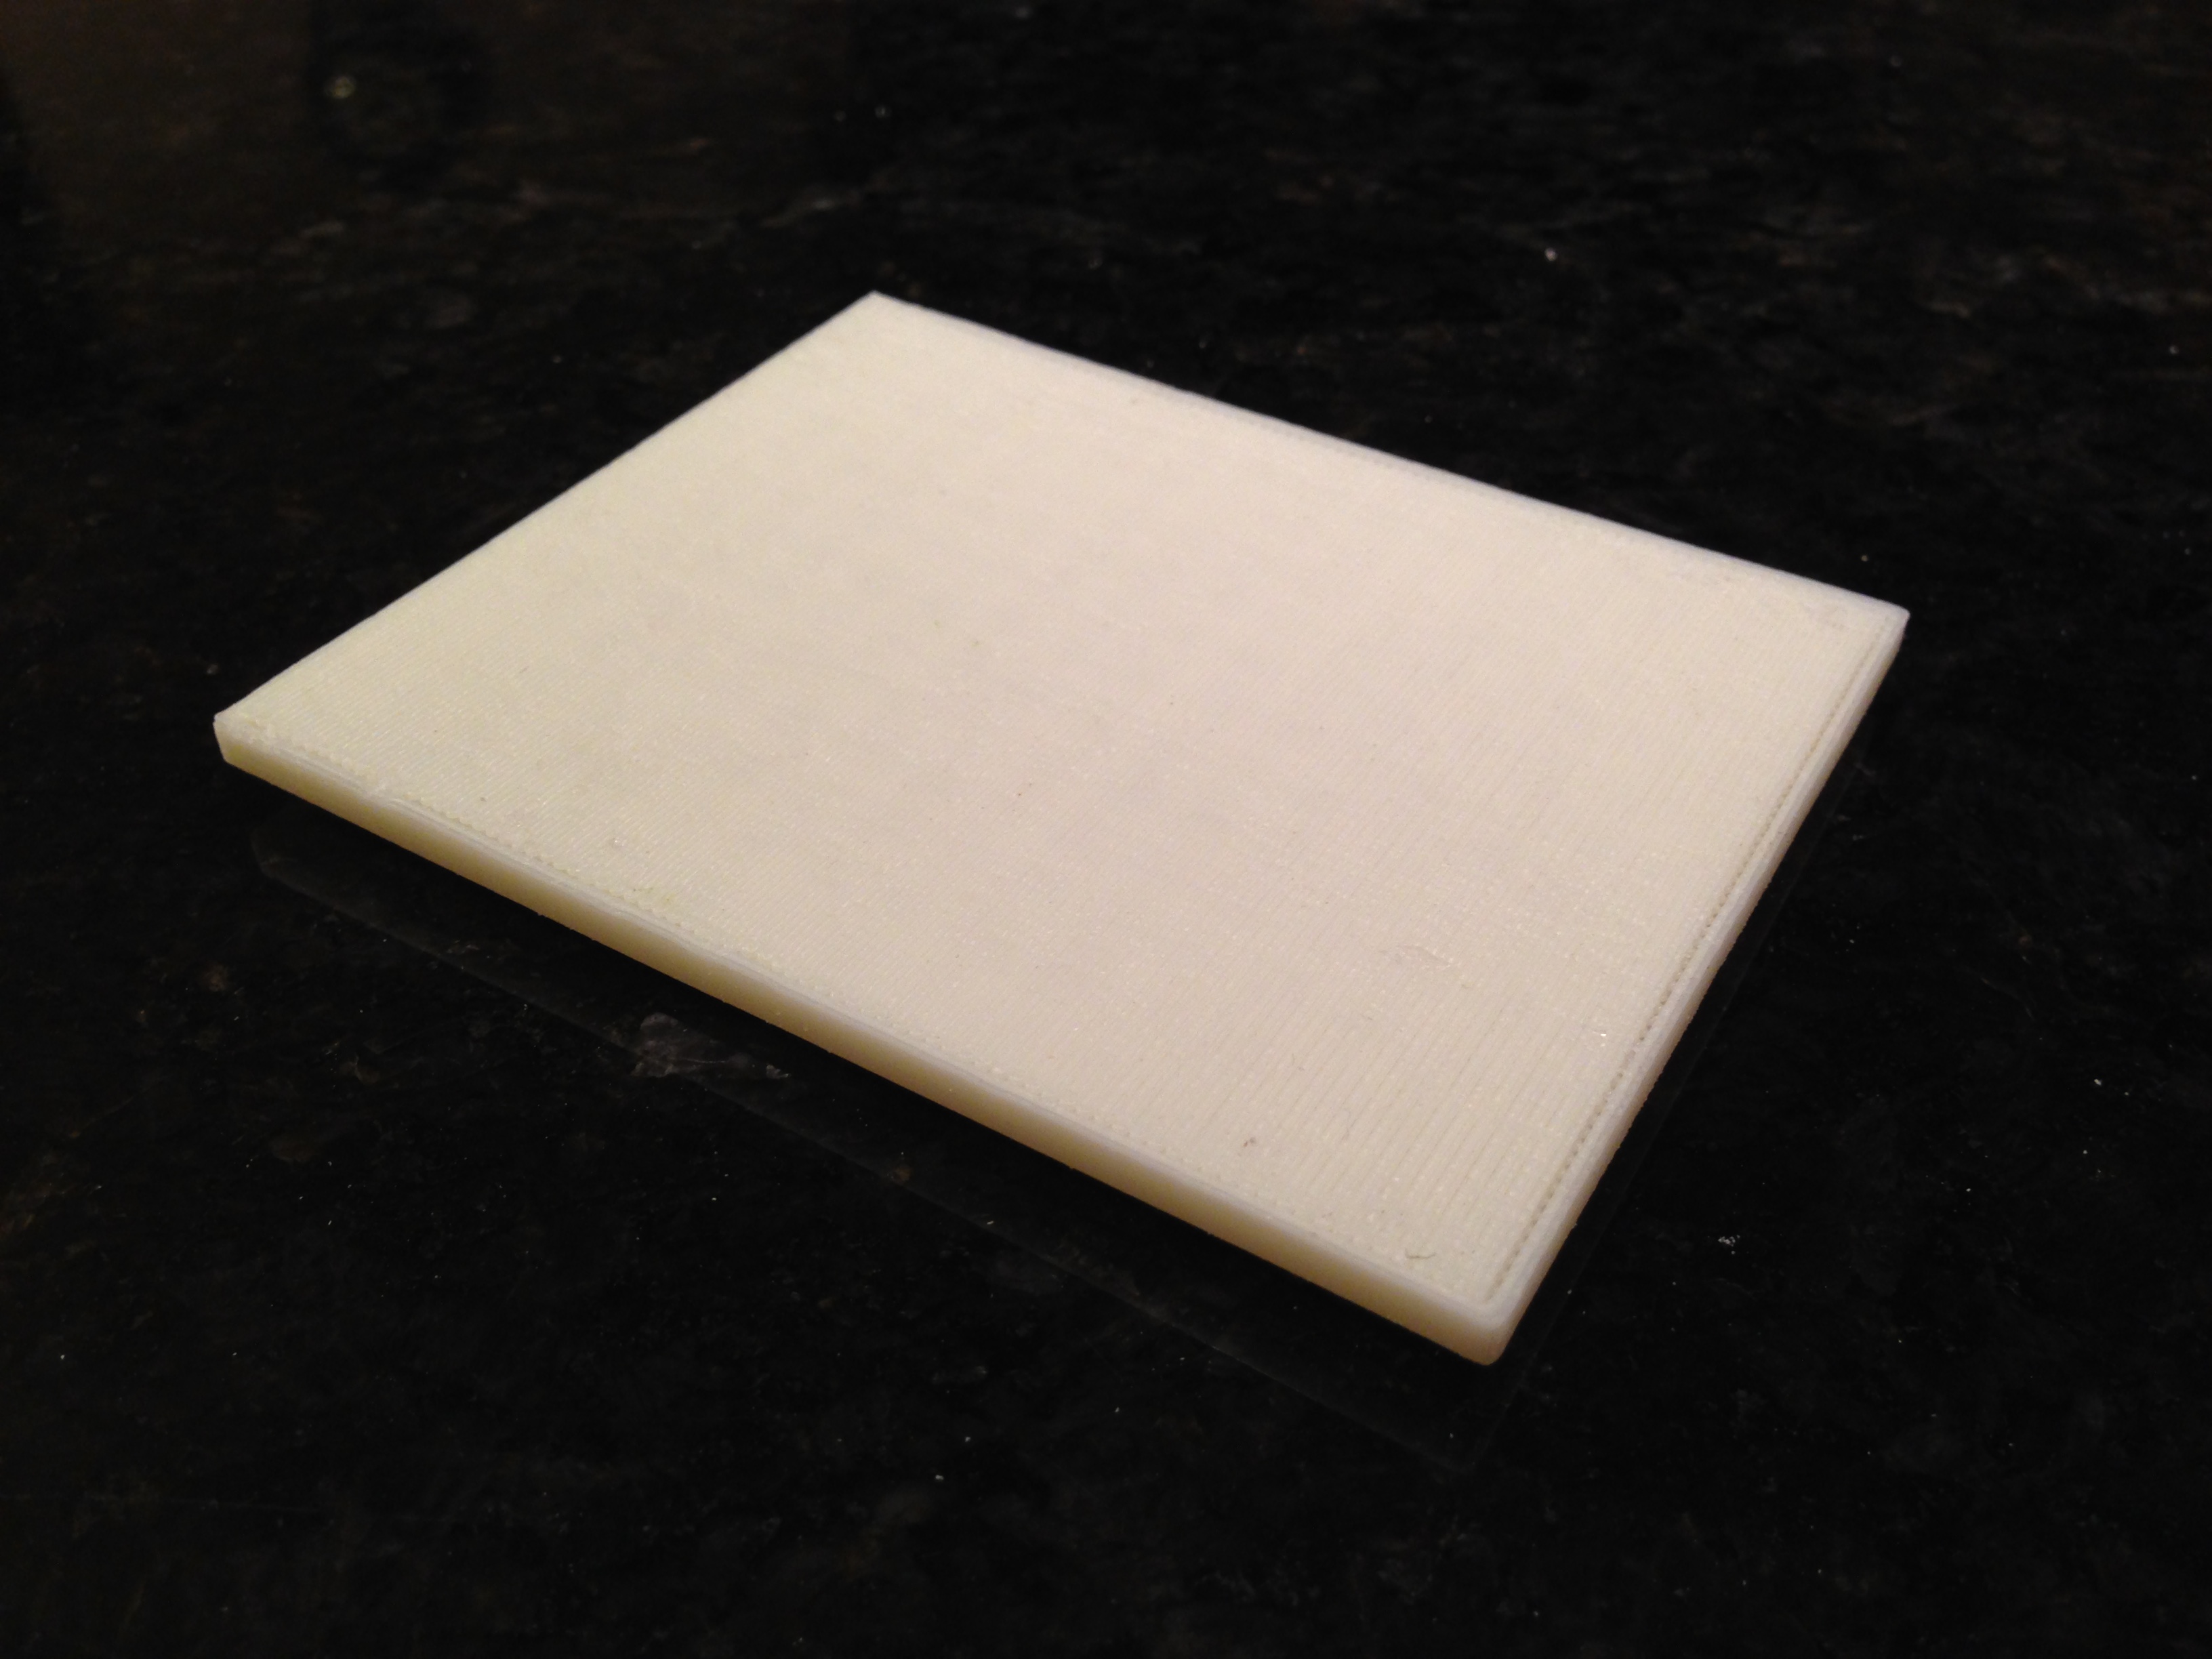
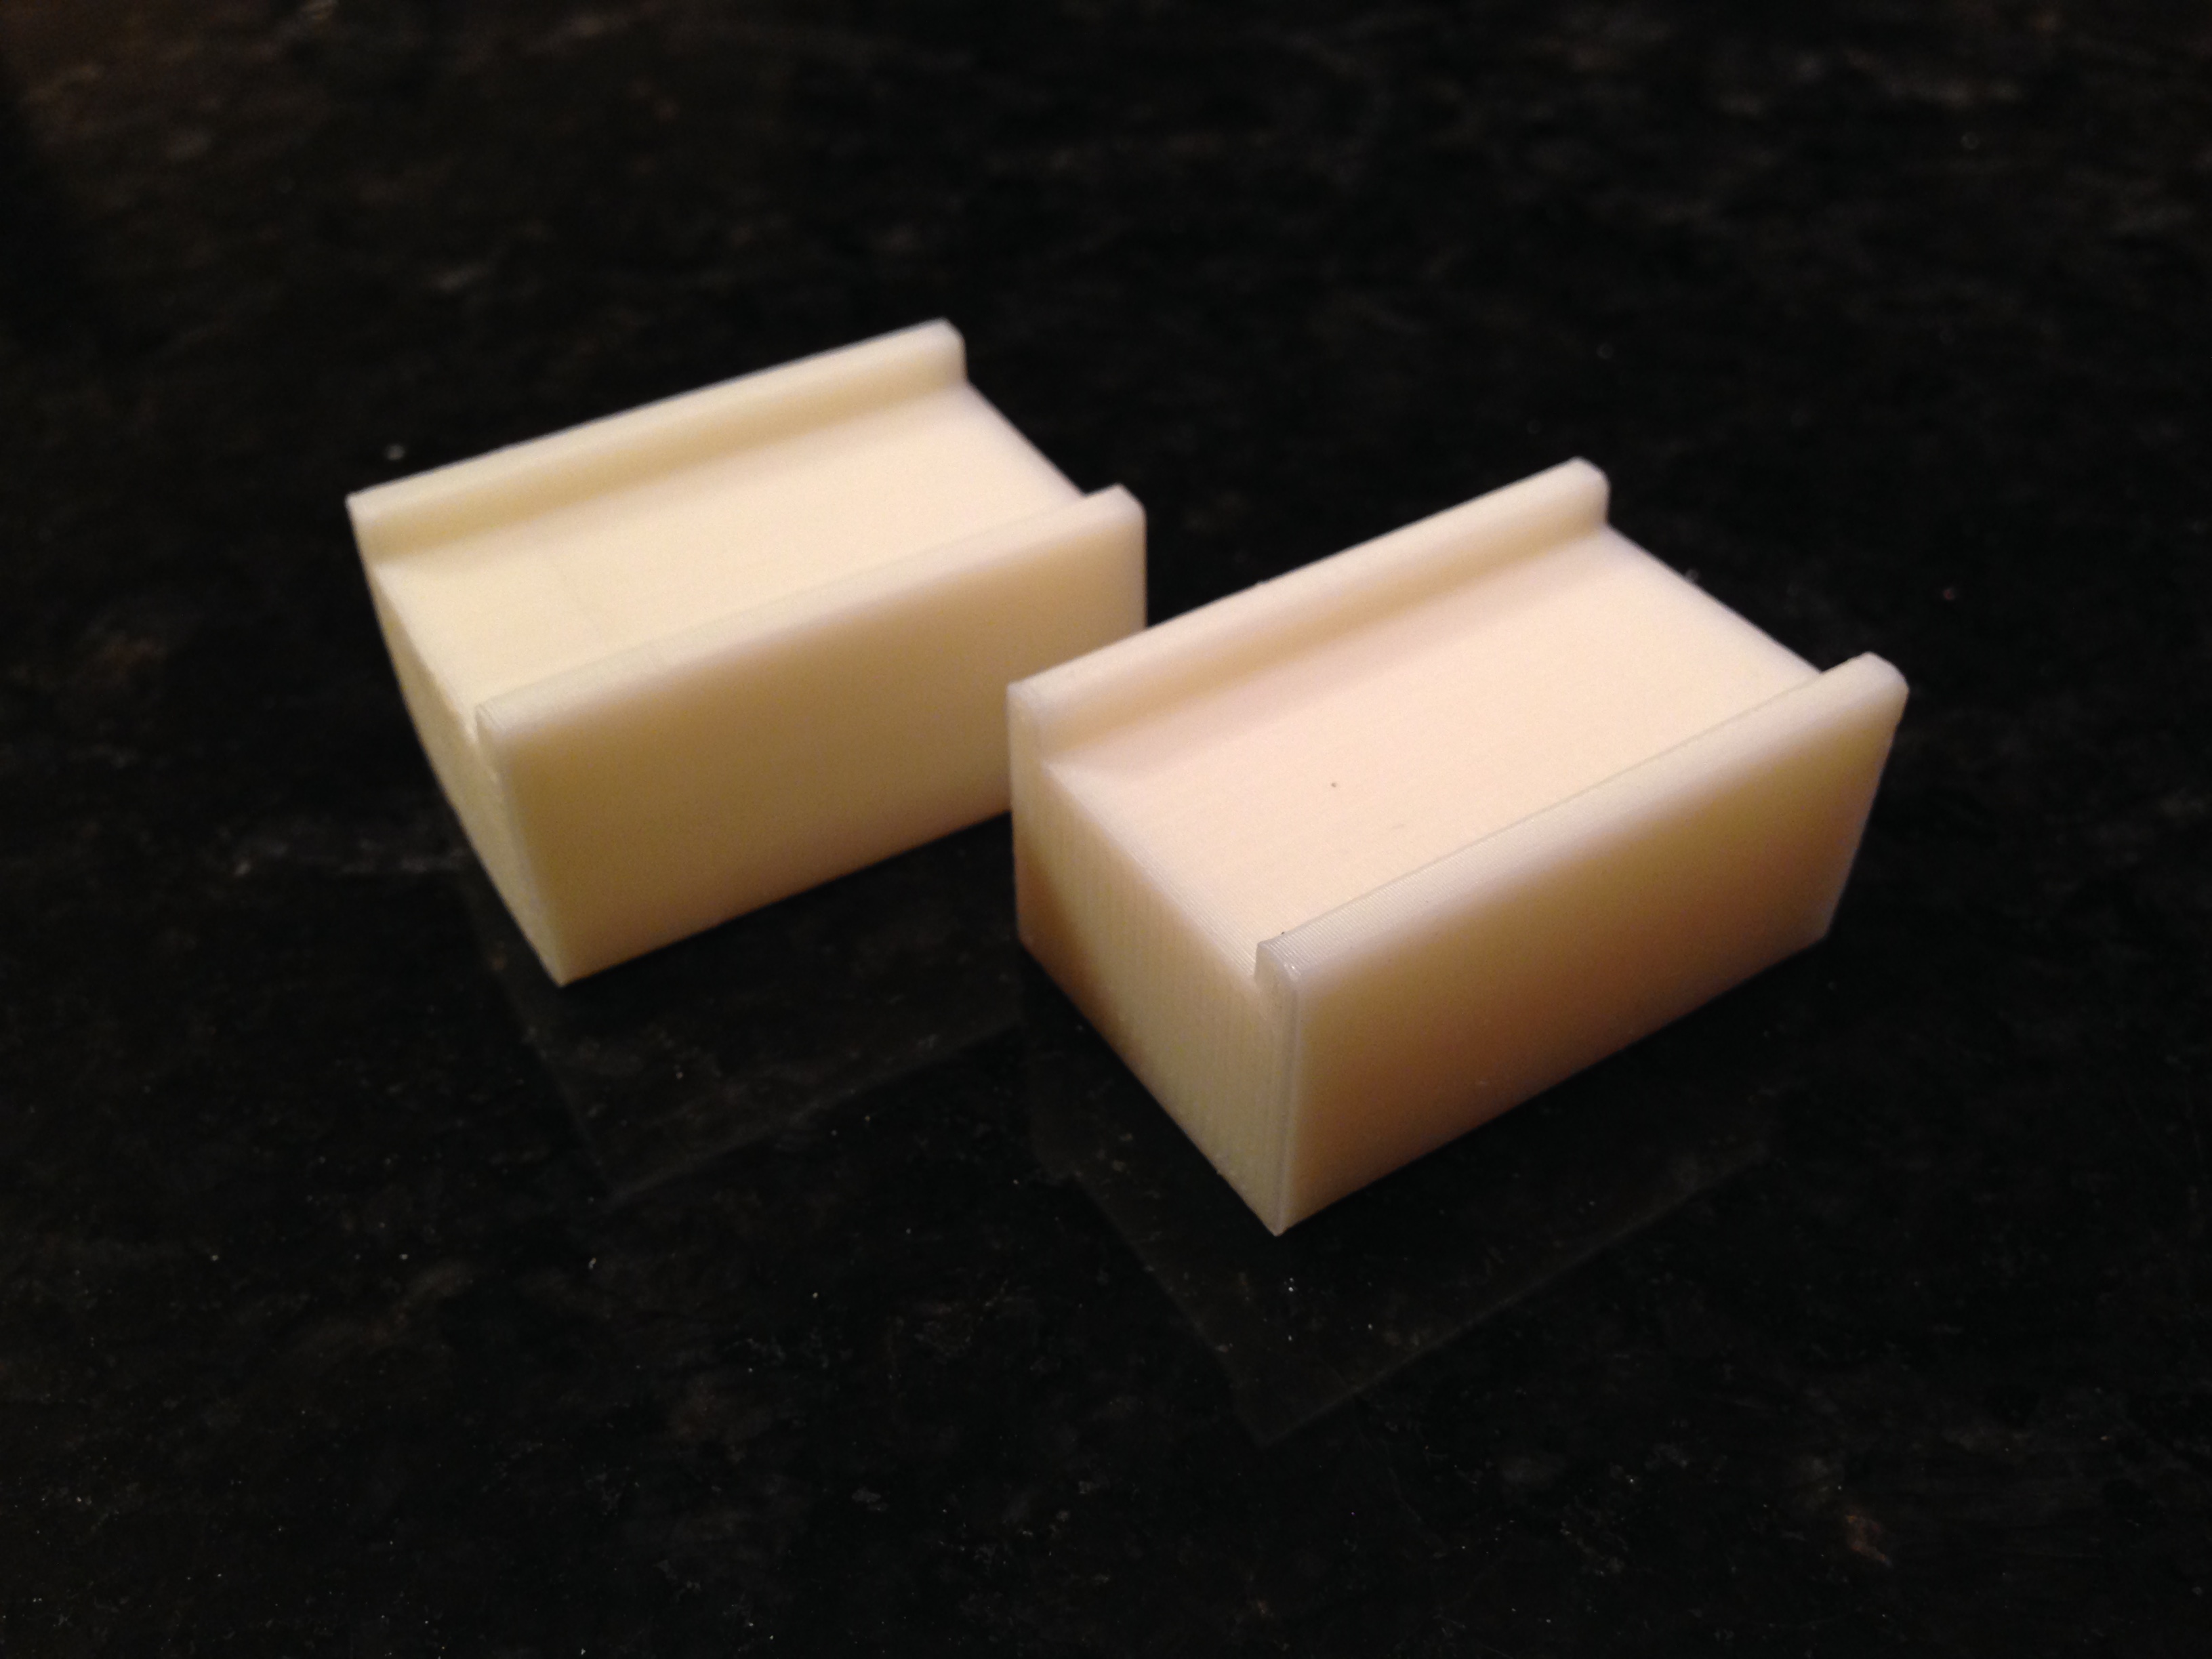
Replicating the components in SketchUp turned out to be the easiest part of the process; most of the eighteen distinct pieces took less than 15 minutes each.
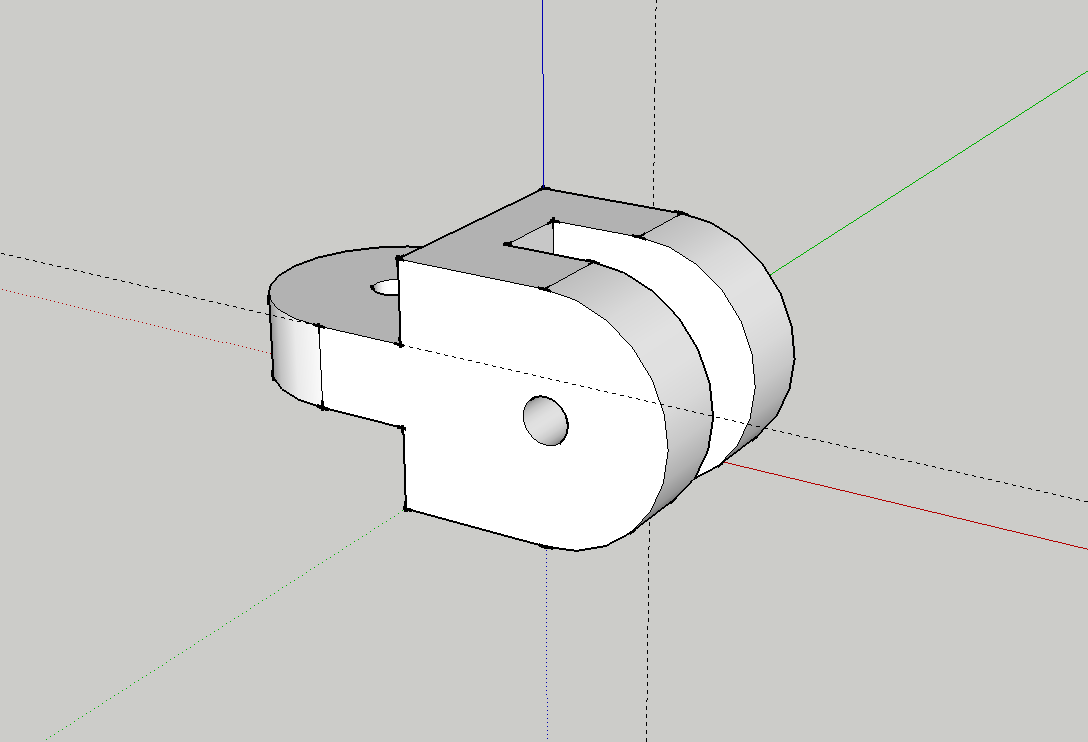
With the permission of the fine people at WOOD Magazine, I’ve made the SketchUp and STL files of all of the parts I printed available on GitHub. The original plans for the Construction-grade Backhoe Loader are copyright 2014 Meredith Corporation. If you decide to try and print this project, consider buying the plans and/or the project kit.
Printing
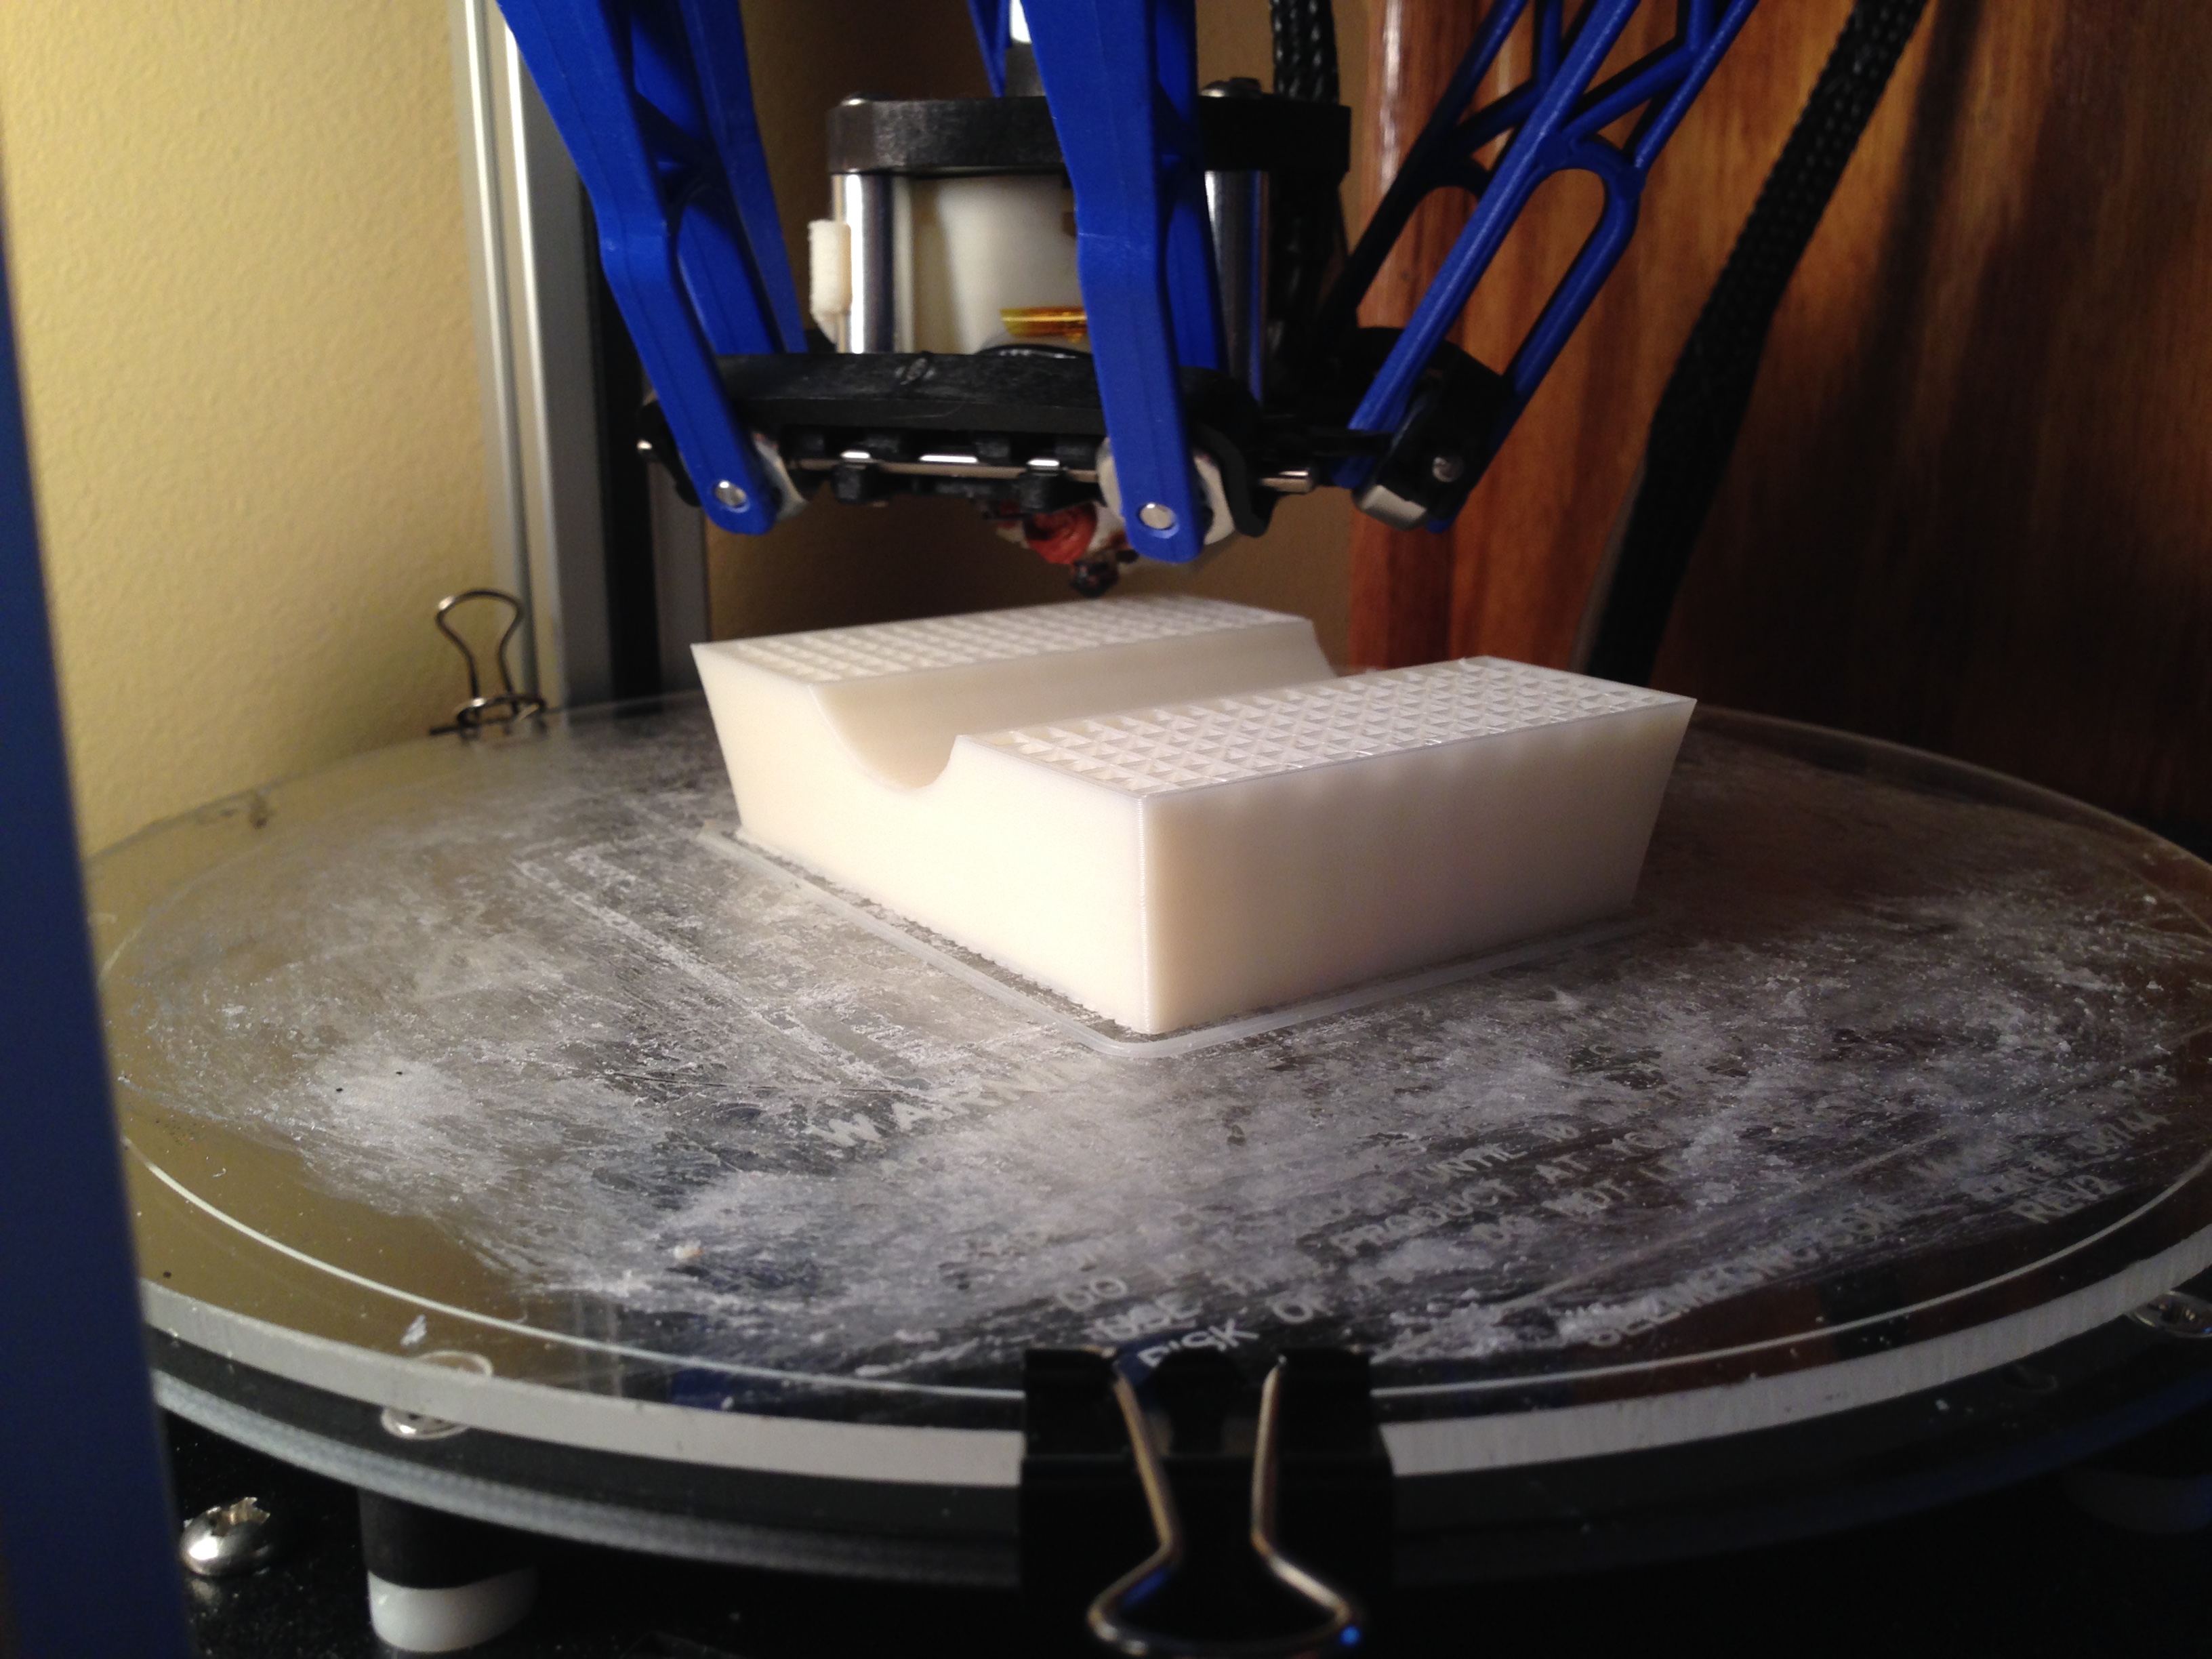
3D printing is not a speedy process. This picture was taken about four hours into an eight hour print:
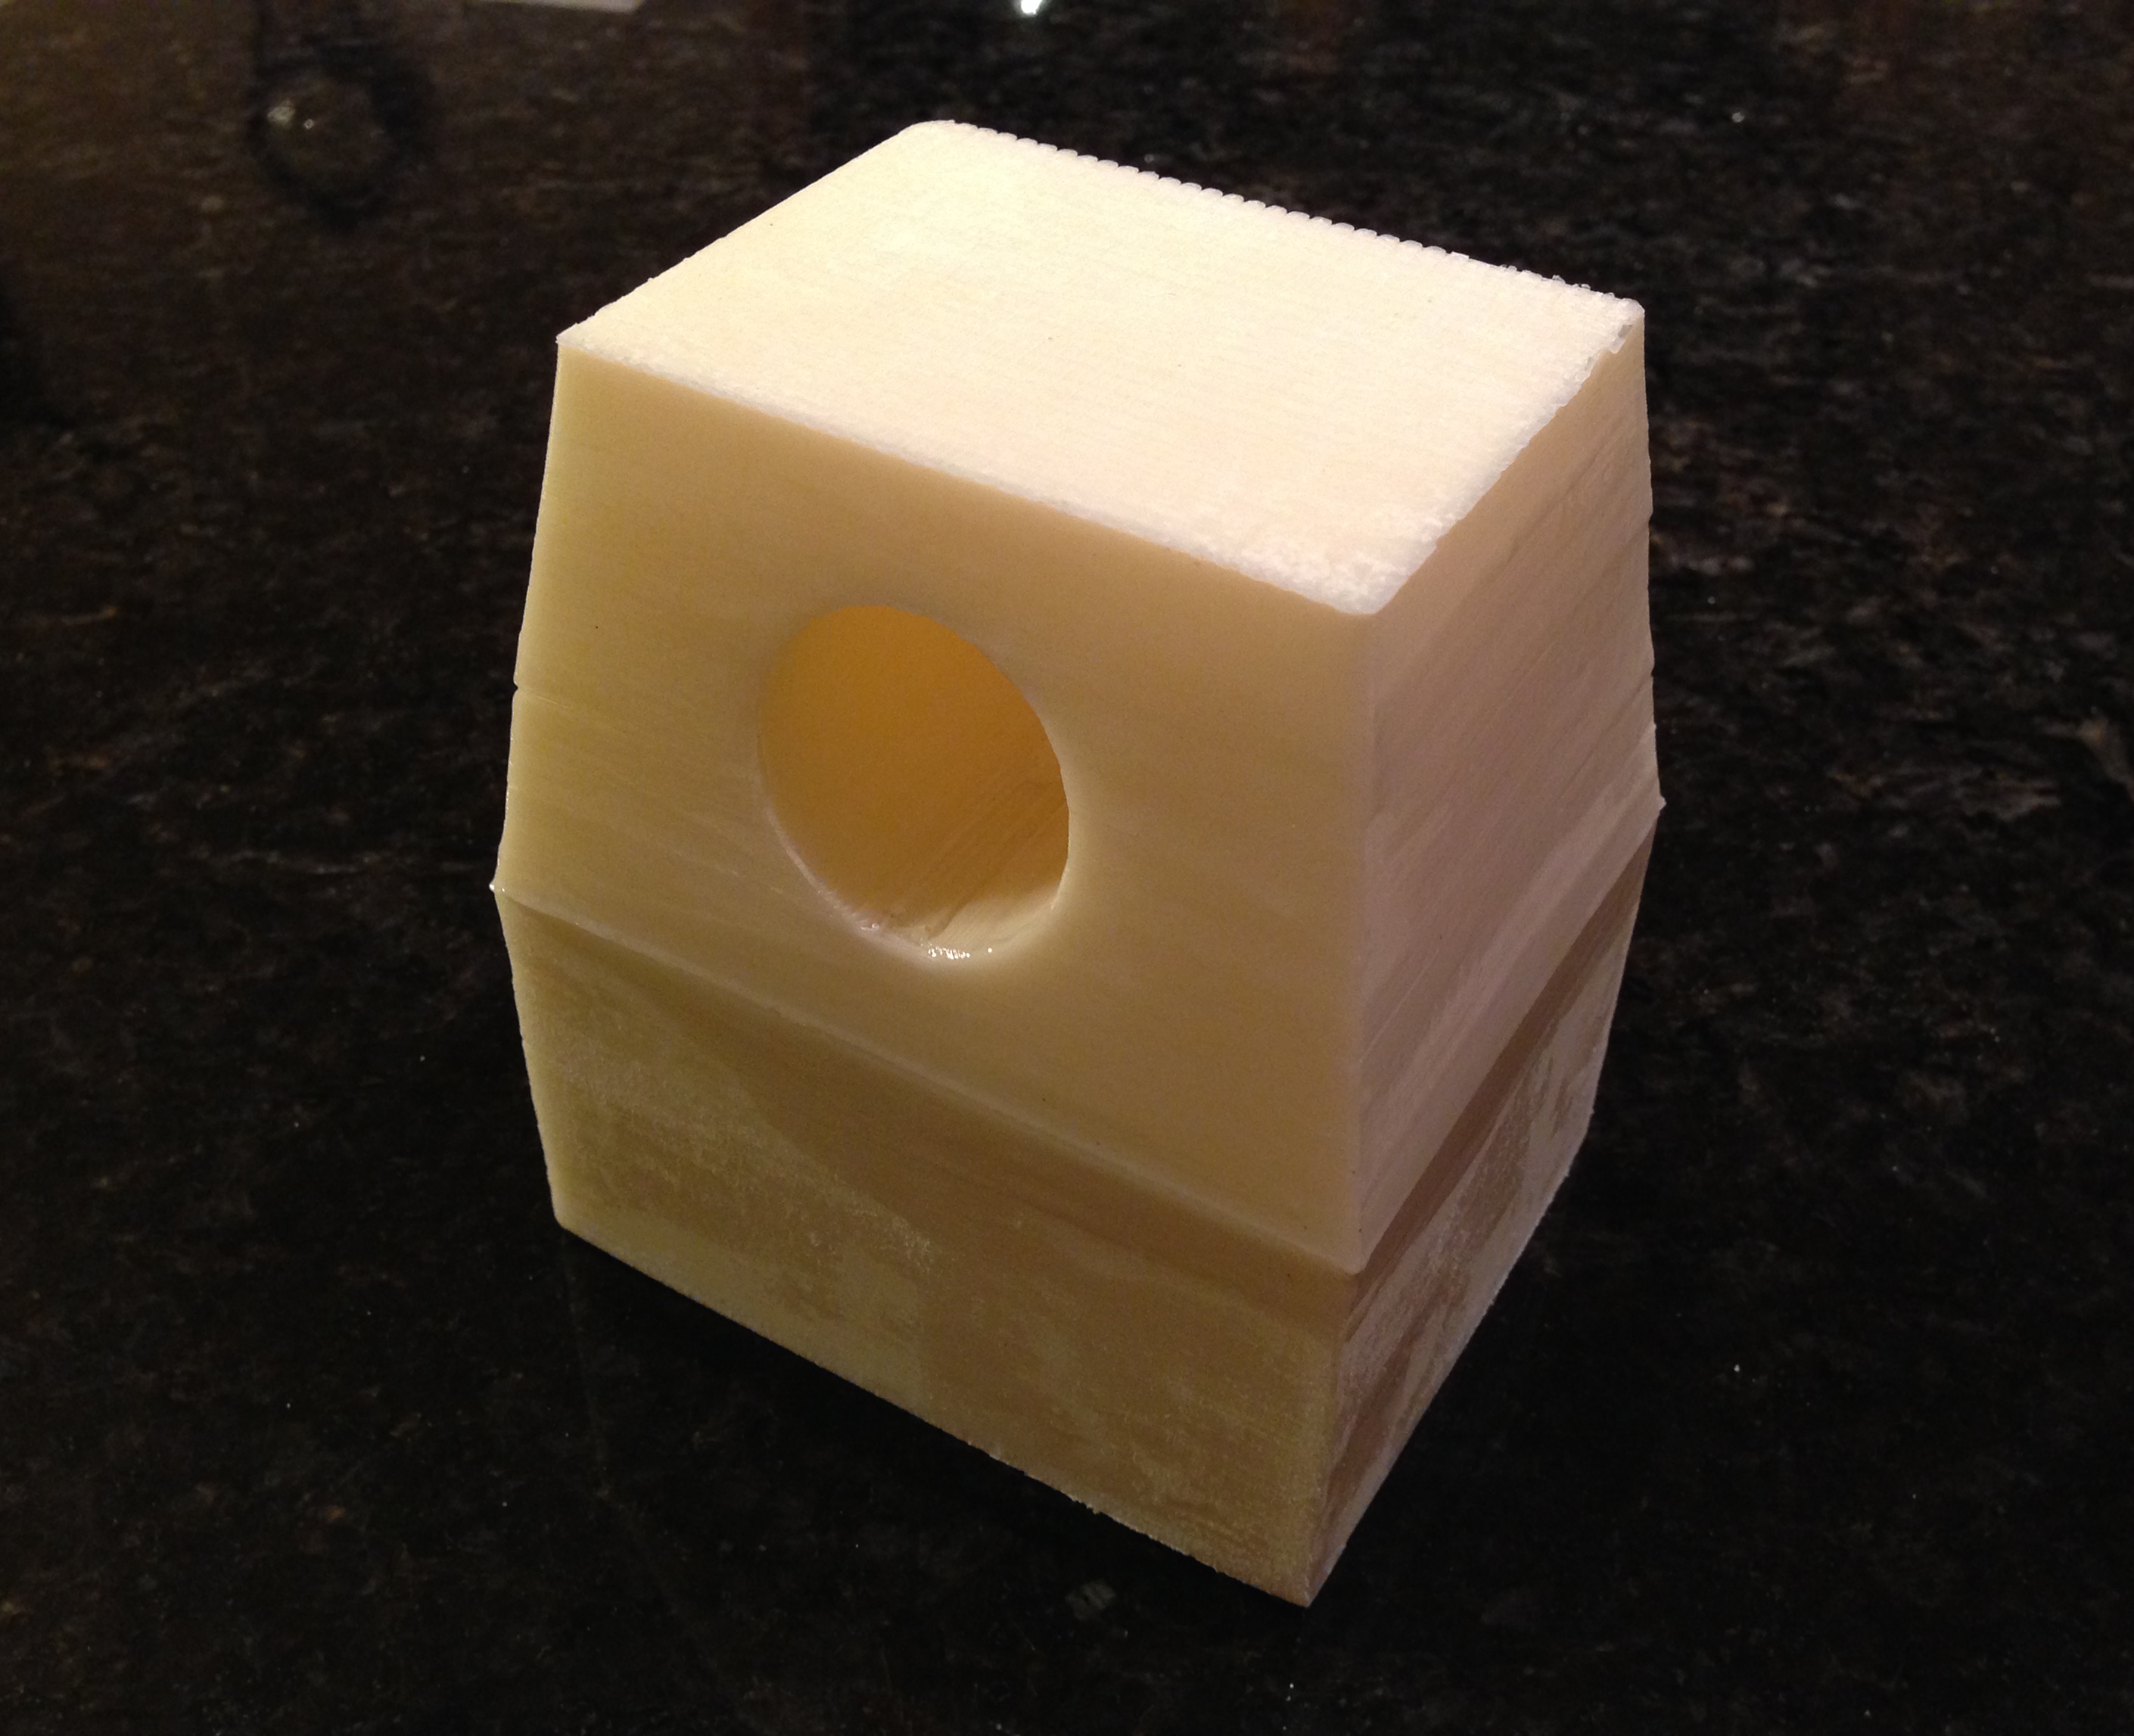
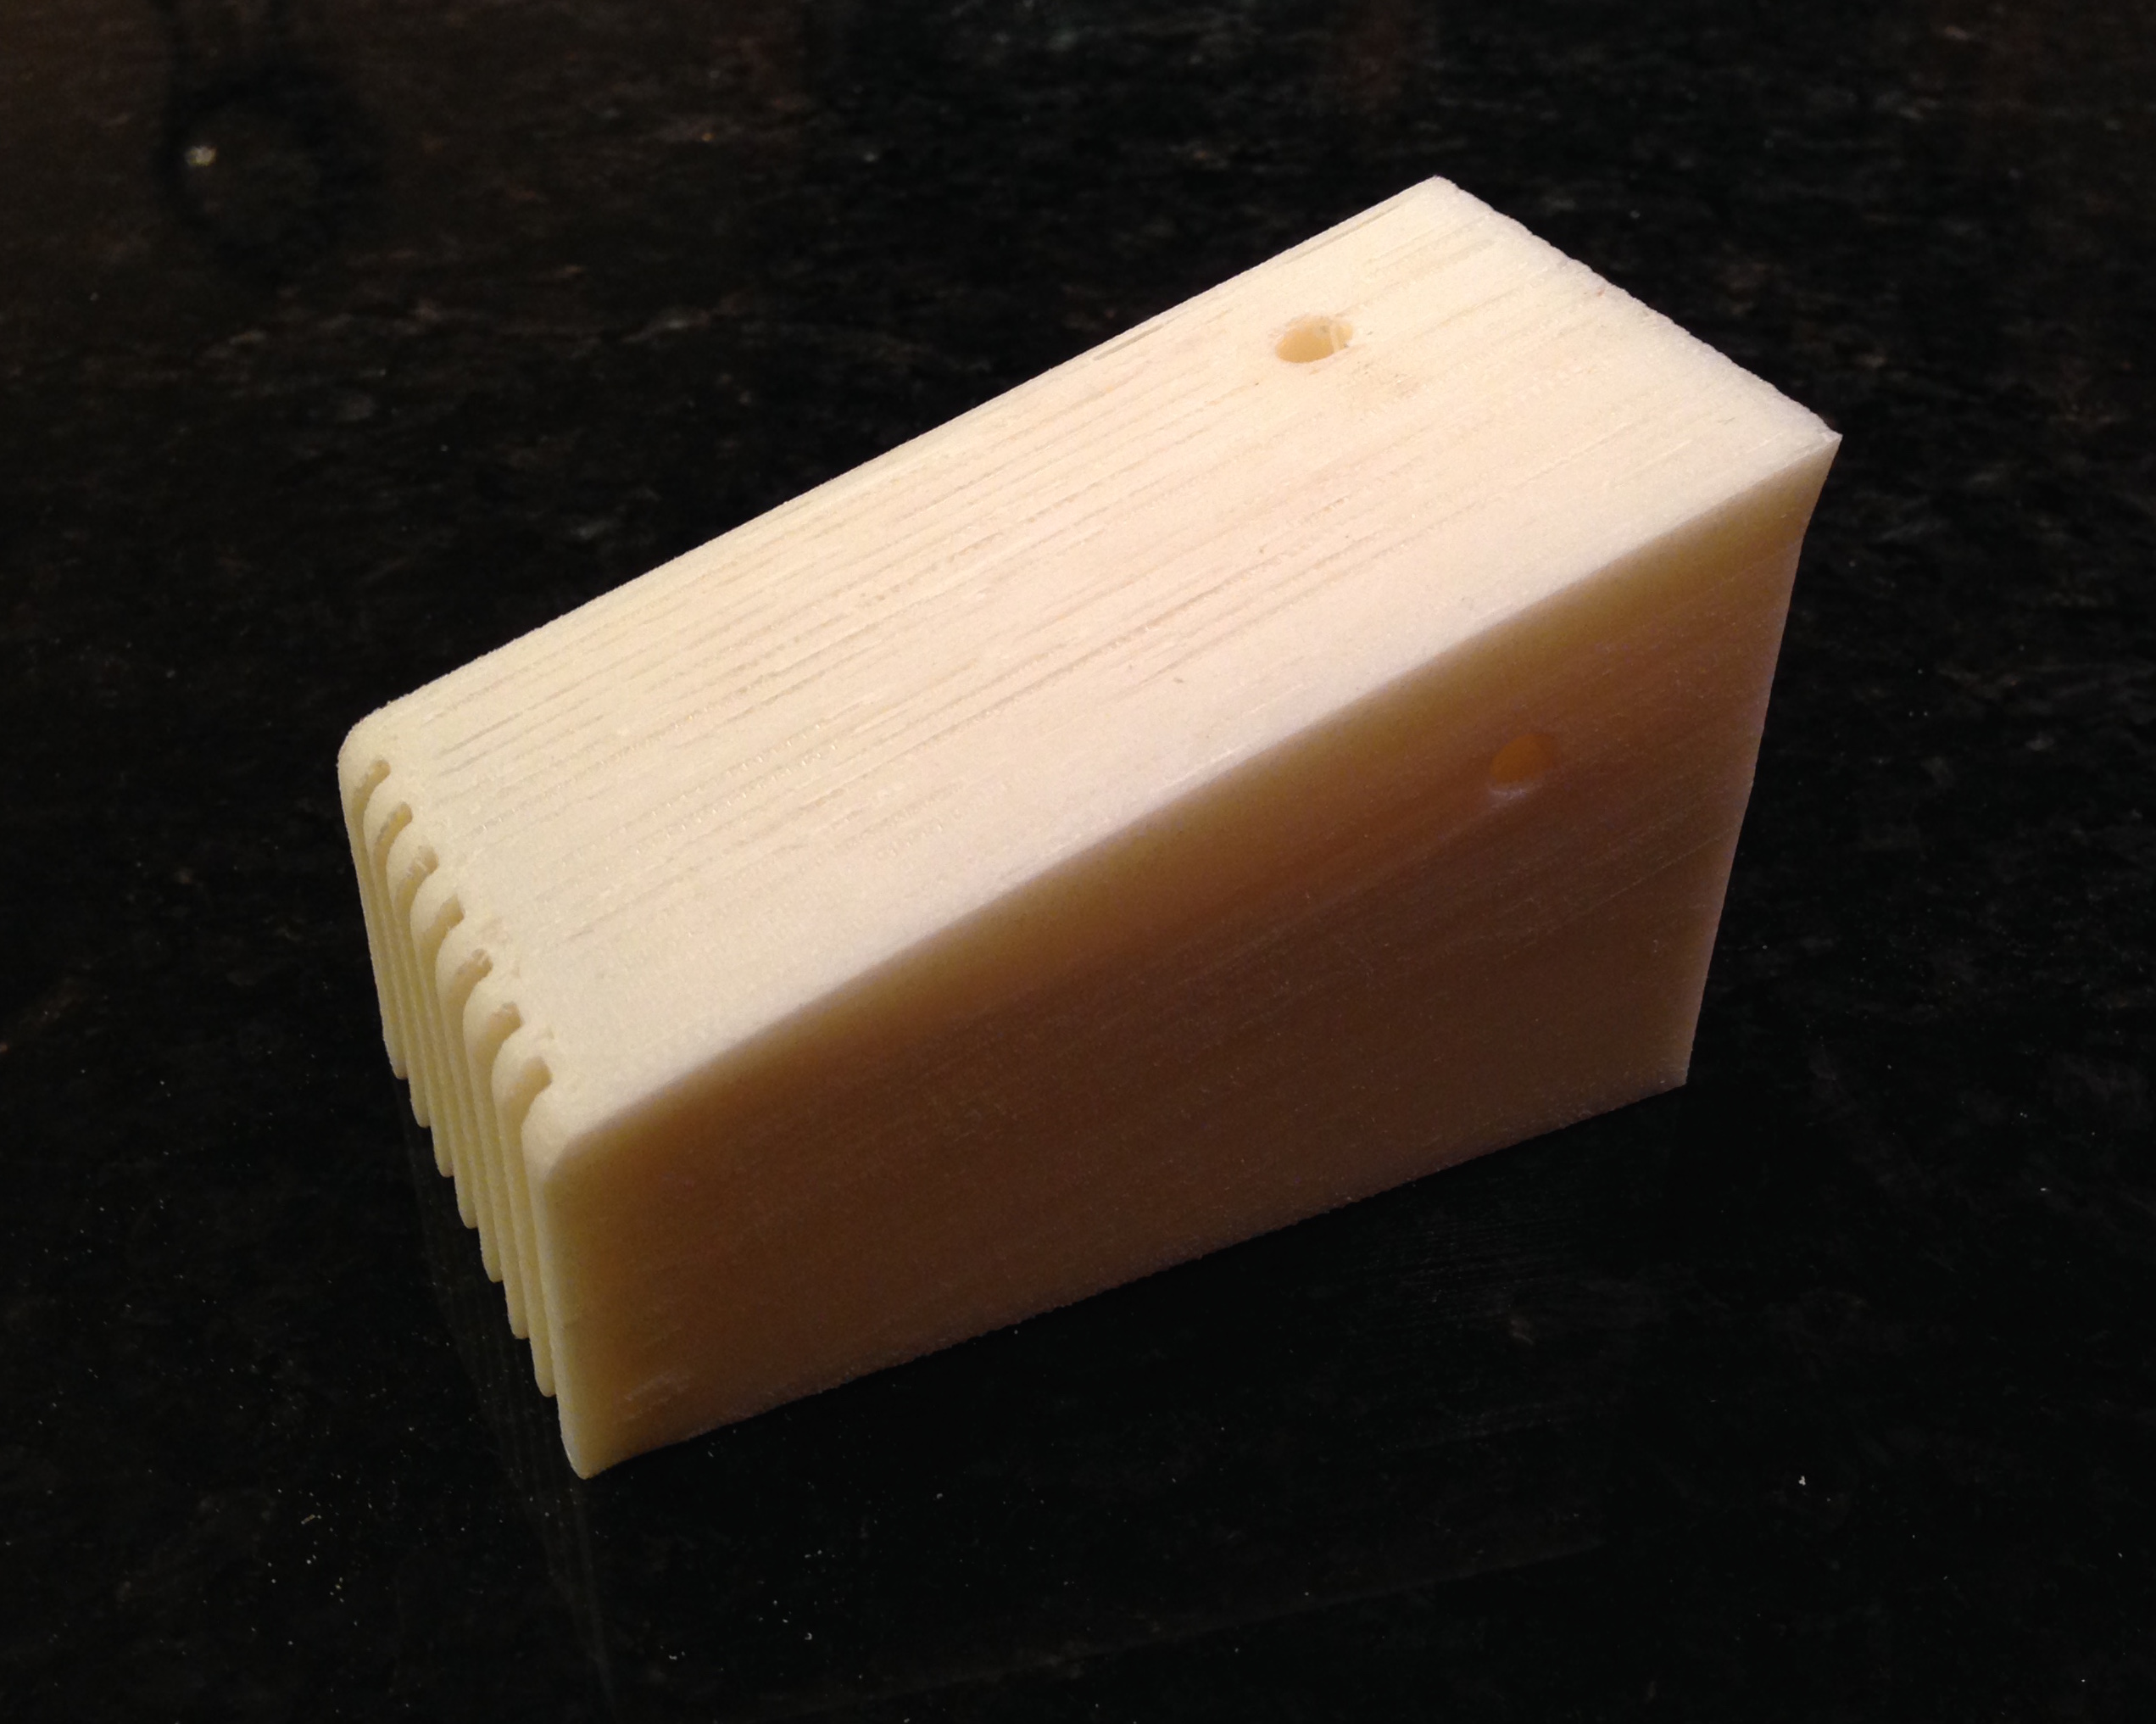
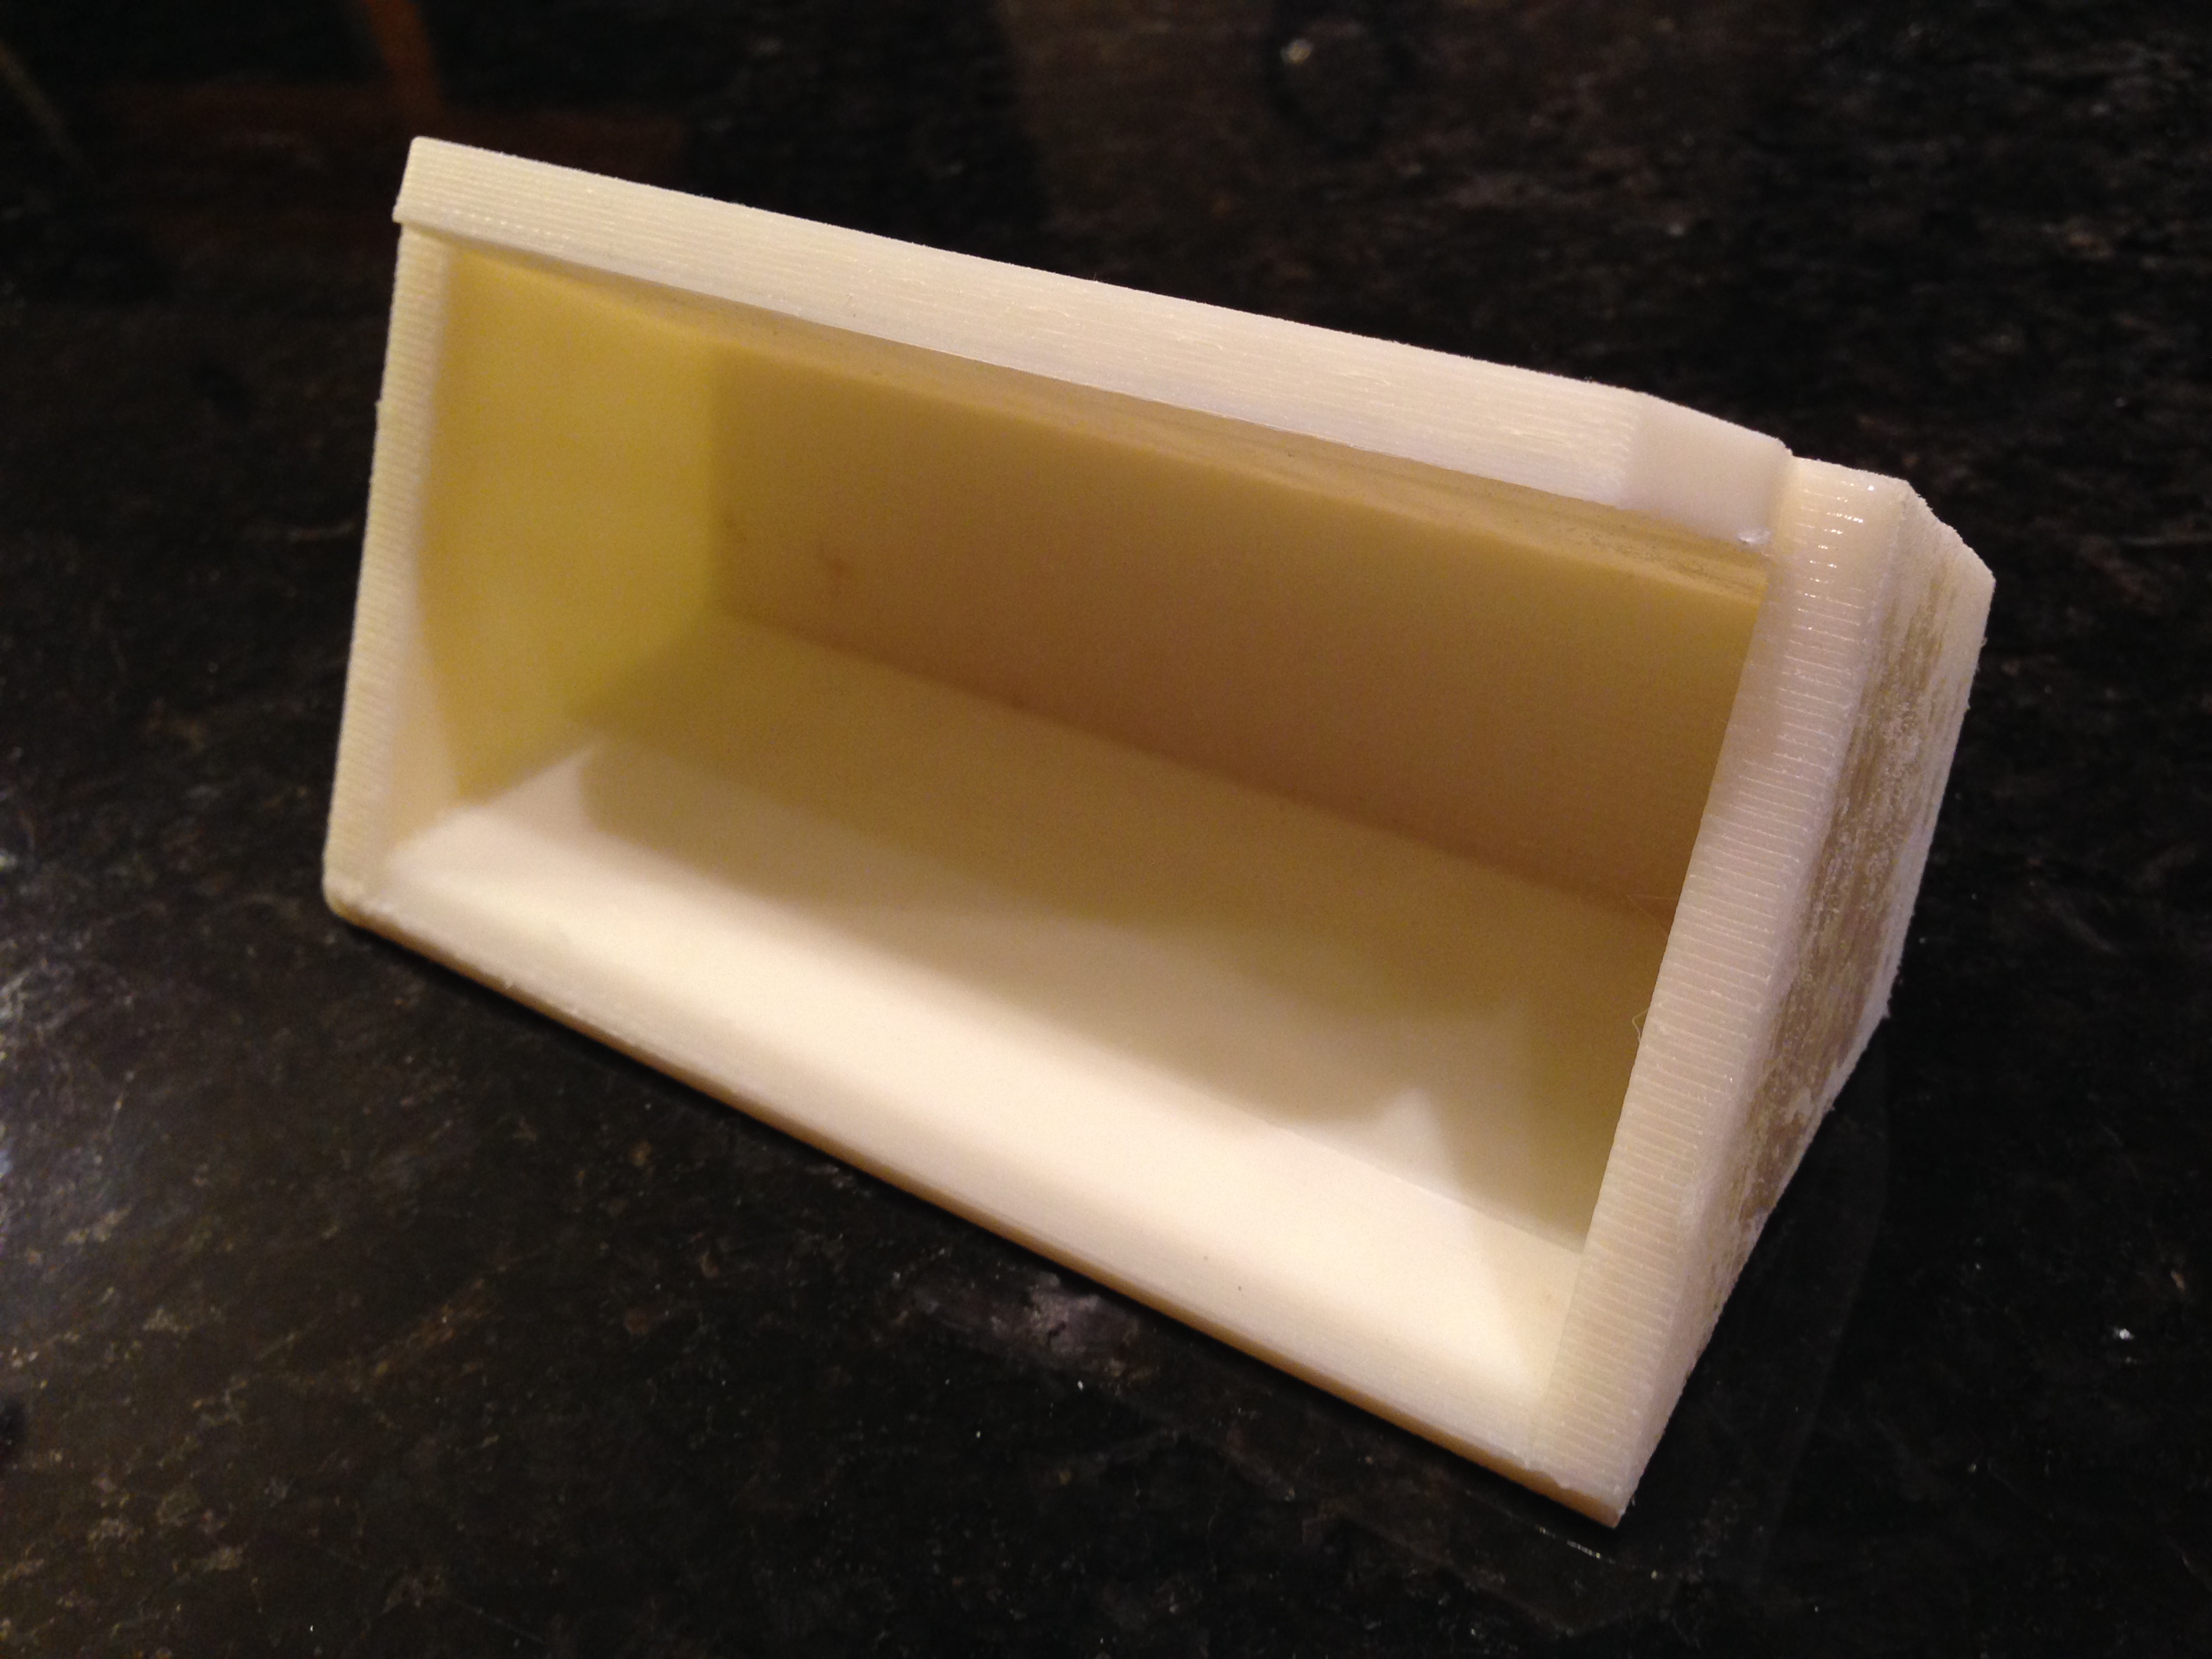
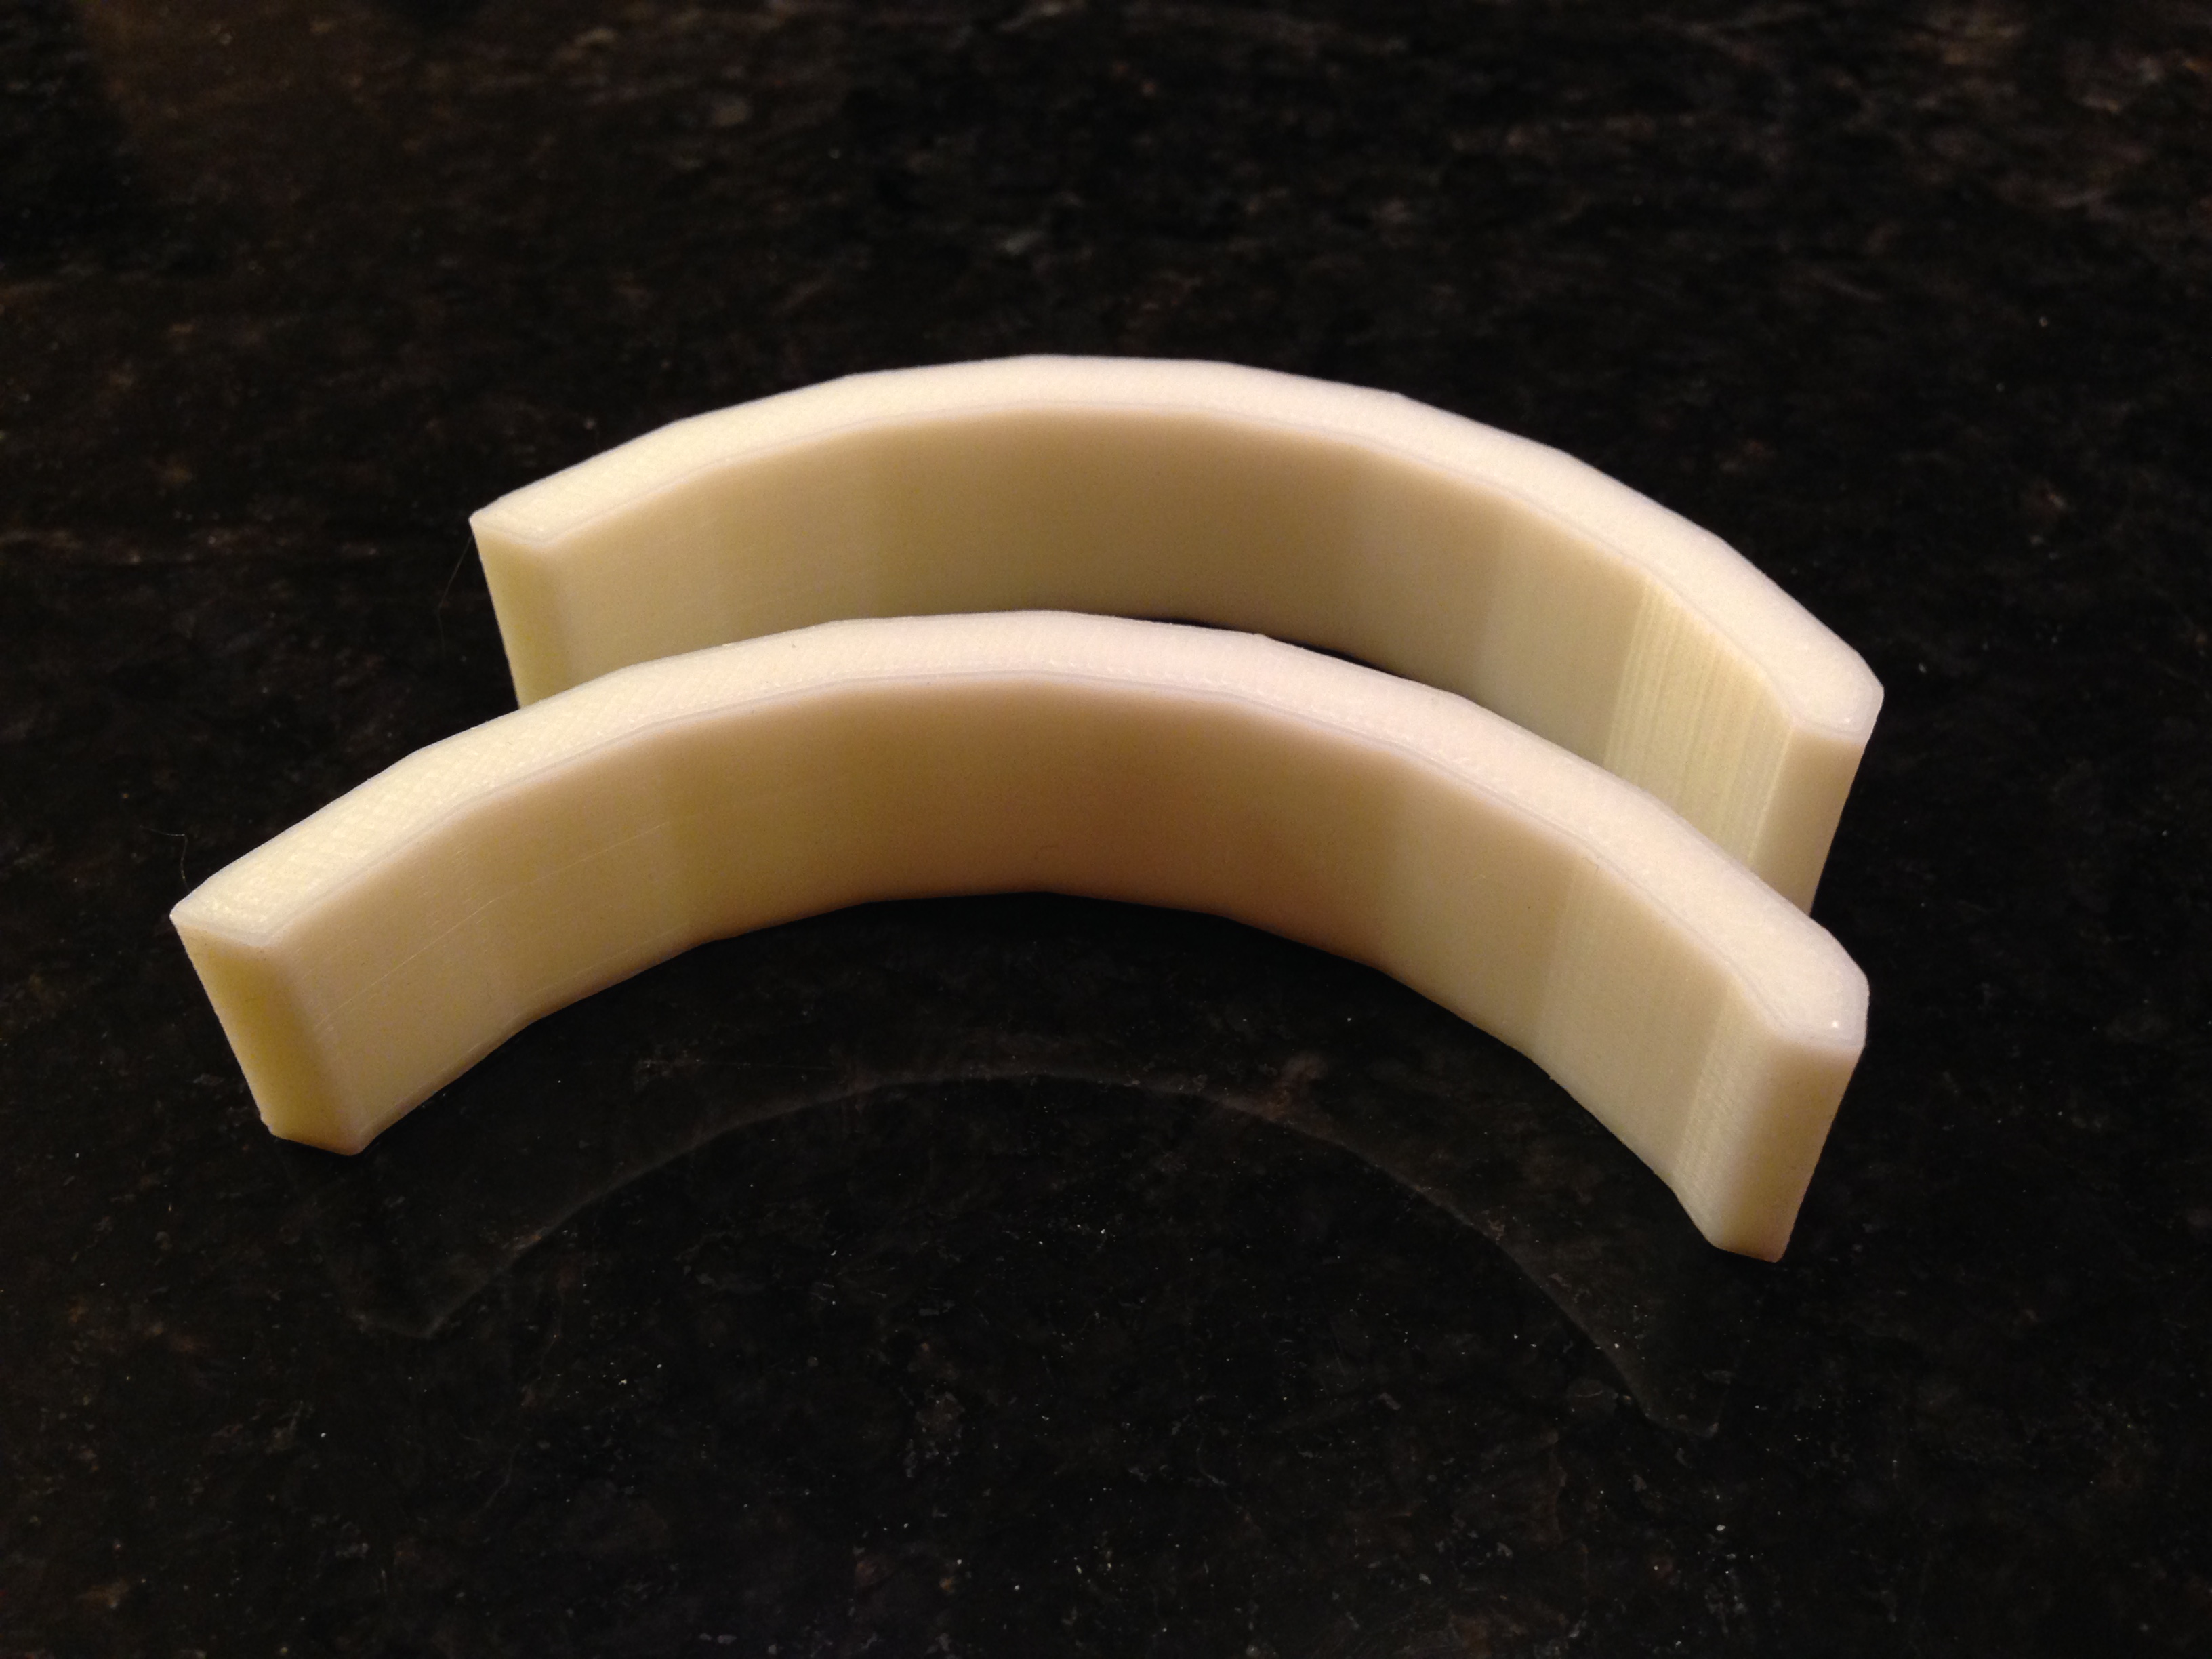
In addition to being slow, 3D printing is not foolproof either. One problem that I encountered on the taller pieces was layer separation:
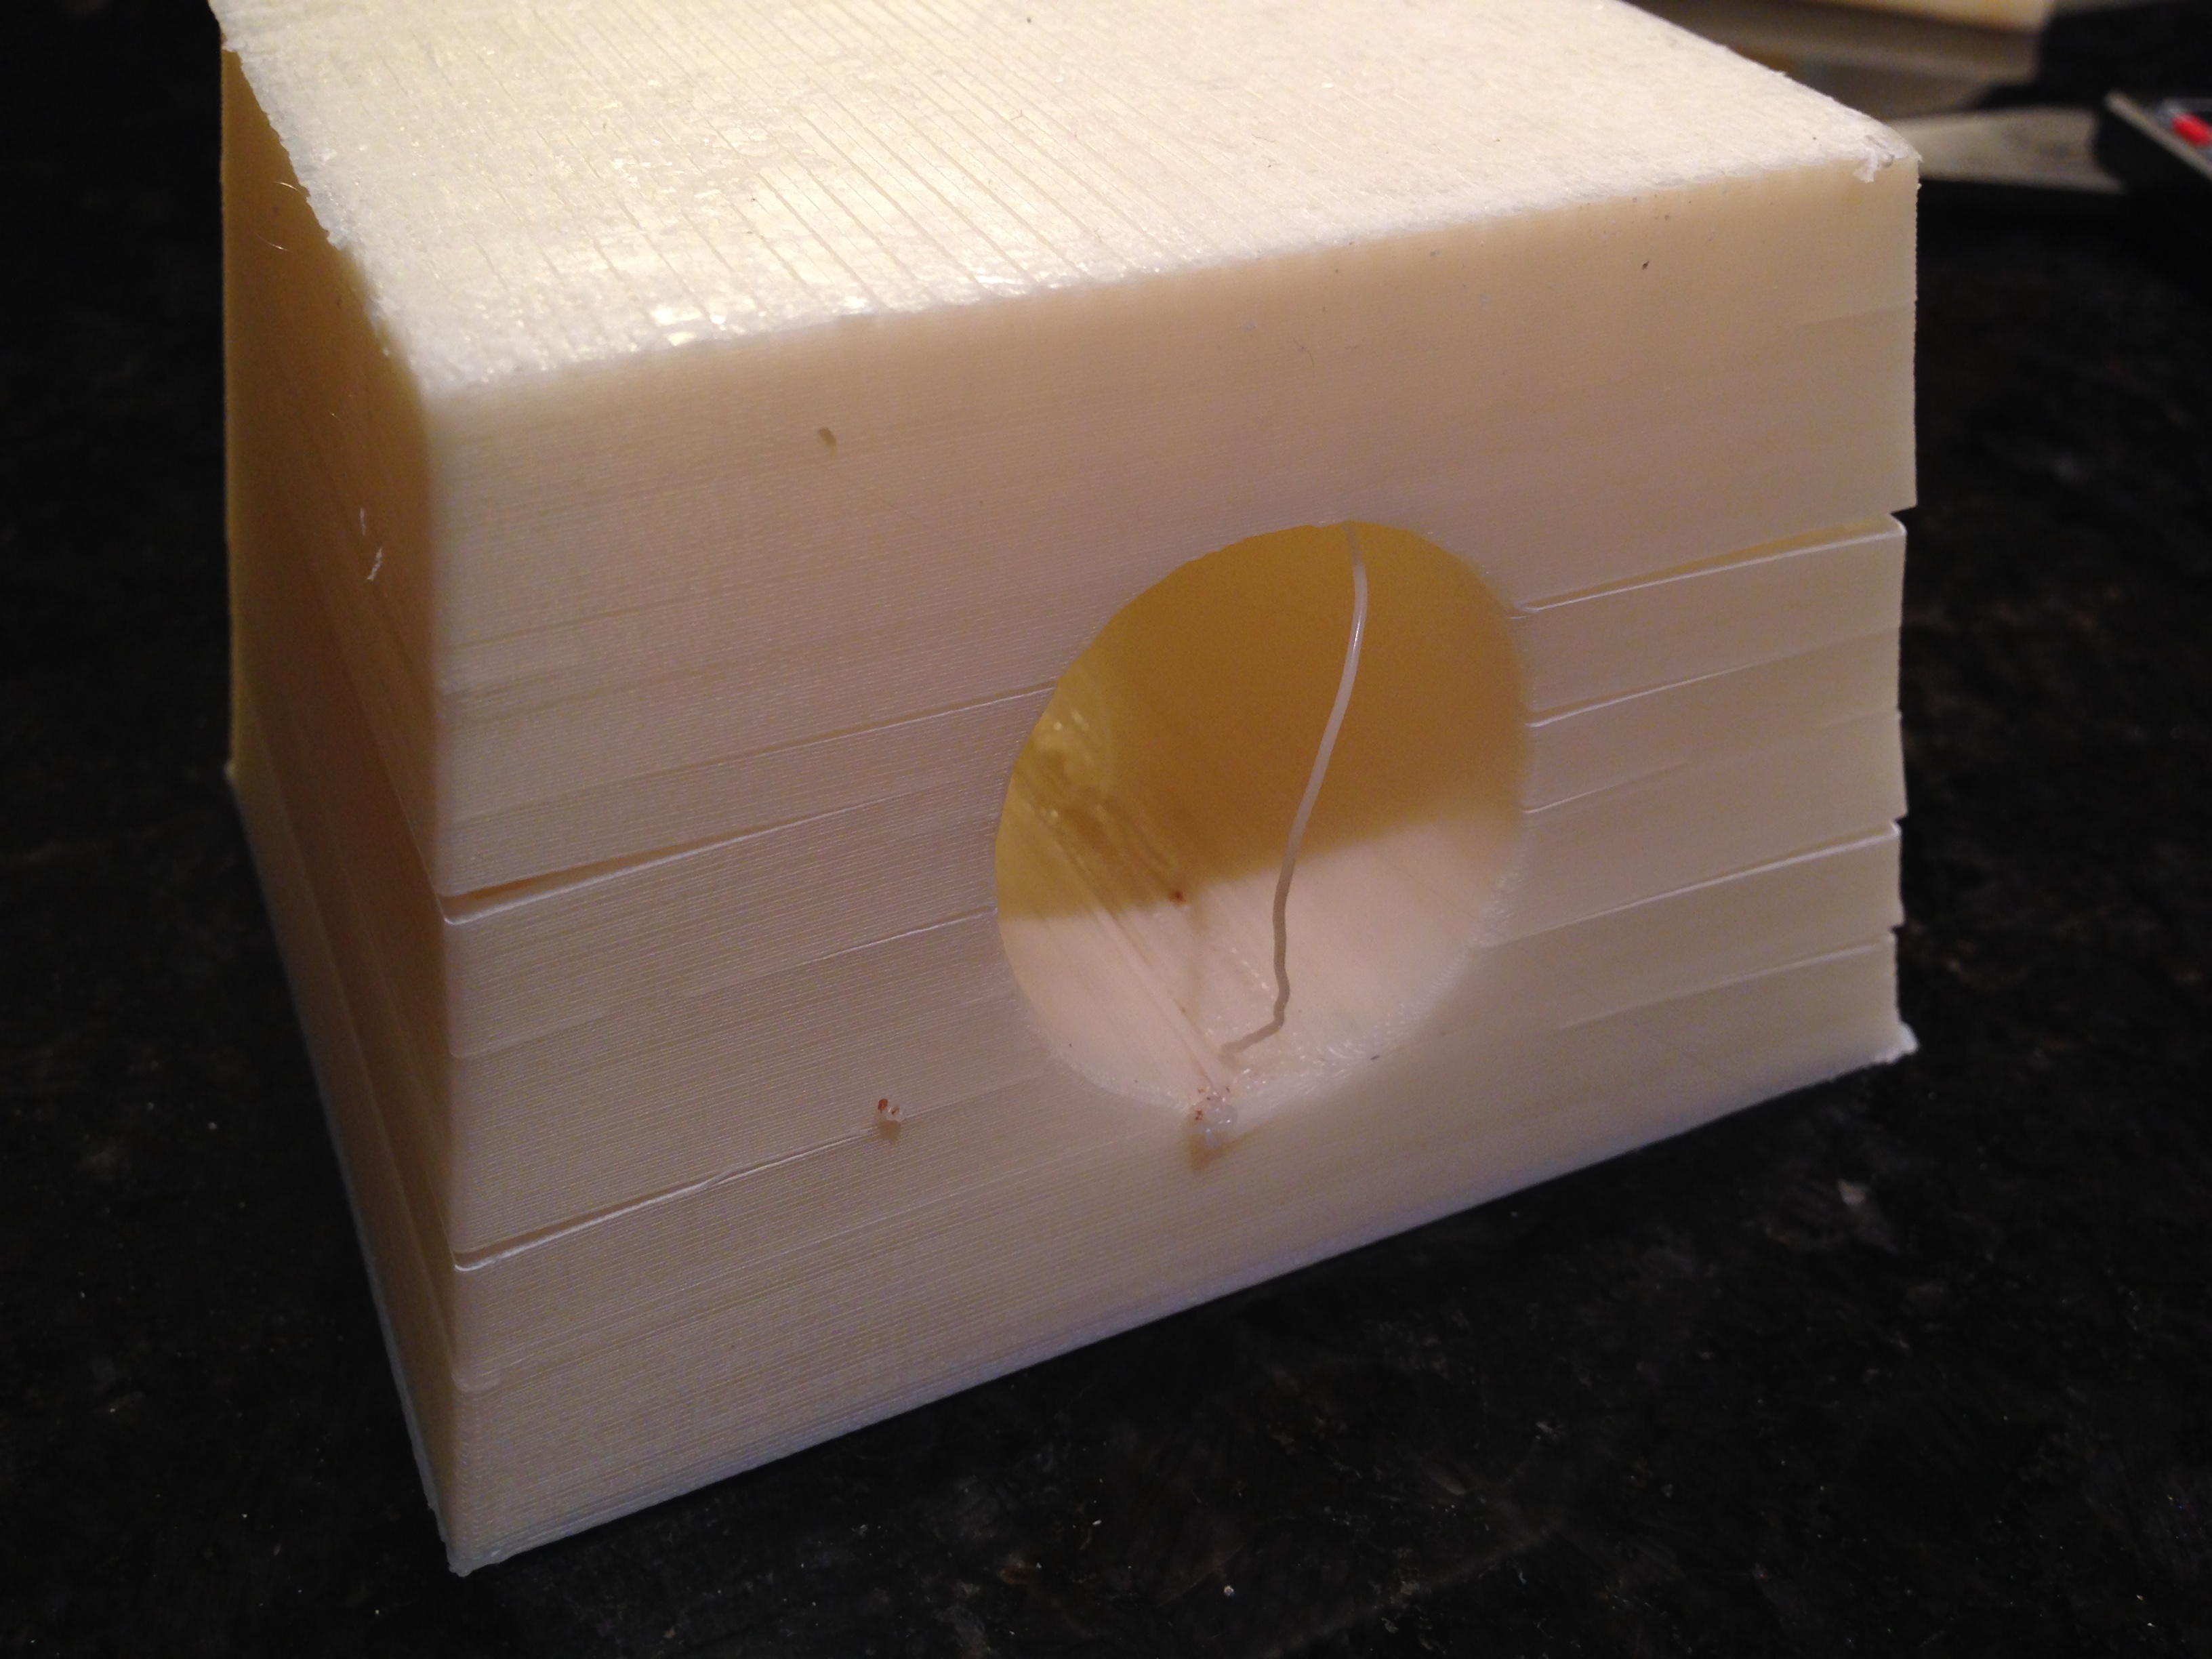
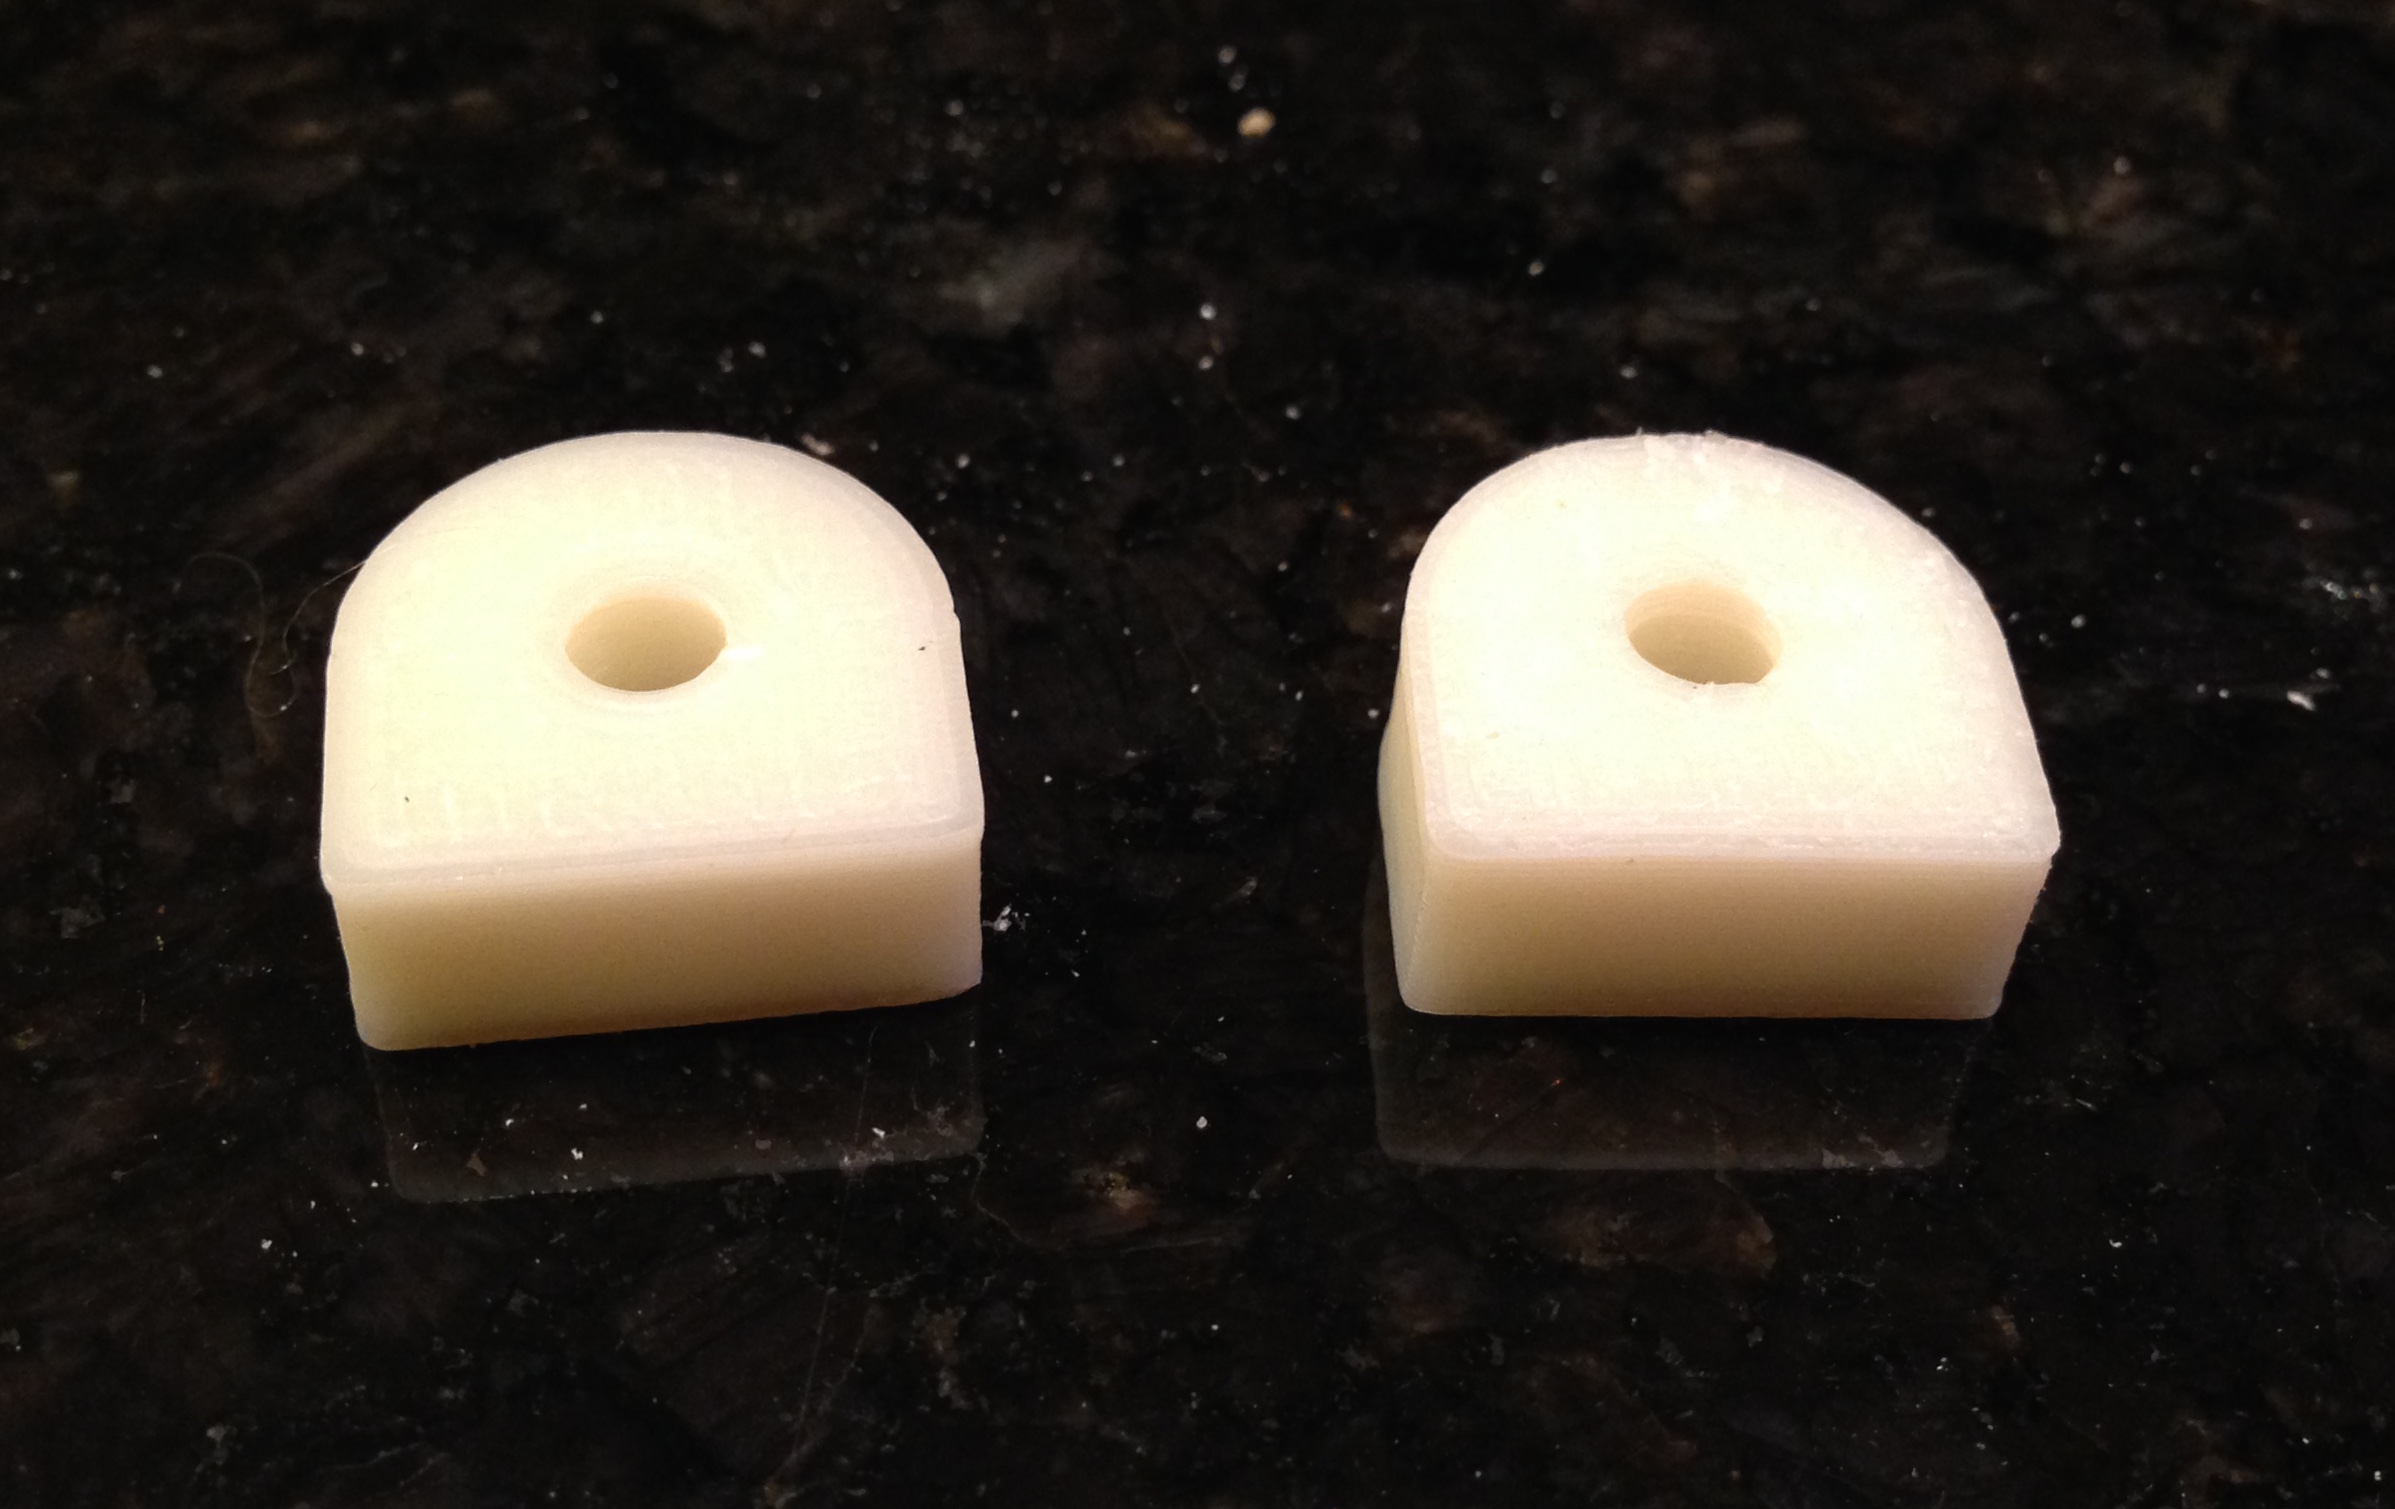
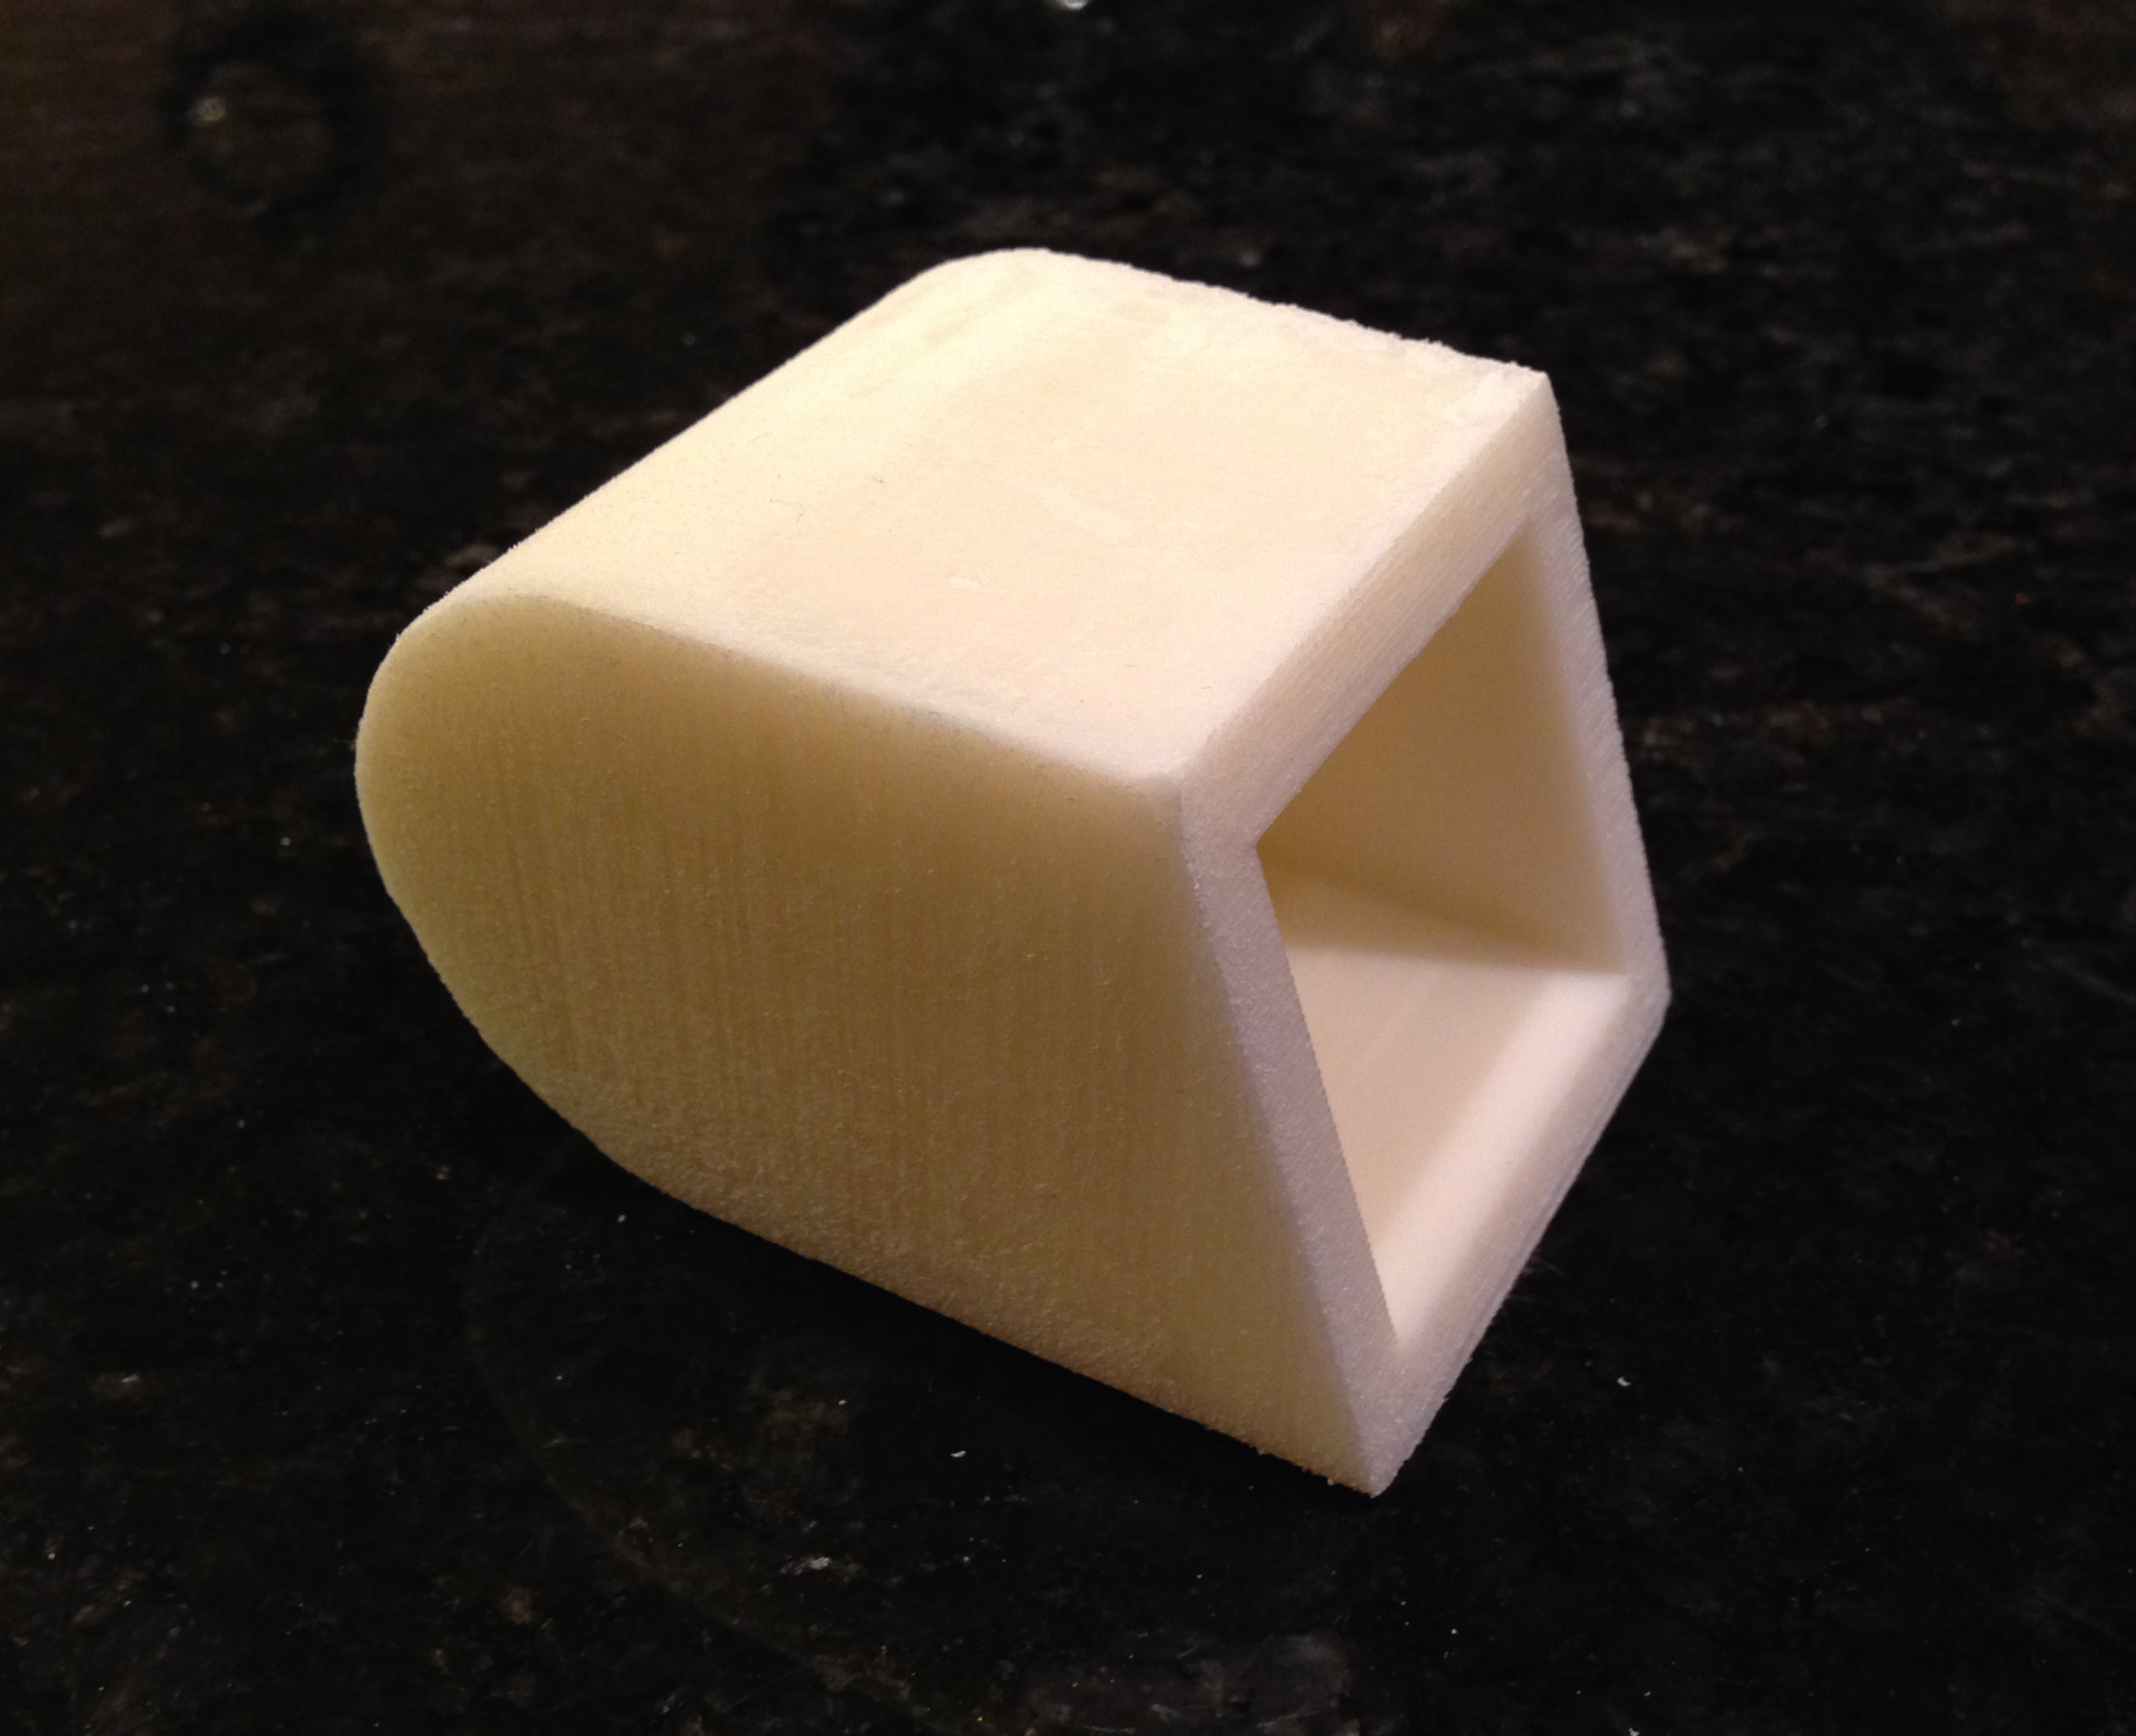
I’ve determined that this was probably due to the ambient air temperature being too cold, causing the lower layers of plastic to shrink and split from the upper layers. After filling the cracks with an acetone/ABS plastic slurry and sanding, it looked ok:
(Don’t get me wrong — I’m a huge fan of 3D printing and knew about its drawbacks before I ordered my printer. I think that in 20 years, these printers will be as common in households as regular printers are today… possibly moreso. Who will need to print paper documents in 20 years?)
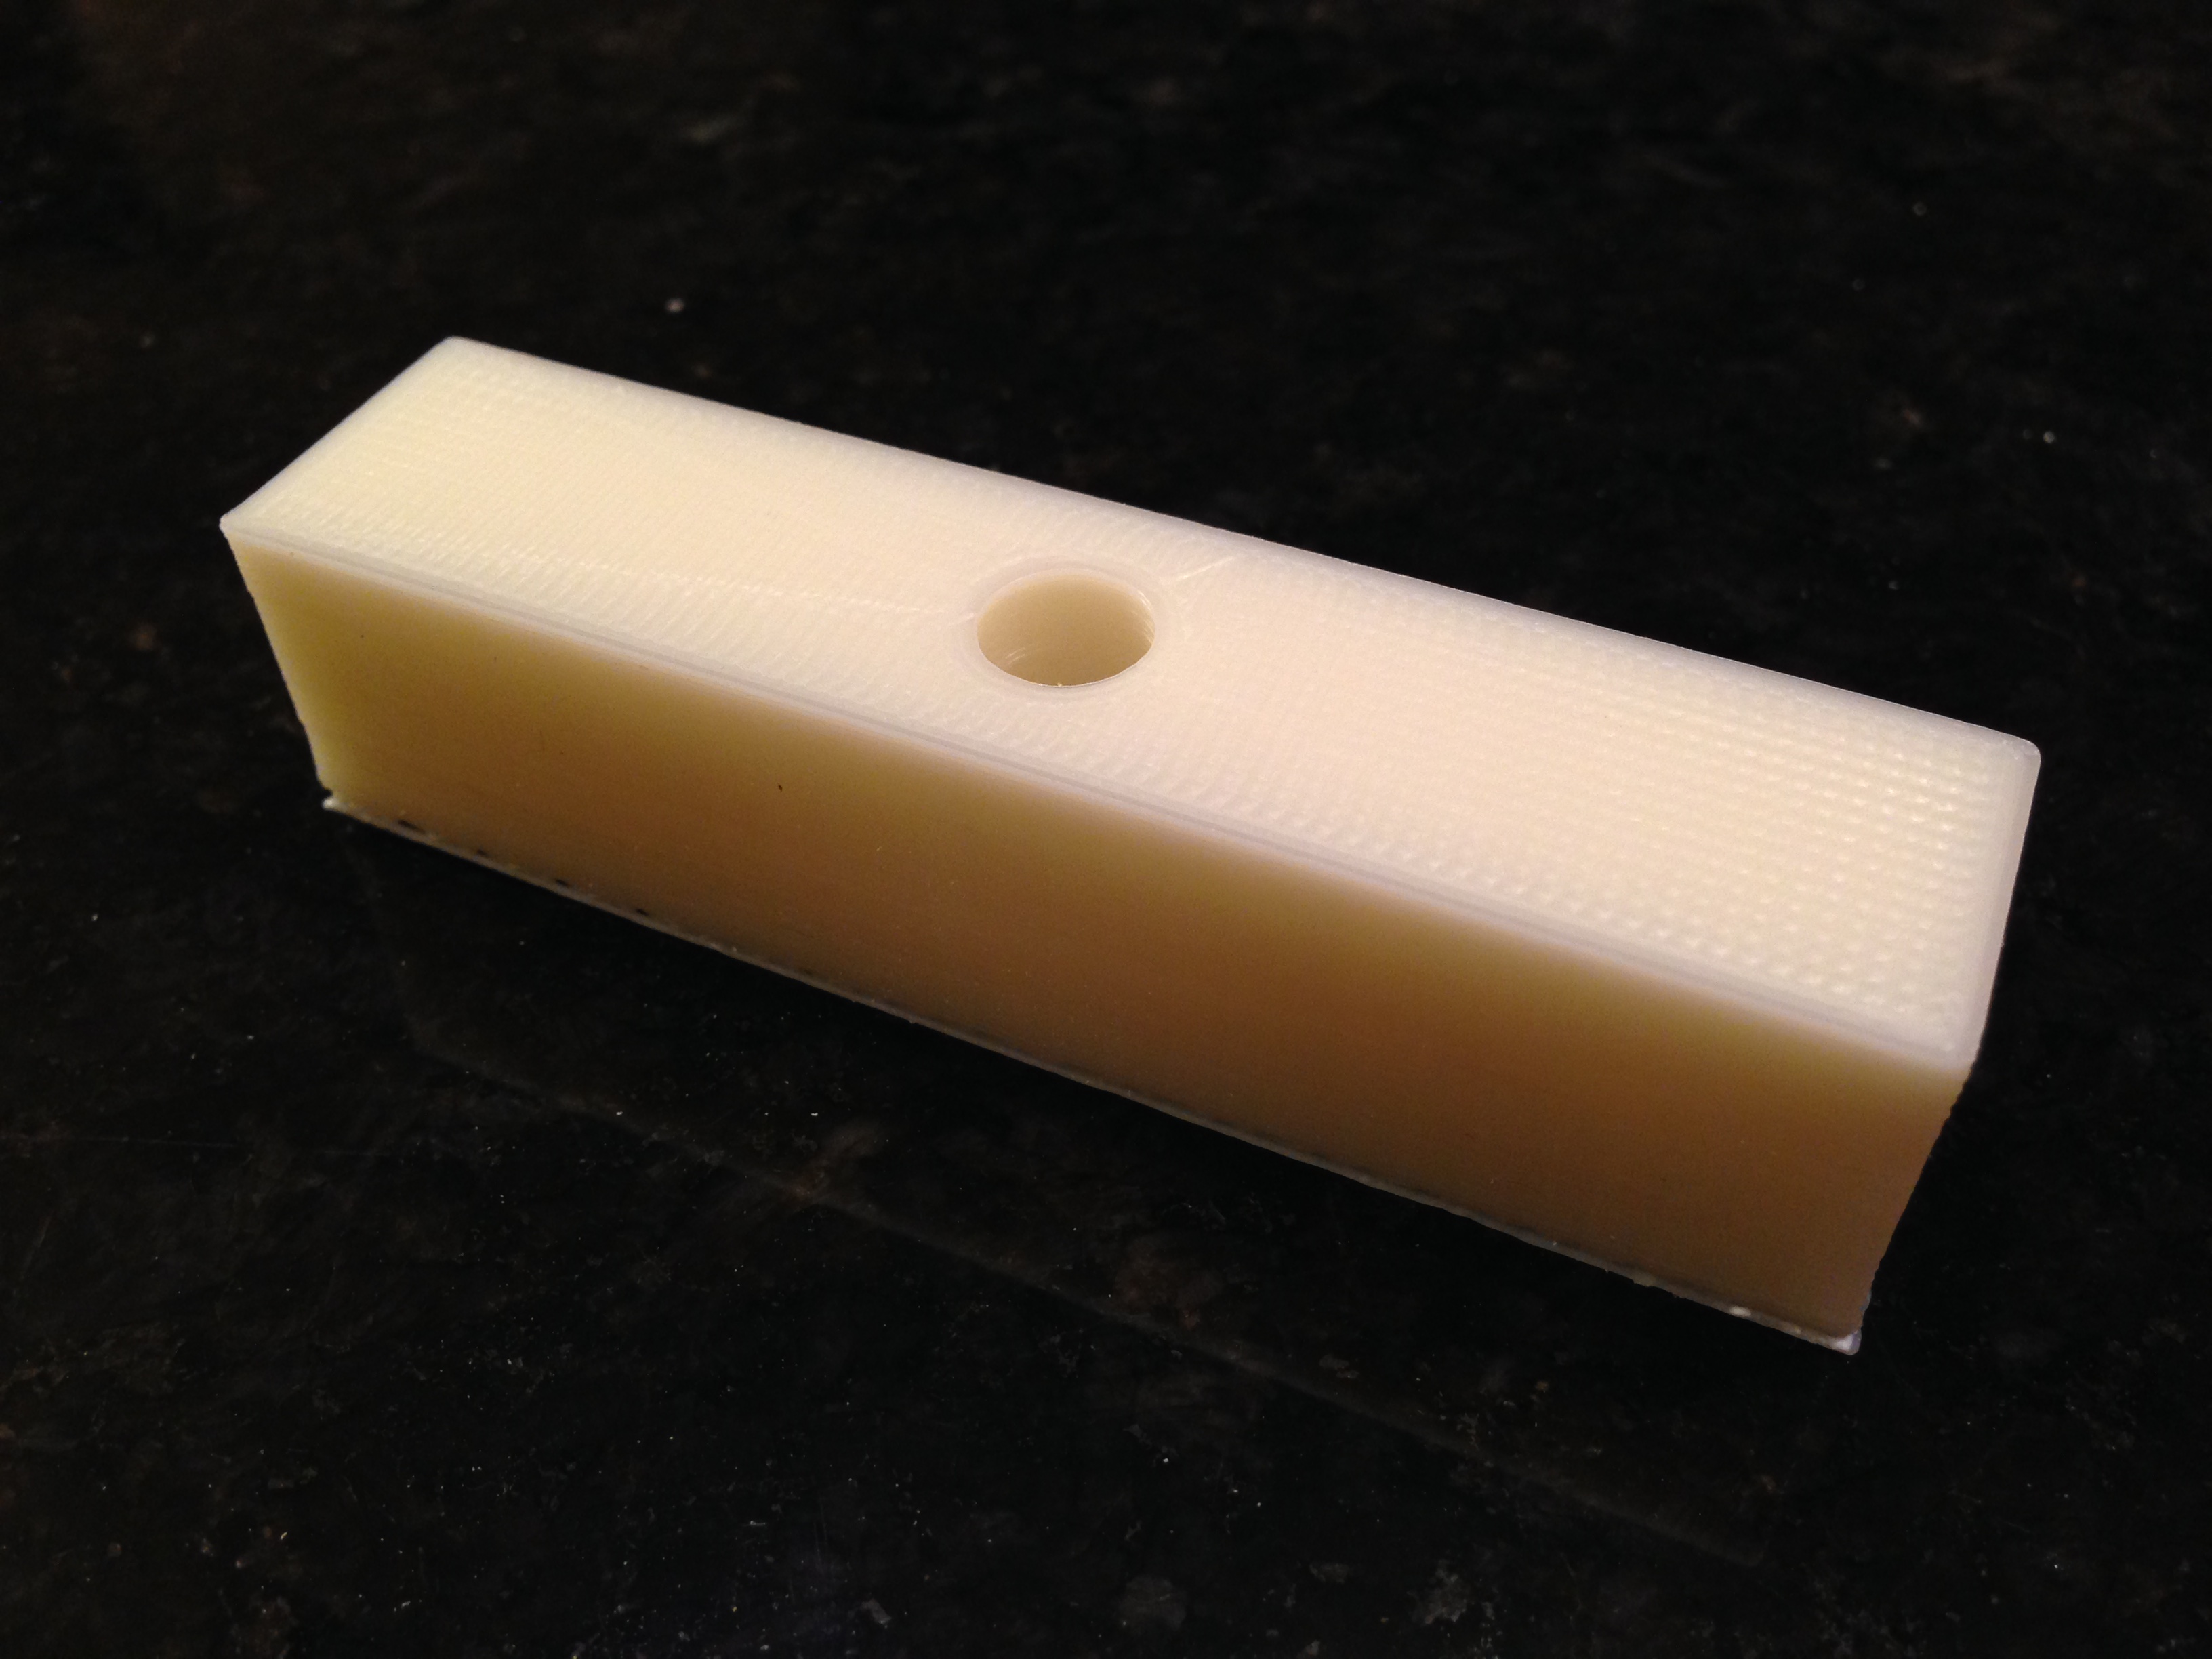
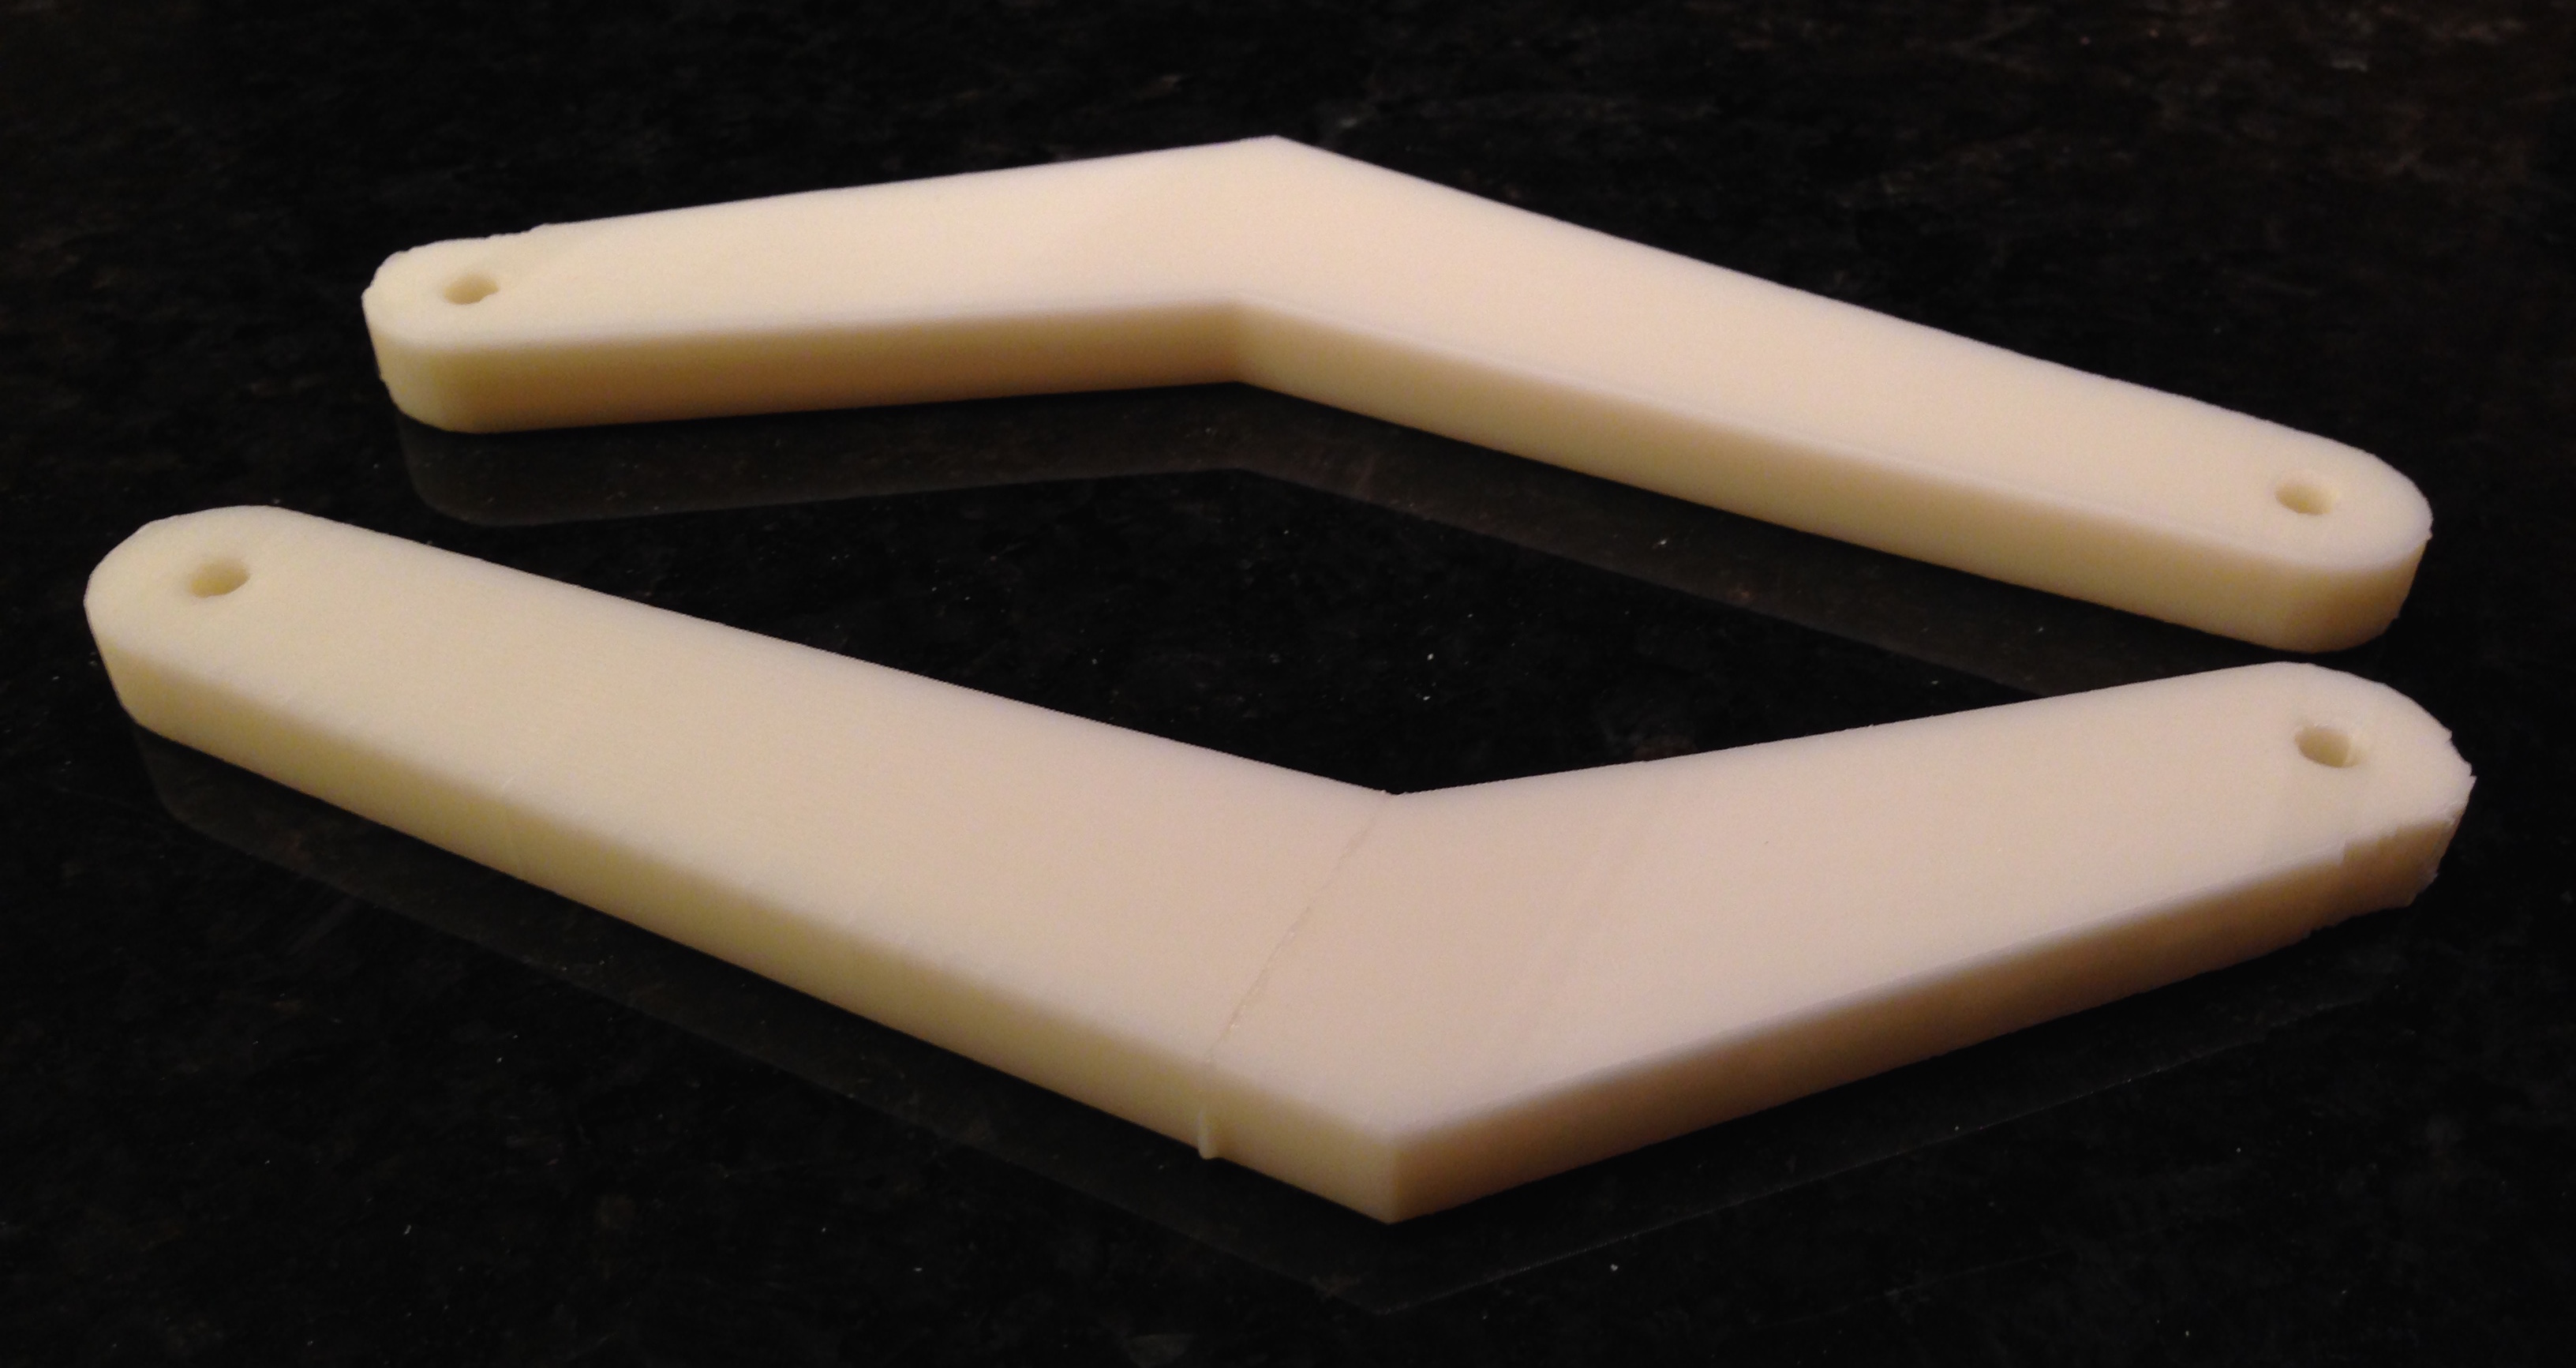
My printer’s print bed is only six inches in diameter, so some of the longer pieces required creative positioning in order to print seamlessly.


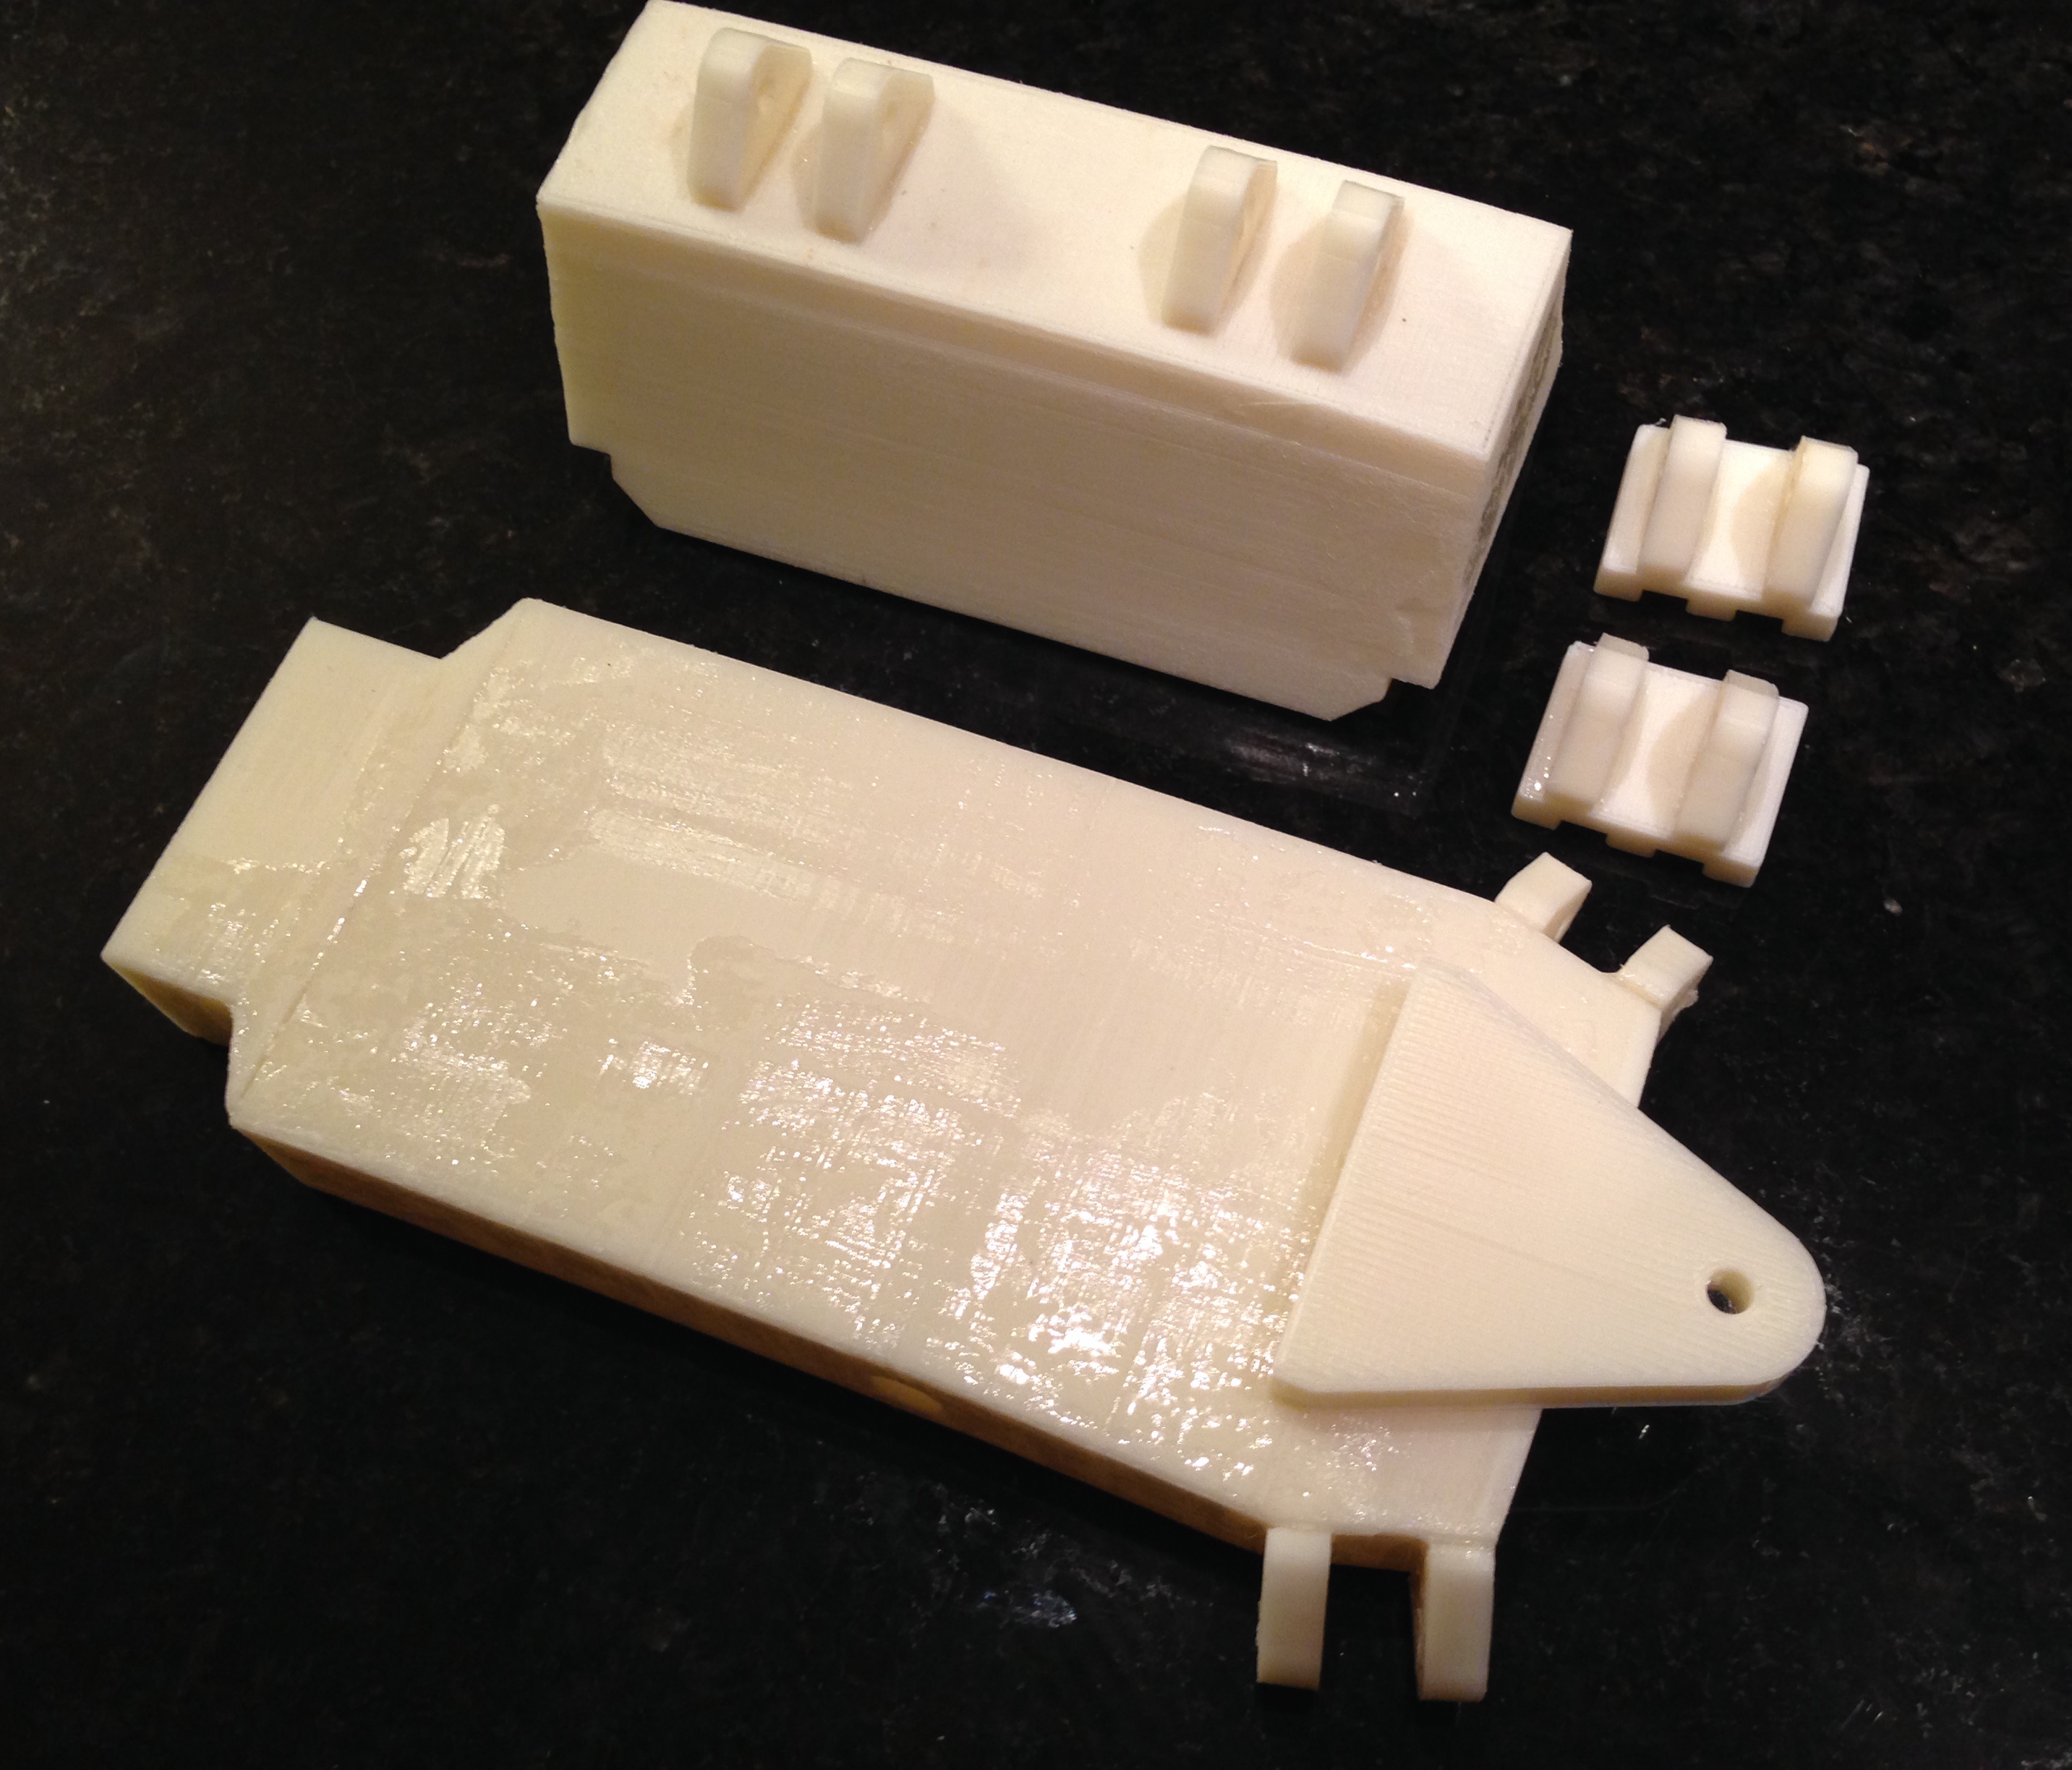
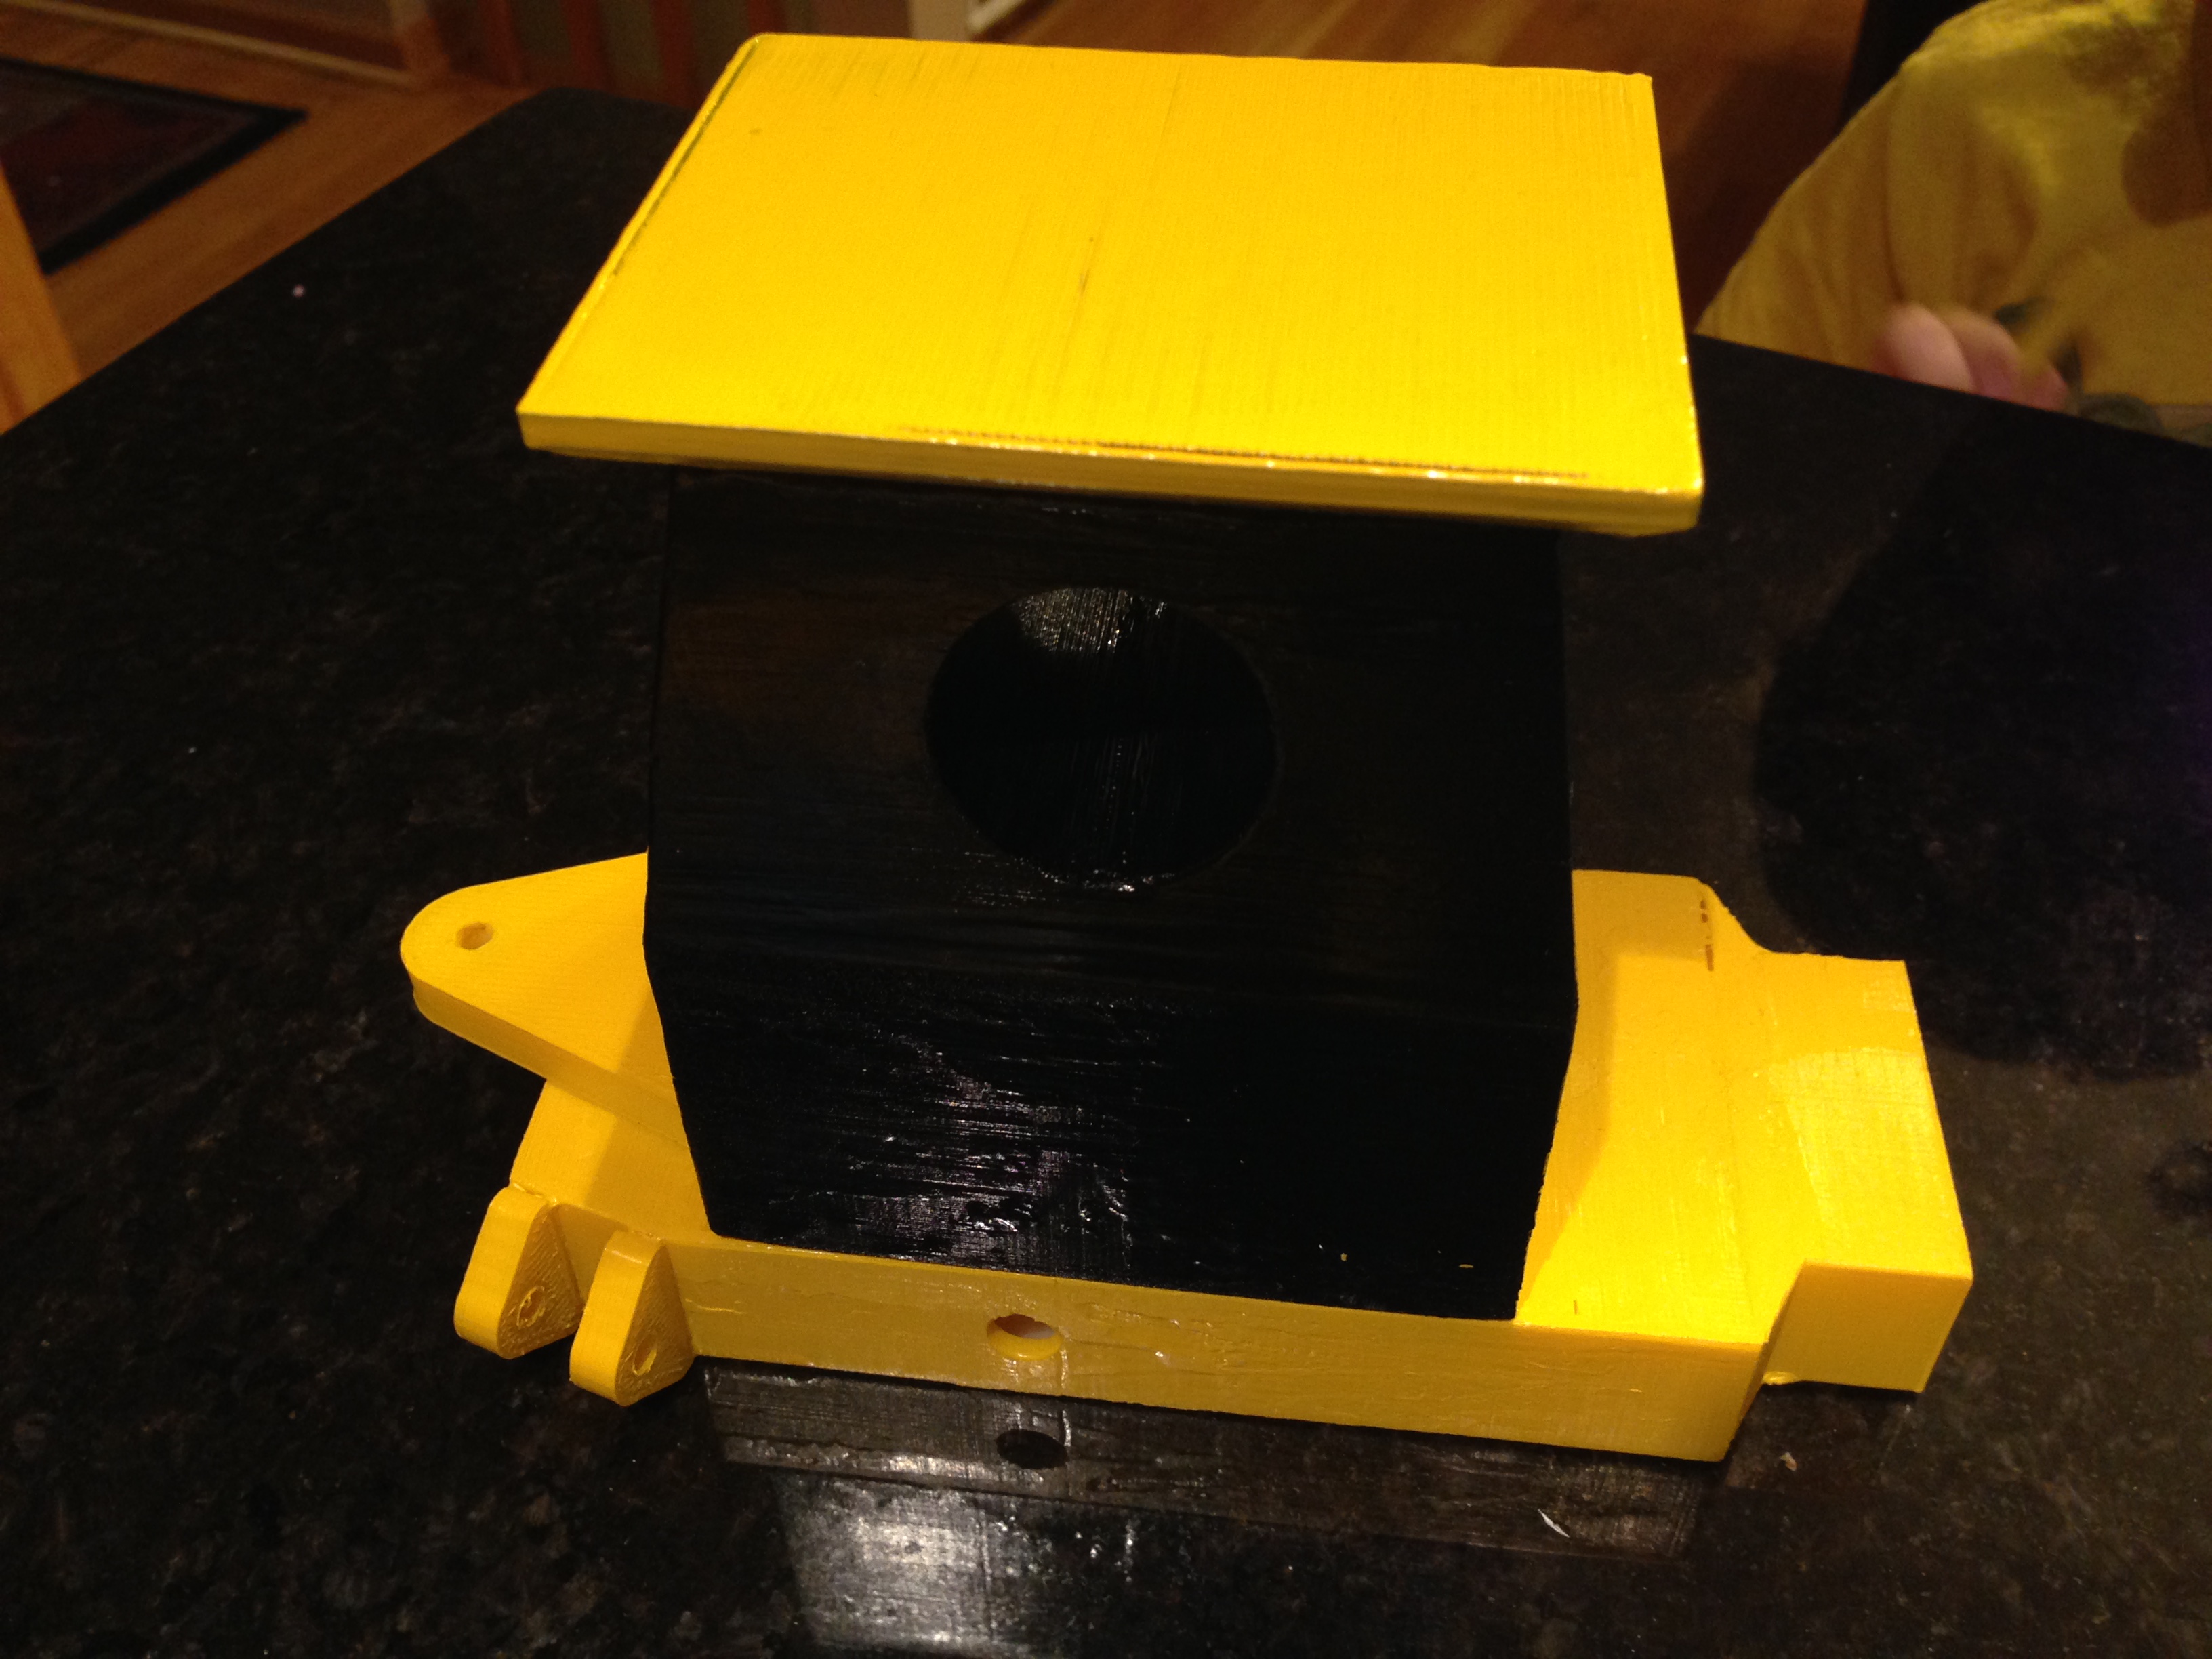
I split some of the larger pieces into multiple parts in order to save hours of printing time and some non-zero amount of plastic. For example: instead of printing the entire chassis as one piece, which would require a lot of infill material, I cut it in two and printed one tall hollow piece plus a solid cap that I glue on afterwards:


The total print time for all of the pieces I printed was 80 hours, 57 minutes.


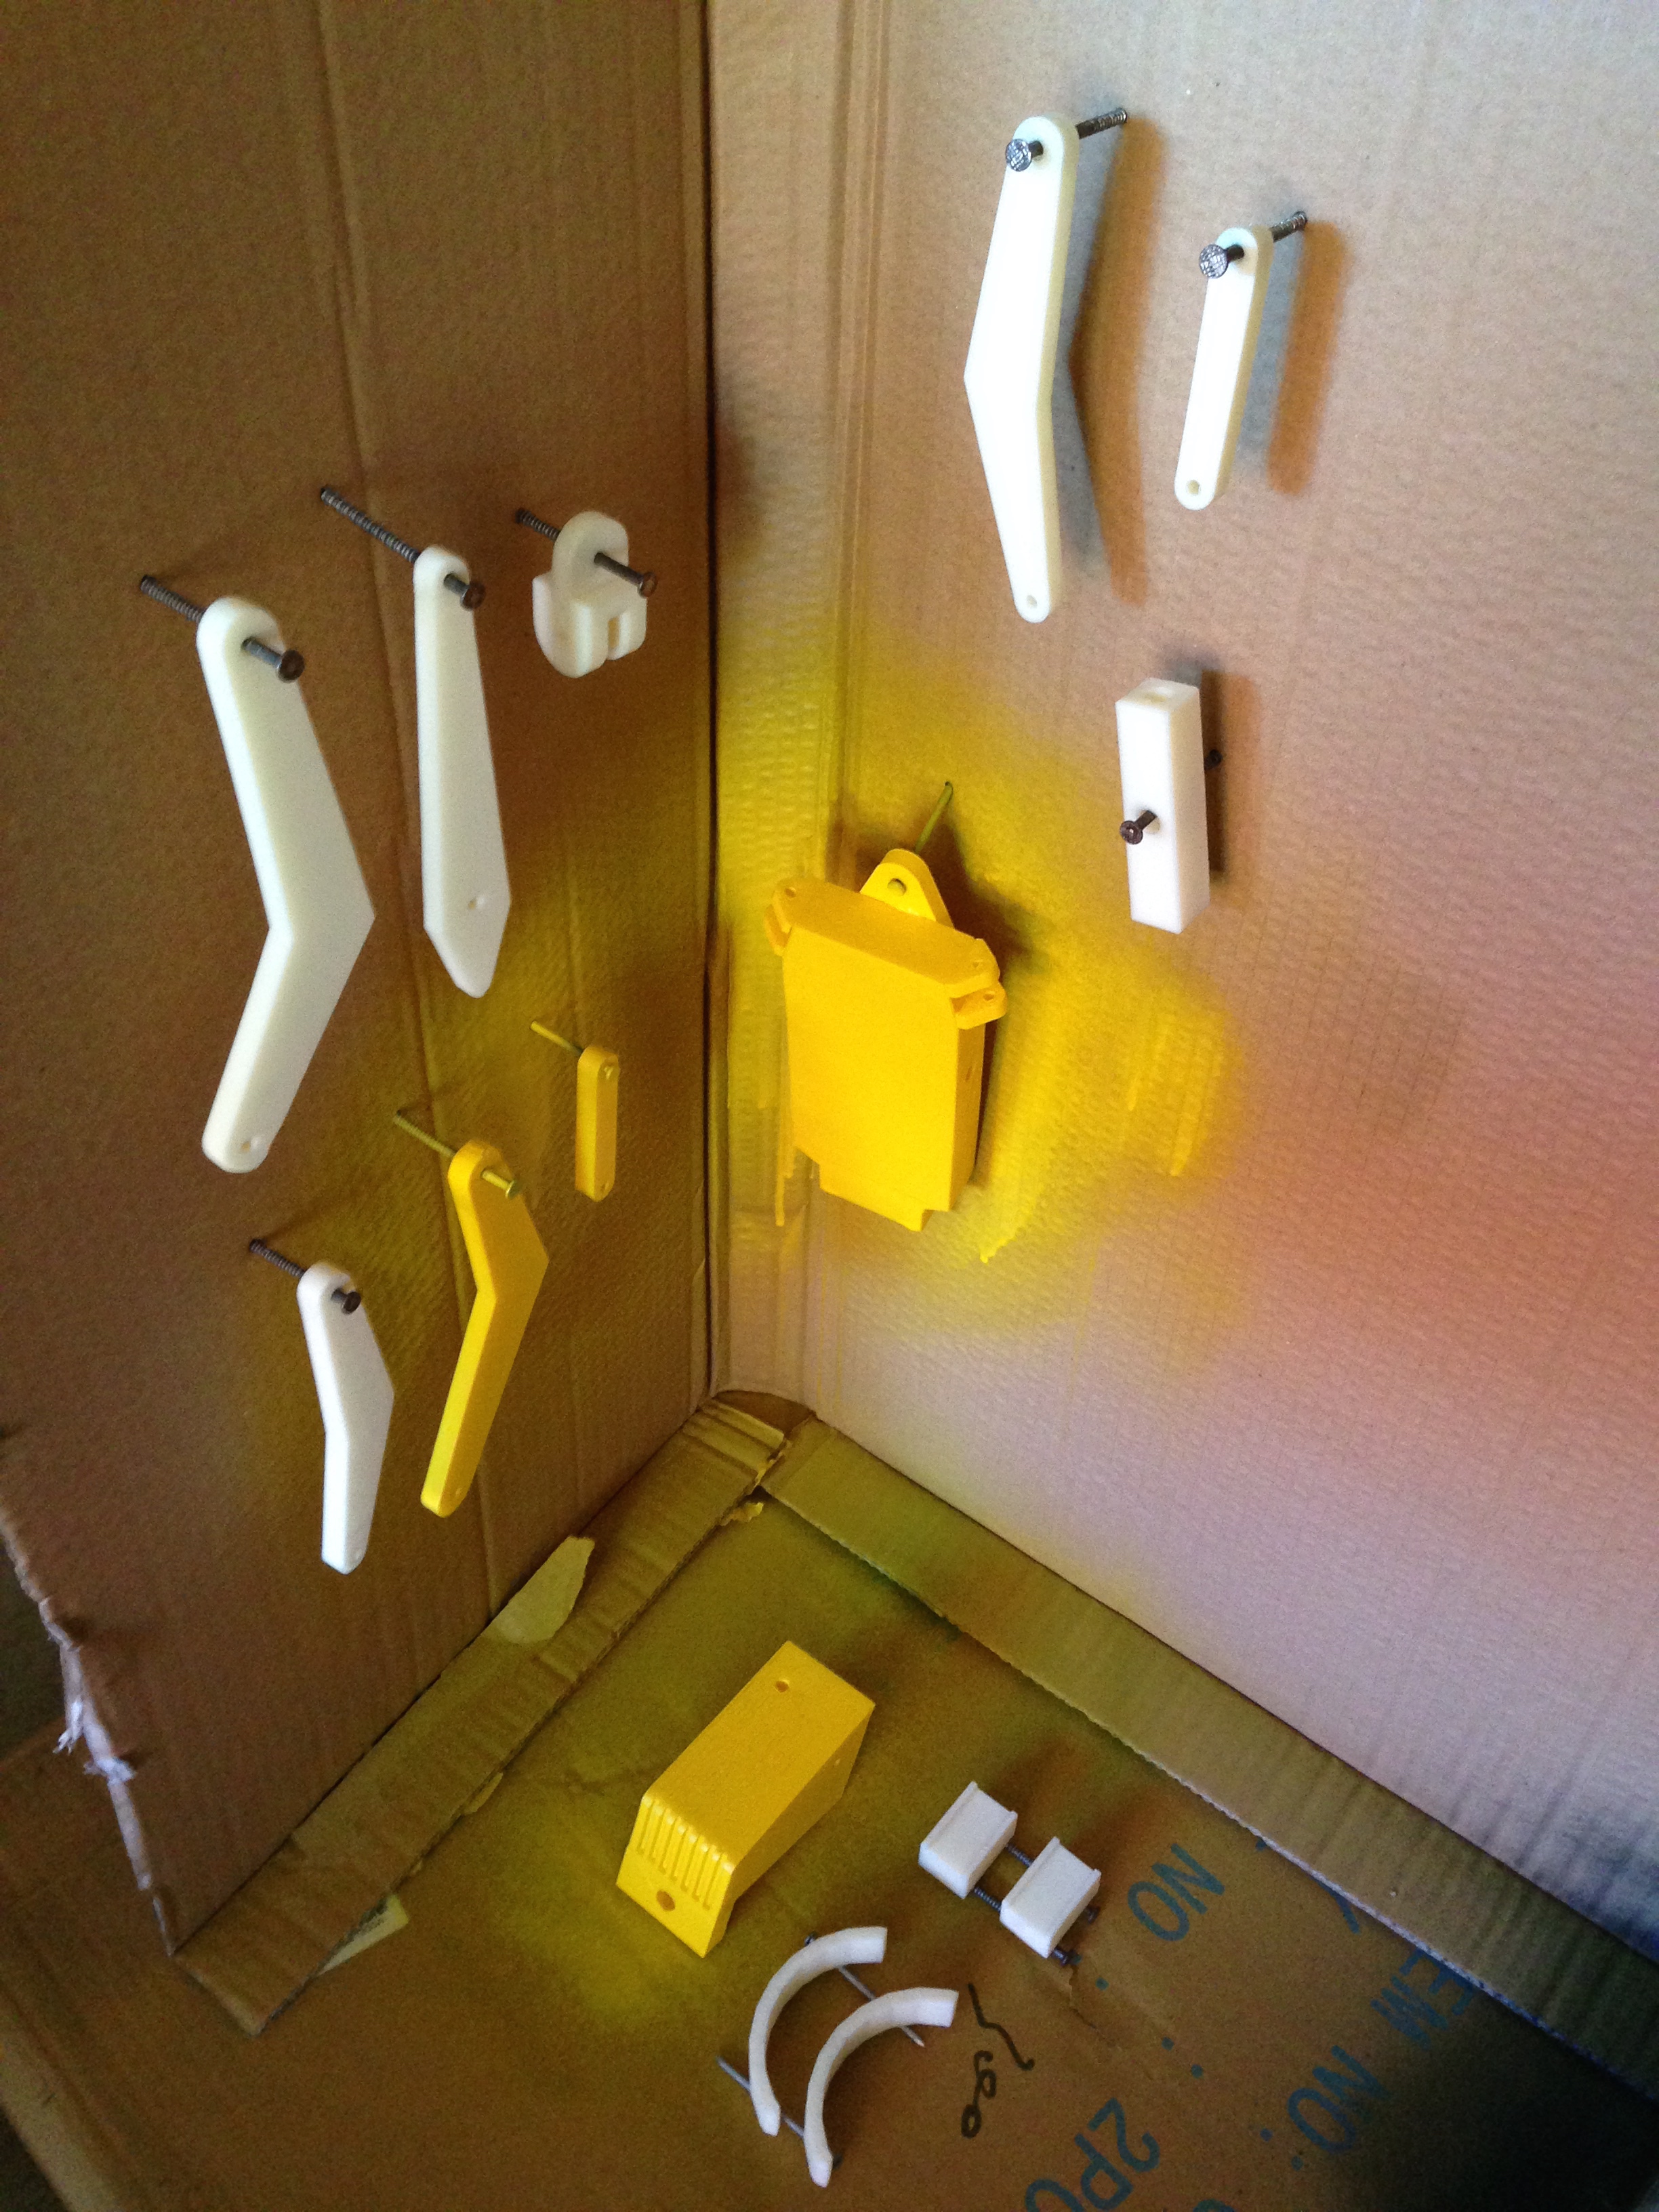
Here’s the lineup of all the pieces immediately before I began assembly. On the left, the hardware and wheels from the kit; on the right, the thirty-seven separate pieces I printed.


Assembly (pre-paint)
With better planning, I would have printed all of these objects with their brackets already in place. Since I didn’t, I had to weld them in place using the aforementioned acetone/ABS slurry.
Painting
Painting was done with glossy black and sun-yellow spray paint made for plastic in a cardboard box in my garage. Très professional.
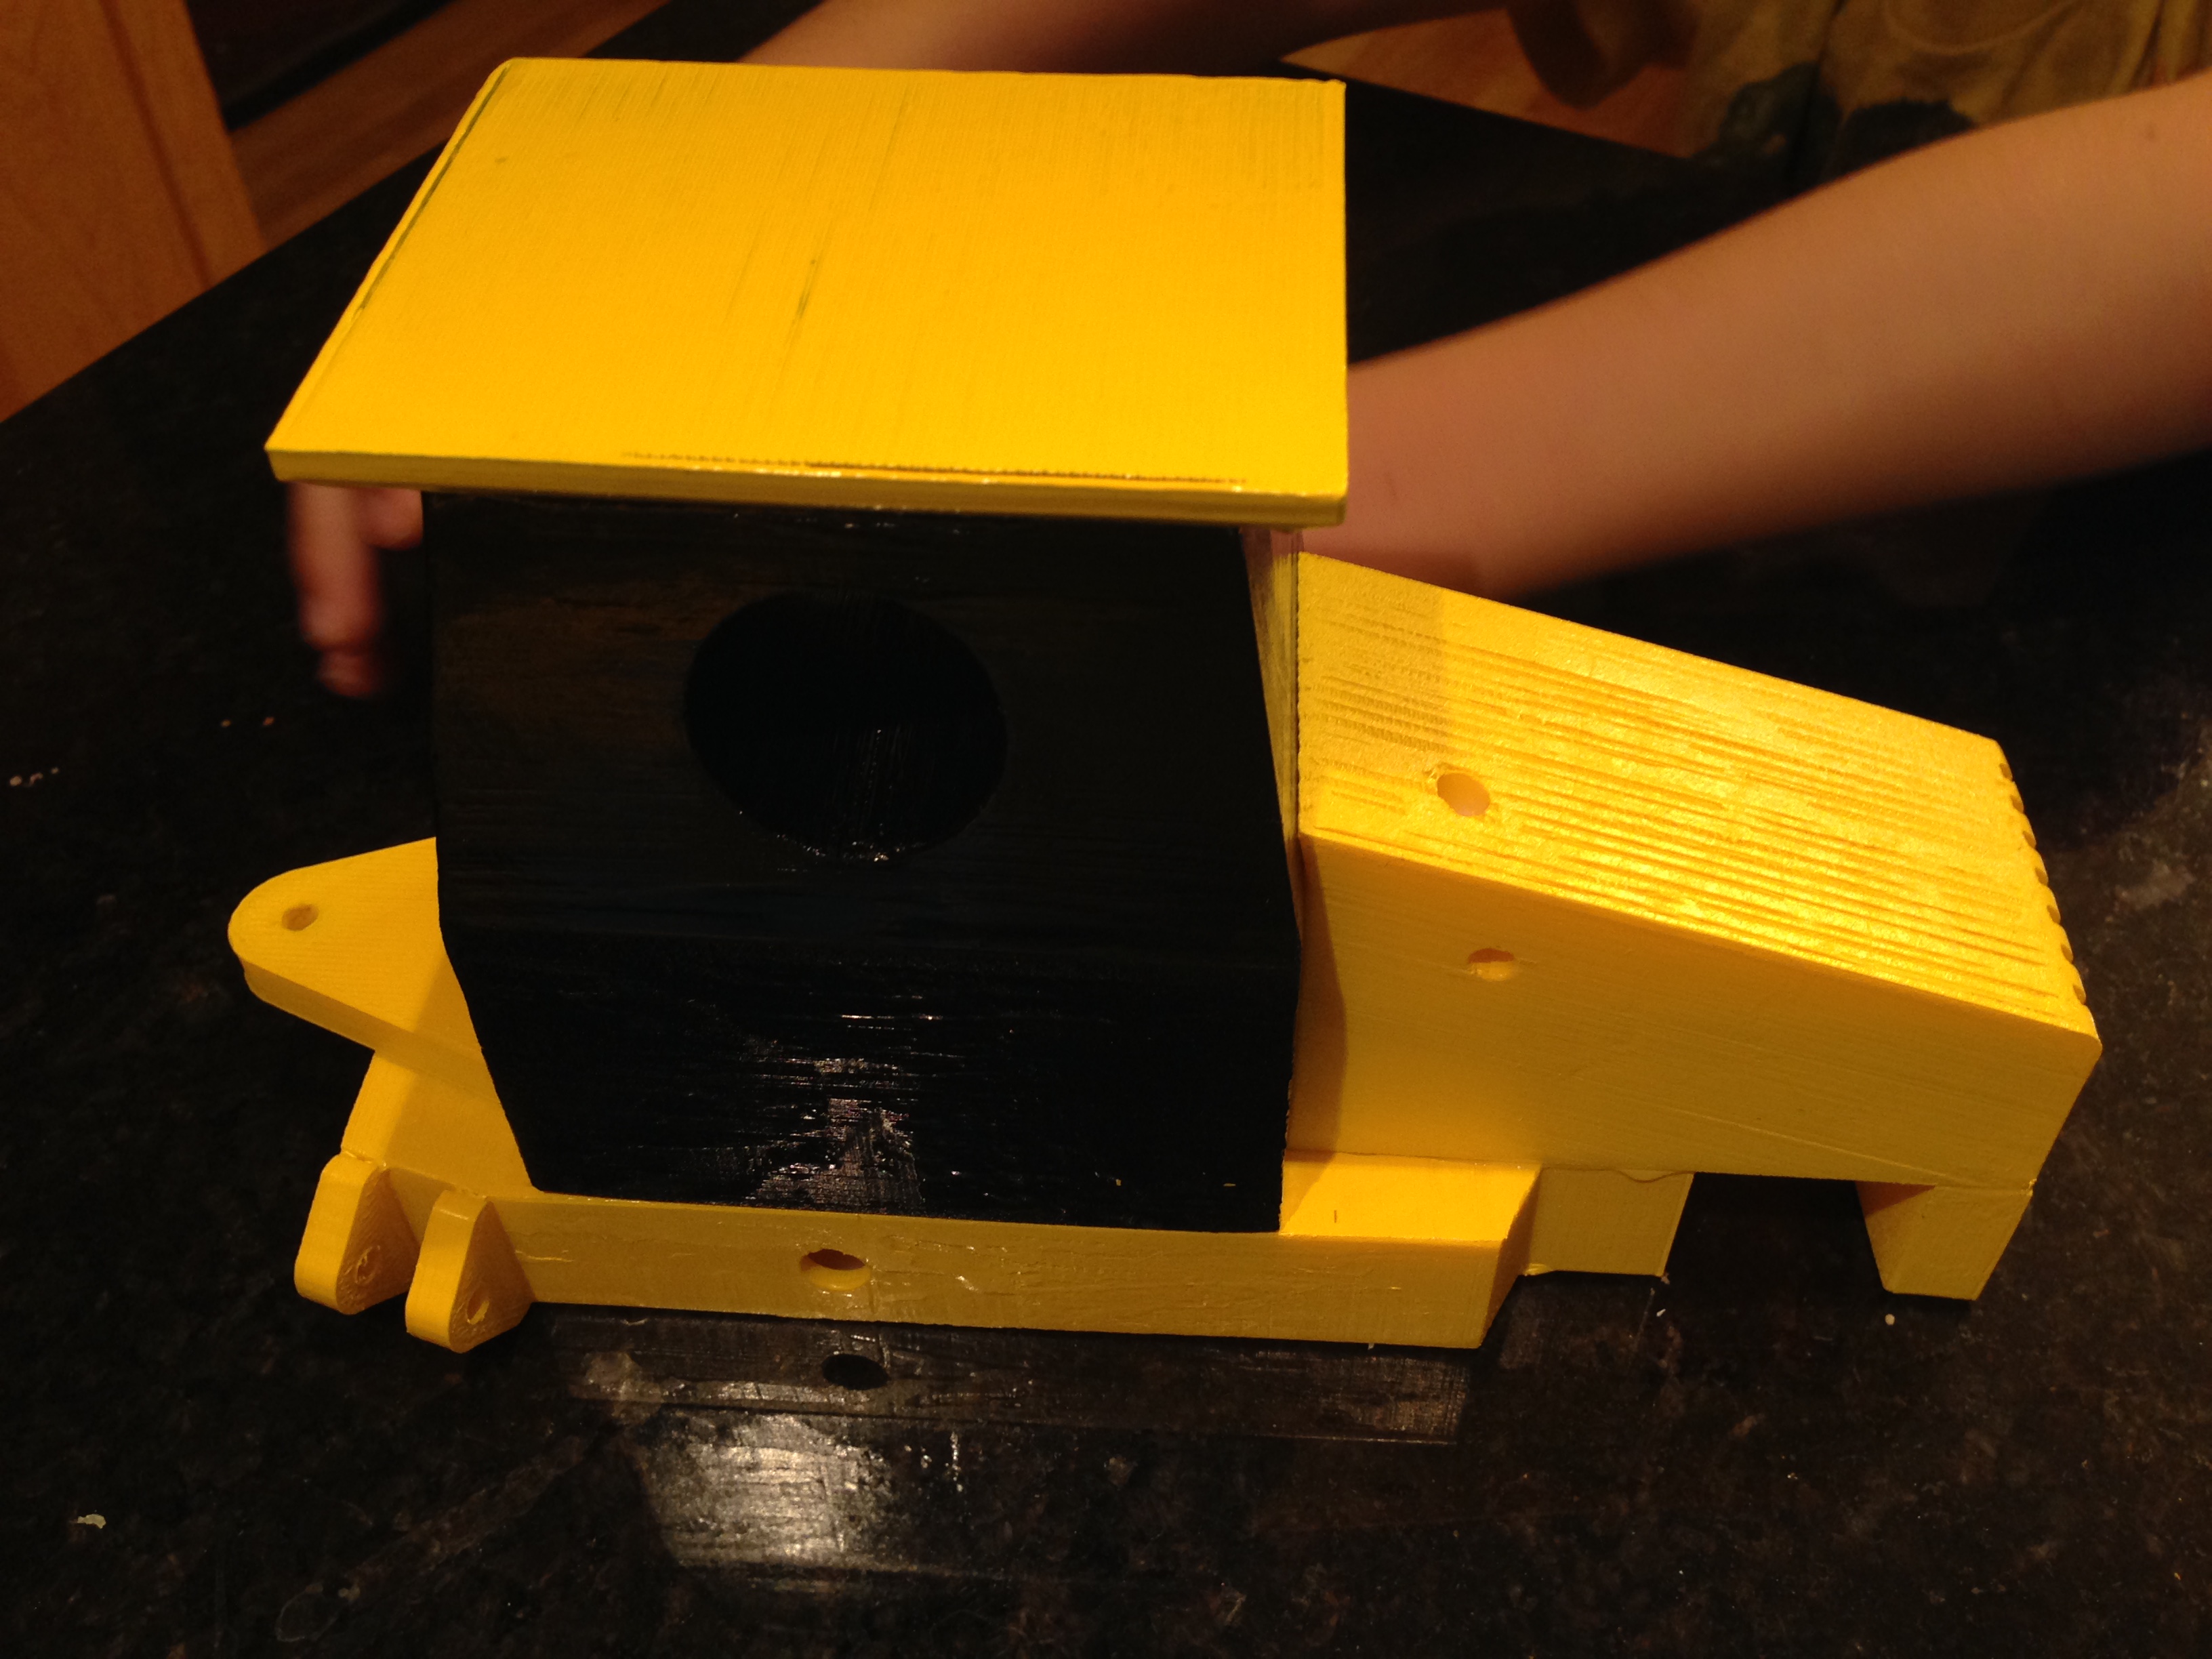
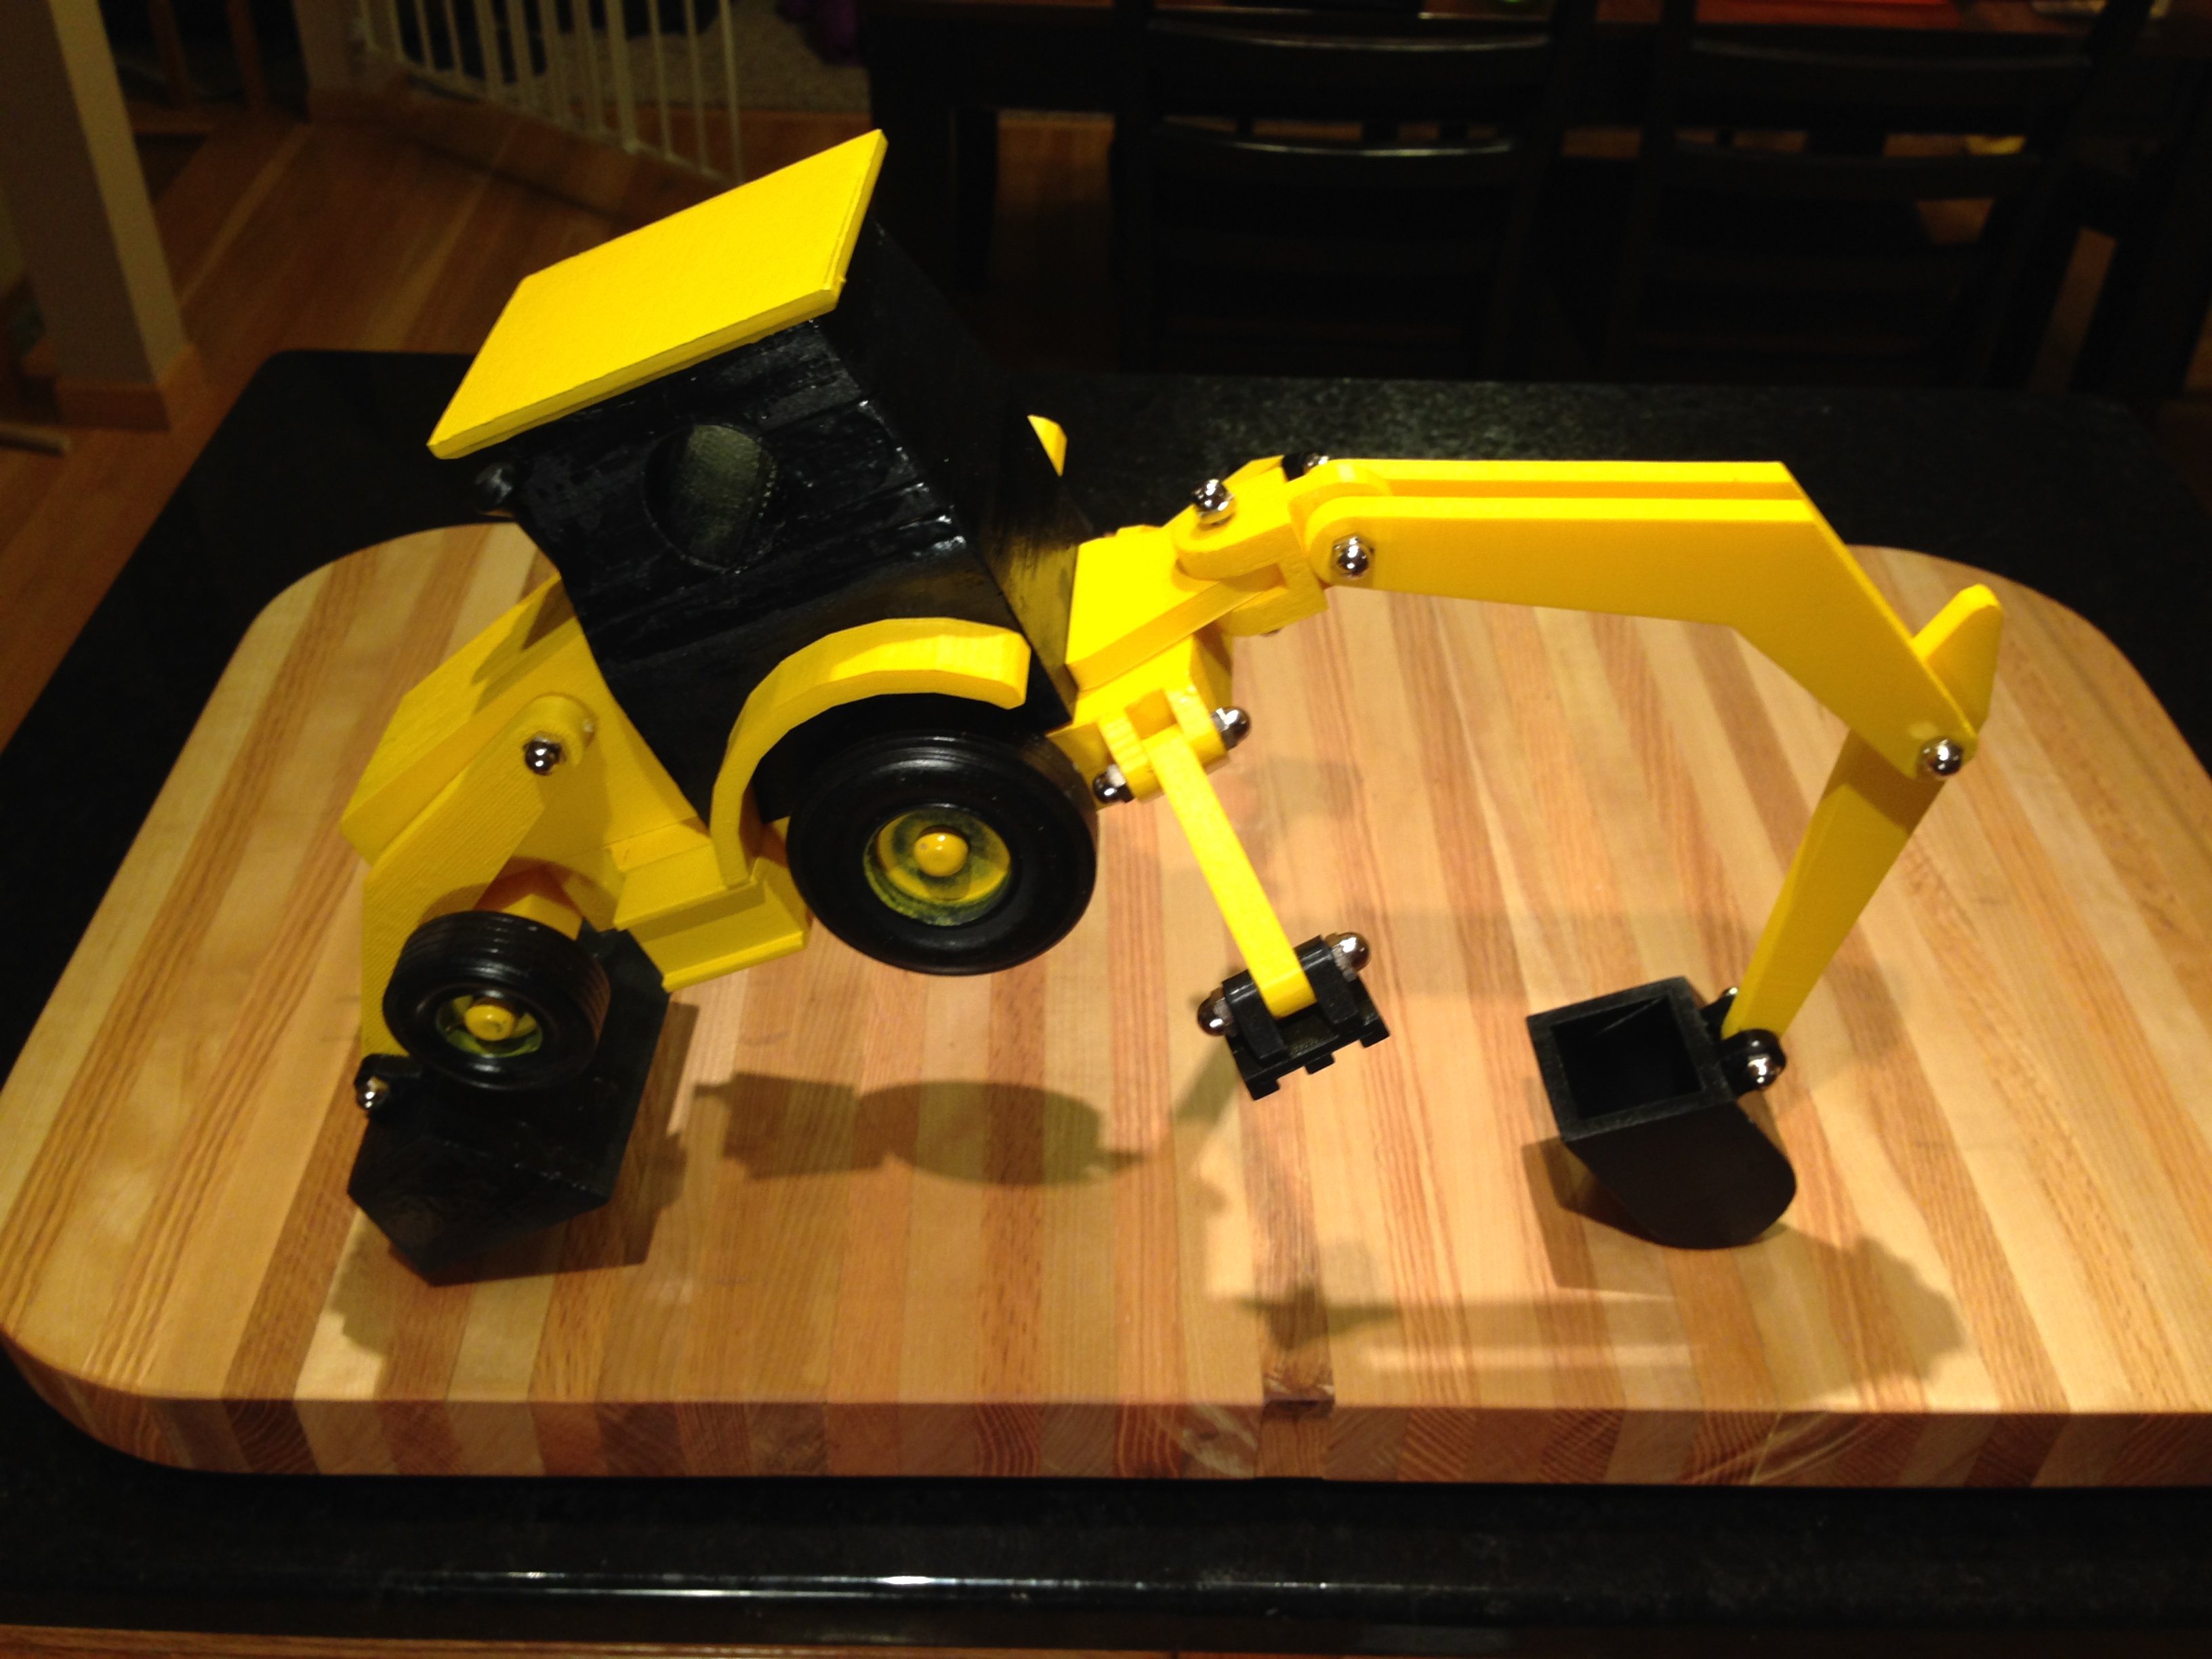
Assembly (post-paint)
At this point, all that was left was to connect the nuts and bolts.
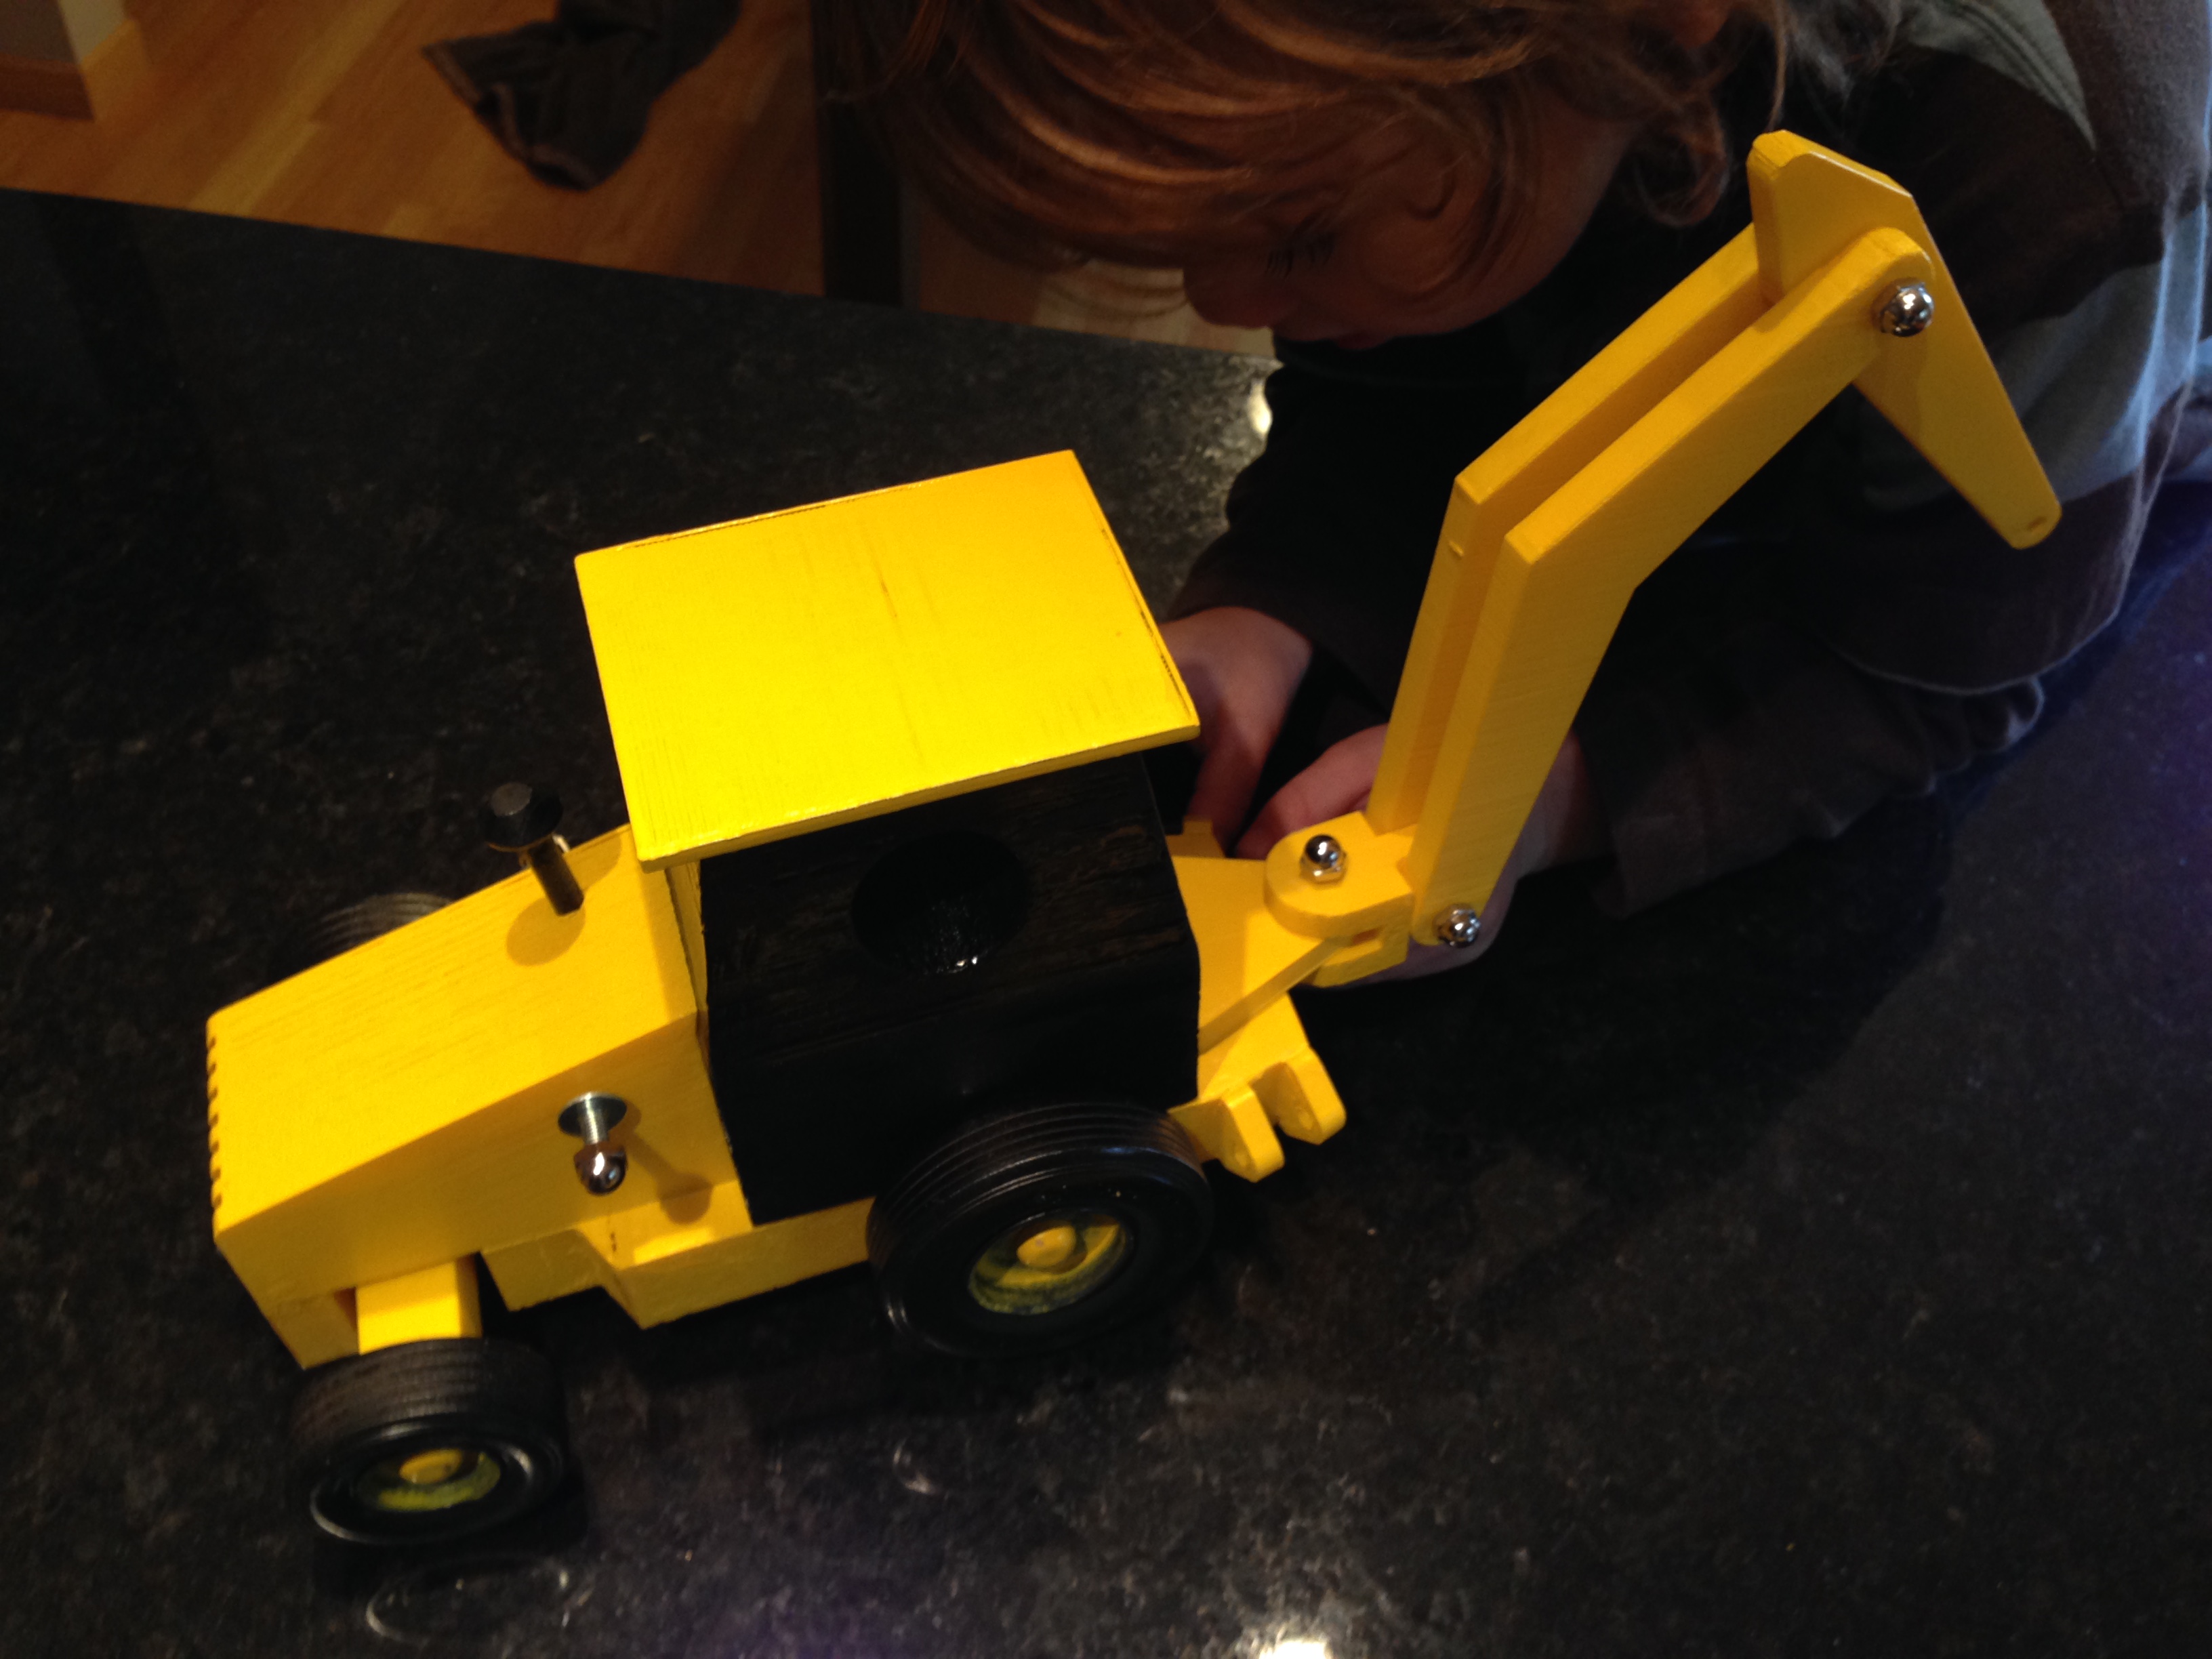
Ta-Da


Lessons Learned
It was fun printing an exact duplicate of the wooden model, but if I did it again, I’d go for a more realistic look that doesn’t use as much material. Woodworking plans don’t translate directly to plastic particularly well, since their dimensions are based on commonly available lumber sizes, so most of the pieces were oversized for their purpose.
I’d also skip the painting step entirely by printing in the correct color of filament. I used white because it’s what I already had, but for my next serious project, I’ll order the colors I need.
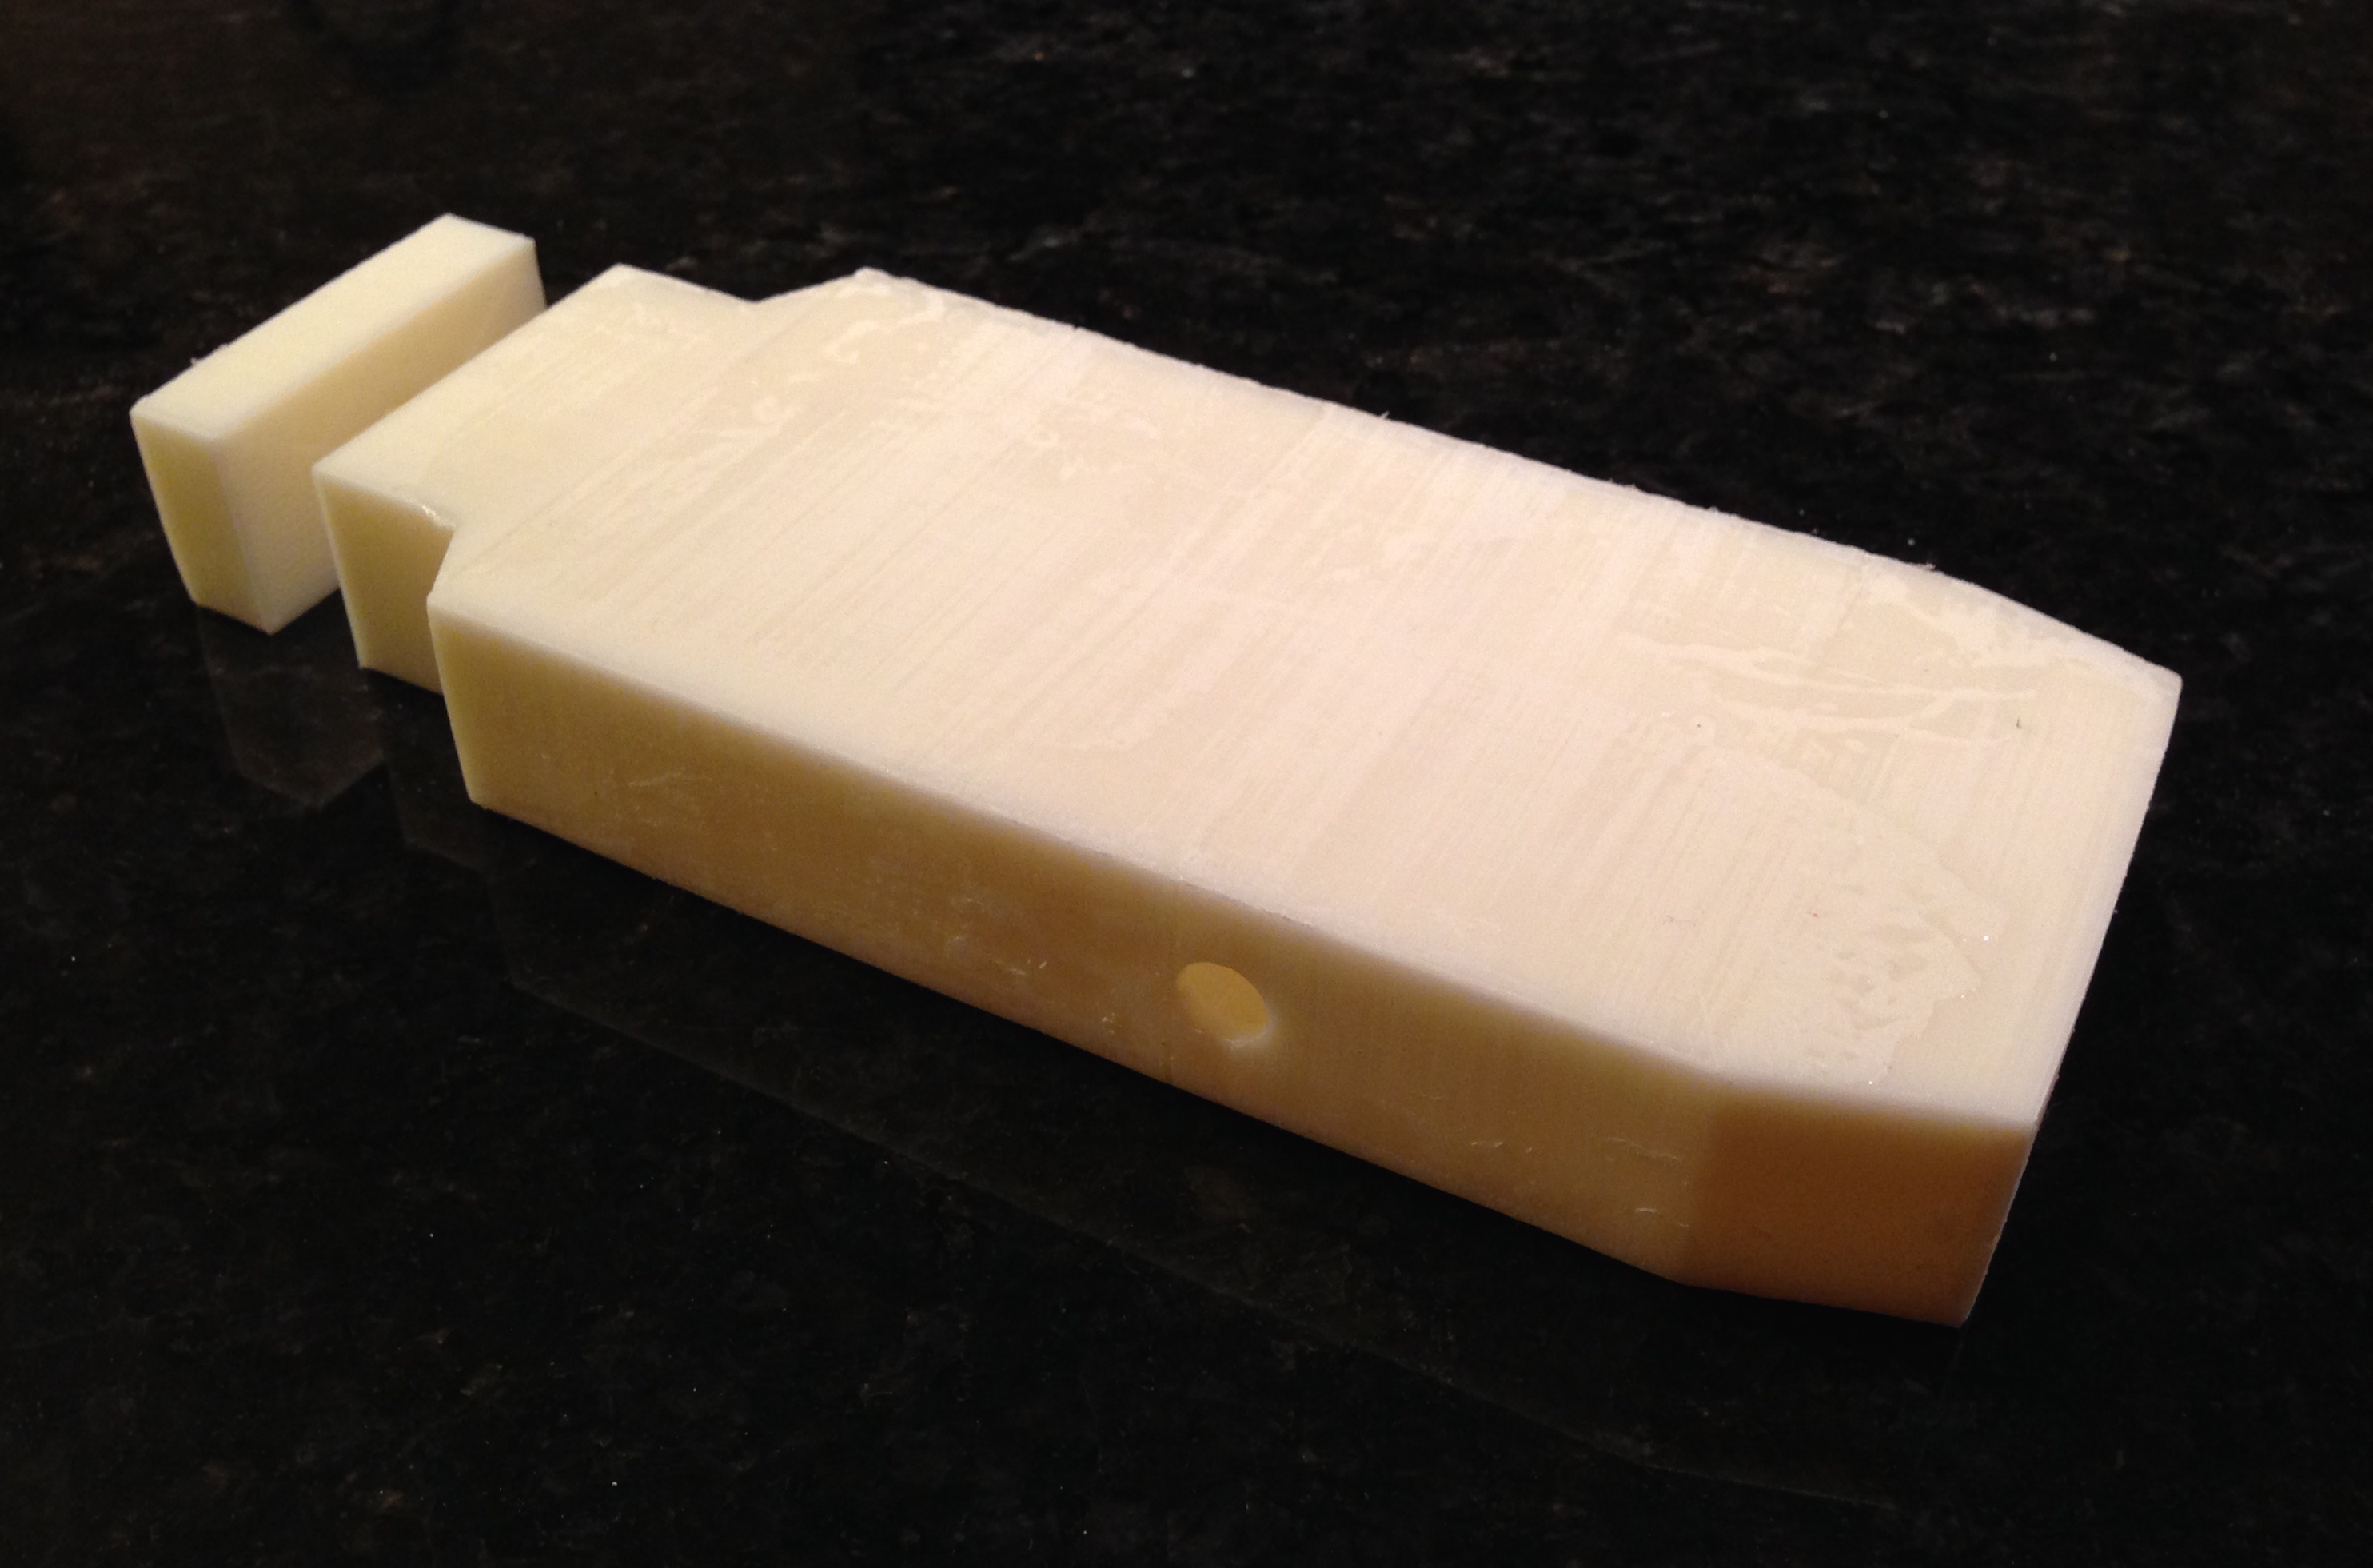
Due to the post-print crack-filling (and filing and sanding) I had to do, the surfaces of some of the pieces look pretty gnarly even after painting:
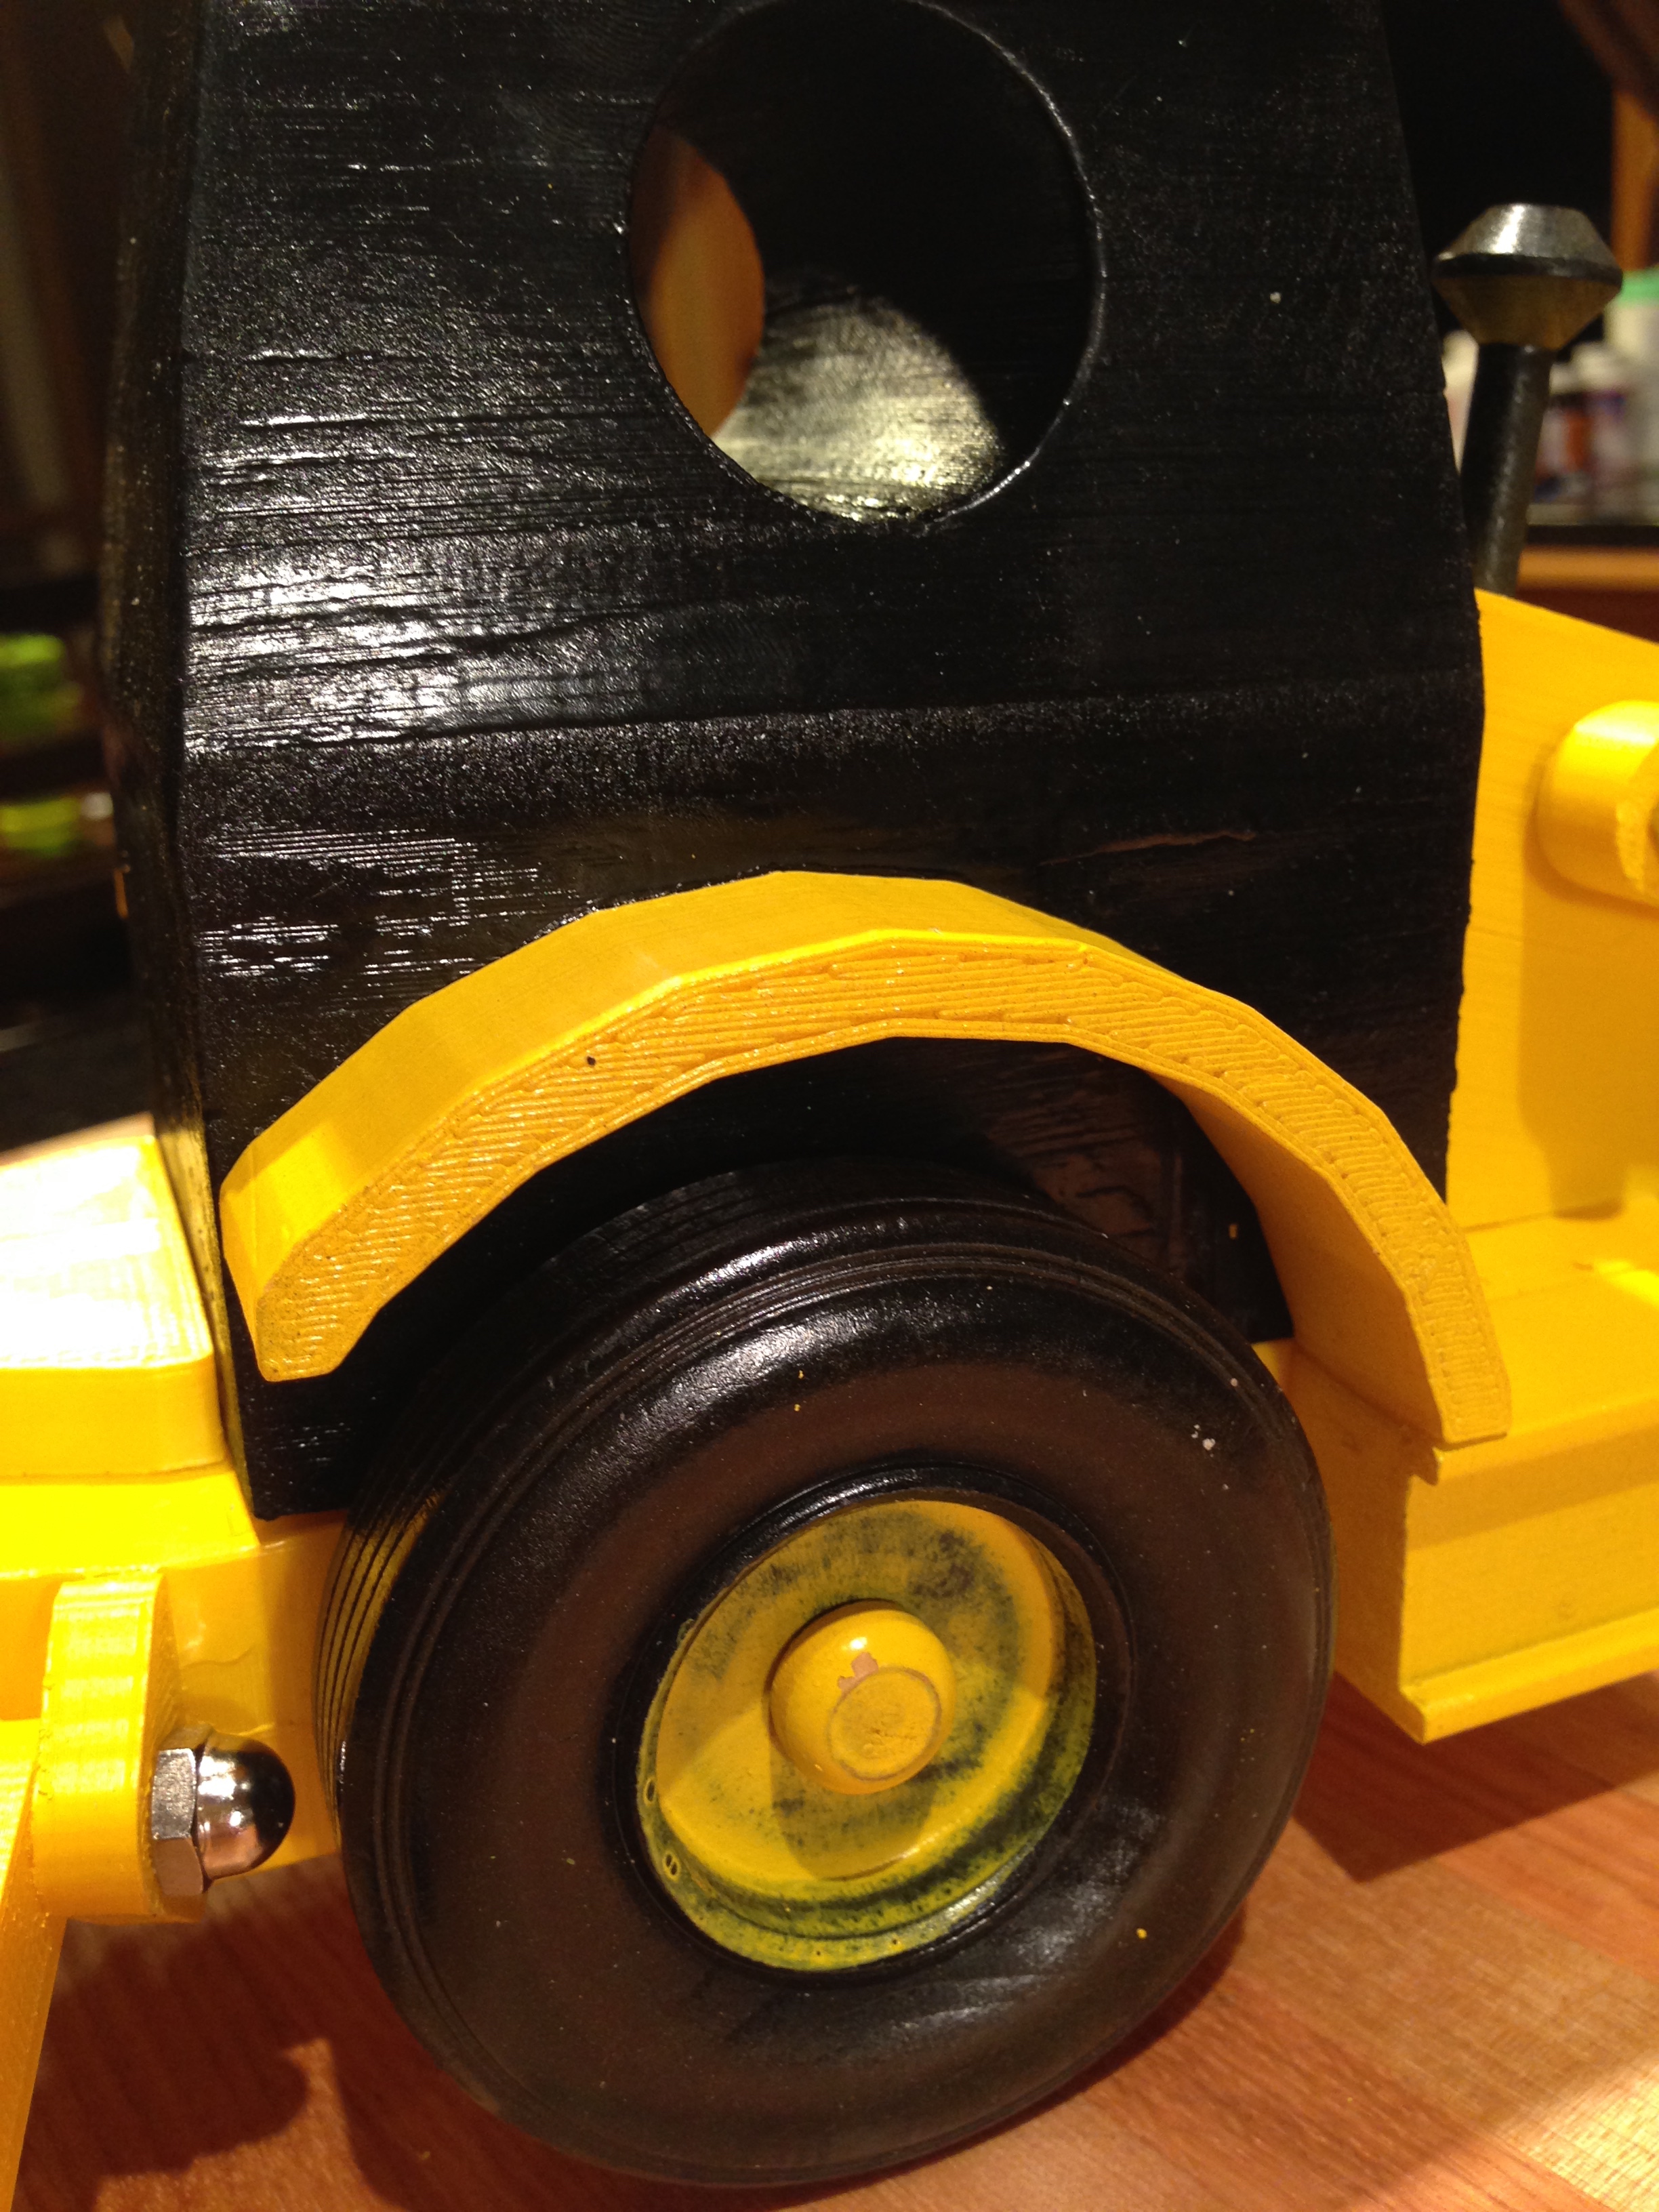
It’s apparent in direct light but not obvious at a glance. If I did it again, I’d remake the cracked pieces and get them to print properly rather than trying to fix them in post-production, or I’d attempt an acetone vapor bath to smooth out all the surfaces.
Now that I’m more familiar with my printer, I’ll modify the print settings more aggressively. I printed with 0.2mm-thick layers since it was the default setting, but I’ve since done some testing and found that 0.1mm-thick layers create pieces with almost perfectly smooth surfaces, not the obvious stratification you can see in the pictures. It would take longer, but it would be worth it.
Even though there are plenty of problems that I can see, my kids don’t mind, and I’m sure they’ll enjoy playing with it. It’s not the beautiful wooden family heirloom it could have been, but maybe when they’re older, they’ll say “Can you believe Dad made this on an ancient 3D printer? It had to print using plastic wire instead of pulling carbon directly out of the air!”
Final product looks great, even with a few printing slip-ups. Even at 80 hours, might be a bit quicker than doing it in wood… Considering you can print it and walk away.
This is super rad man. I kinda want to get into this stuff. Will you teach me, Obi Wan?
How did I get here? Ah who cares, this is awesome.
You should upload these designs on YouMagine. More eyes on it.
Awesome! Can I ask which printer you have that you used to print this?
It’s the Orion Delta 3D: http://seemecnc.com/products/orion-delta-3d-printer
I have no complaints about it other than the ones I wrote about above, none of which are specific to this model of printer.
You could reduce the layer splitting by adding a heated bed, it will keep everything warm while you print. Very nice job though, shame the modelling is being let down by the printer!
The bed is heated! I experimented with temperatures between 90ºC and 110ºC, but it didn’t seem to make a difference.
Wow, must be quite a draft! Maybe PLA would be more forgiving?
I haven’t been able to print PLA with the bottom corners curling up, but I might give it a try now that I’m more familiar with my printer.
And it doesn’t seem like my desk (where the printer sits) is especially drafty, but I think you’re right that it is. I’ll be looking for something clear to surround the printer with to keep heat in and cold air out.
PLA has far lower warpage than ABS does, and very rarely has problems like splitting in the middle or pulling up during a print. I suggest printing it on either a sheet of glass (might be hard to find in a 6″ circle), or on blue painter’s tape. Another benefit of PLA is that it doesn’t really release fumes while printing, making it easier to be in the same room as it.
Either way, excellent project! 80 hours is no small investment into 3D printing!
The Orion came standard with a glass printing plate; the next time I clean the dried glue off of it from all the ABS printing, I’m going to give PLA another shot.