
I’m in the process of remodeling the stairway in my house. I wanted to replace the old wooden balusters, some of which had broken and been repaired multiple times, with new metal balusters.

Pictured above: the old balusters, minus the most-recently broken one that is missing. Ignore the green tape and in-progress trim.
The old balusters had 3/4″ dowel tenons that fit into holes in the stair treads, and they extended upwards into 3/8″ holes in the underside of the handrail.
However, the new balusters were 1/2″ square on the bottom and 1/2″ round on the top (transitioning into a 1/2″ square). Specifically, they are a mix of these two balusters from Home Depot: square and oval.
The manufacturer’s instructions for installing the balusters involved screwing through a provided hole at an angle into the stair tread and handrail. However, I don’t like exposed screws and would rather find a solution that doesn’t further alter the existing woodwork.
So in order to fit the square pegs into the round holes, I modeled a socket for each end that would accept the end of the baluster and friction fit into the old hole.
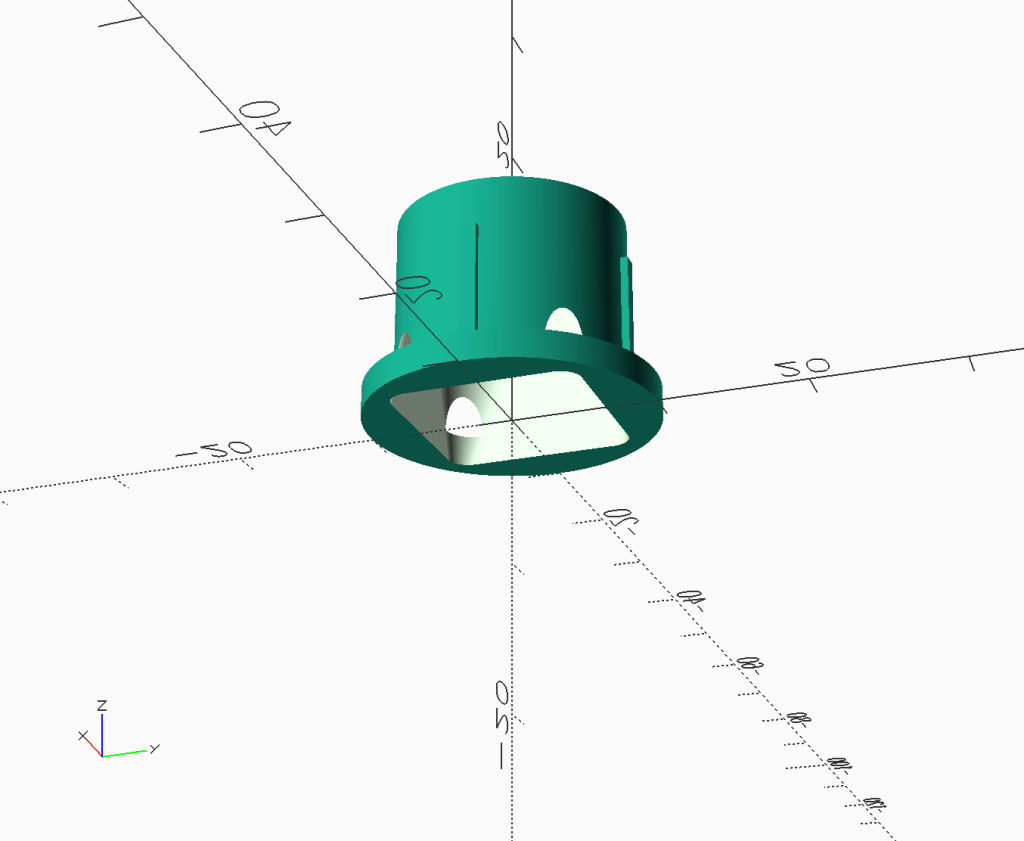

On the non-landing portion of the stairs, the top socket had an integrated angle:

(I added friction ridges in each socket to keep the balusters from rotating in the holes, since the new balusters should maintain their orientation.)


I also modeled a shoe for the baluster to cover the bottom socket. This saved me $1.12 per baluster versus if I had ordered a comparable shoe.


To install the balusters, you fit the bottom socket into place, slide the shoe onto the bottom of the baluster, and place the top socket on top of the baluster. Angle the baluster, and insert the top into the underside of the railing. Continue pushing up while you position the bottom of the baluster over the bottom socket, and then push the bottom of the baluster down into the socket. Once it’s seated, slide the top socket up into the hole, securing everything in place. For this to work, each baluster should be cut to 5/8″ longer than the opening between the bottom stair tread and the underside of the railing.
Now, the new balusters are installed without any modification to the stairway, and they’re completely removable without any tools. A perfect retrofit! I’ve made my OpenSCAD files and STLs available here on GitHub.