
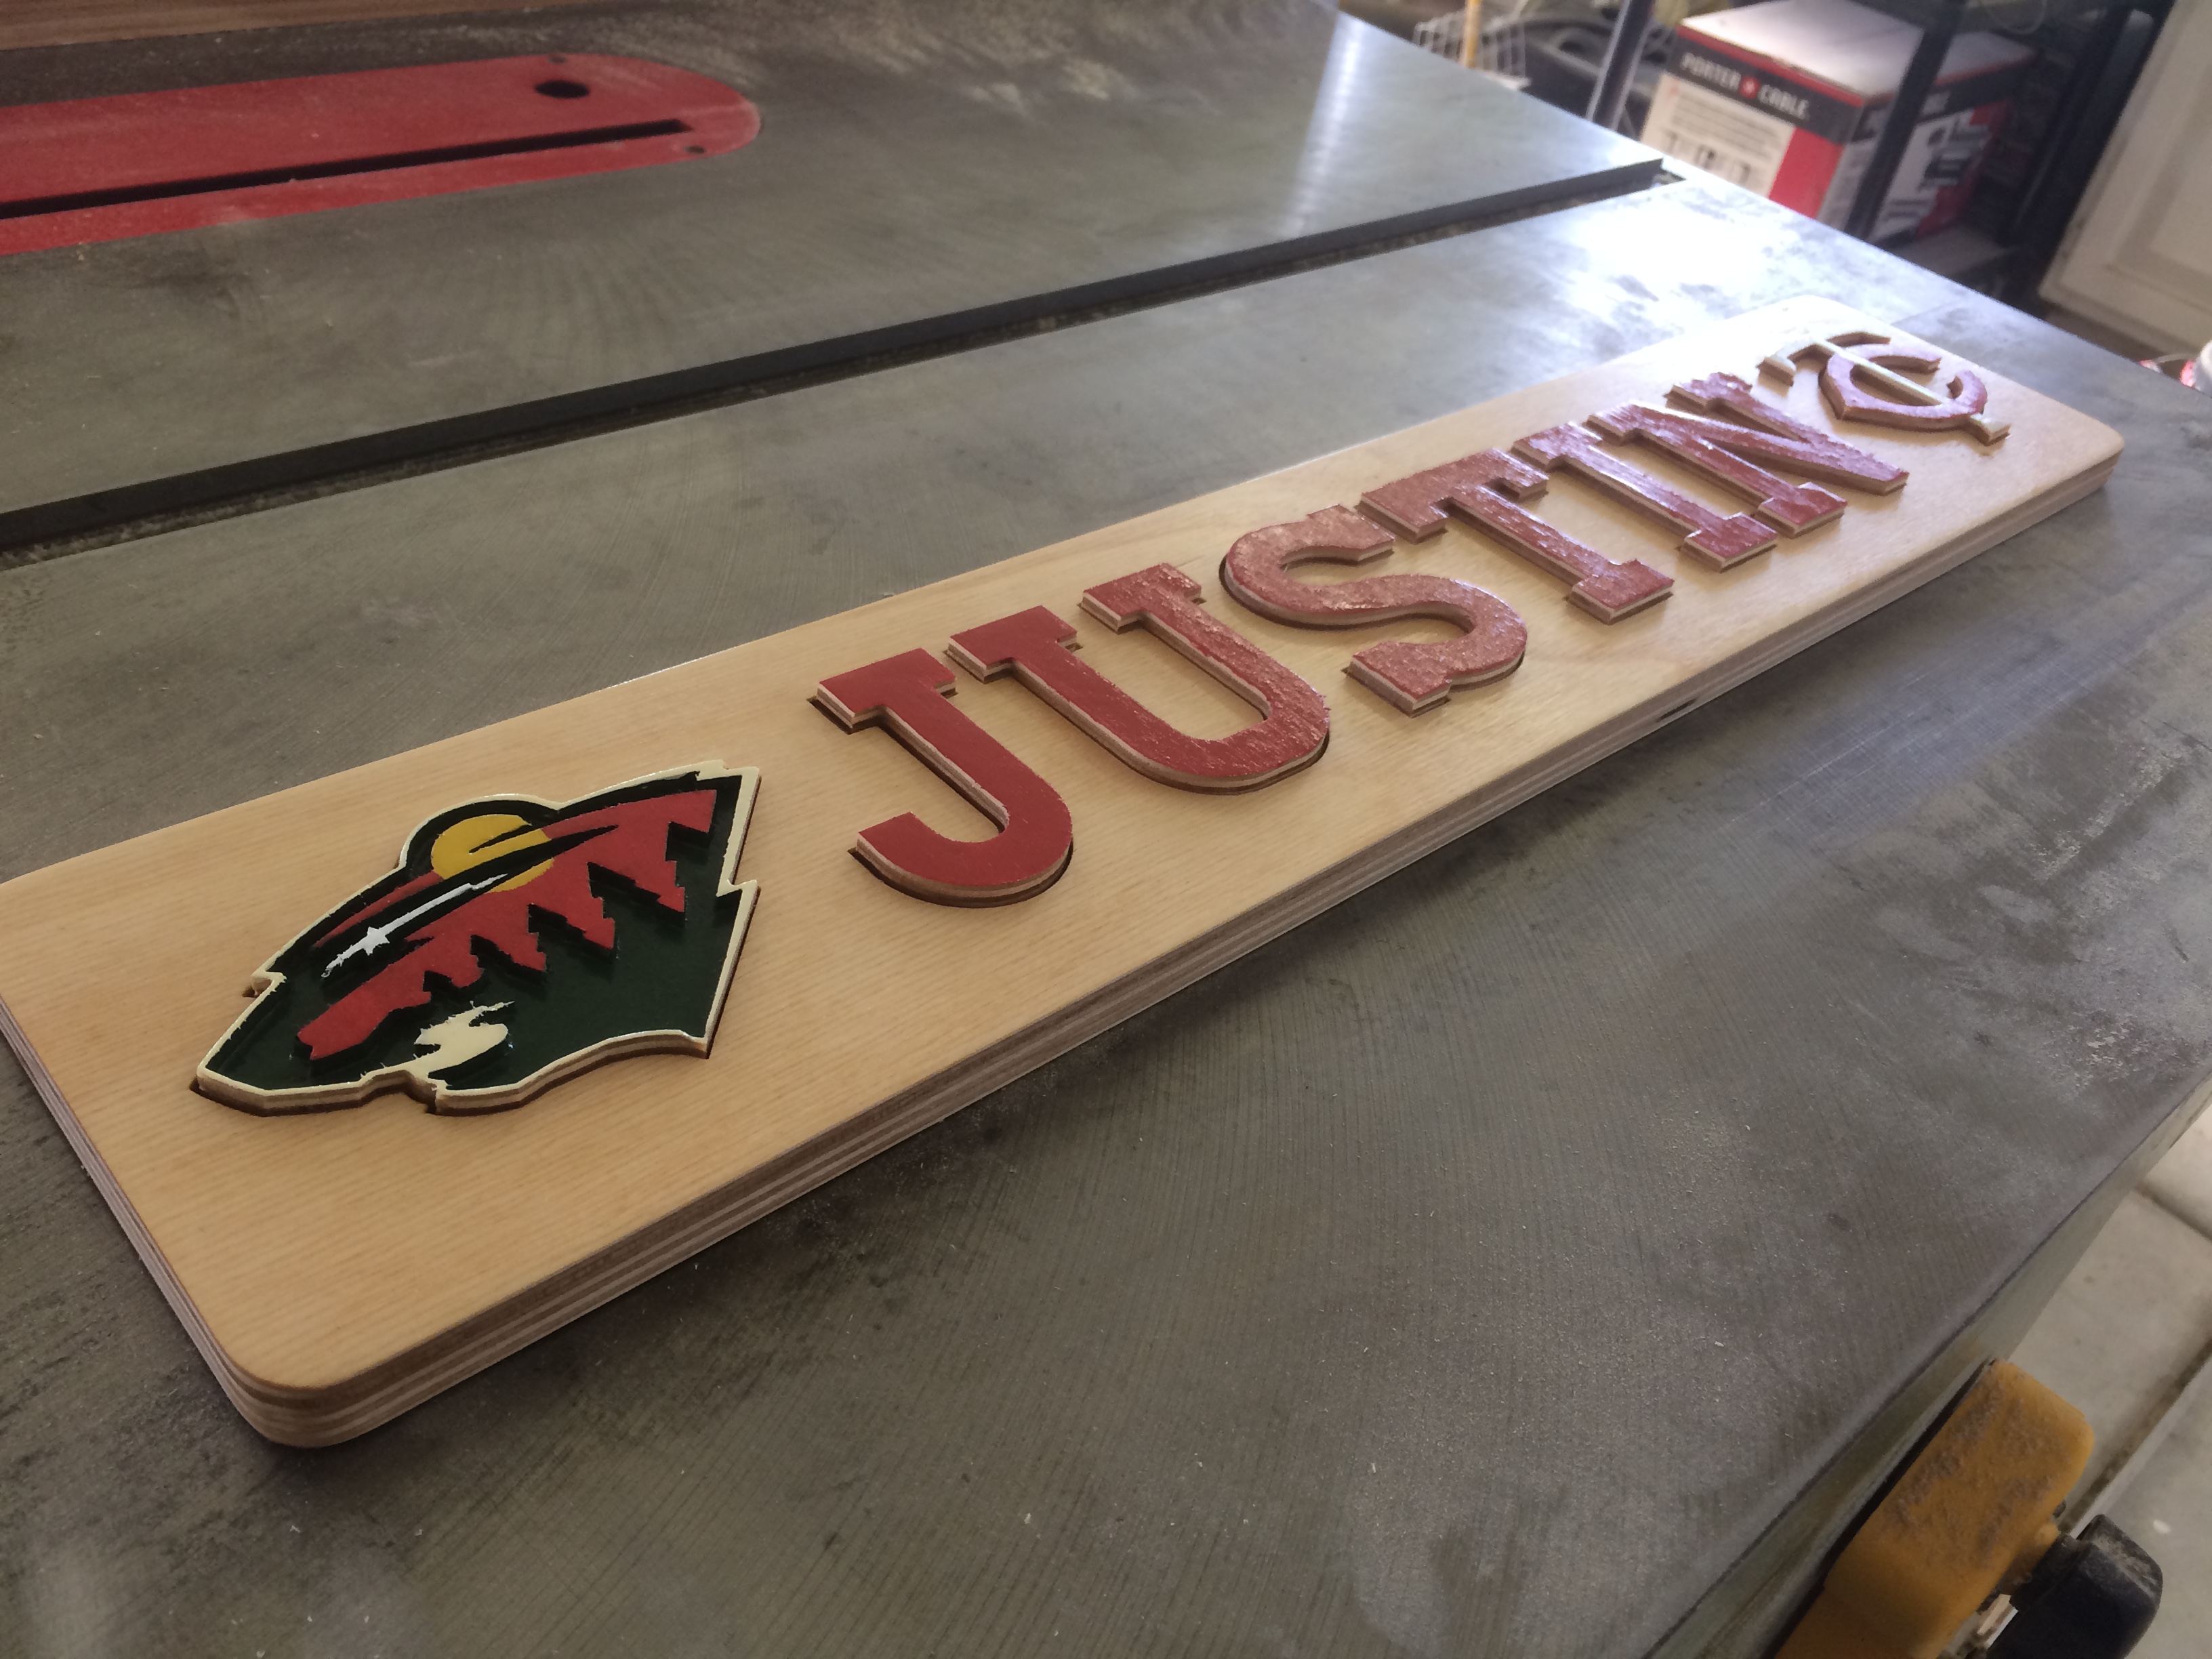
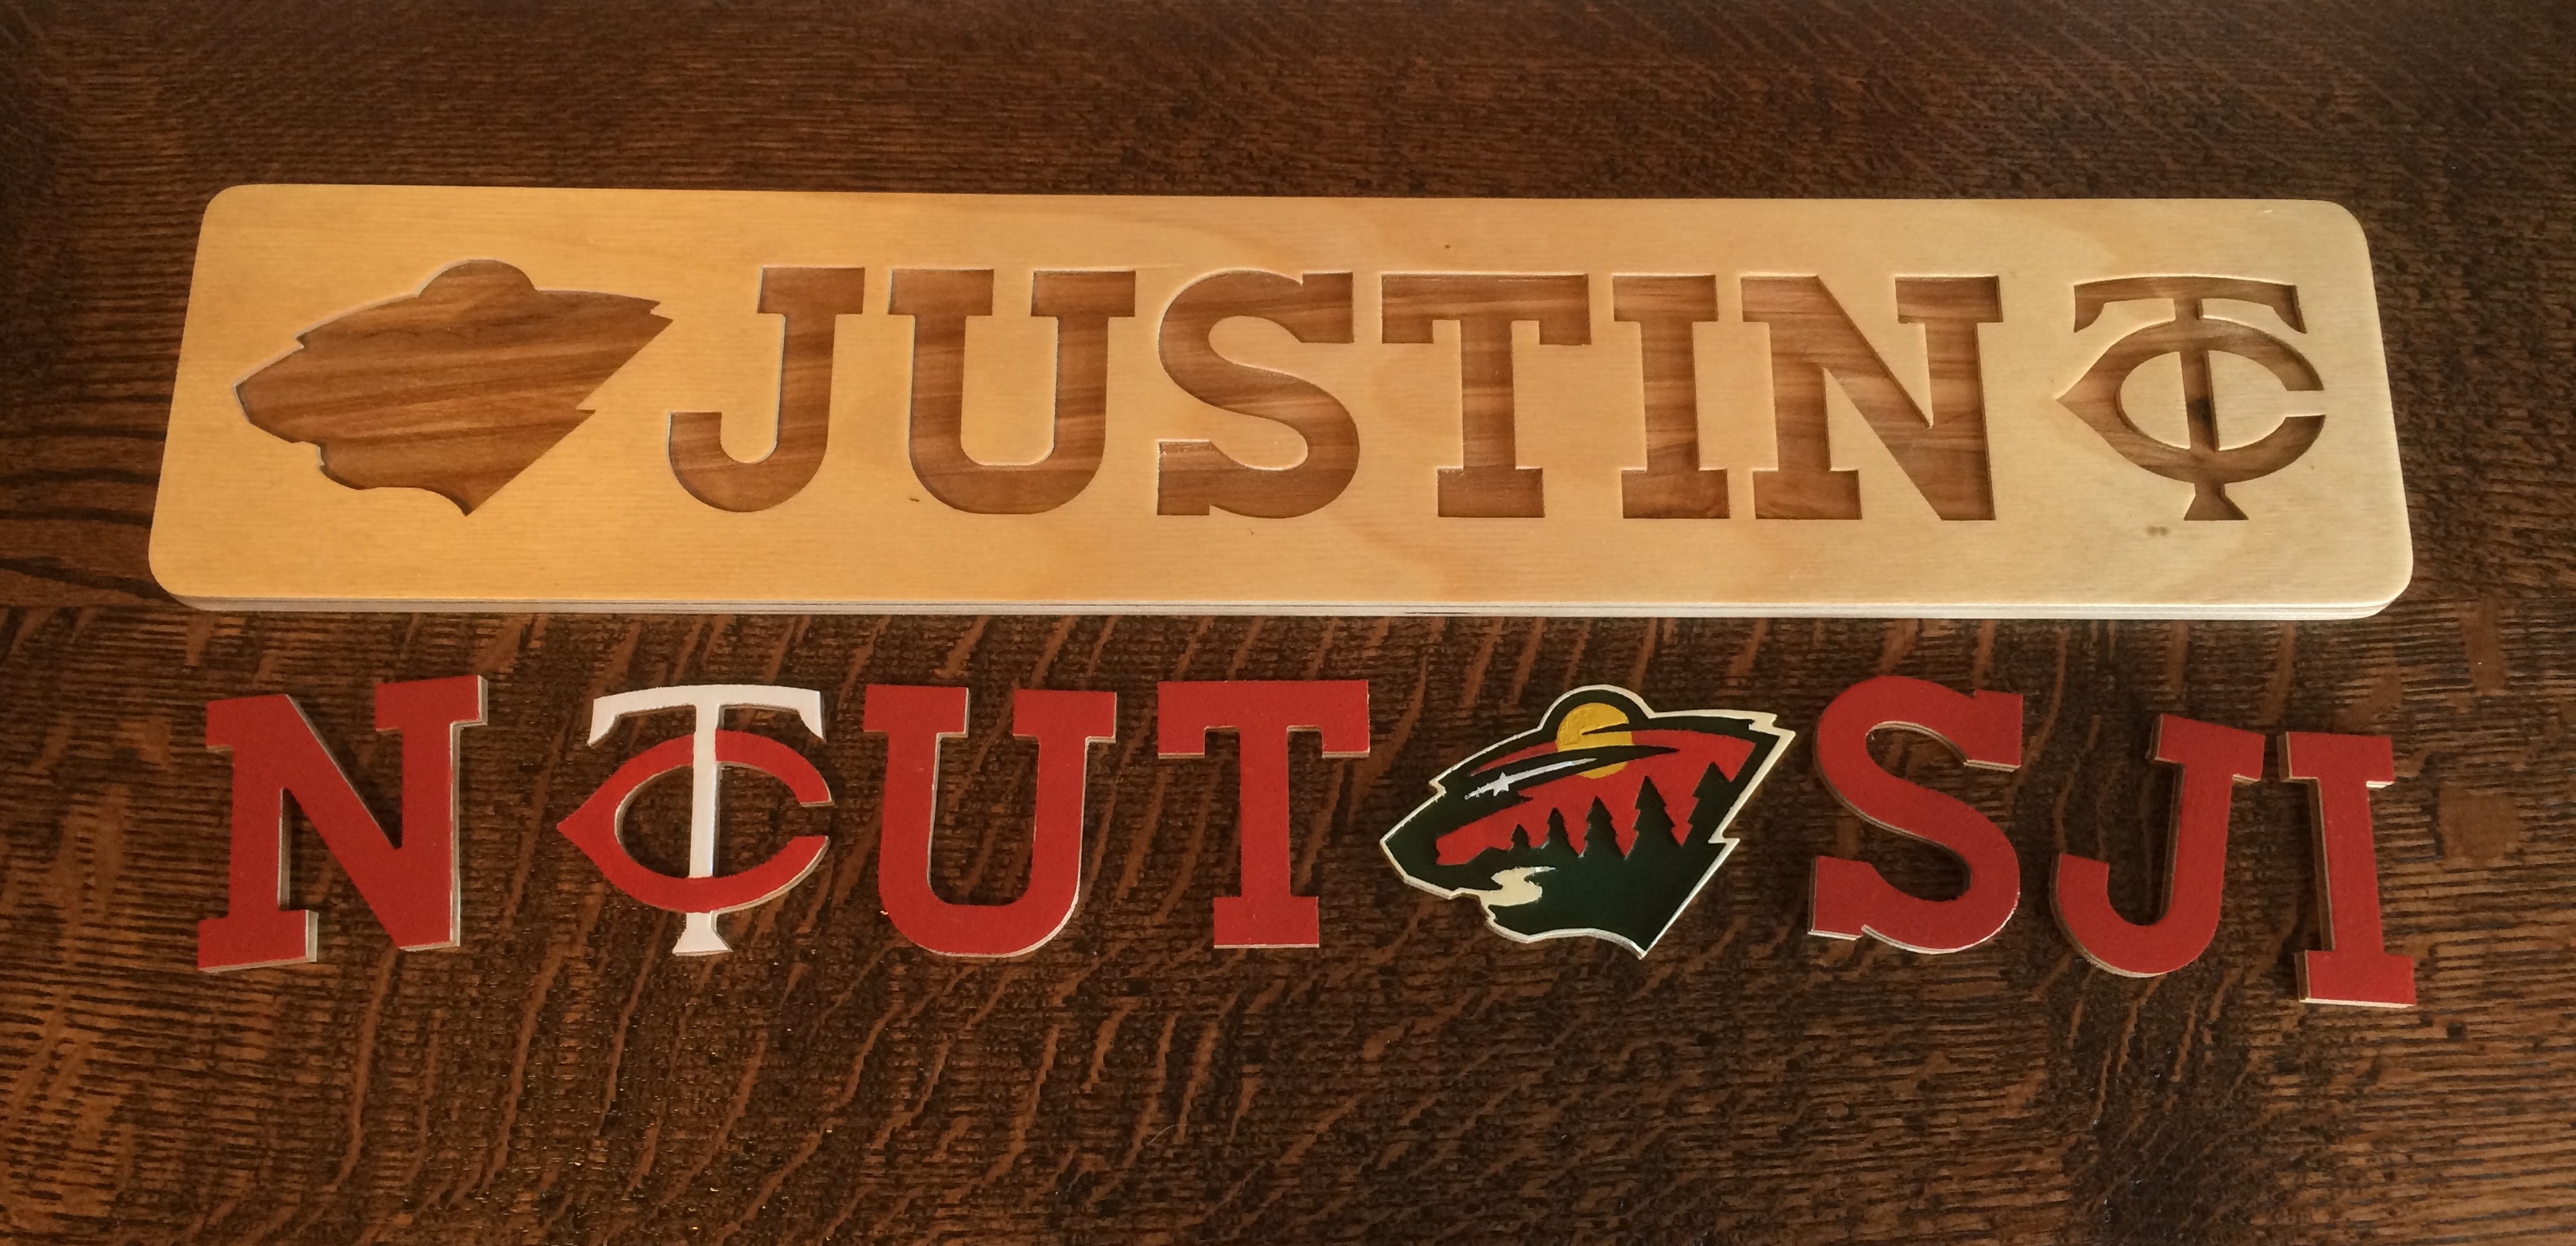
For a couple of the younger kids on my Christmas gift list this year, I made name puzzles with my X-Carve.
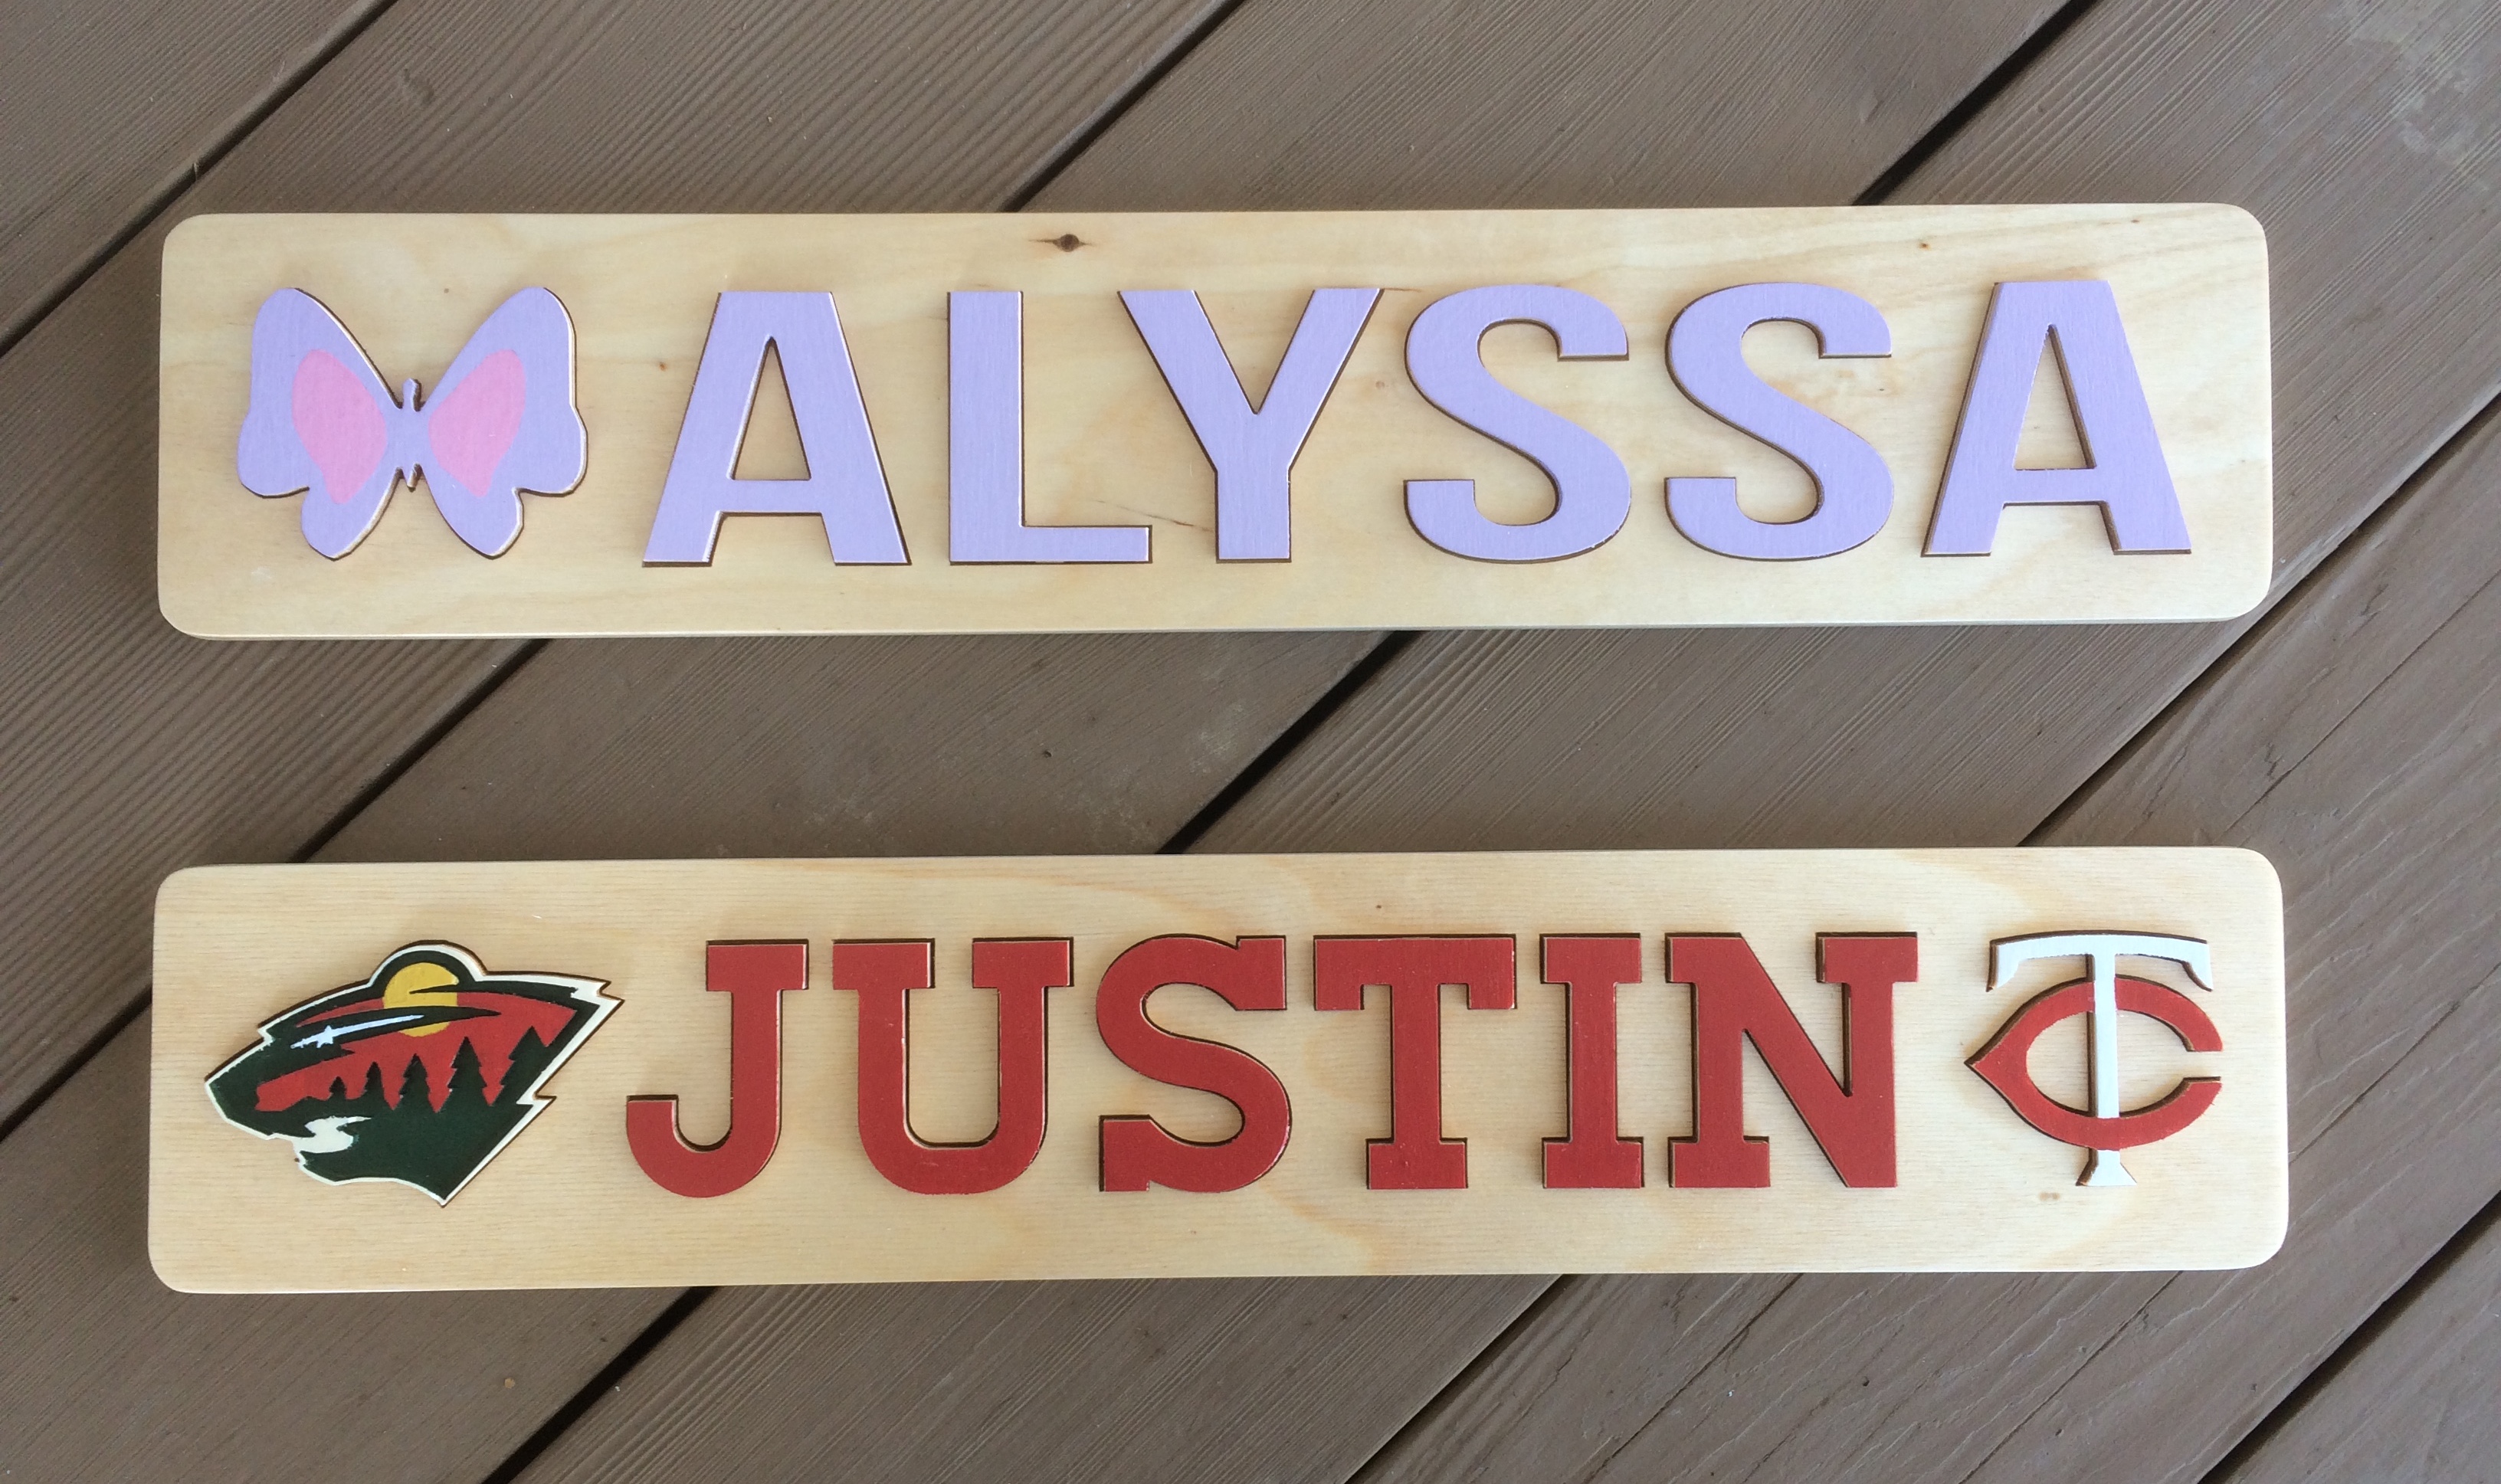
The puzzles are made out of Baltic birch plywood; the letters are 1/4″ thick and the base is 1/2″ thick.
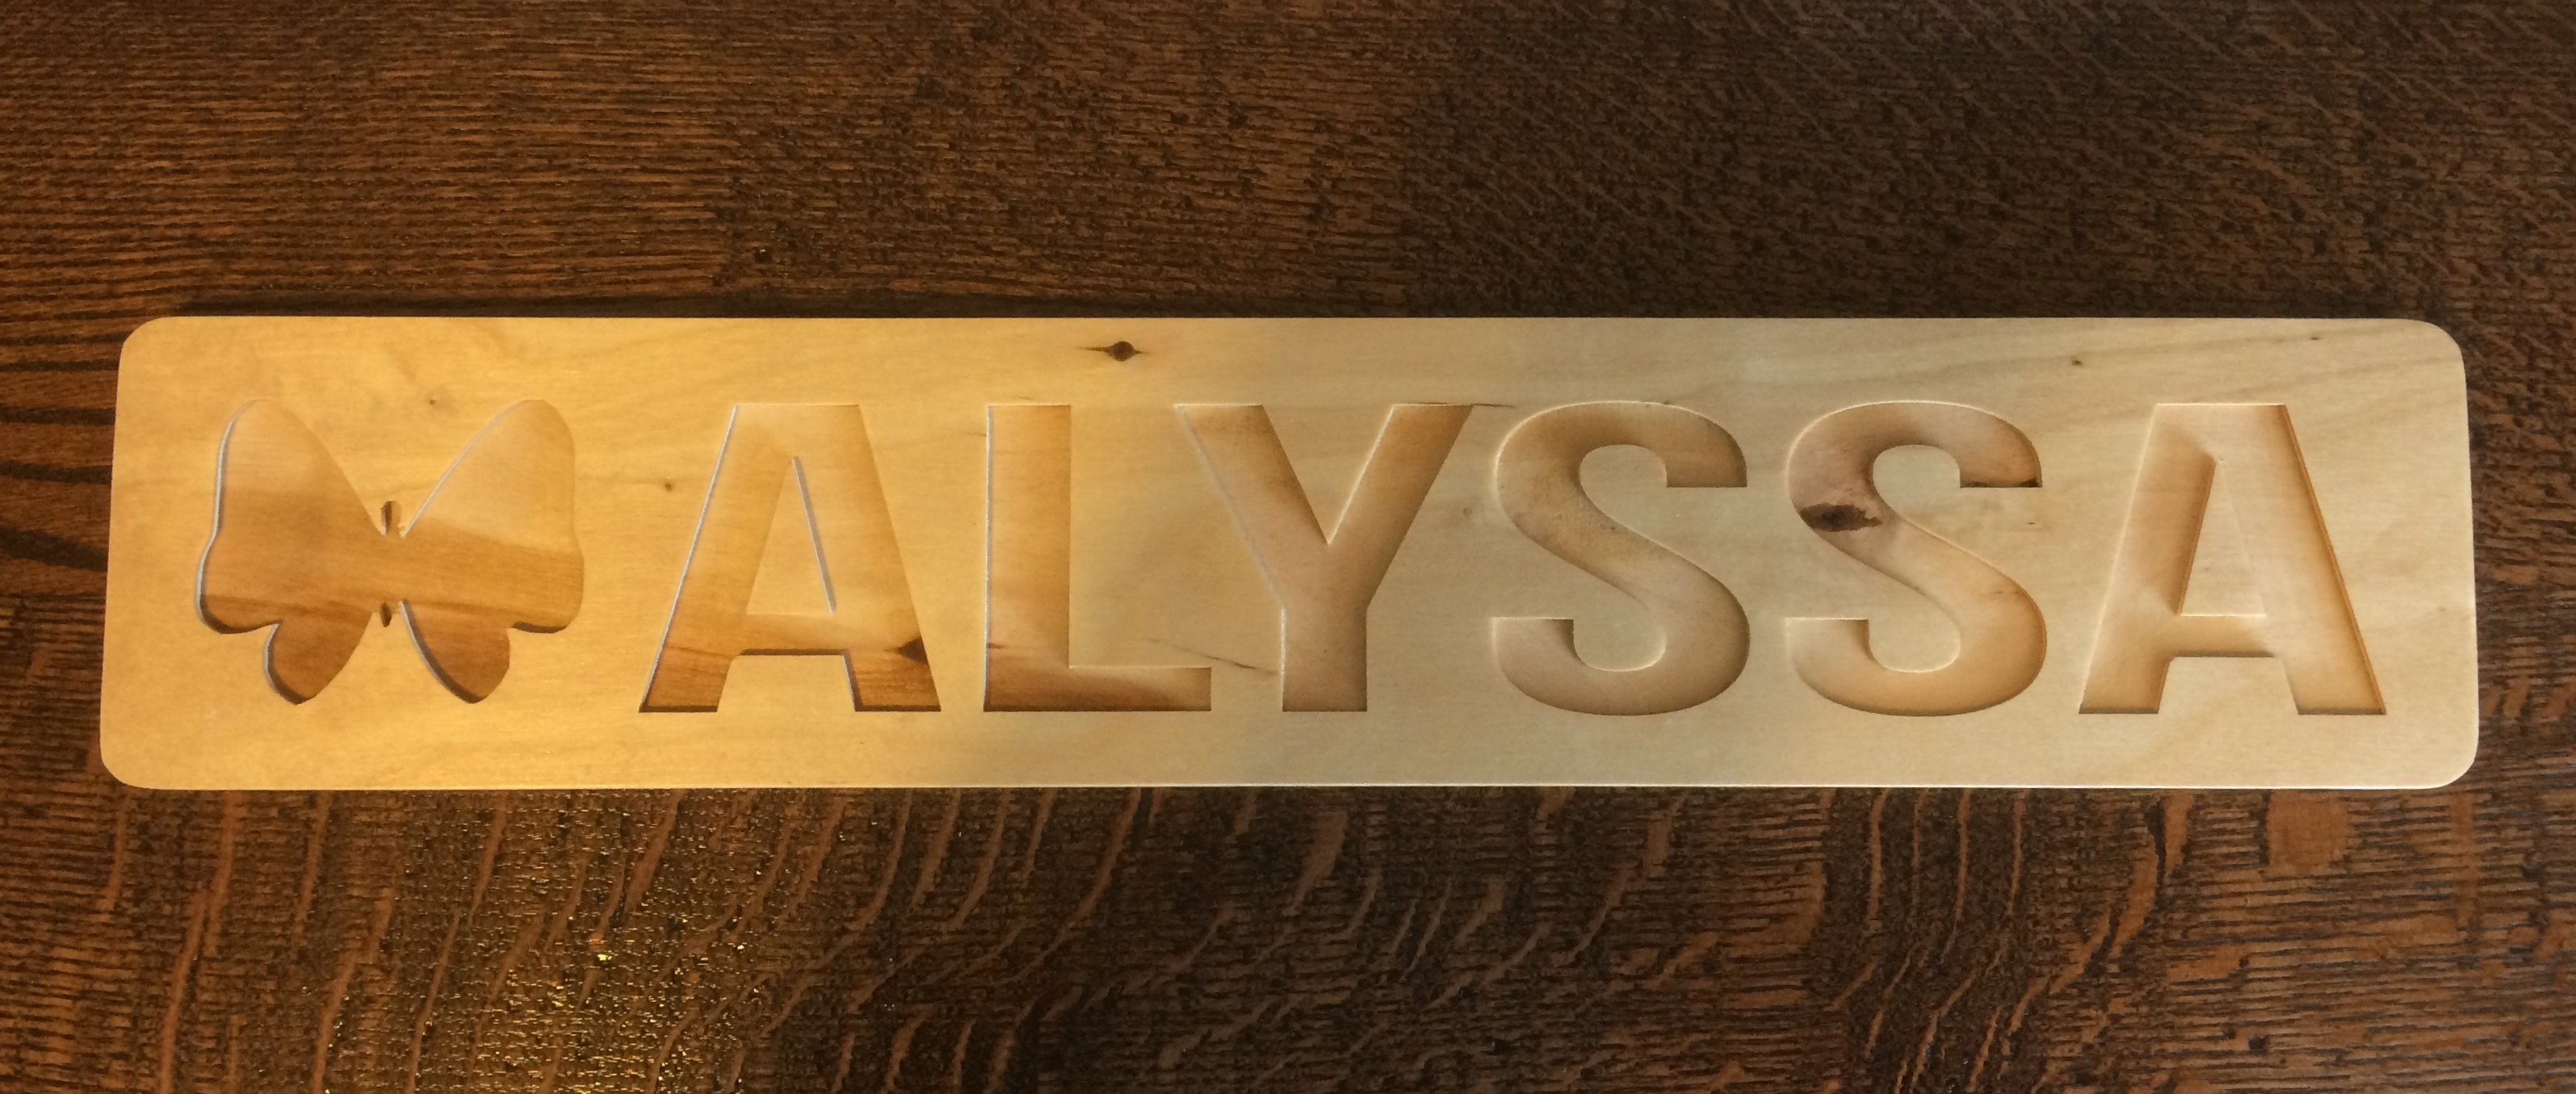
I cut out the letters of the name (and some additional puzzle pieces) with a very small bit (1/32″), so when the letters are placed in the puzzle, they have a total of 1/16″ of play. This is probably the maximum allowable play before the pieces start to feel loose.
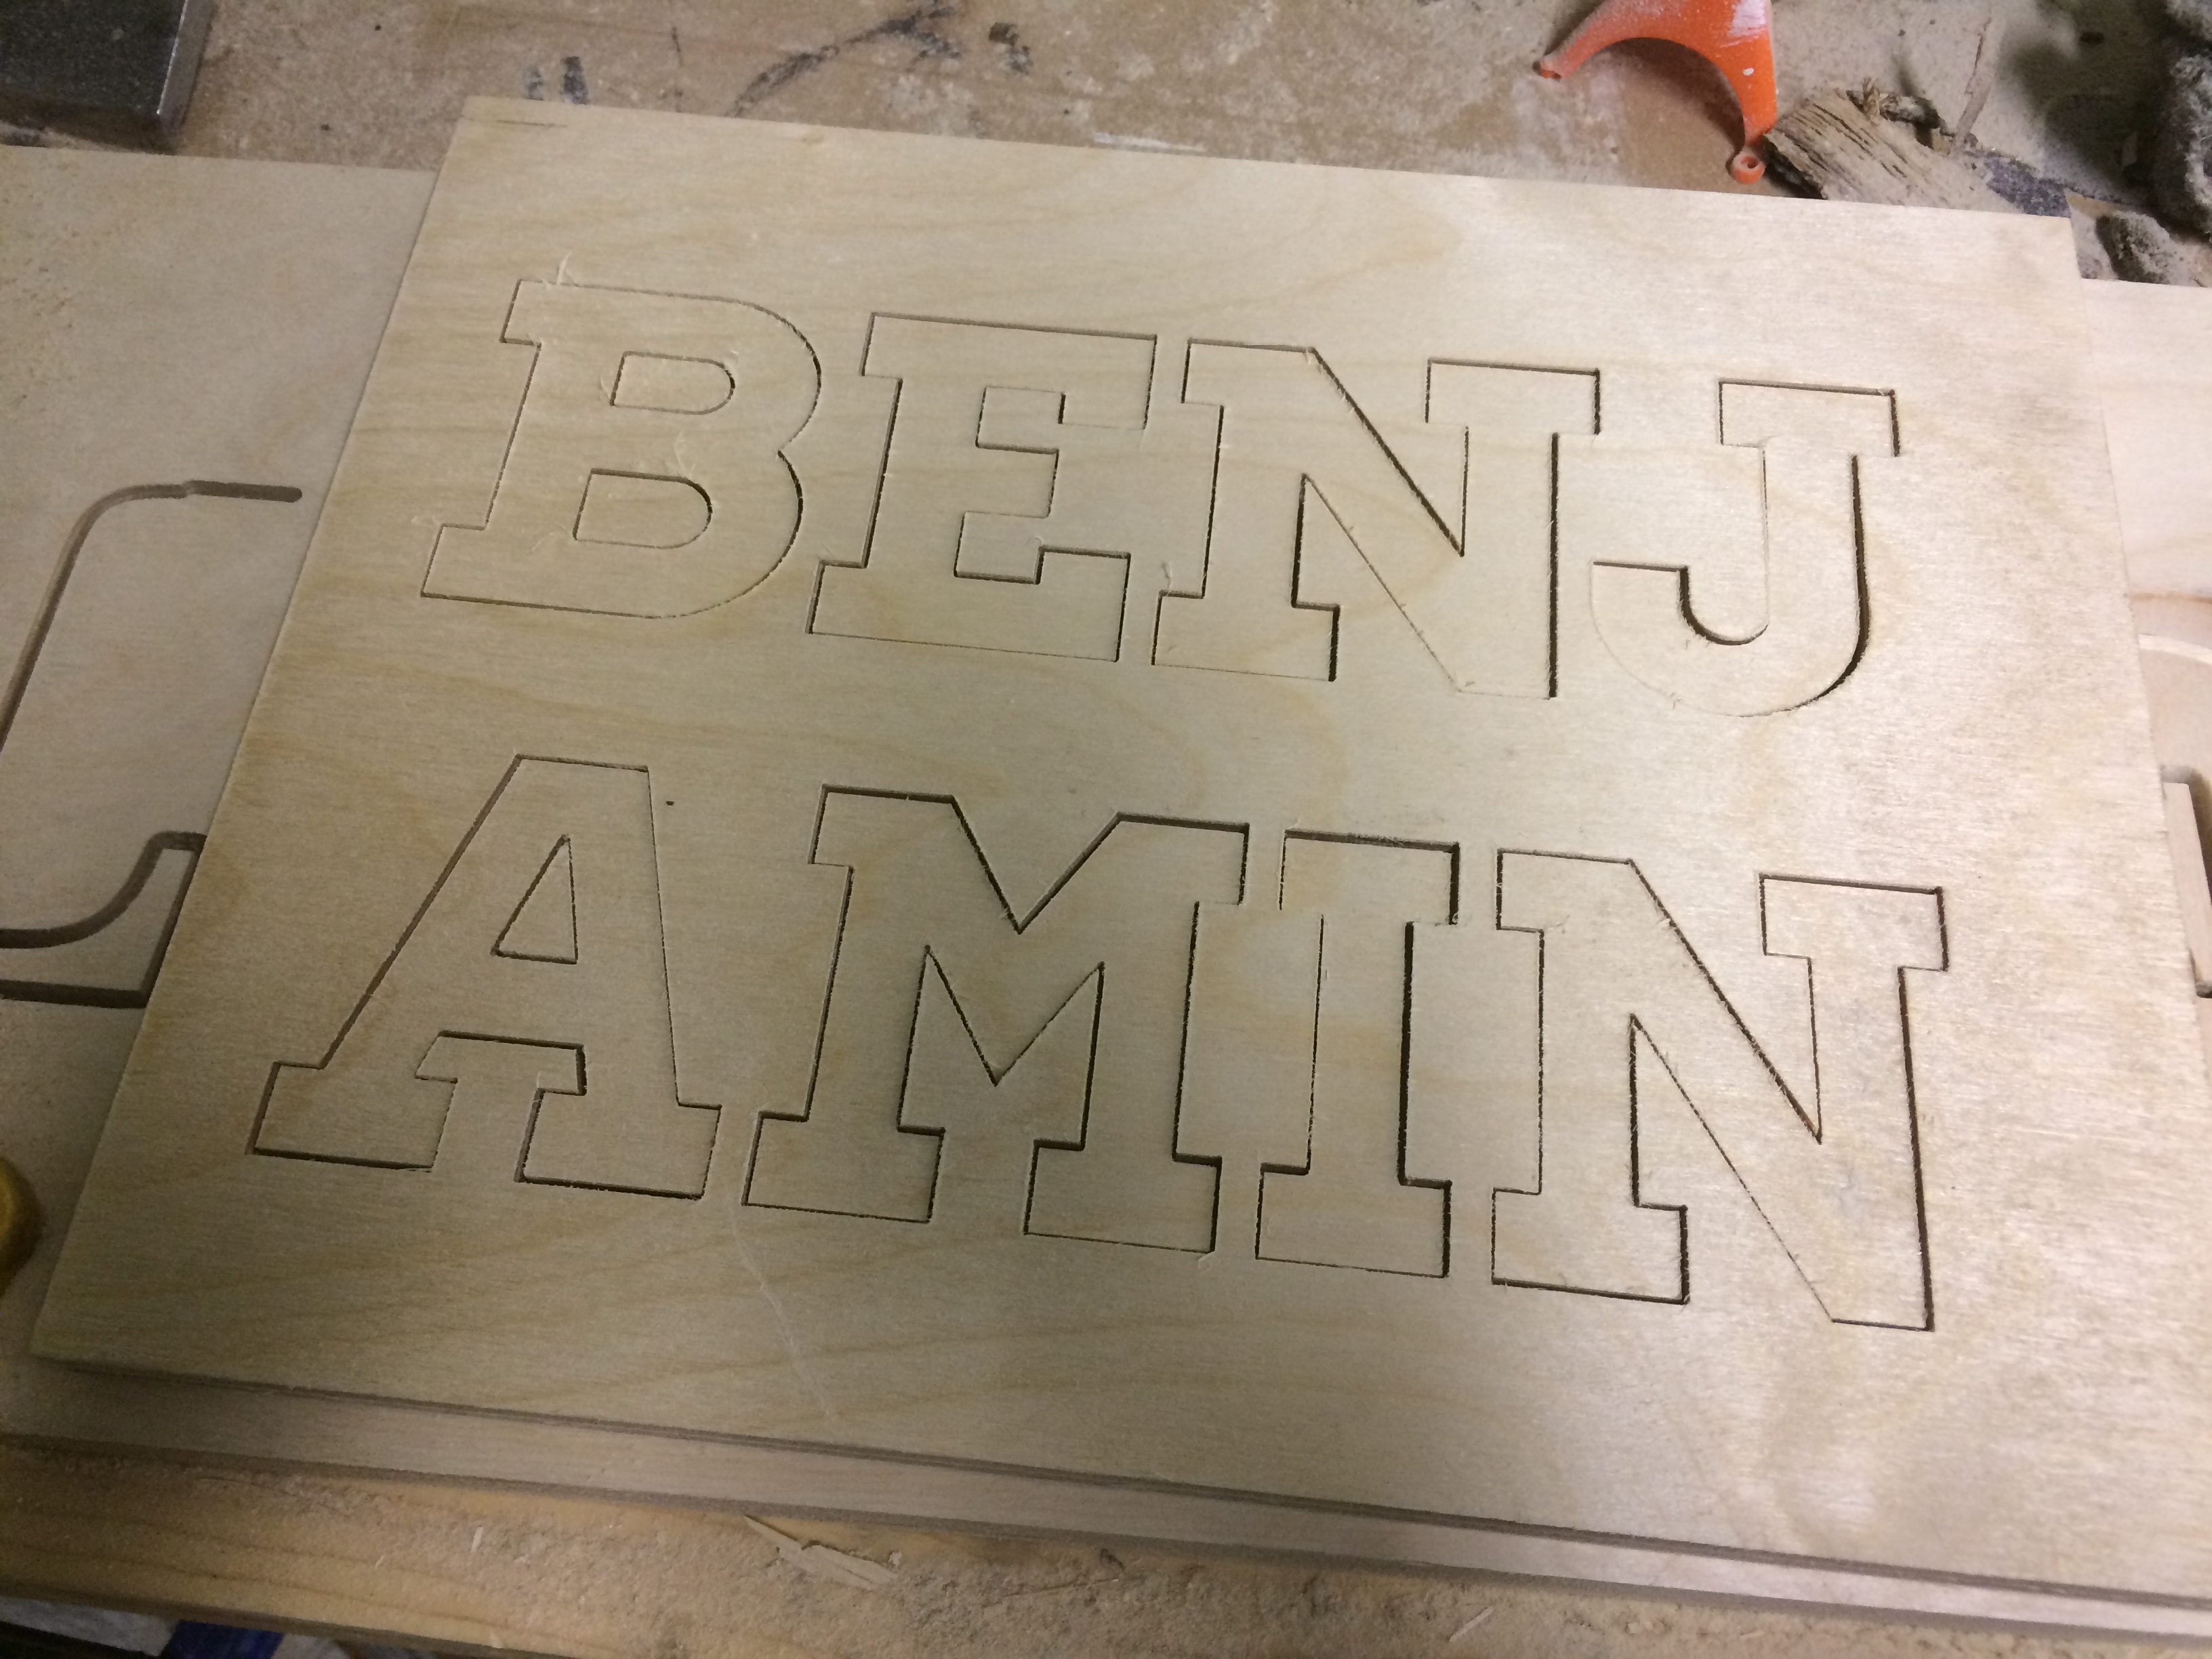
These letters were from a proof-of-concept puzzle that I didn’t end up finishing, but you get the idea.
I carved the puzzle piece insets 1/8″ deep and rounded the corners of the base.
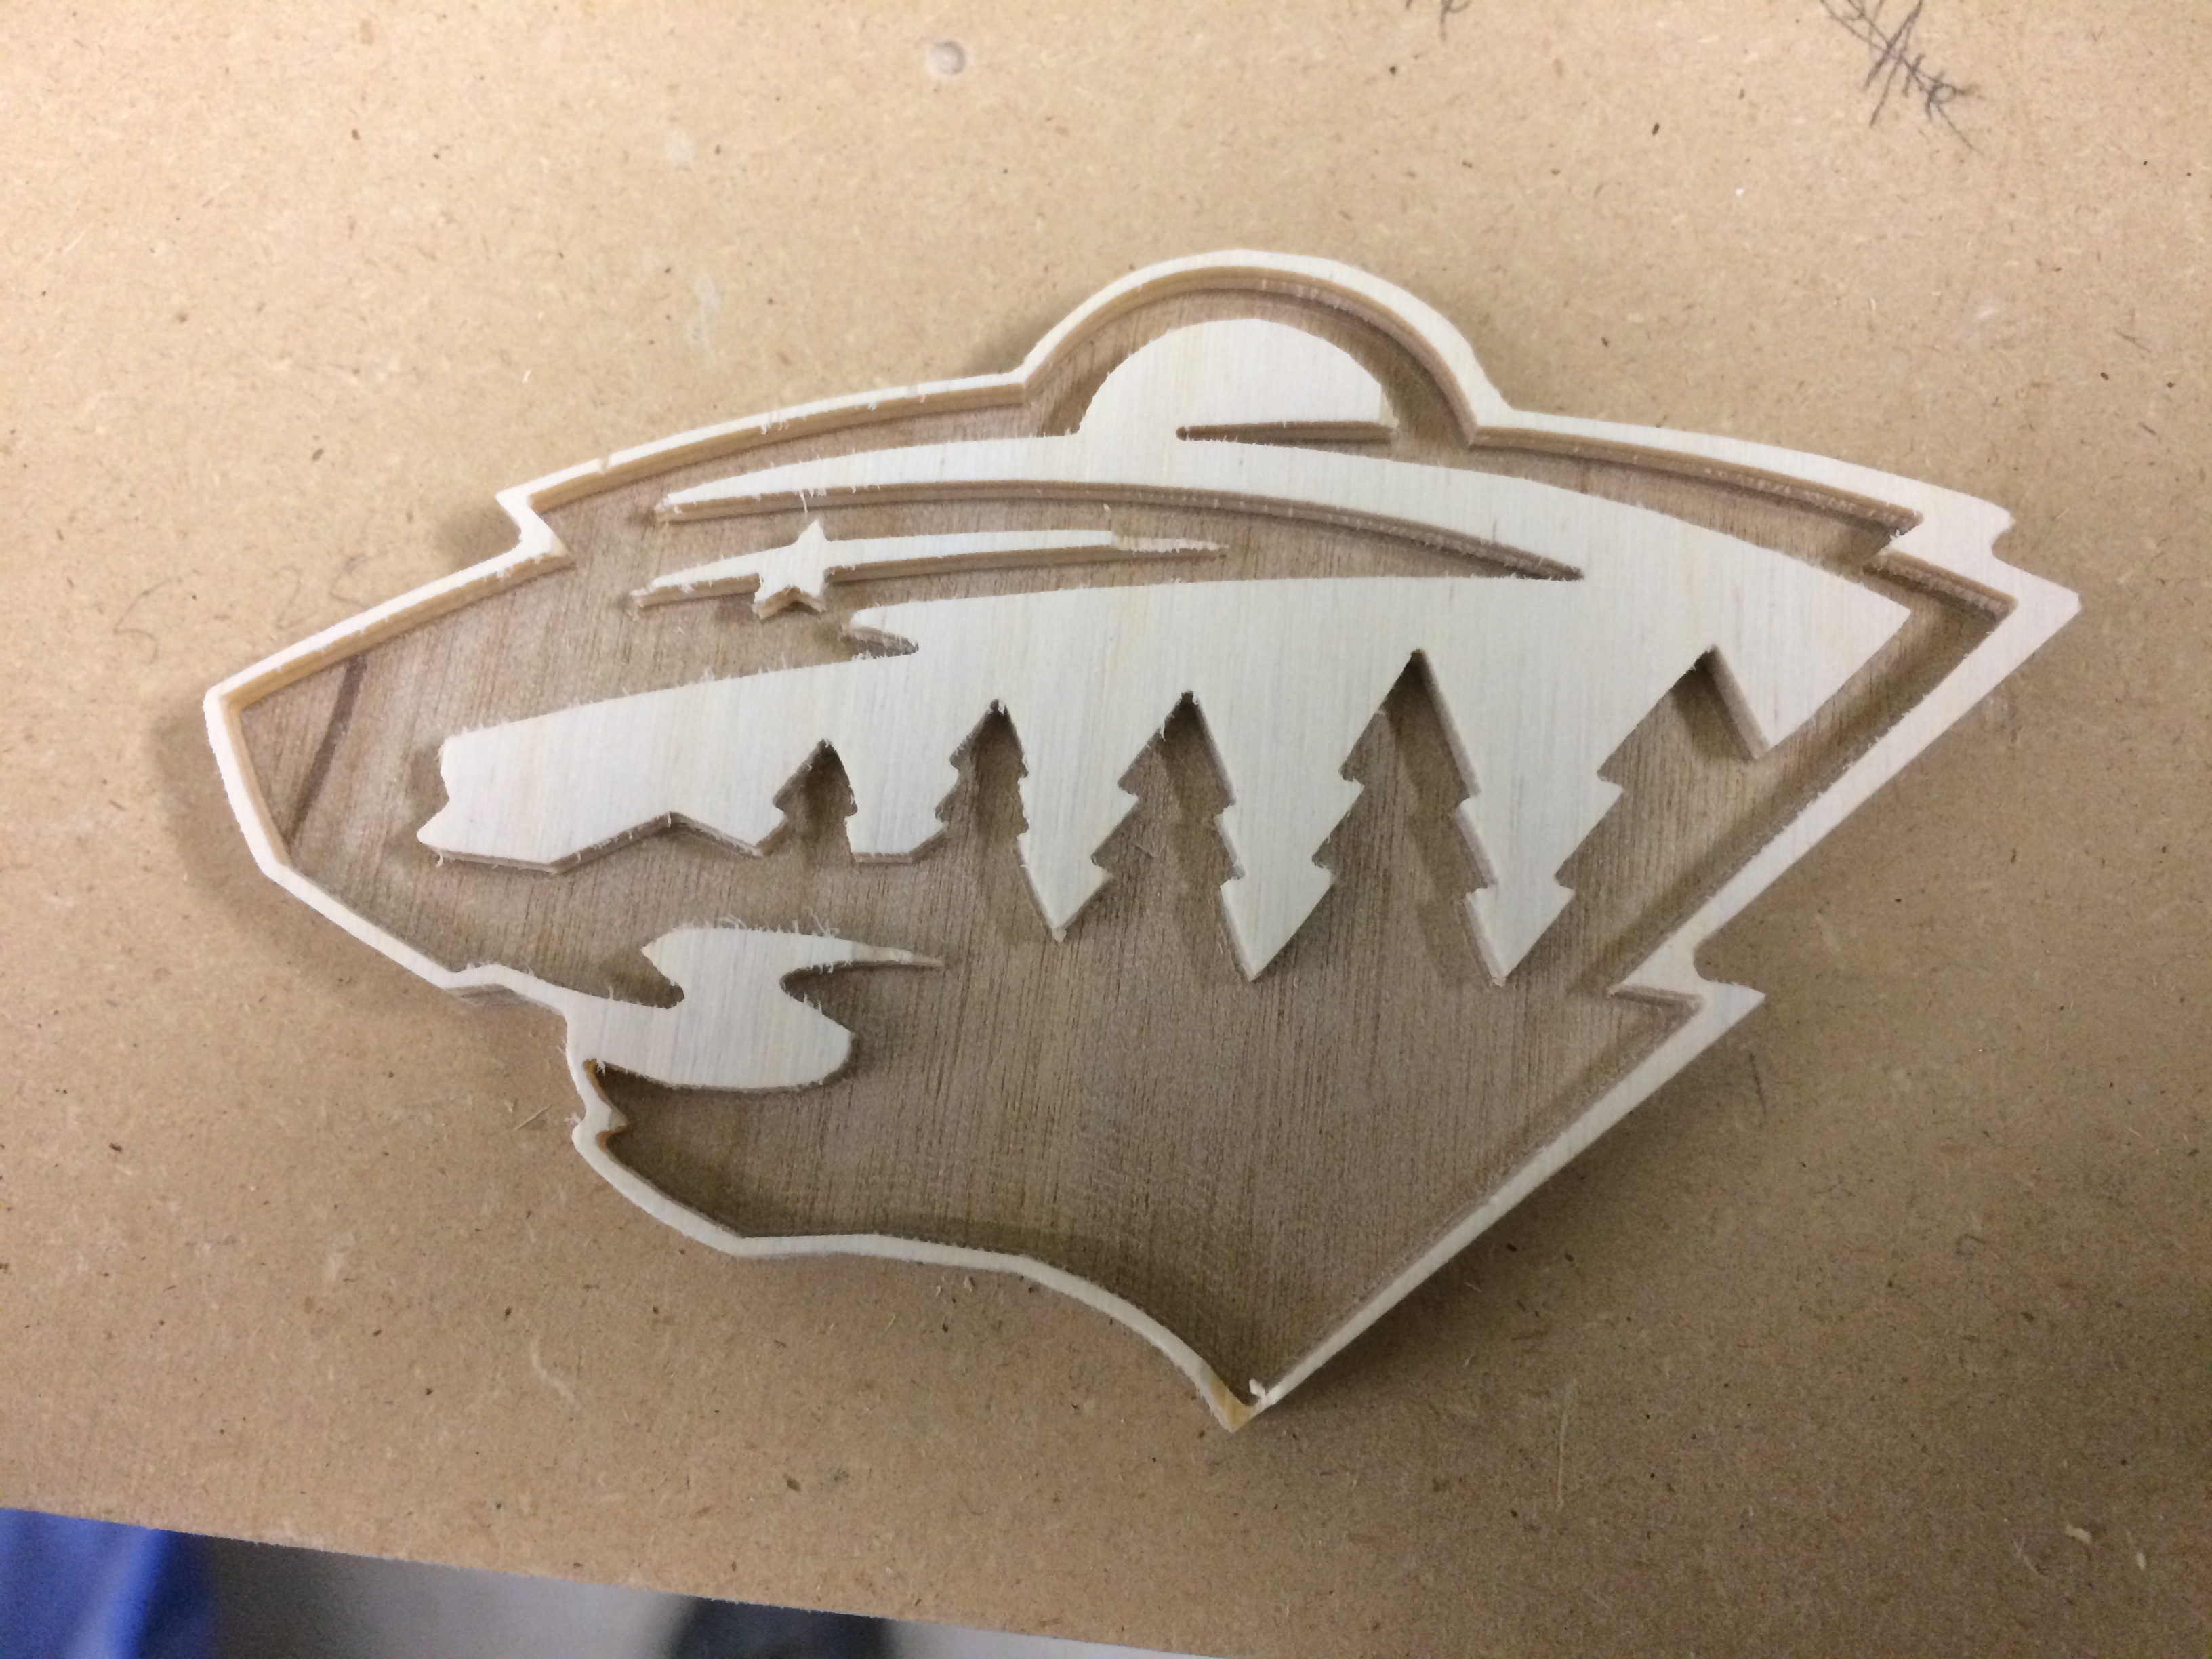
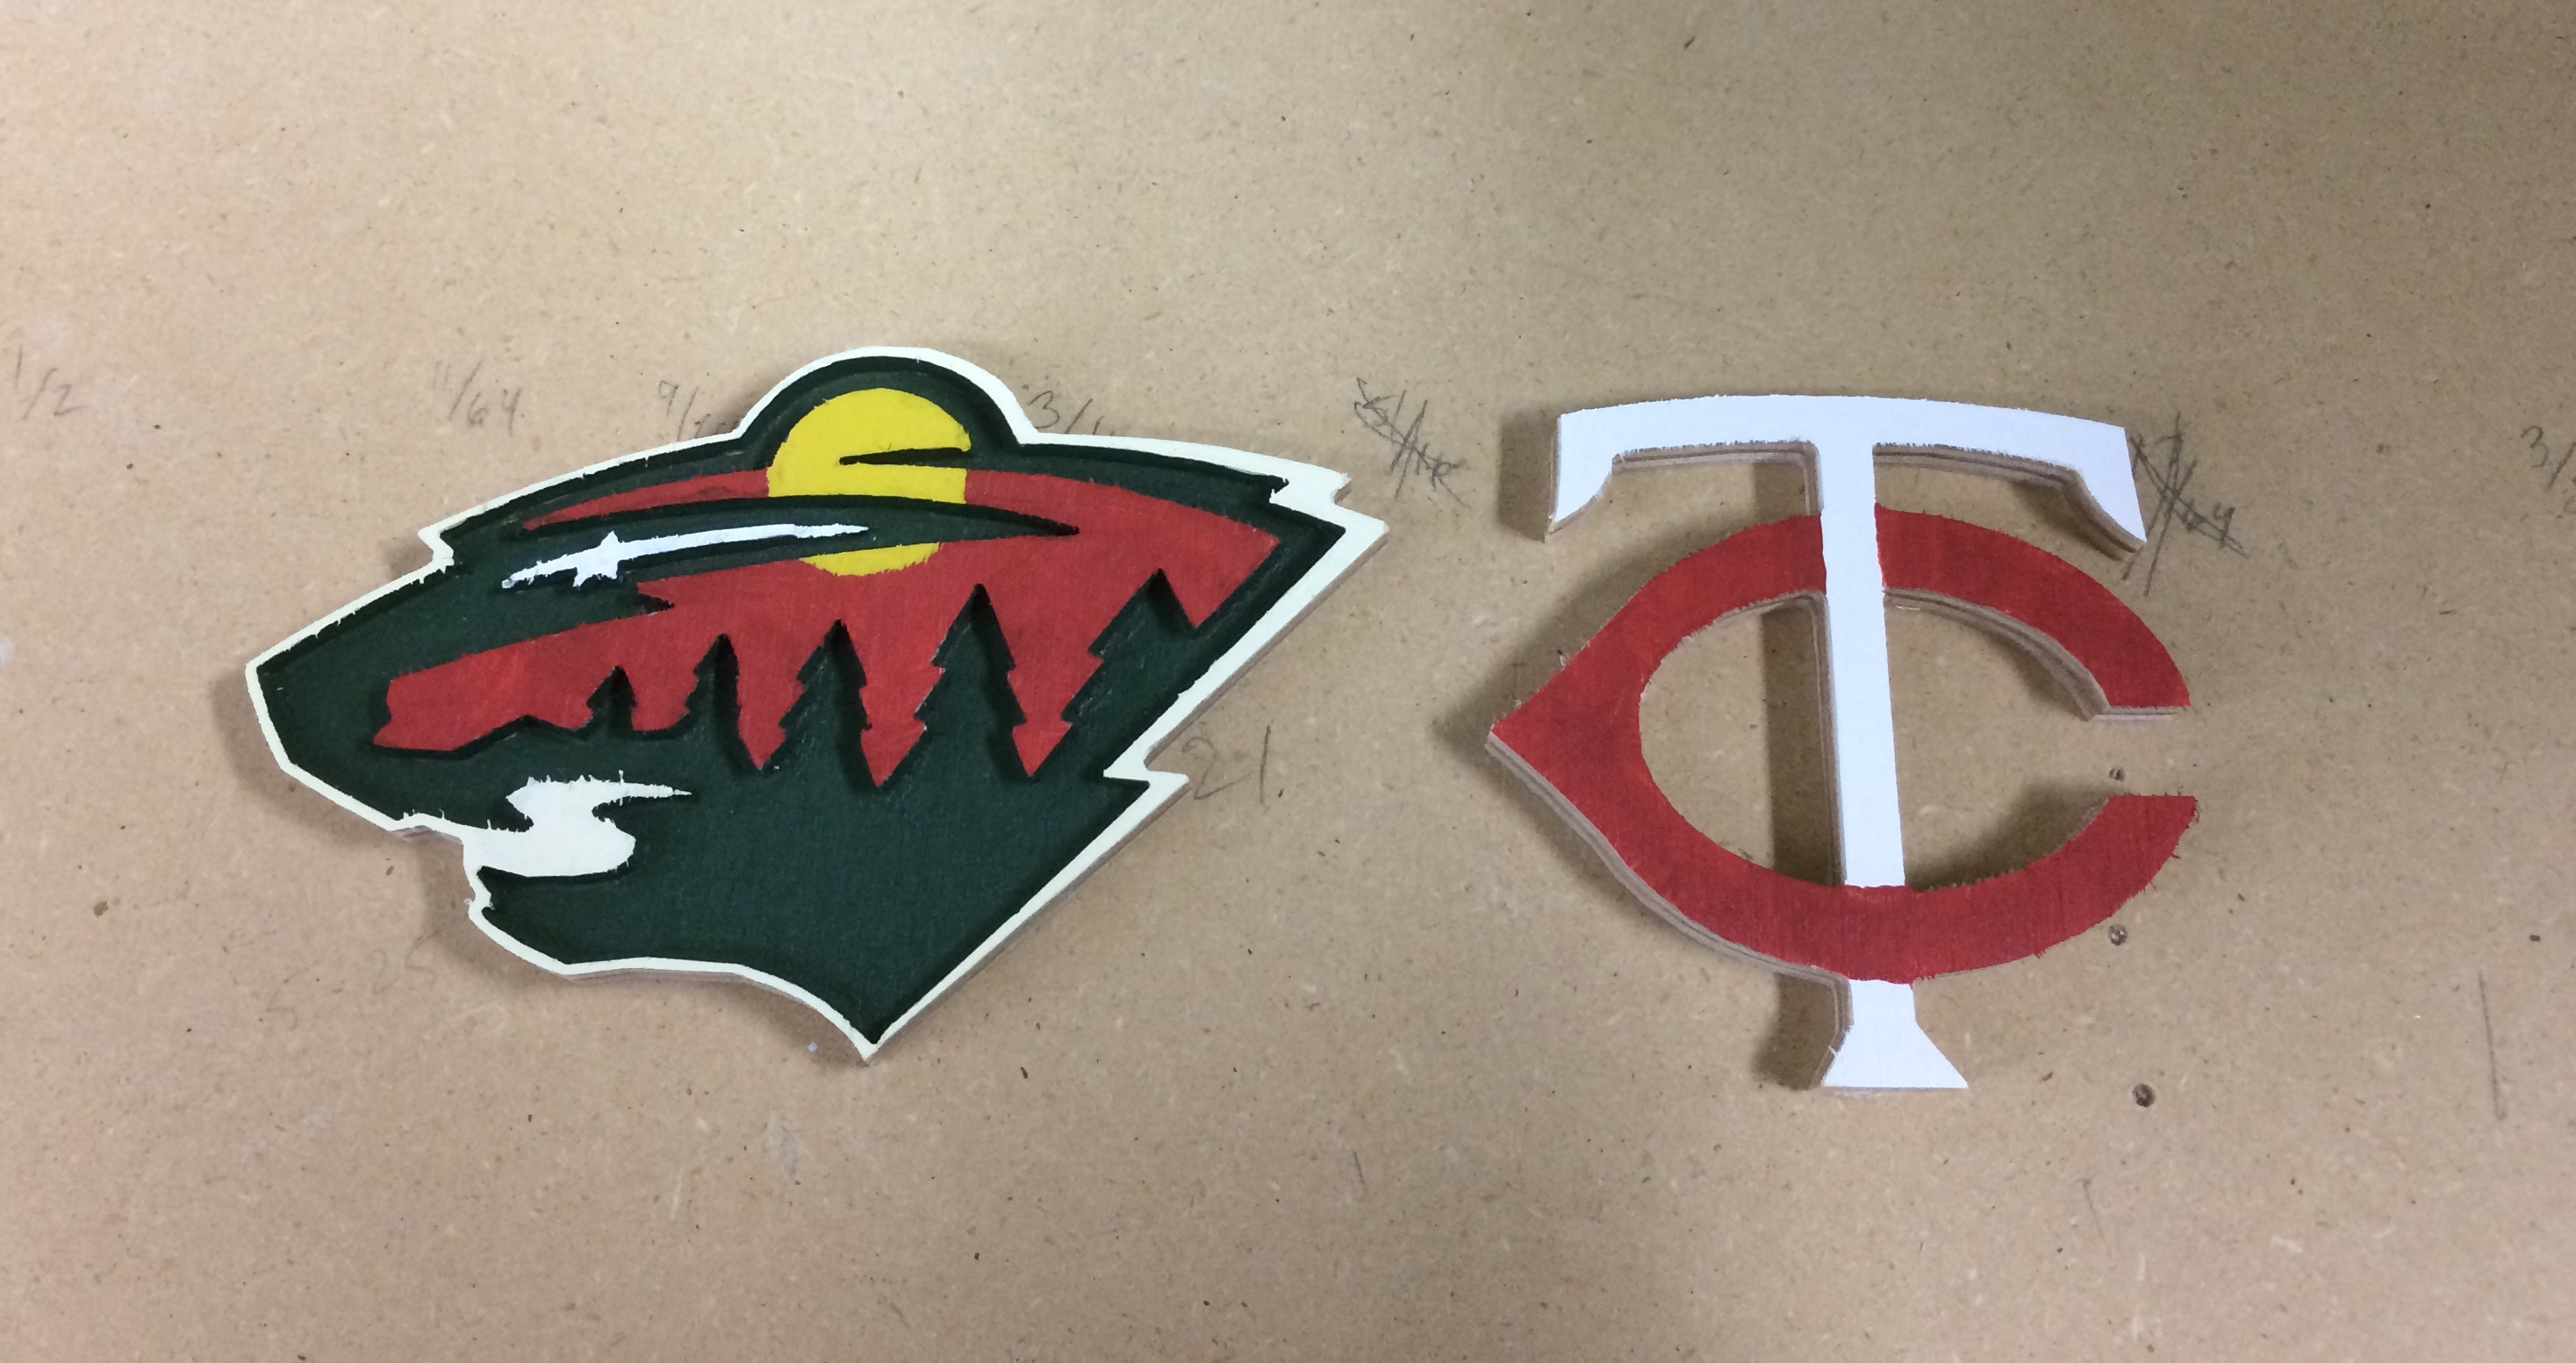
On one of the puzzles, I also included the logos of the Minnesota Wild and the Minnesota Twins. I gave the Wild logo some depth by carving out one of the areas that was a single color. This made it easier to paint too.
After painting the pieces, I gave them and the bases a couple of coats of clear enamel.
Which piece goes where???
I hope that the kids like these for now, and when they get older, they can glue the pieces in place and use these as wall or door hangings.
If you have an X-Carve and want to make these puzzles (or variations thereof, if you don’t know a Minnesotan child named Justin), the Easel projects are here (Justin) and here (Alyssa).
What font is that? And when I click on the easel file it says it will take 9 hours is that right?
The Justin puzzle uses the Homestead font, and the Alyssa puzzle uses Bebas.
To save time, you’ll want to do a roughing pass and then a detail pass. Using a 1/8″ bit for the roughing pass and a 1/32″ bit for the detail pass should take about an hour and a half in total.
What method did you use within the software to do this? I’ve been trying to cut the letters with the bit set to outline, and the board with the fill function and not having much luck with fitment as there is too much play.
Thanks in advance for any tips!
Maybe I just got lucky, but I used the same method you did, and everything fit together fine. You could try “lying” about the size of your bit — like if your letters are slightly too big, tell Easel that your 0.125 bit is really 0.12, and you should end up with a piece that is five hundredths smaller across any given direction (since it will center the bit 5/200″ closer to the center of the piece on each side).
Hello! Hopefully you’re still around to help! Any suggestions how to do this with an 1/8 bit? I can’t get the letters to be big enough and fit perfectly.
I’ve tried a bigger font, tracing each letter line by line, and various other attempts.
I want my letters to be 1/2″ thick so I cant use a 1/32″ bit.
Any suggestions?!
That’s tough. I guess I would try scaling up the size of the pockets to 105% or so instead of relying on the width of the bit to create the play.