
Have you ever found yourself in a situation where you wished you could escape from your problems? Well if you had this 8-bit emergency kit, you could grab the hammer, smash your way to a P-Wing, and fly away.
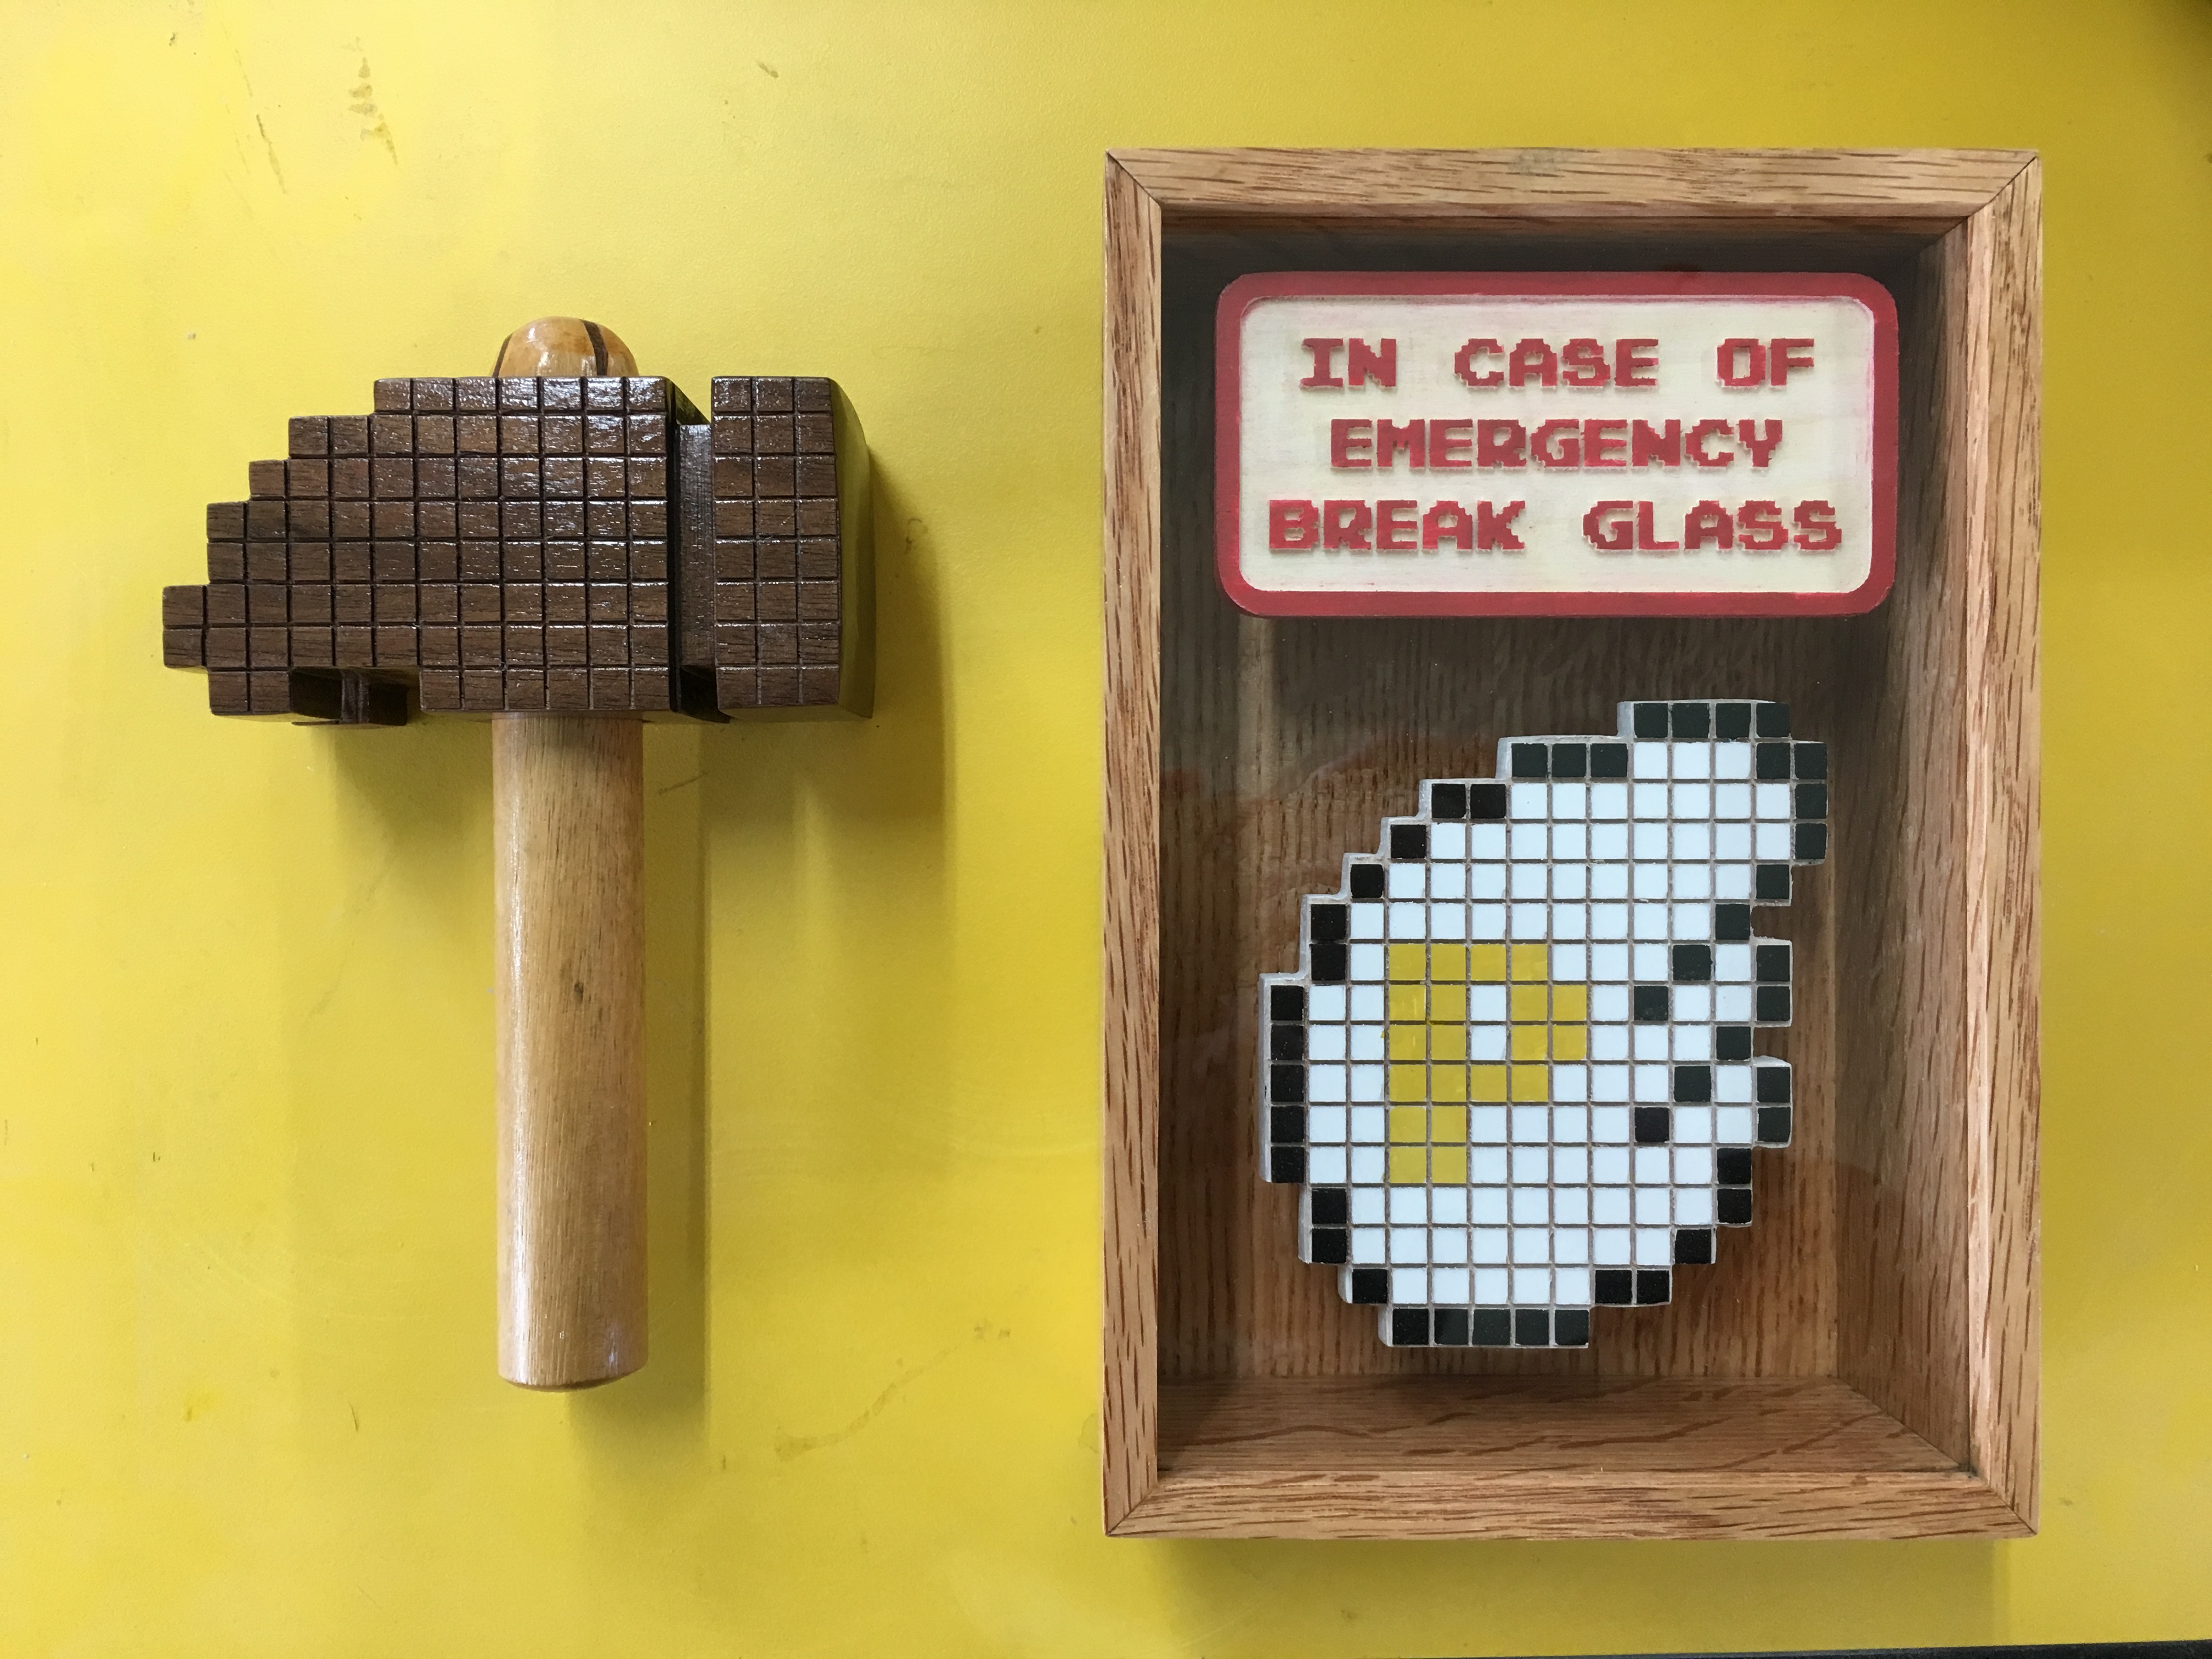
For the uninitiated, the hammer and P-Wing are items from Super Mario Bros. 3., one of the greatest games made for the original Nintendo Entertainment System. The hammer lets Mario break rocks in the map, and the P-Wing allows him to fly for an entire level (but only a single level). It’s a very useful item, but it’s also very rare, so it must be saved for just the right occasion. Let me walk you through how I built this.
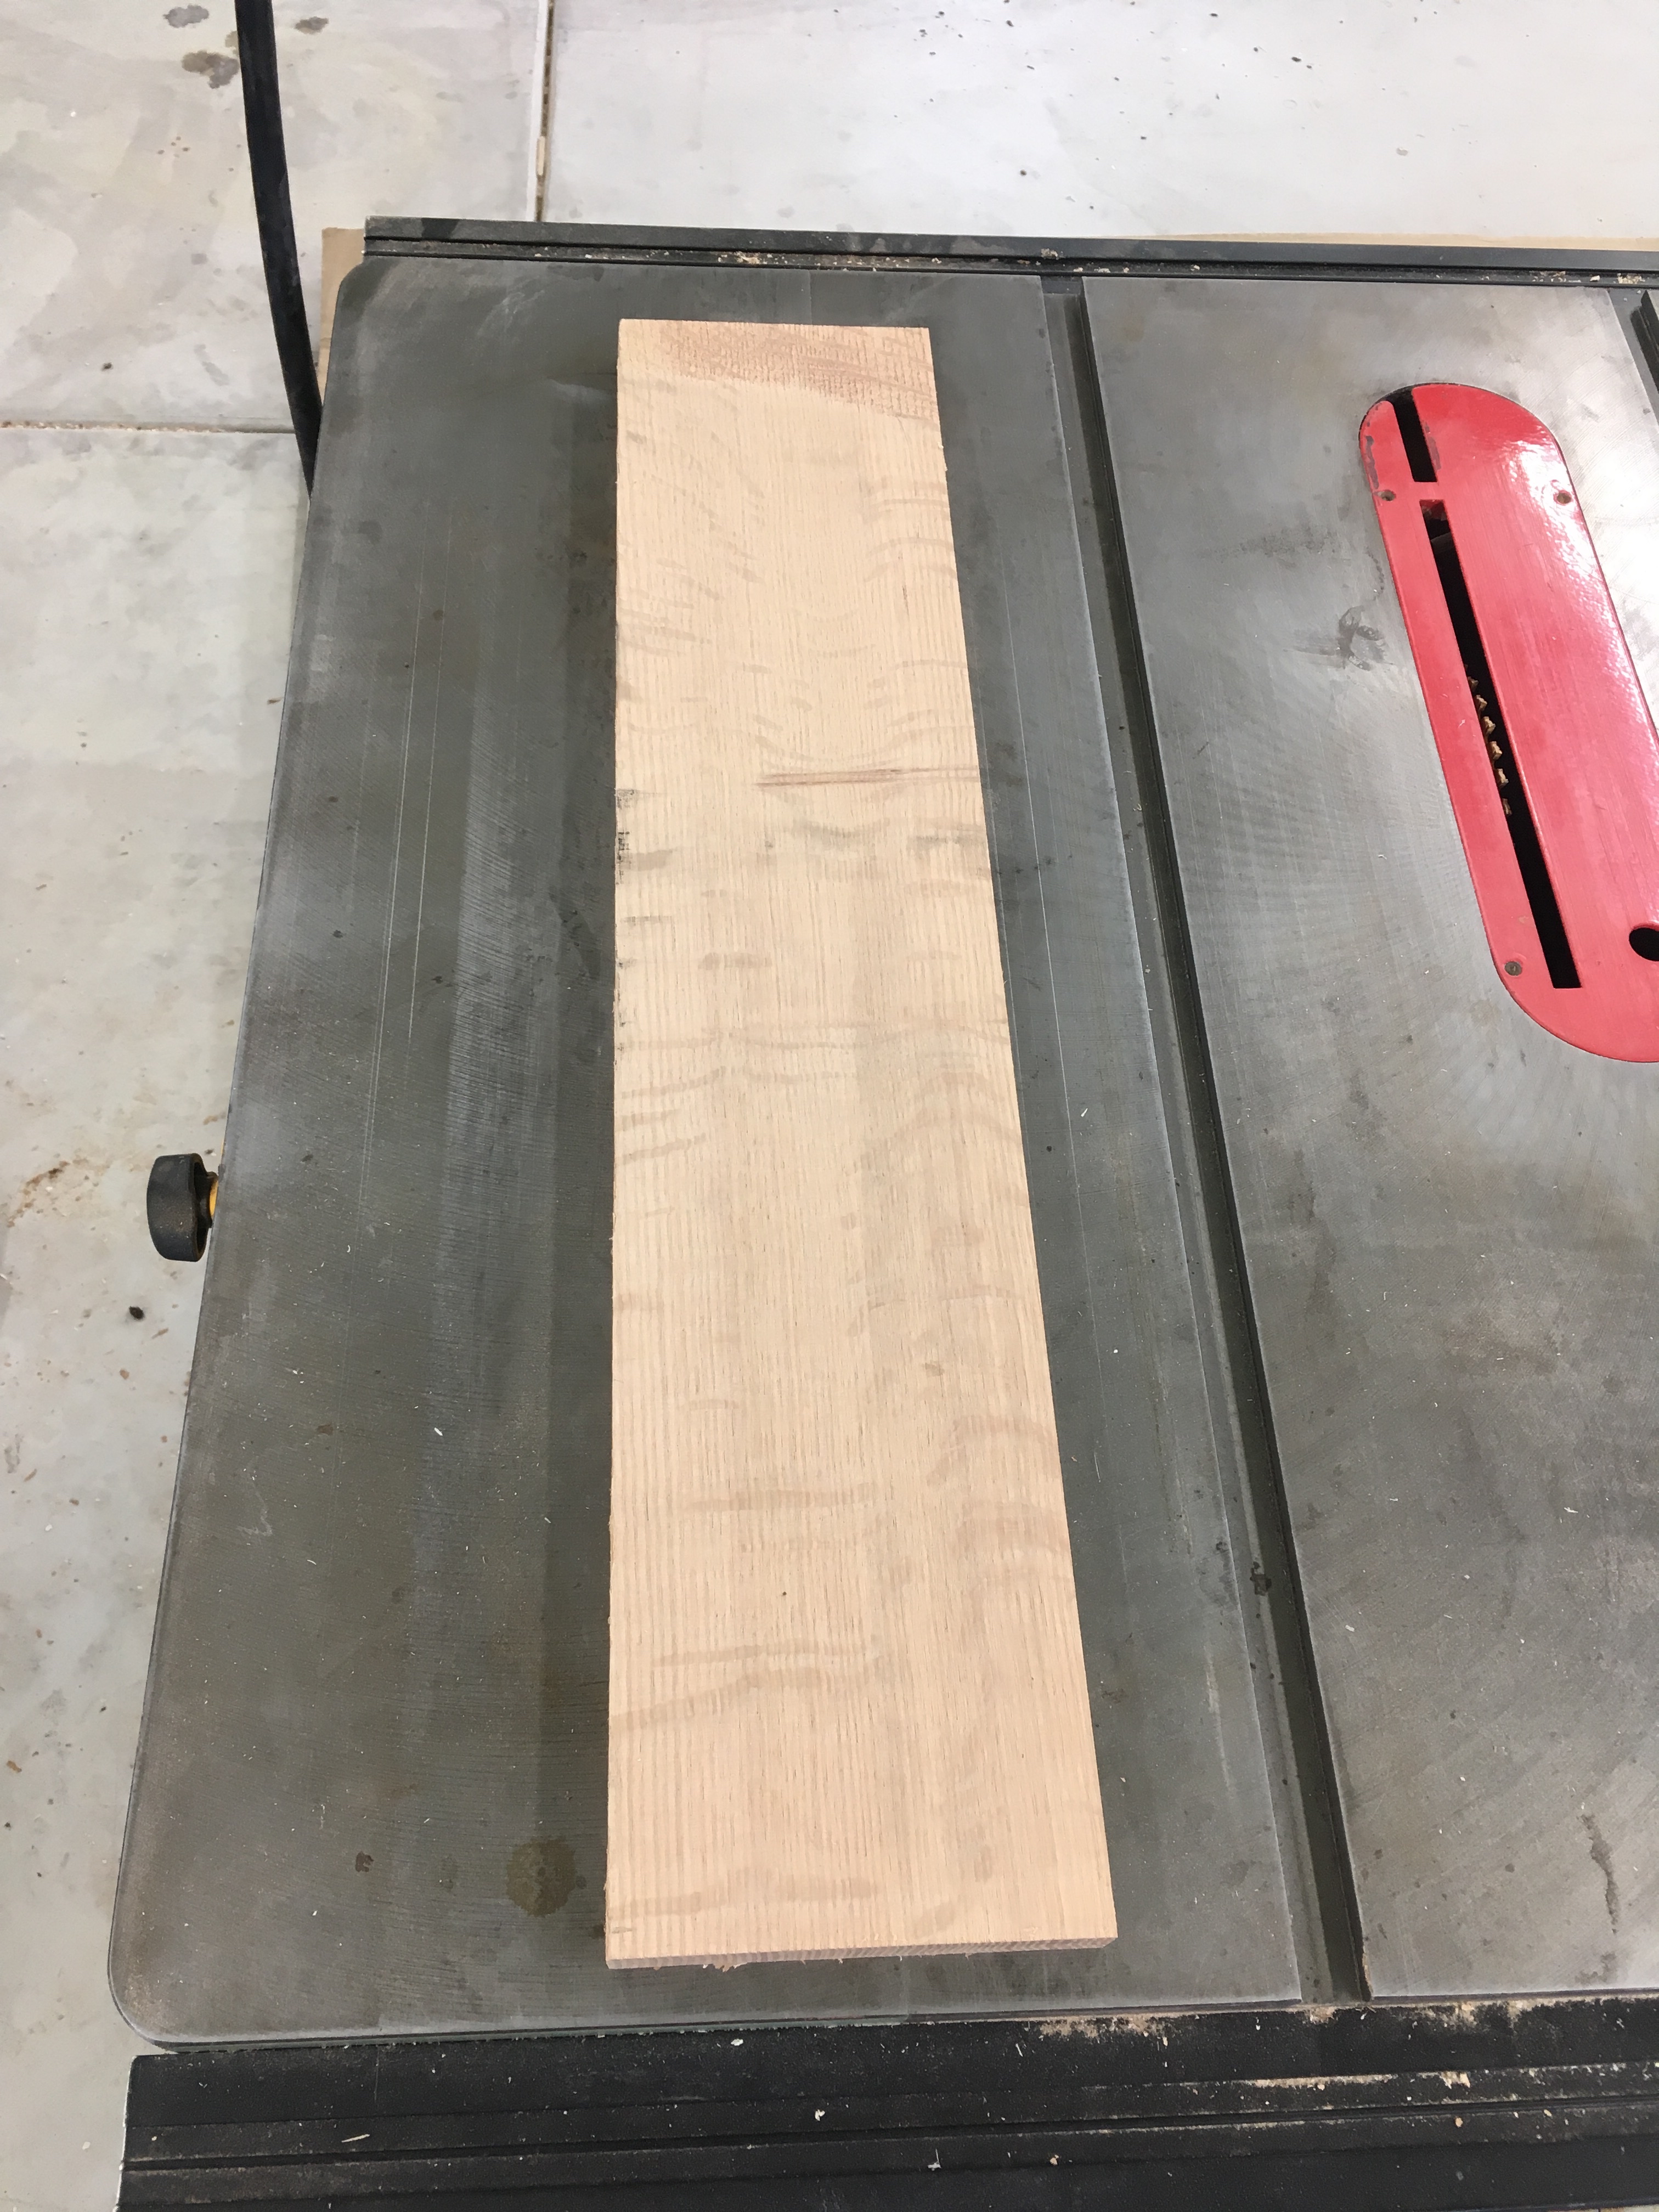
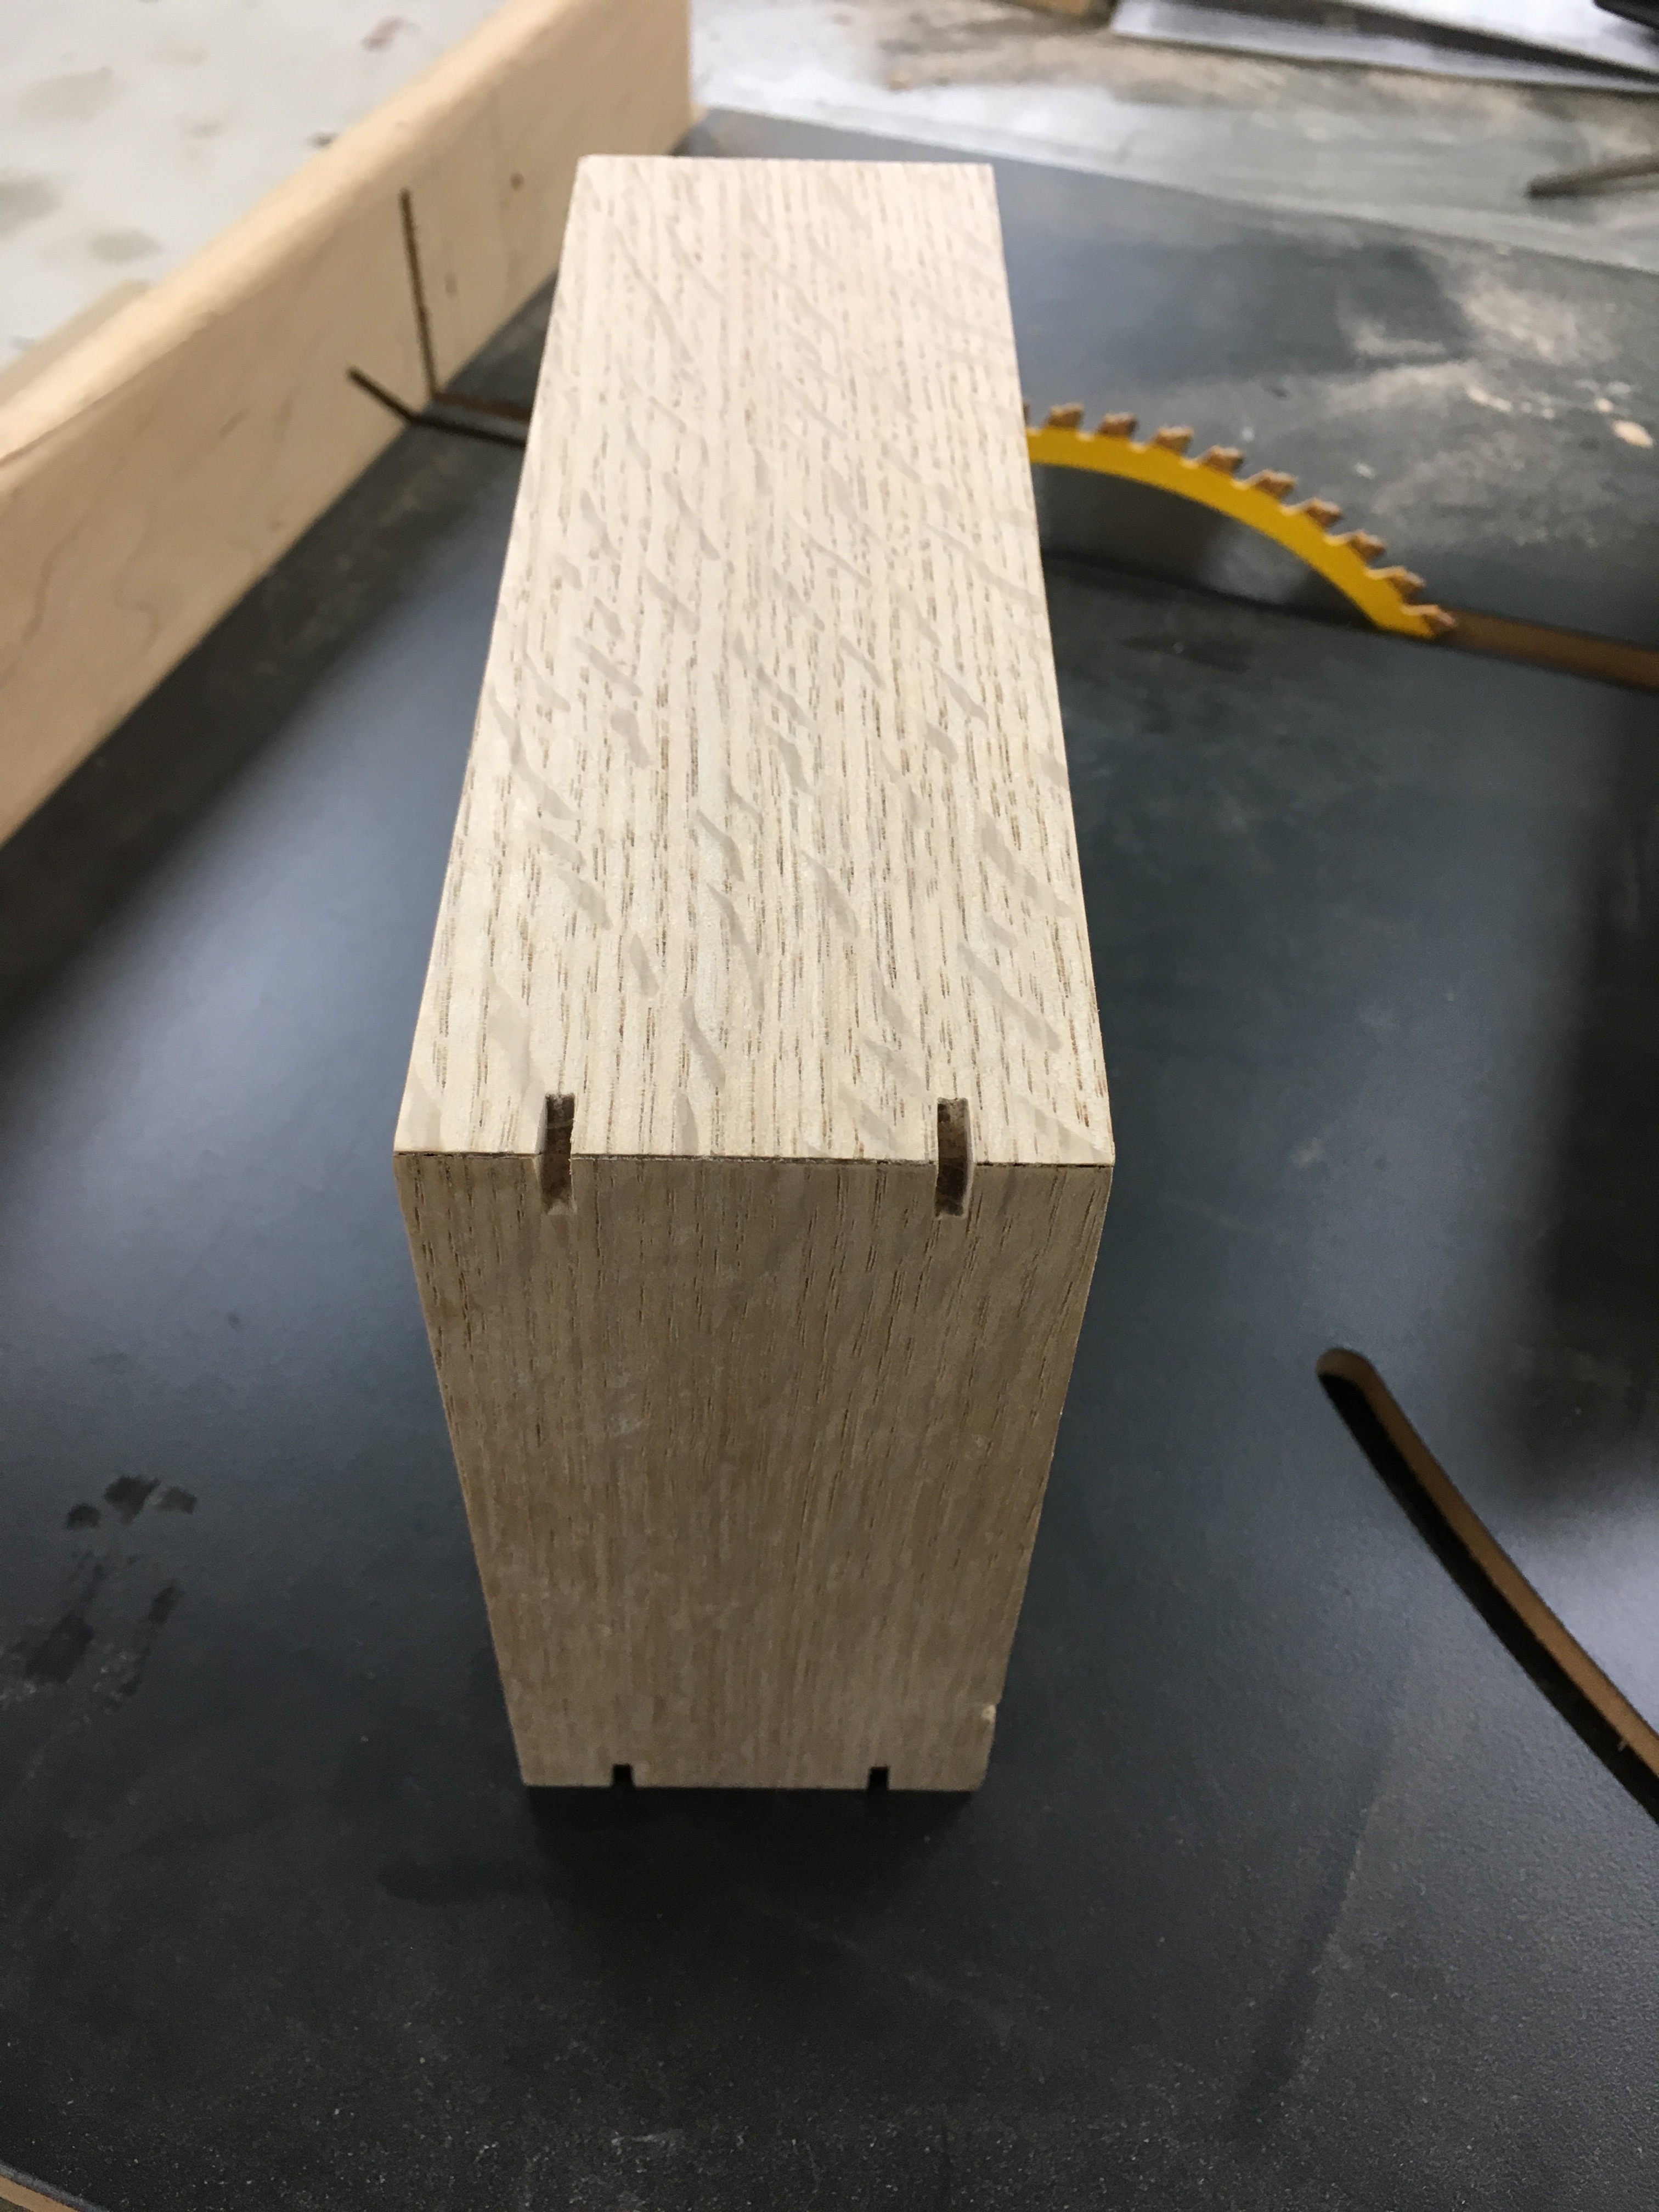
Like all good things, this project started with a board of quarter-sawn red oak.
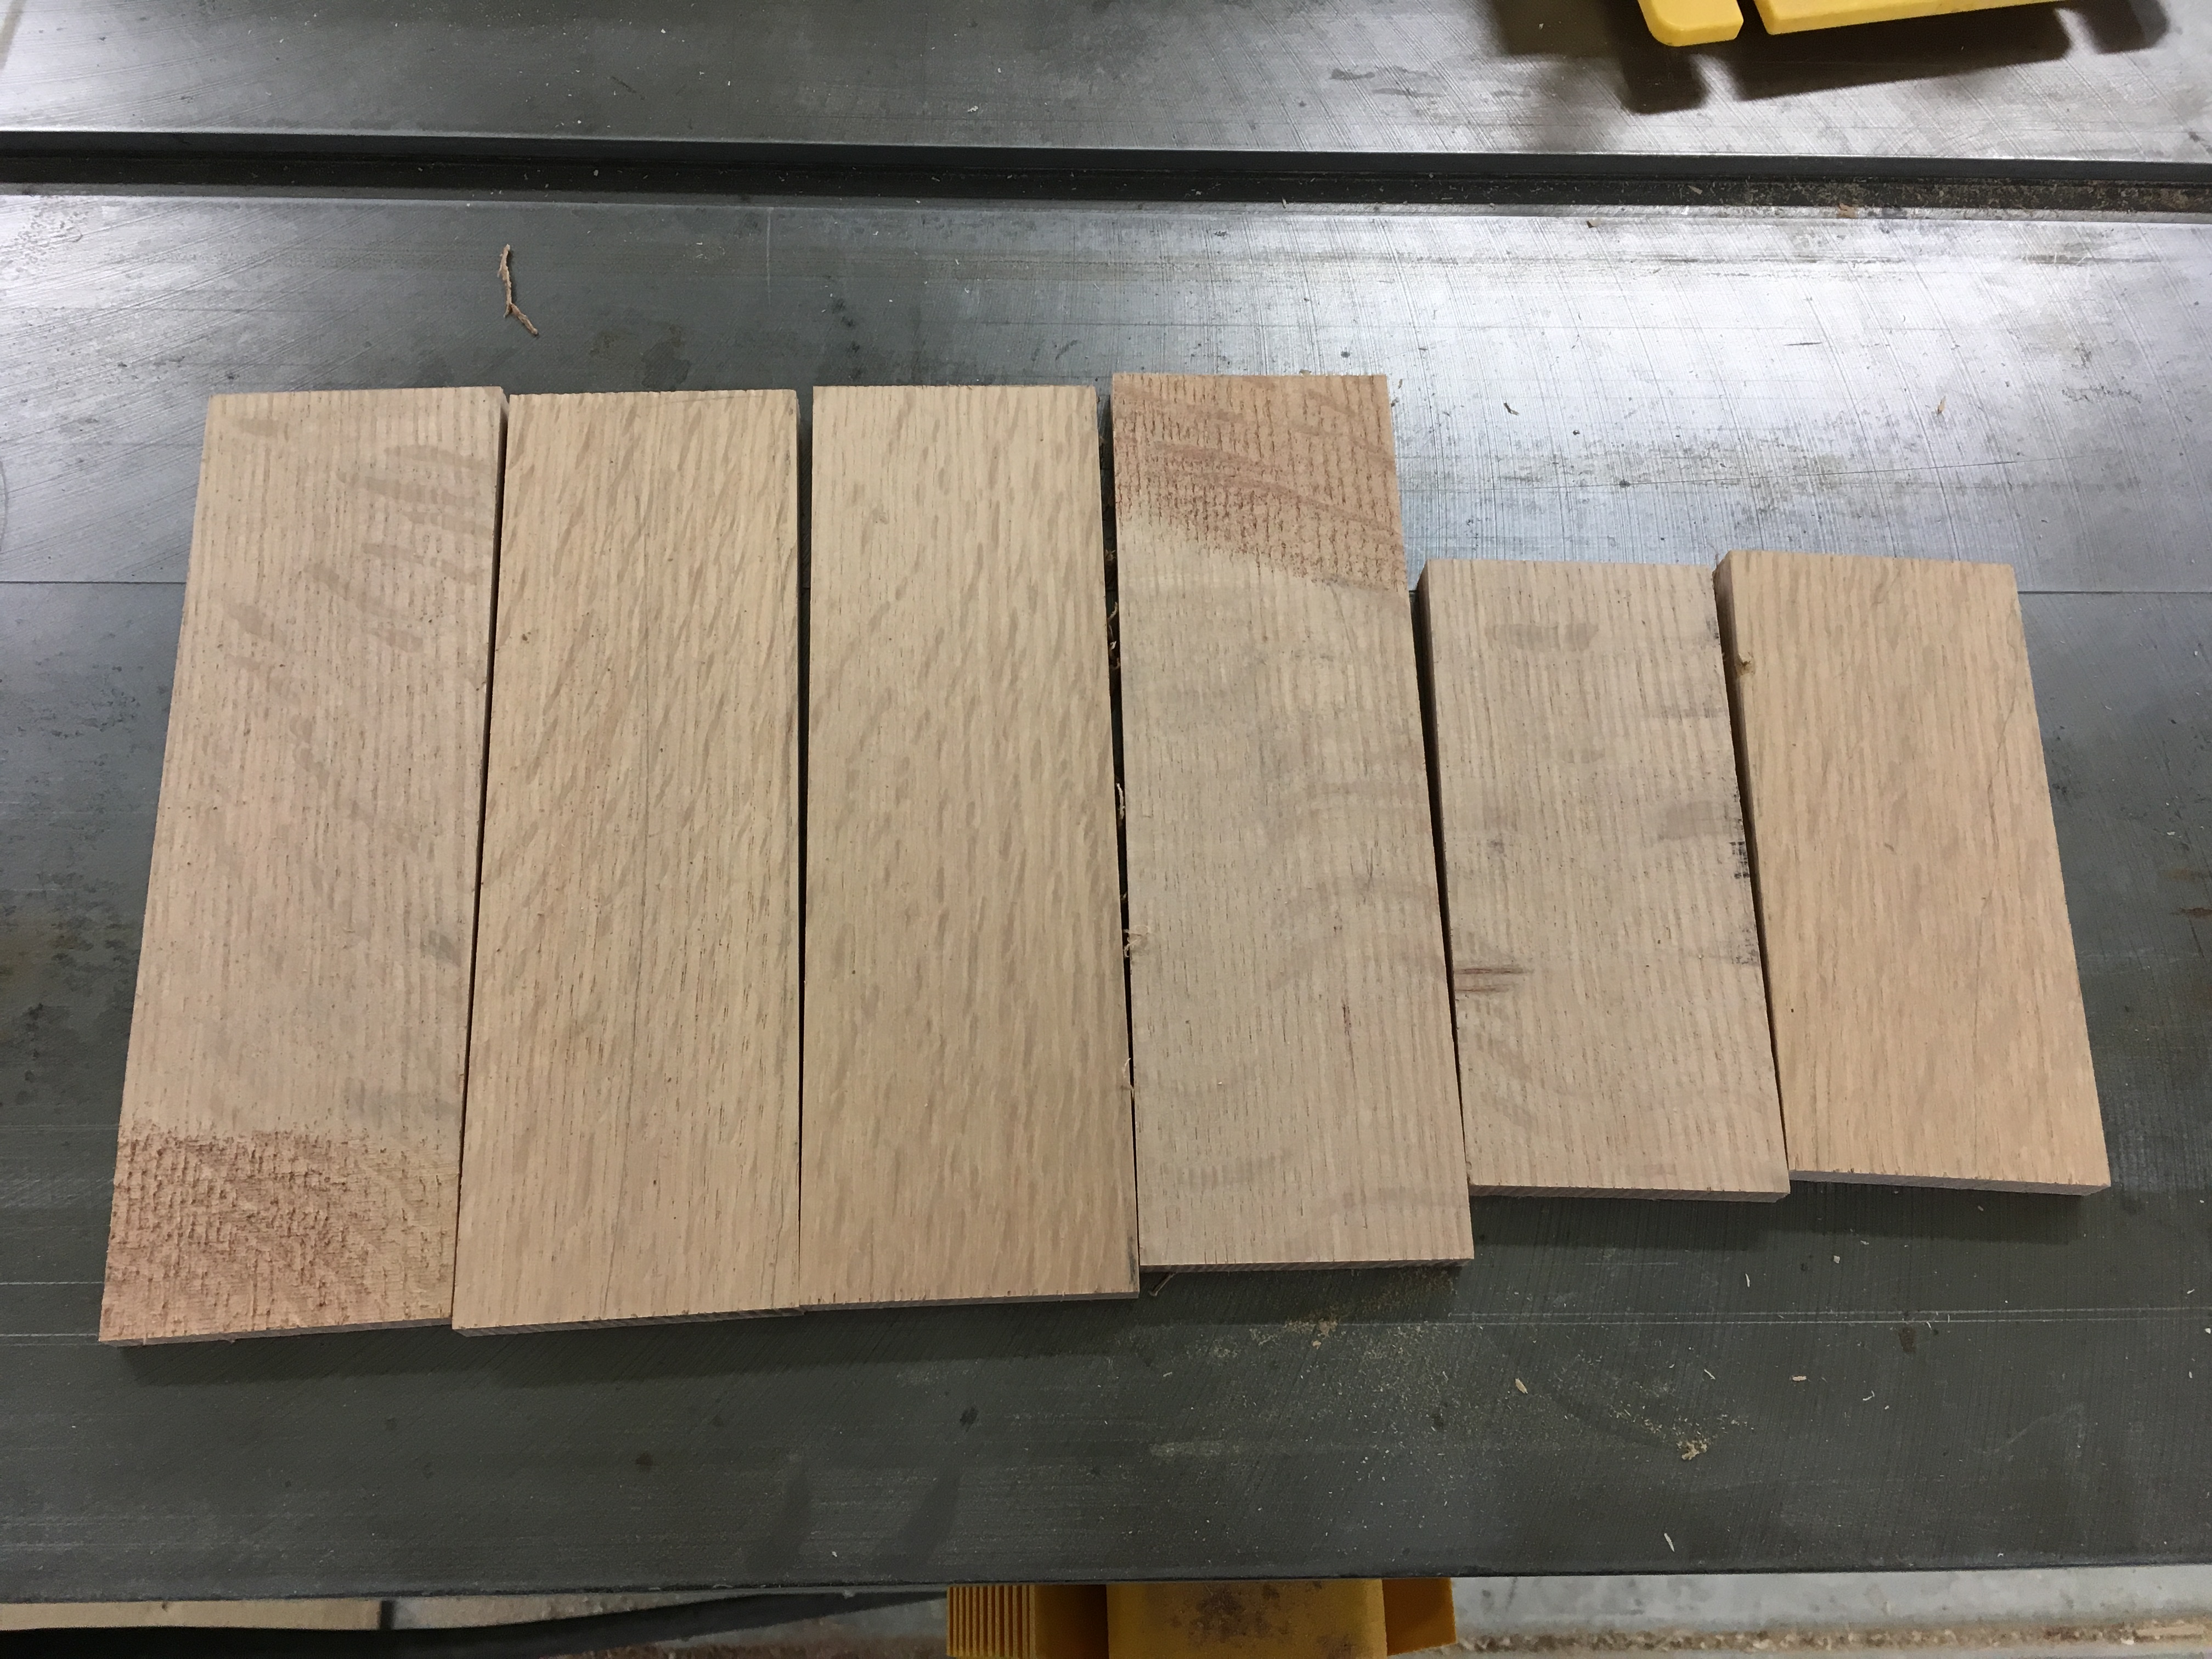
I chopped and sliced the board until I had these six pieces.
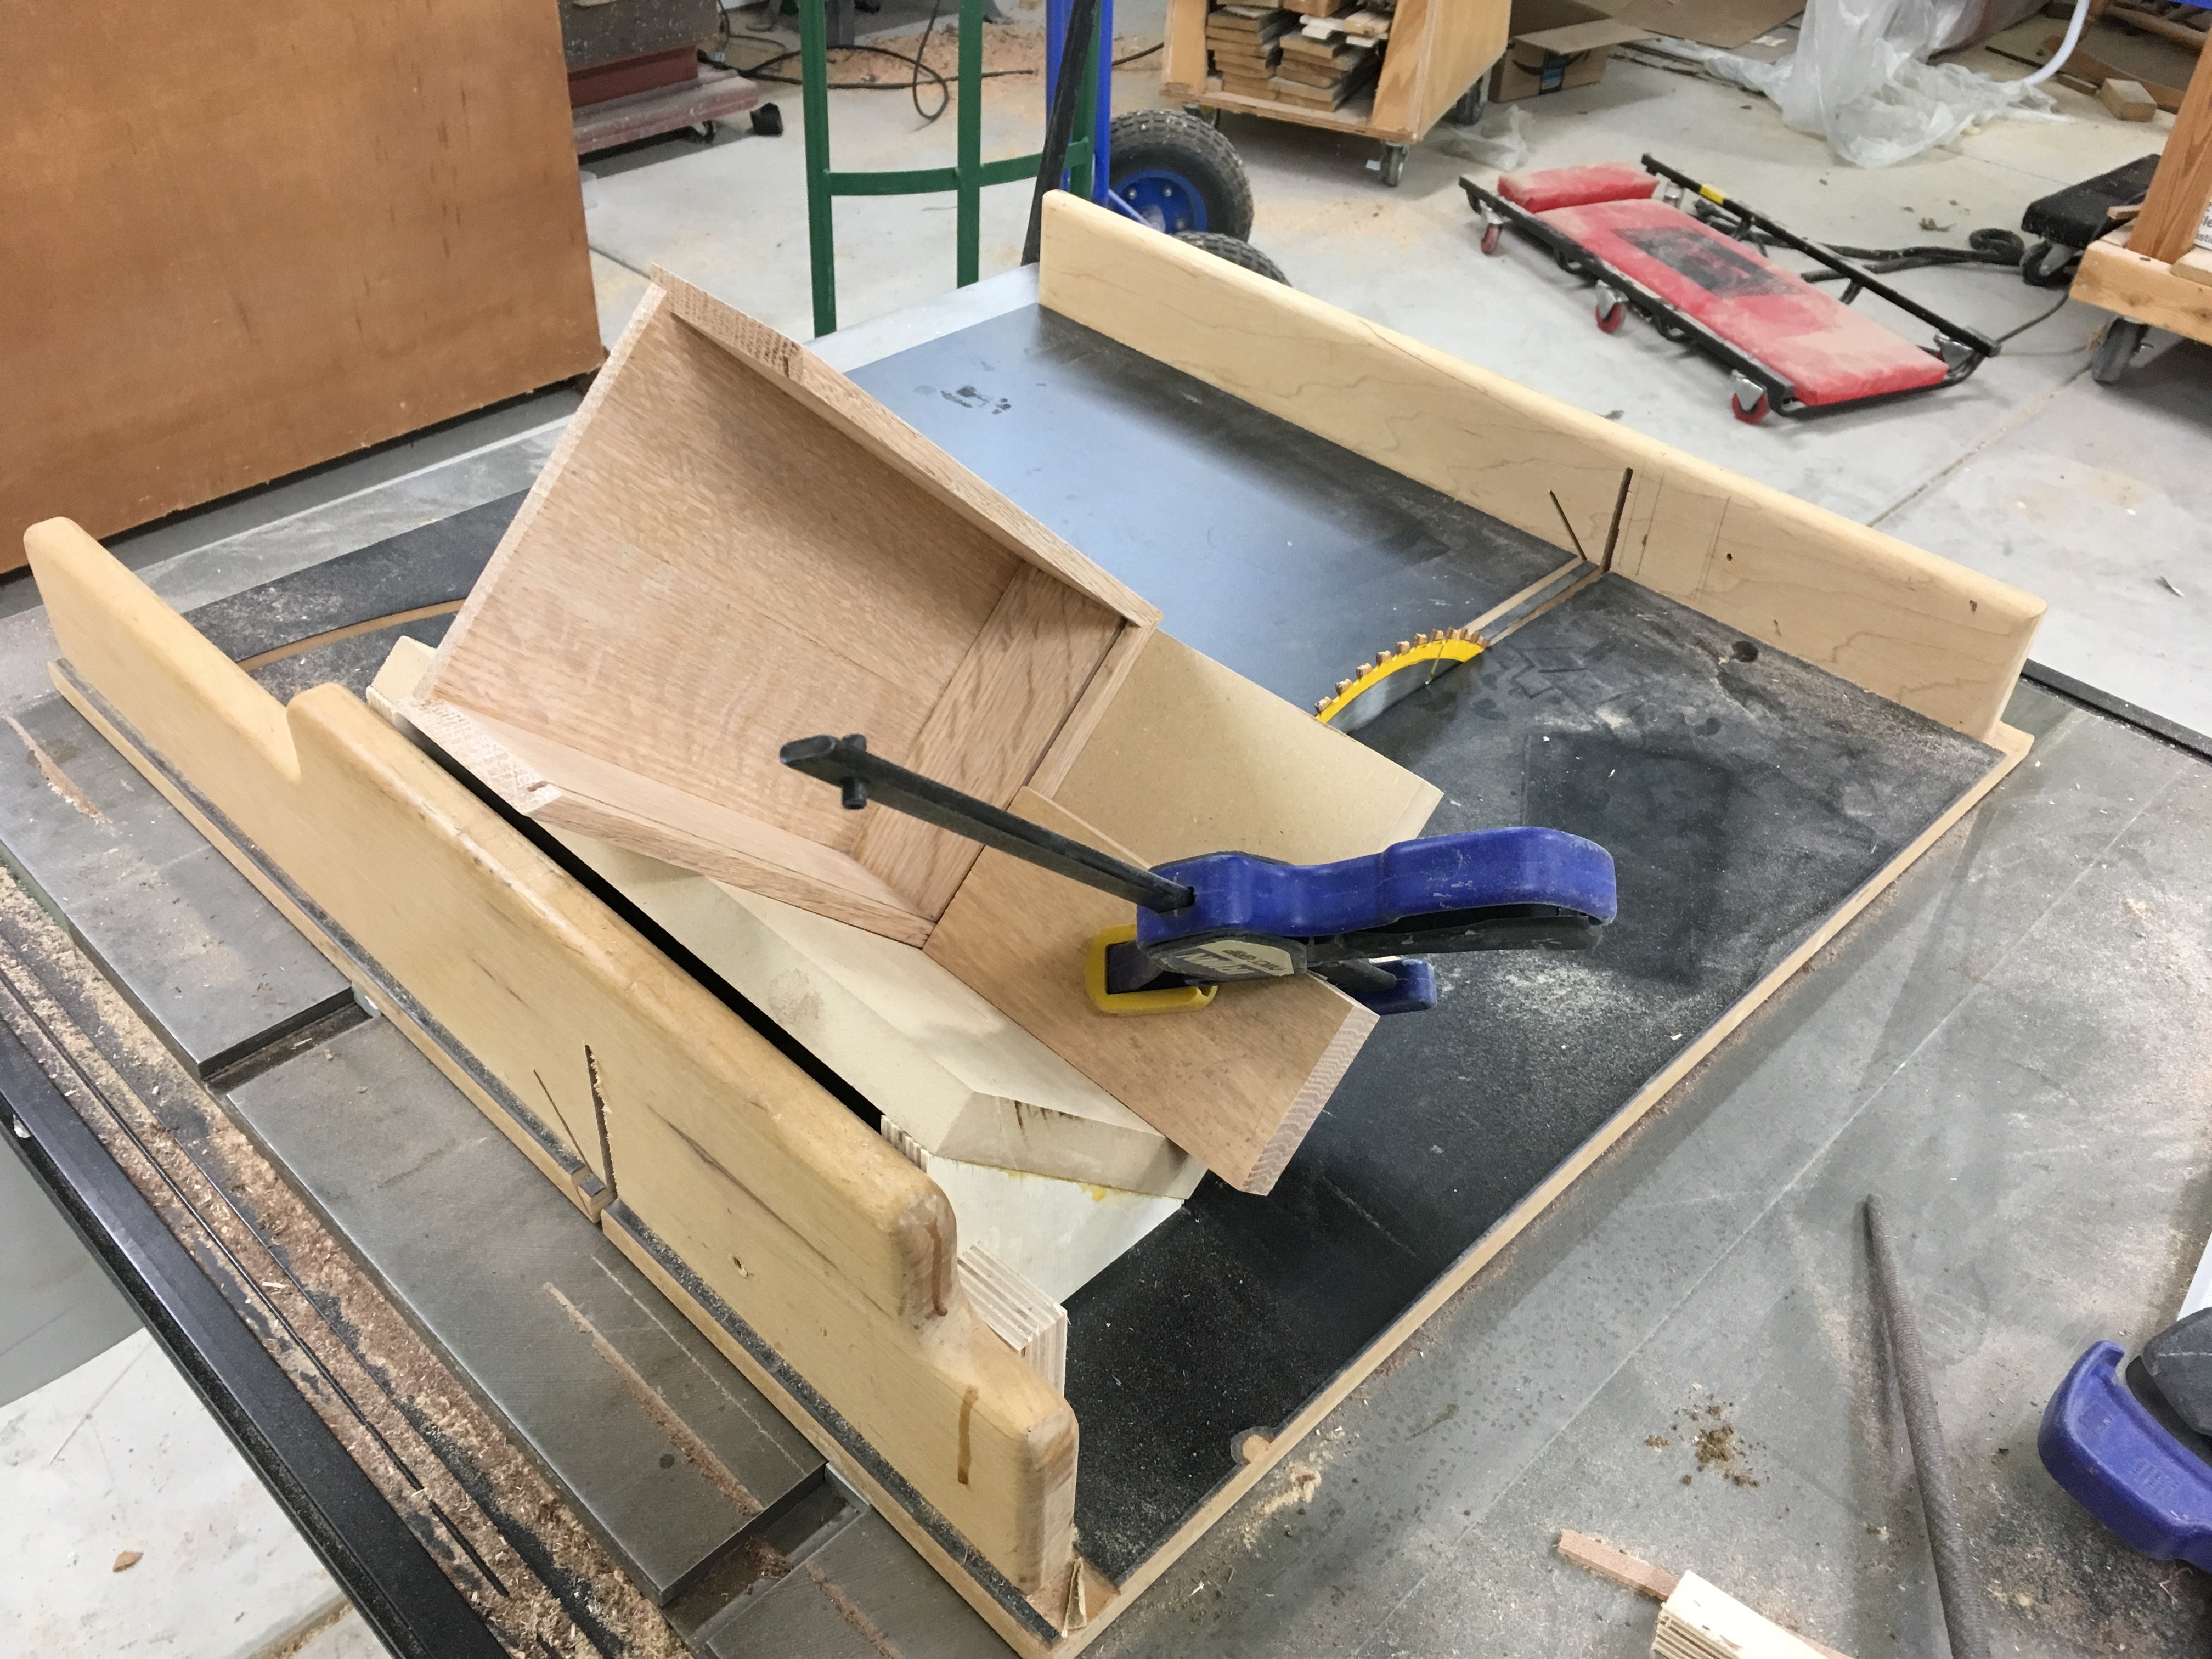
I glued two of the longer pieces together to make the back of the box, and I mitered the ends of the rest of the boards for the box sides. I cut a groove (not pictured) in each of the sides to accept the back of the box.
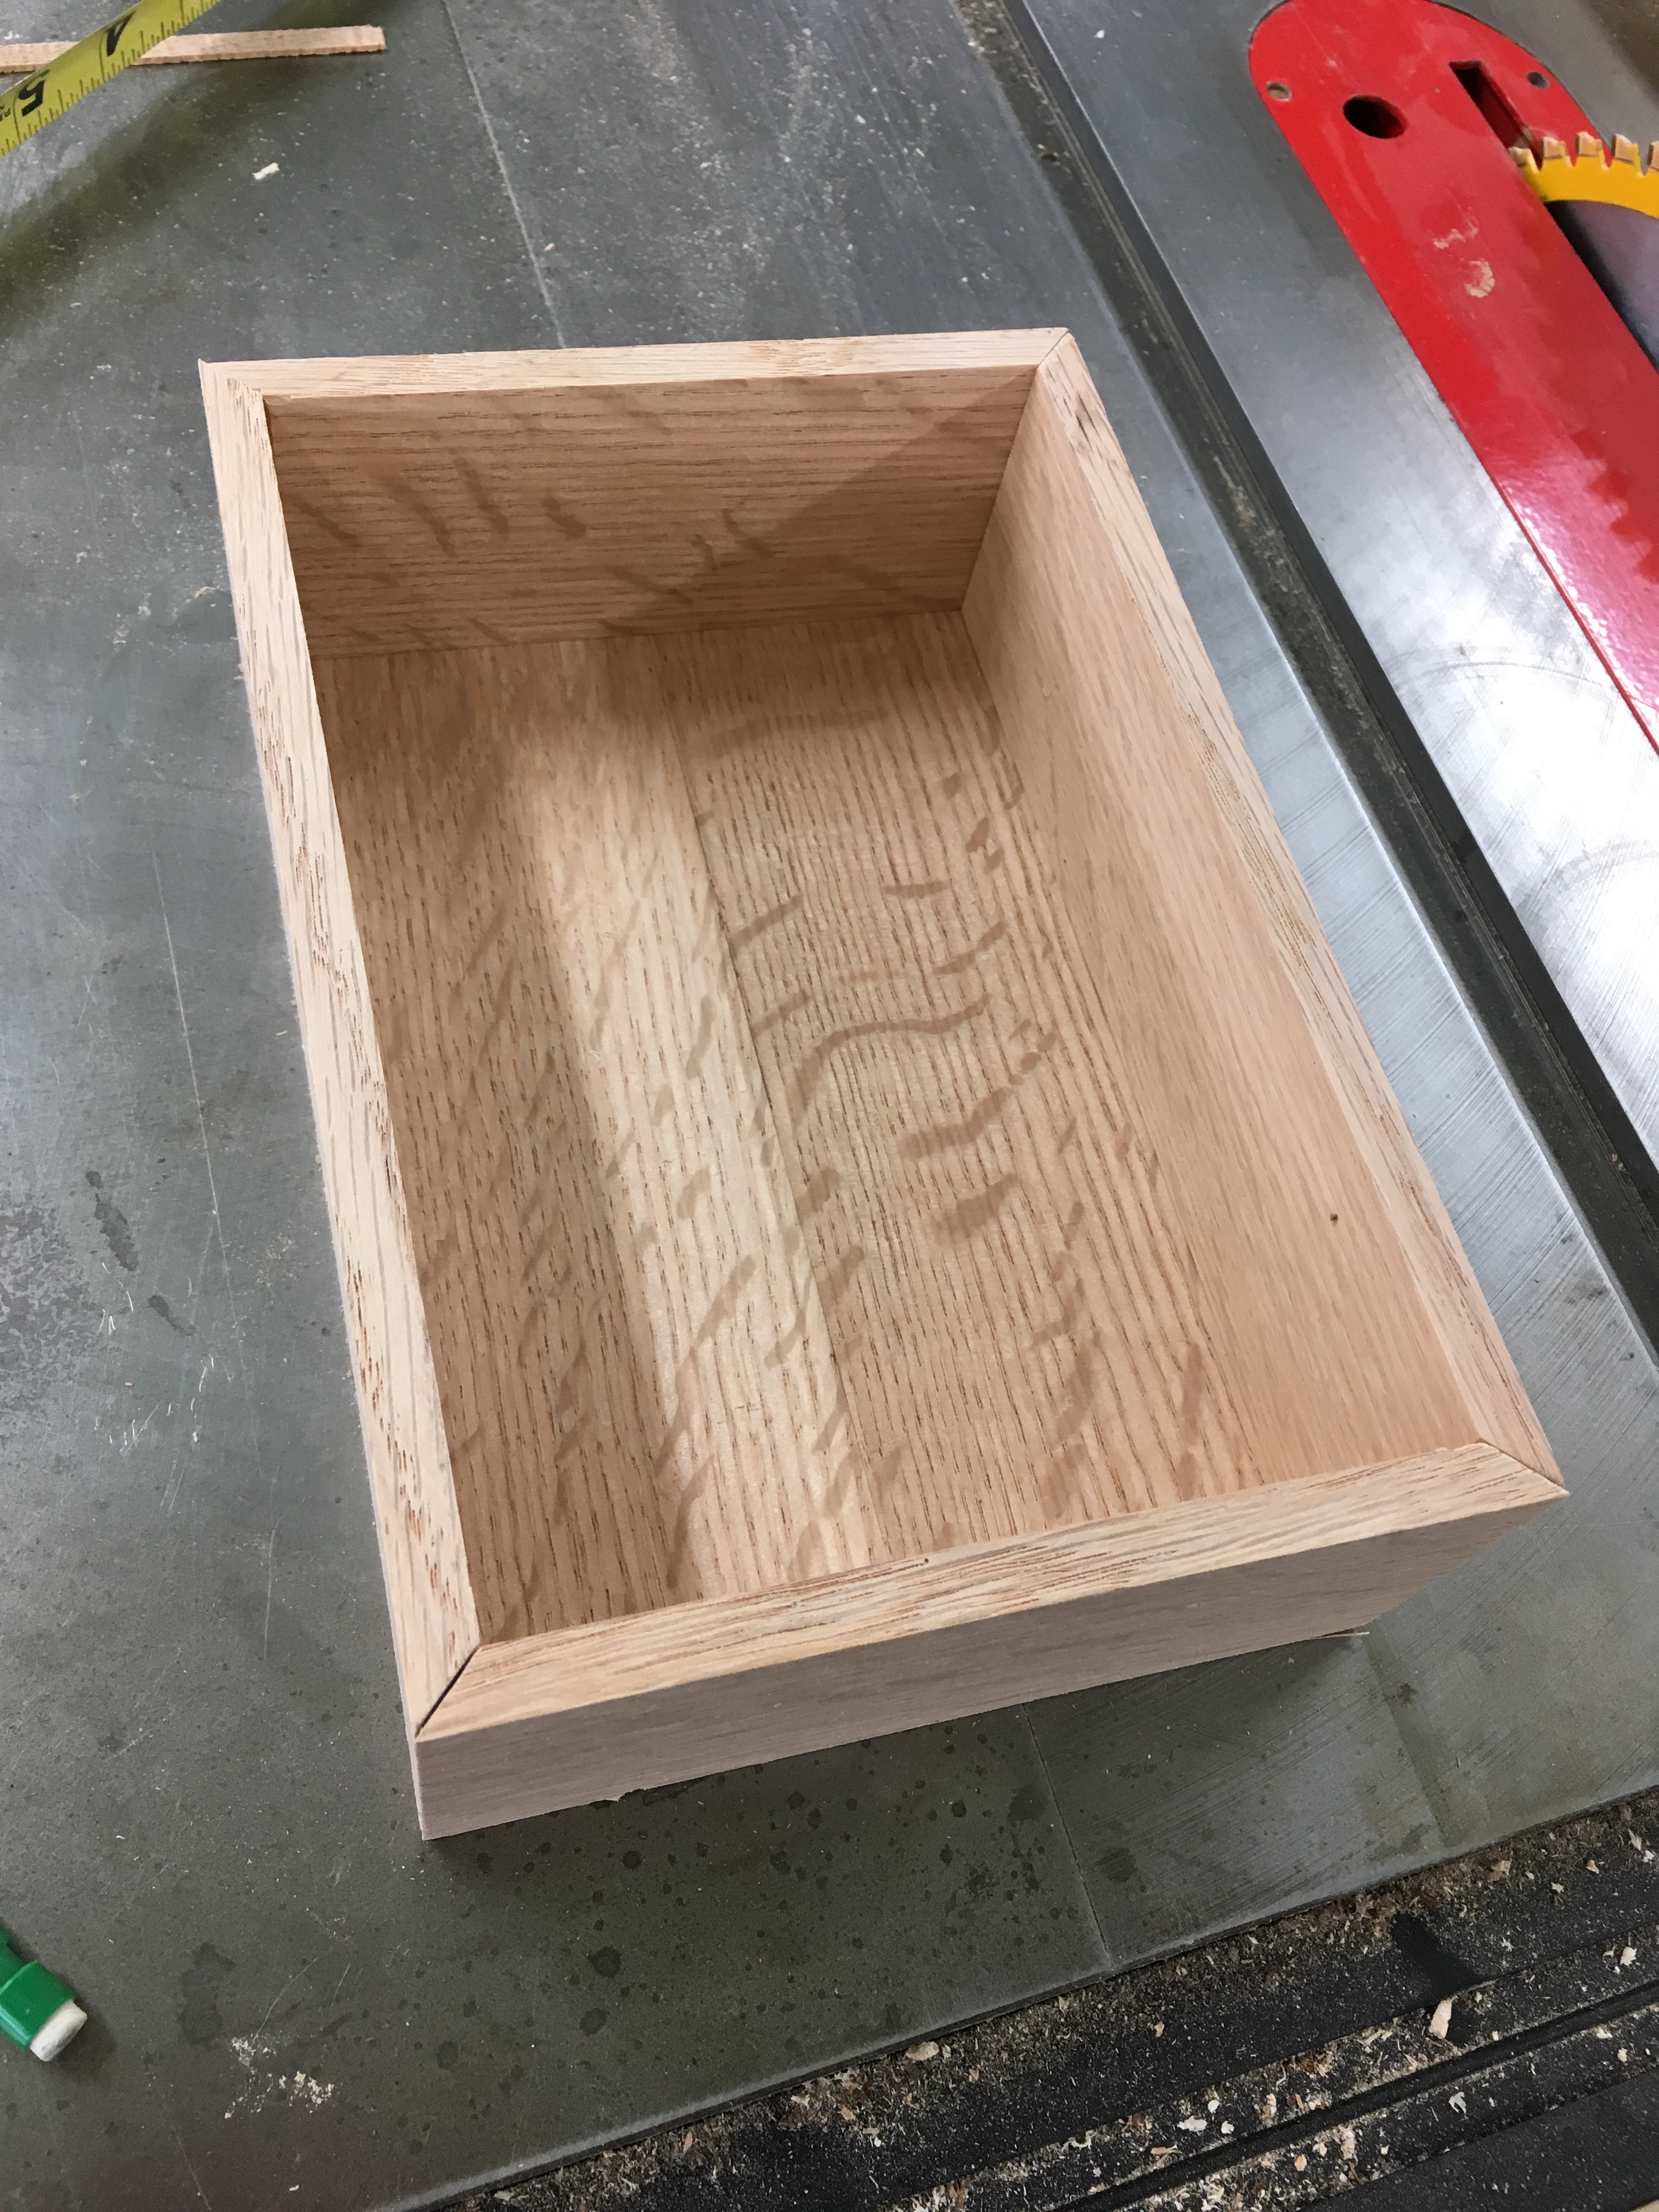
The photo above is a dry fit. Because the box holds the glass (“glass”) front captive, I couldn’t glue it up until the very last step.
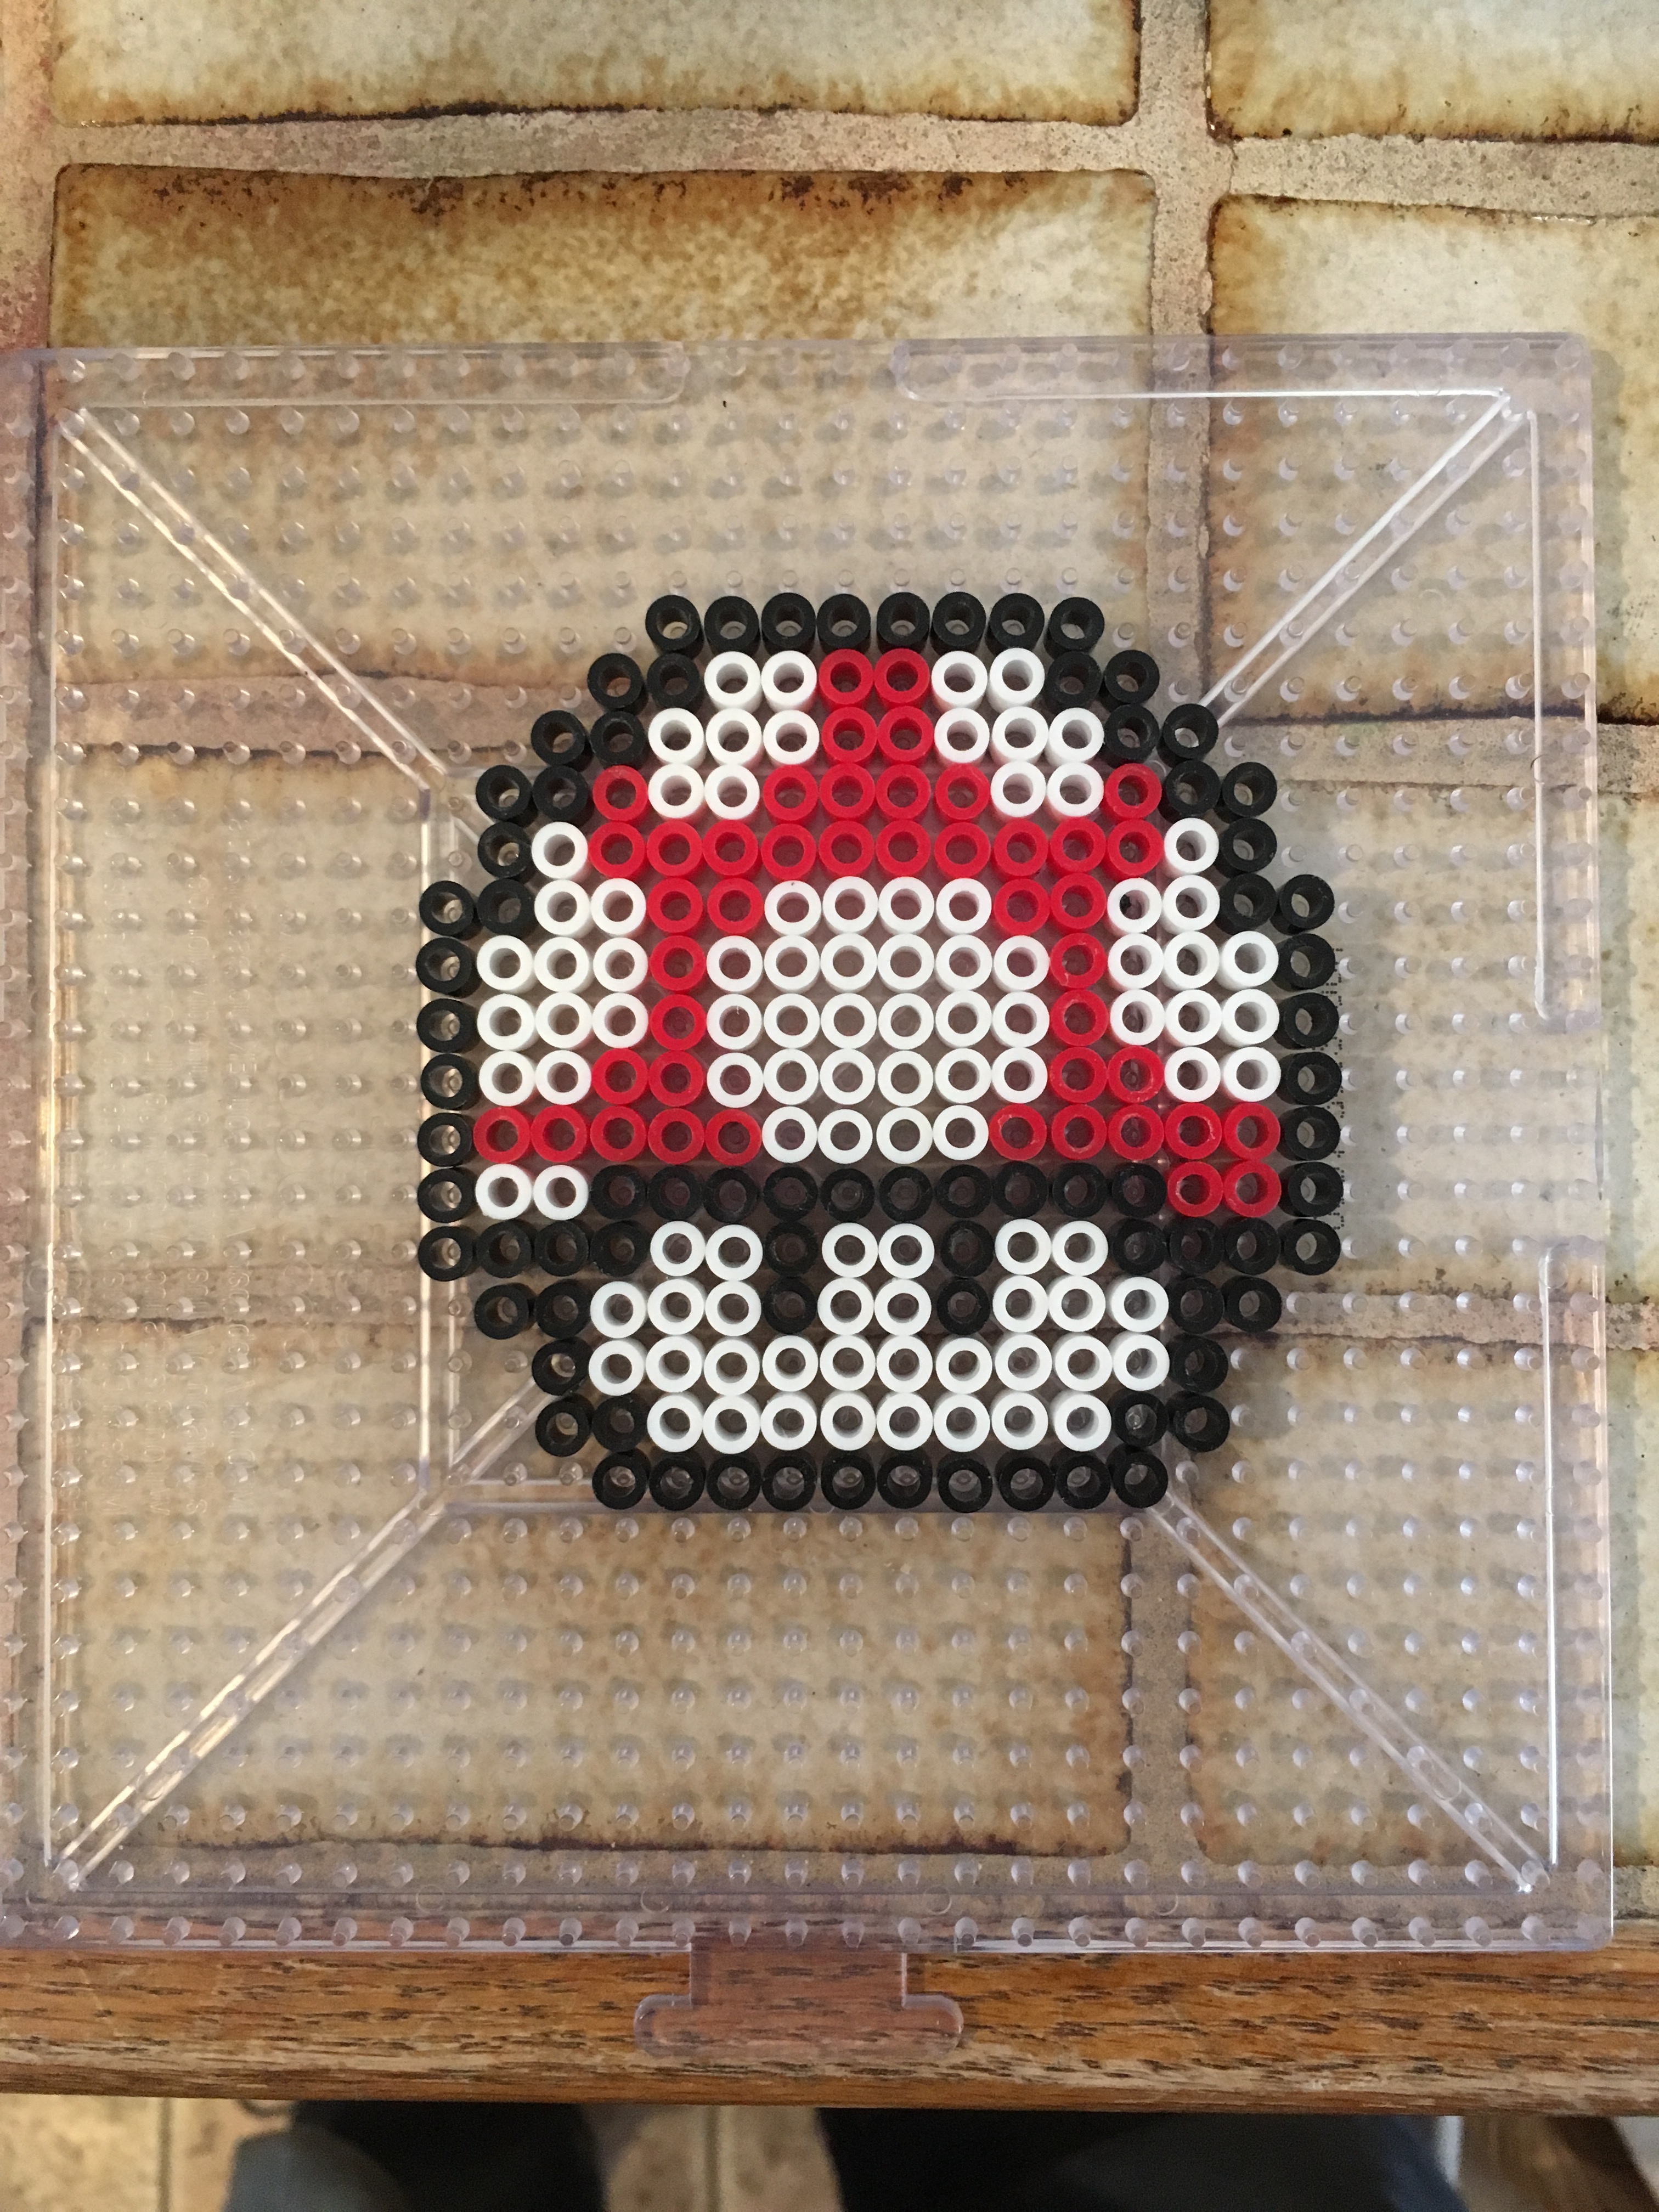
I originally made a mushroom out of Perler beads to use as the power-up, but it didn’t seem worthy of emergency use. Nobody was ever psyched about getting a mushroom from a Toad House.
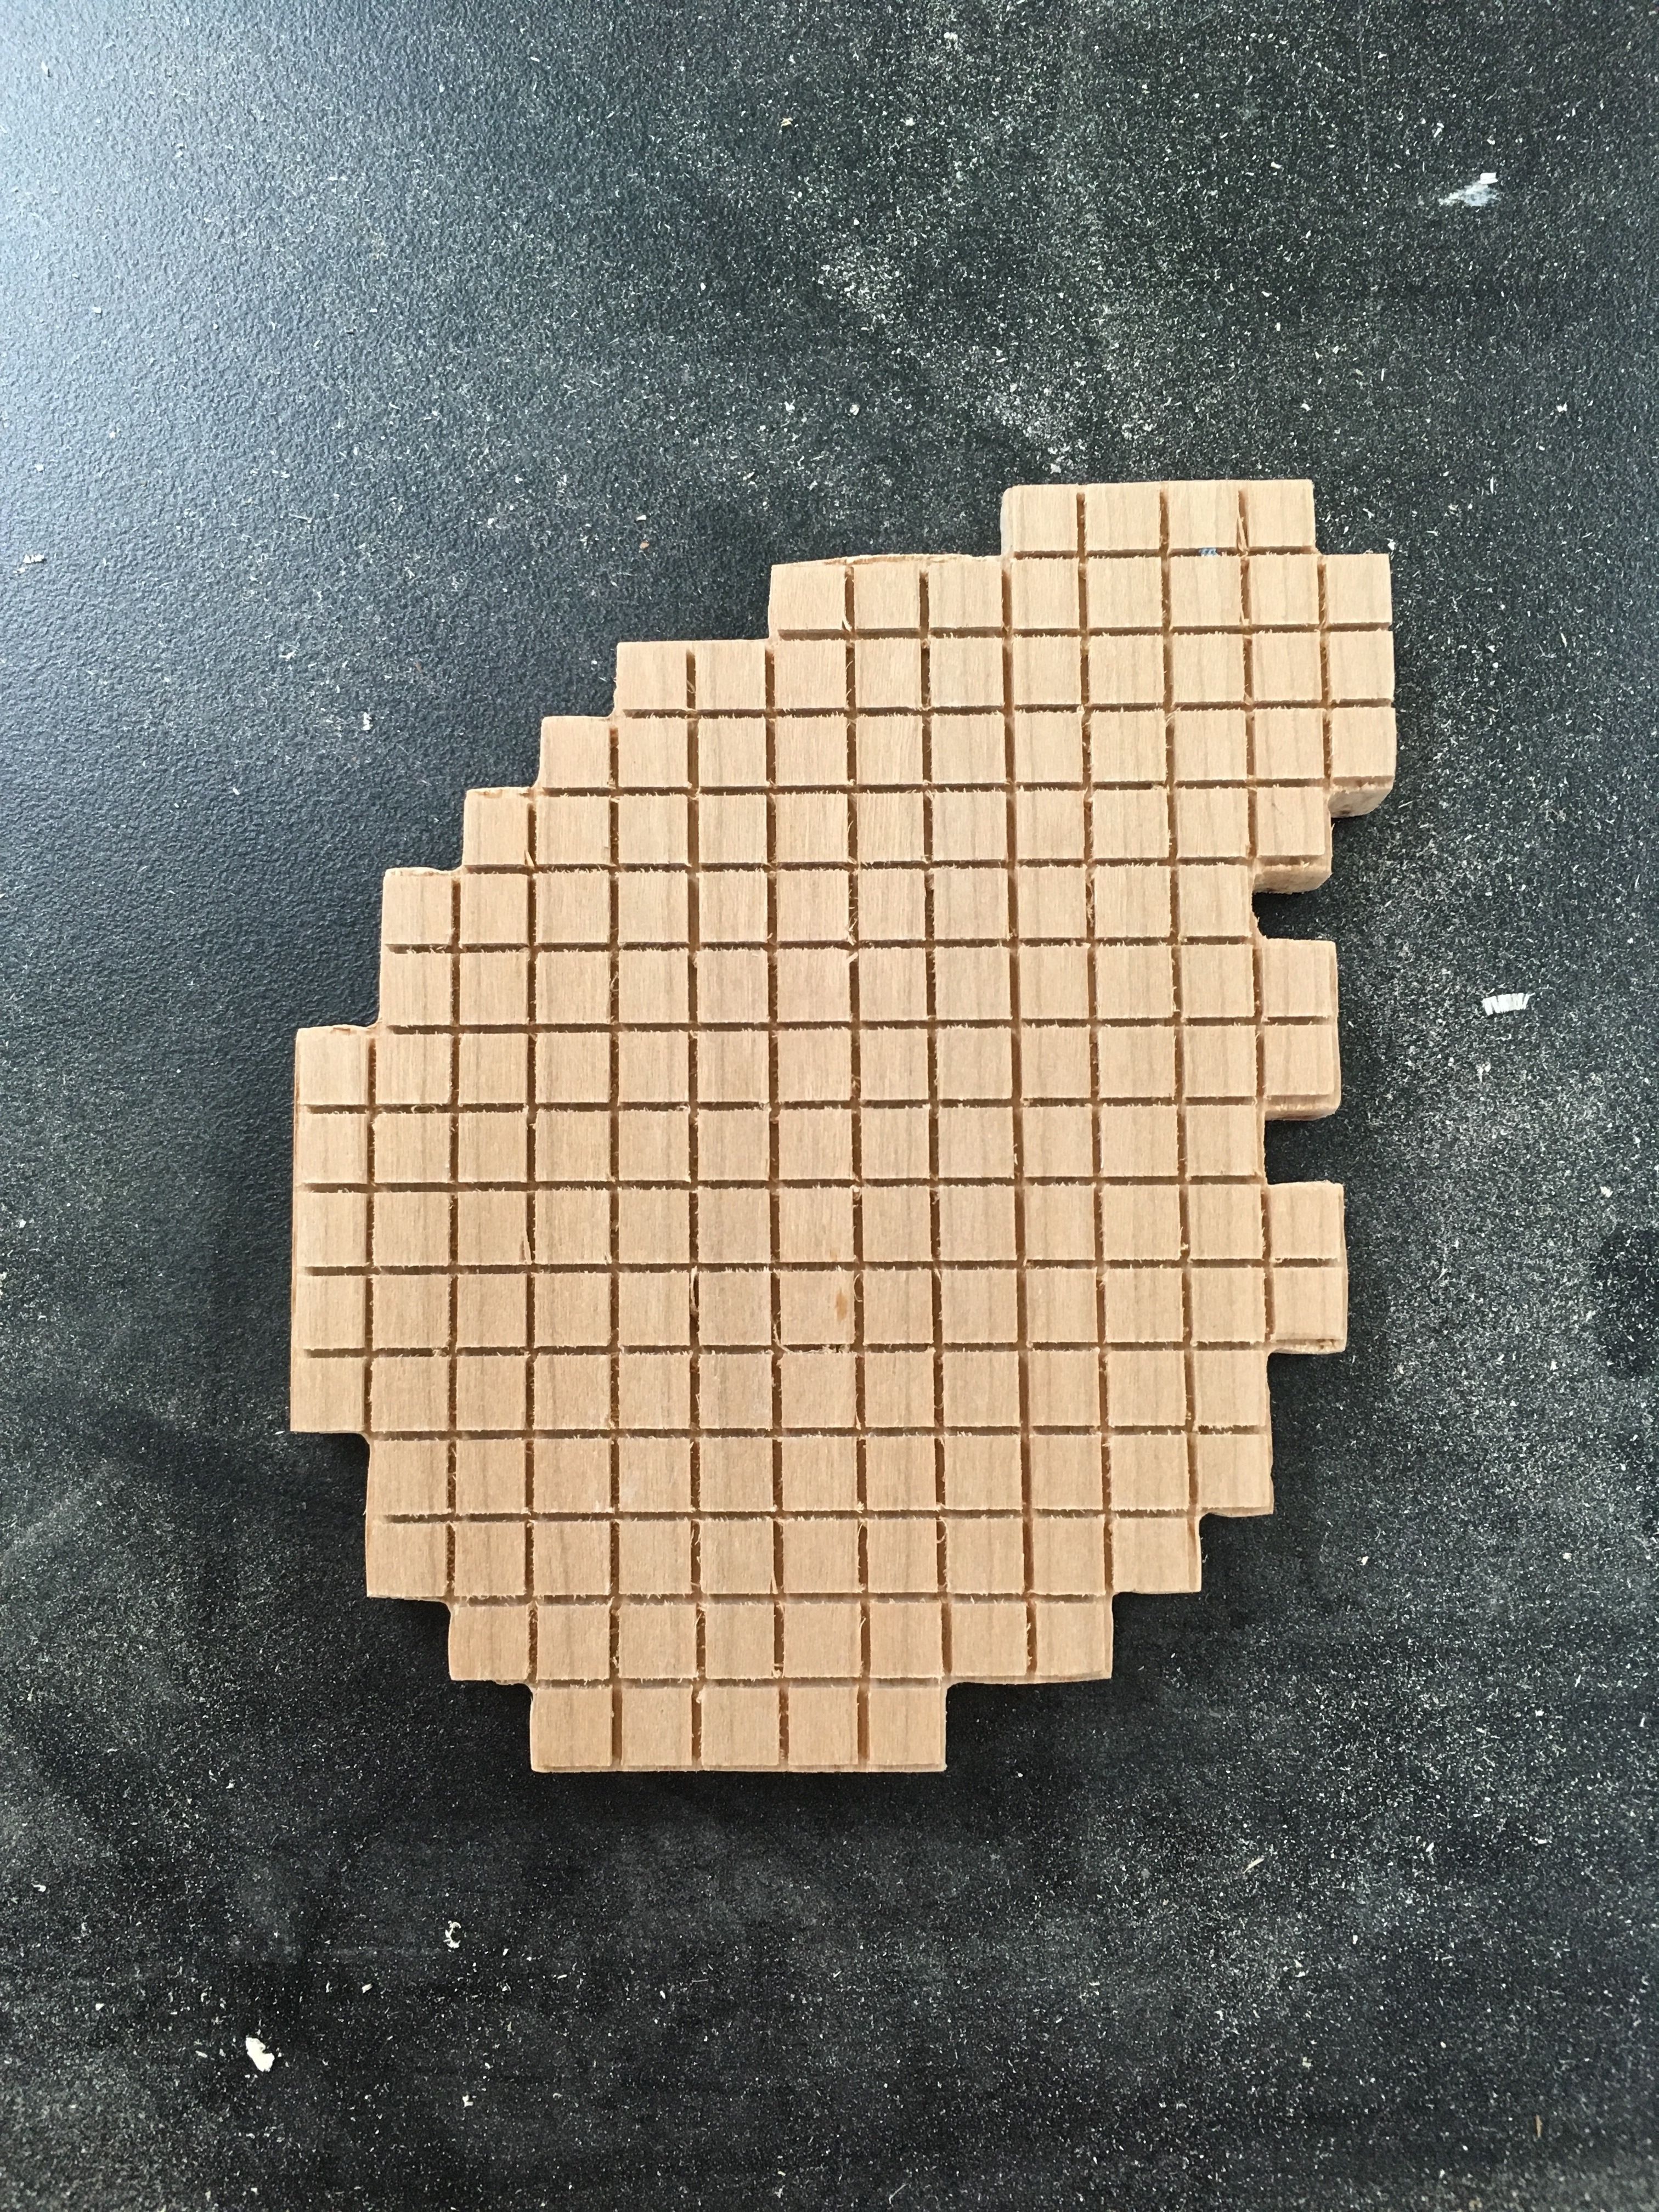
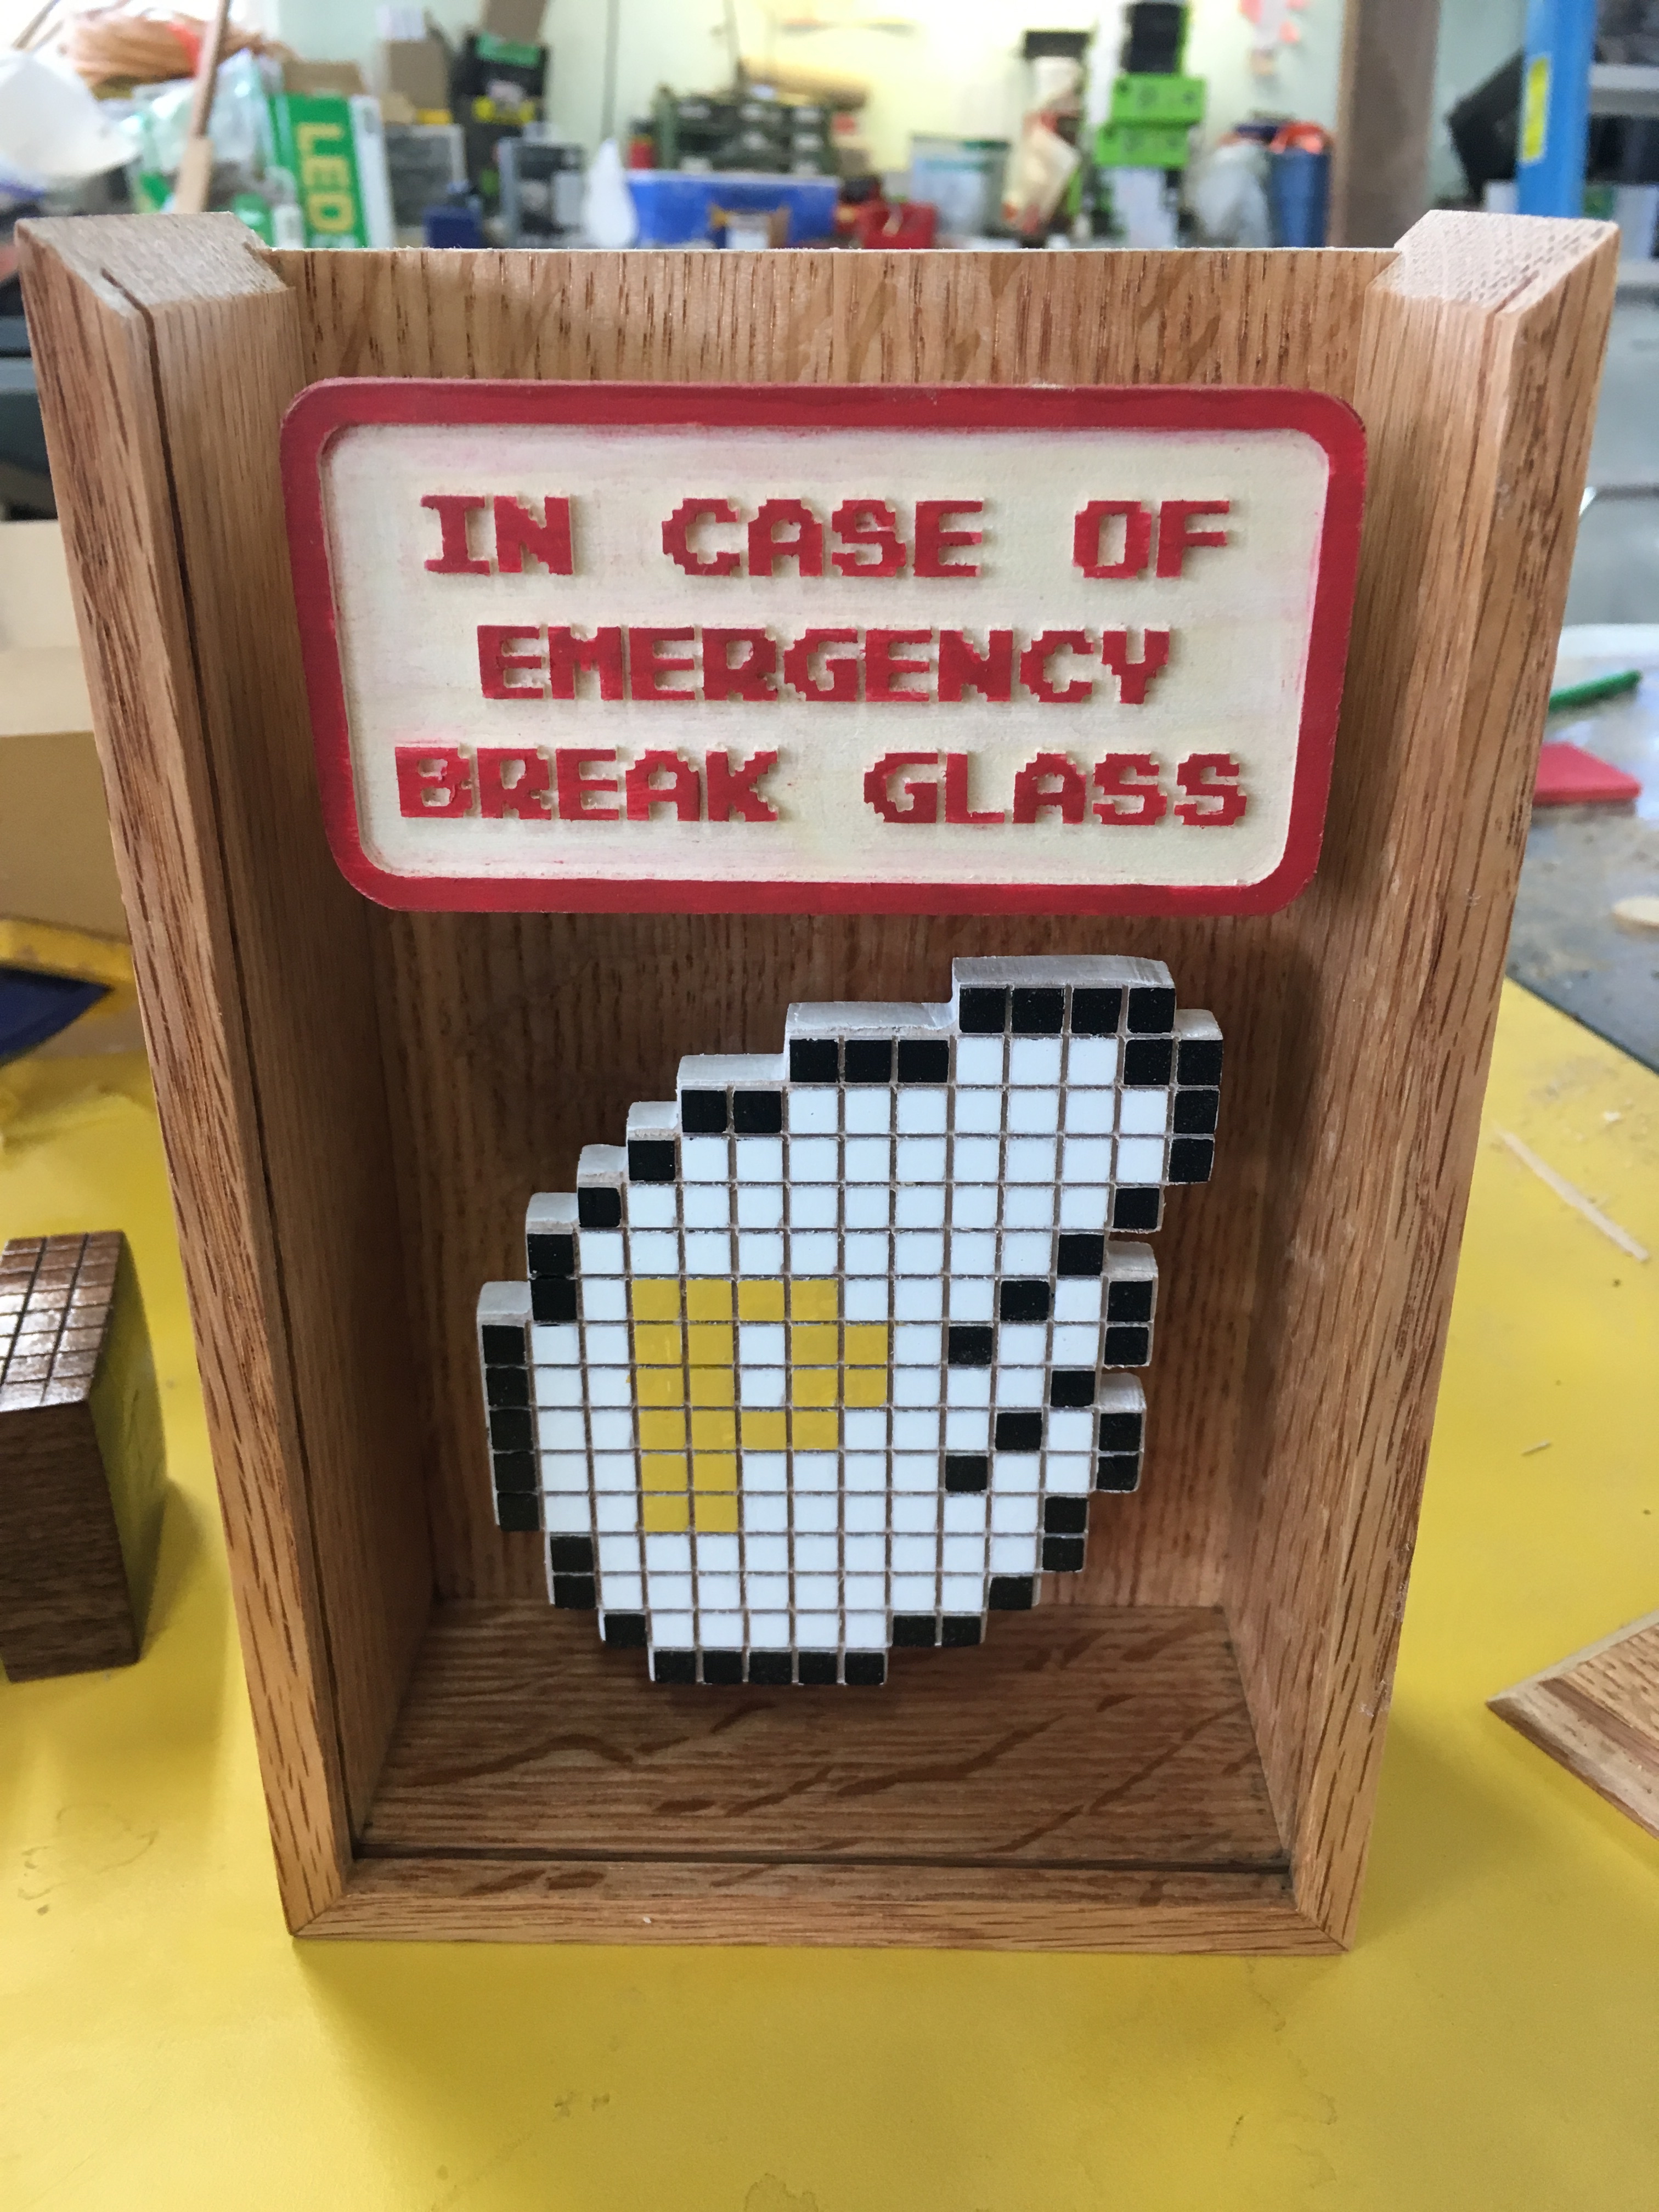
I decided to make a P-Wing out of wood instead. I cut a pixel grid on some oak with my X-Carve and then cut out the P-Wing shape on the bandsaw.
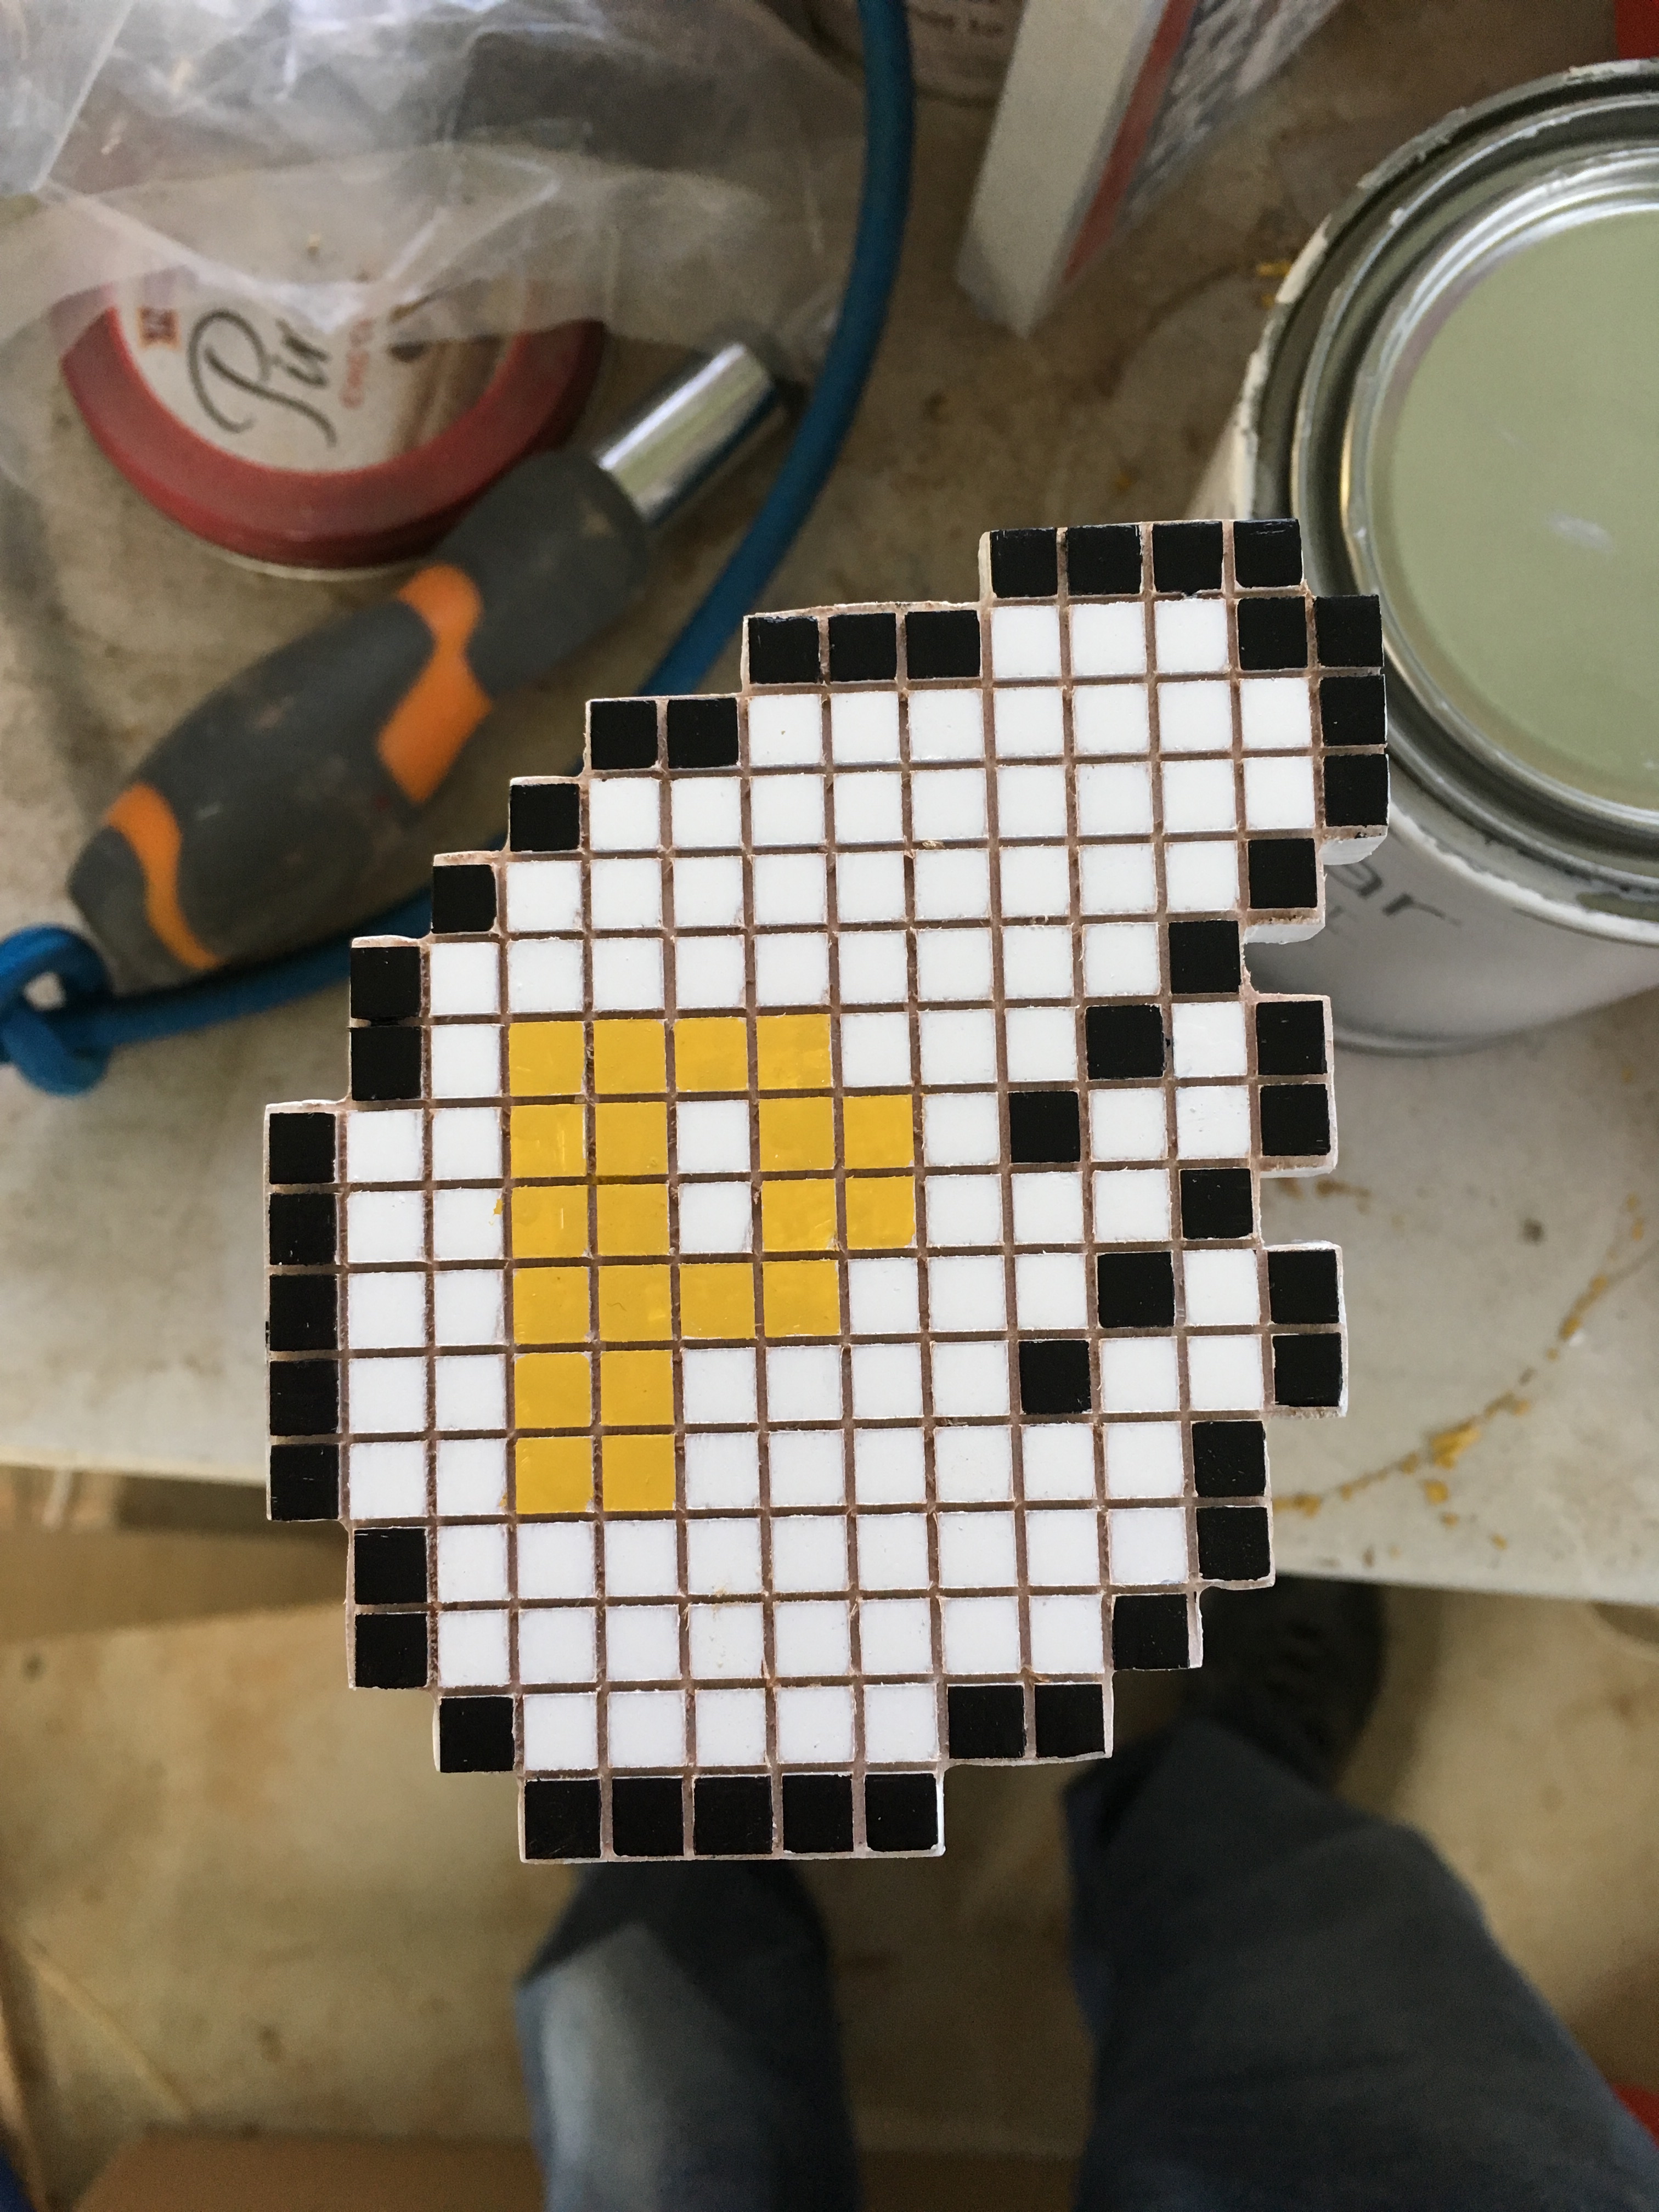
A splash of paint and the P-Wing is done. The P-Wing looks superimposed on this photo because it’s sitting on the top of a bottle, not floating in the air.
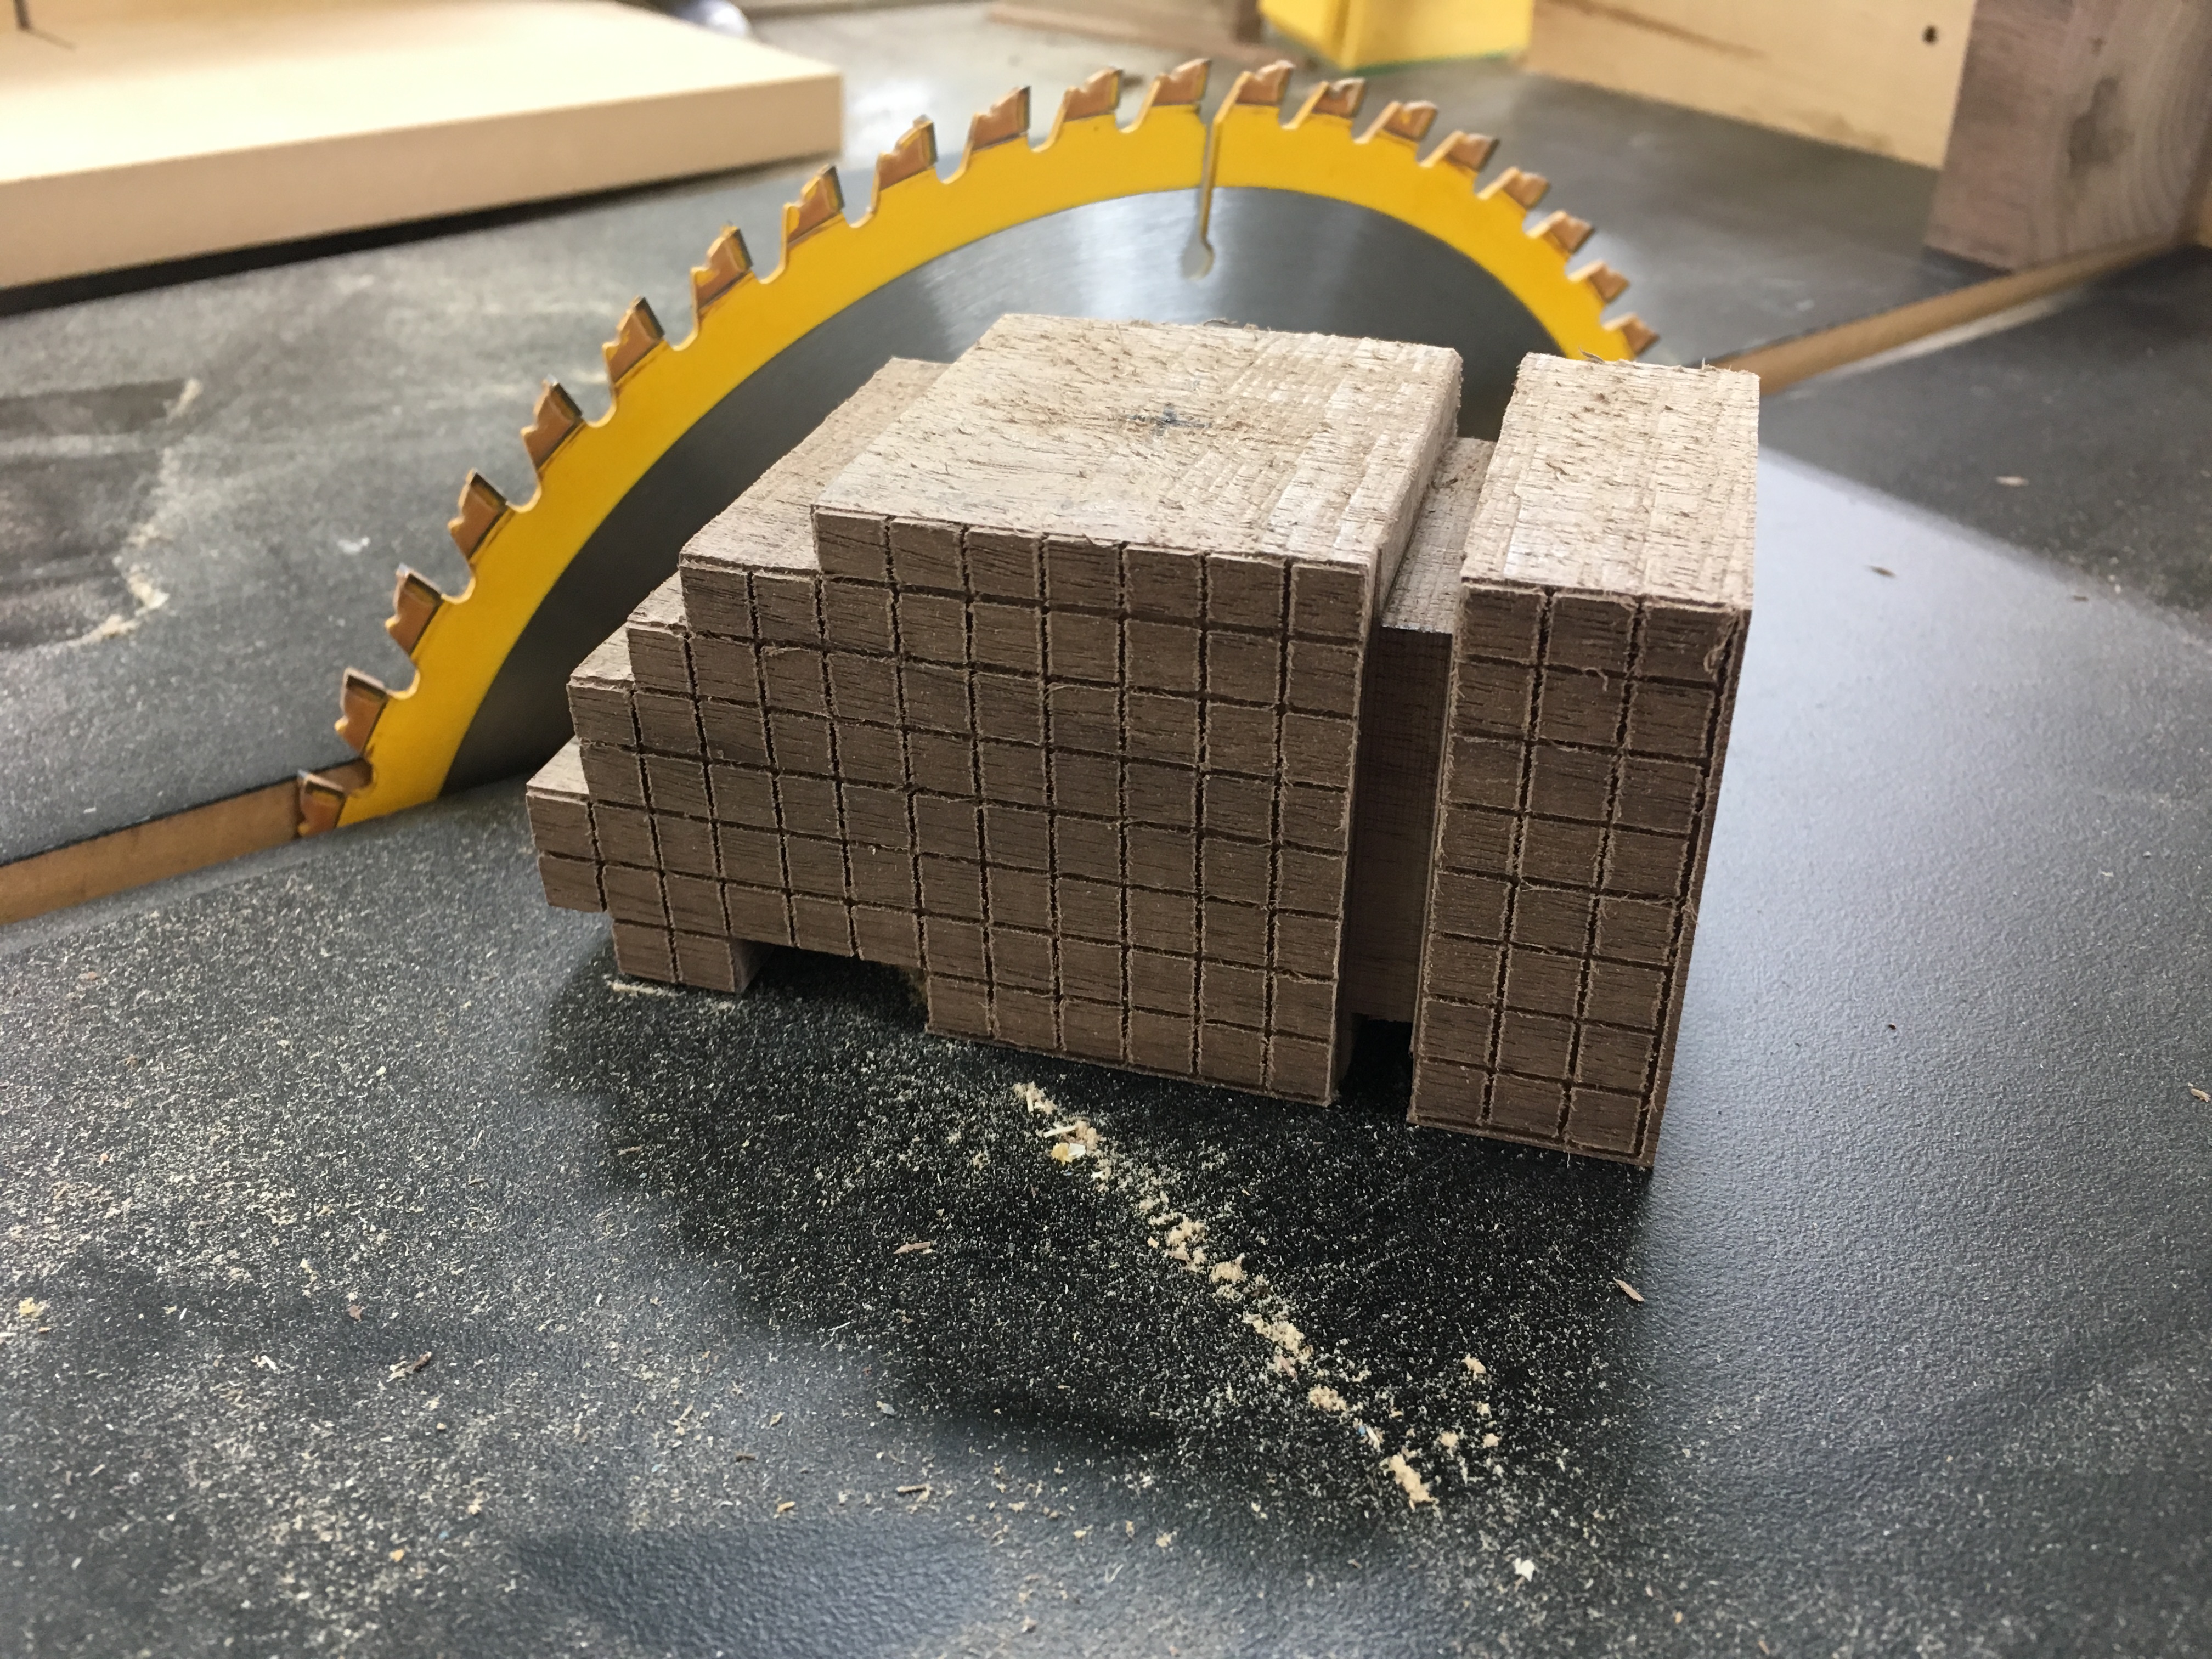
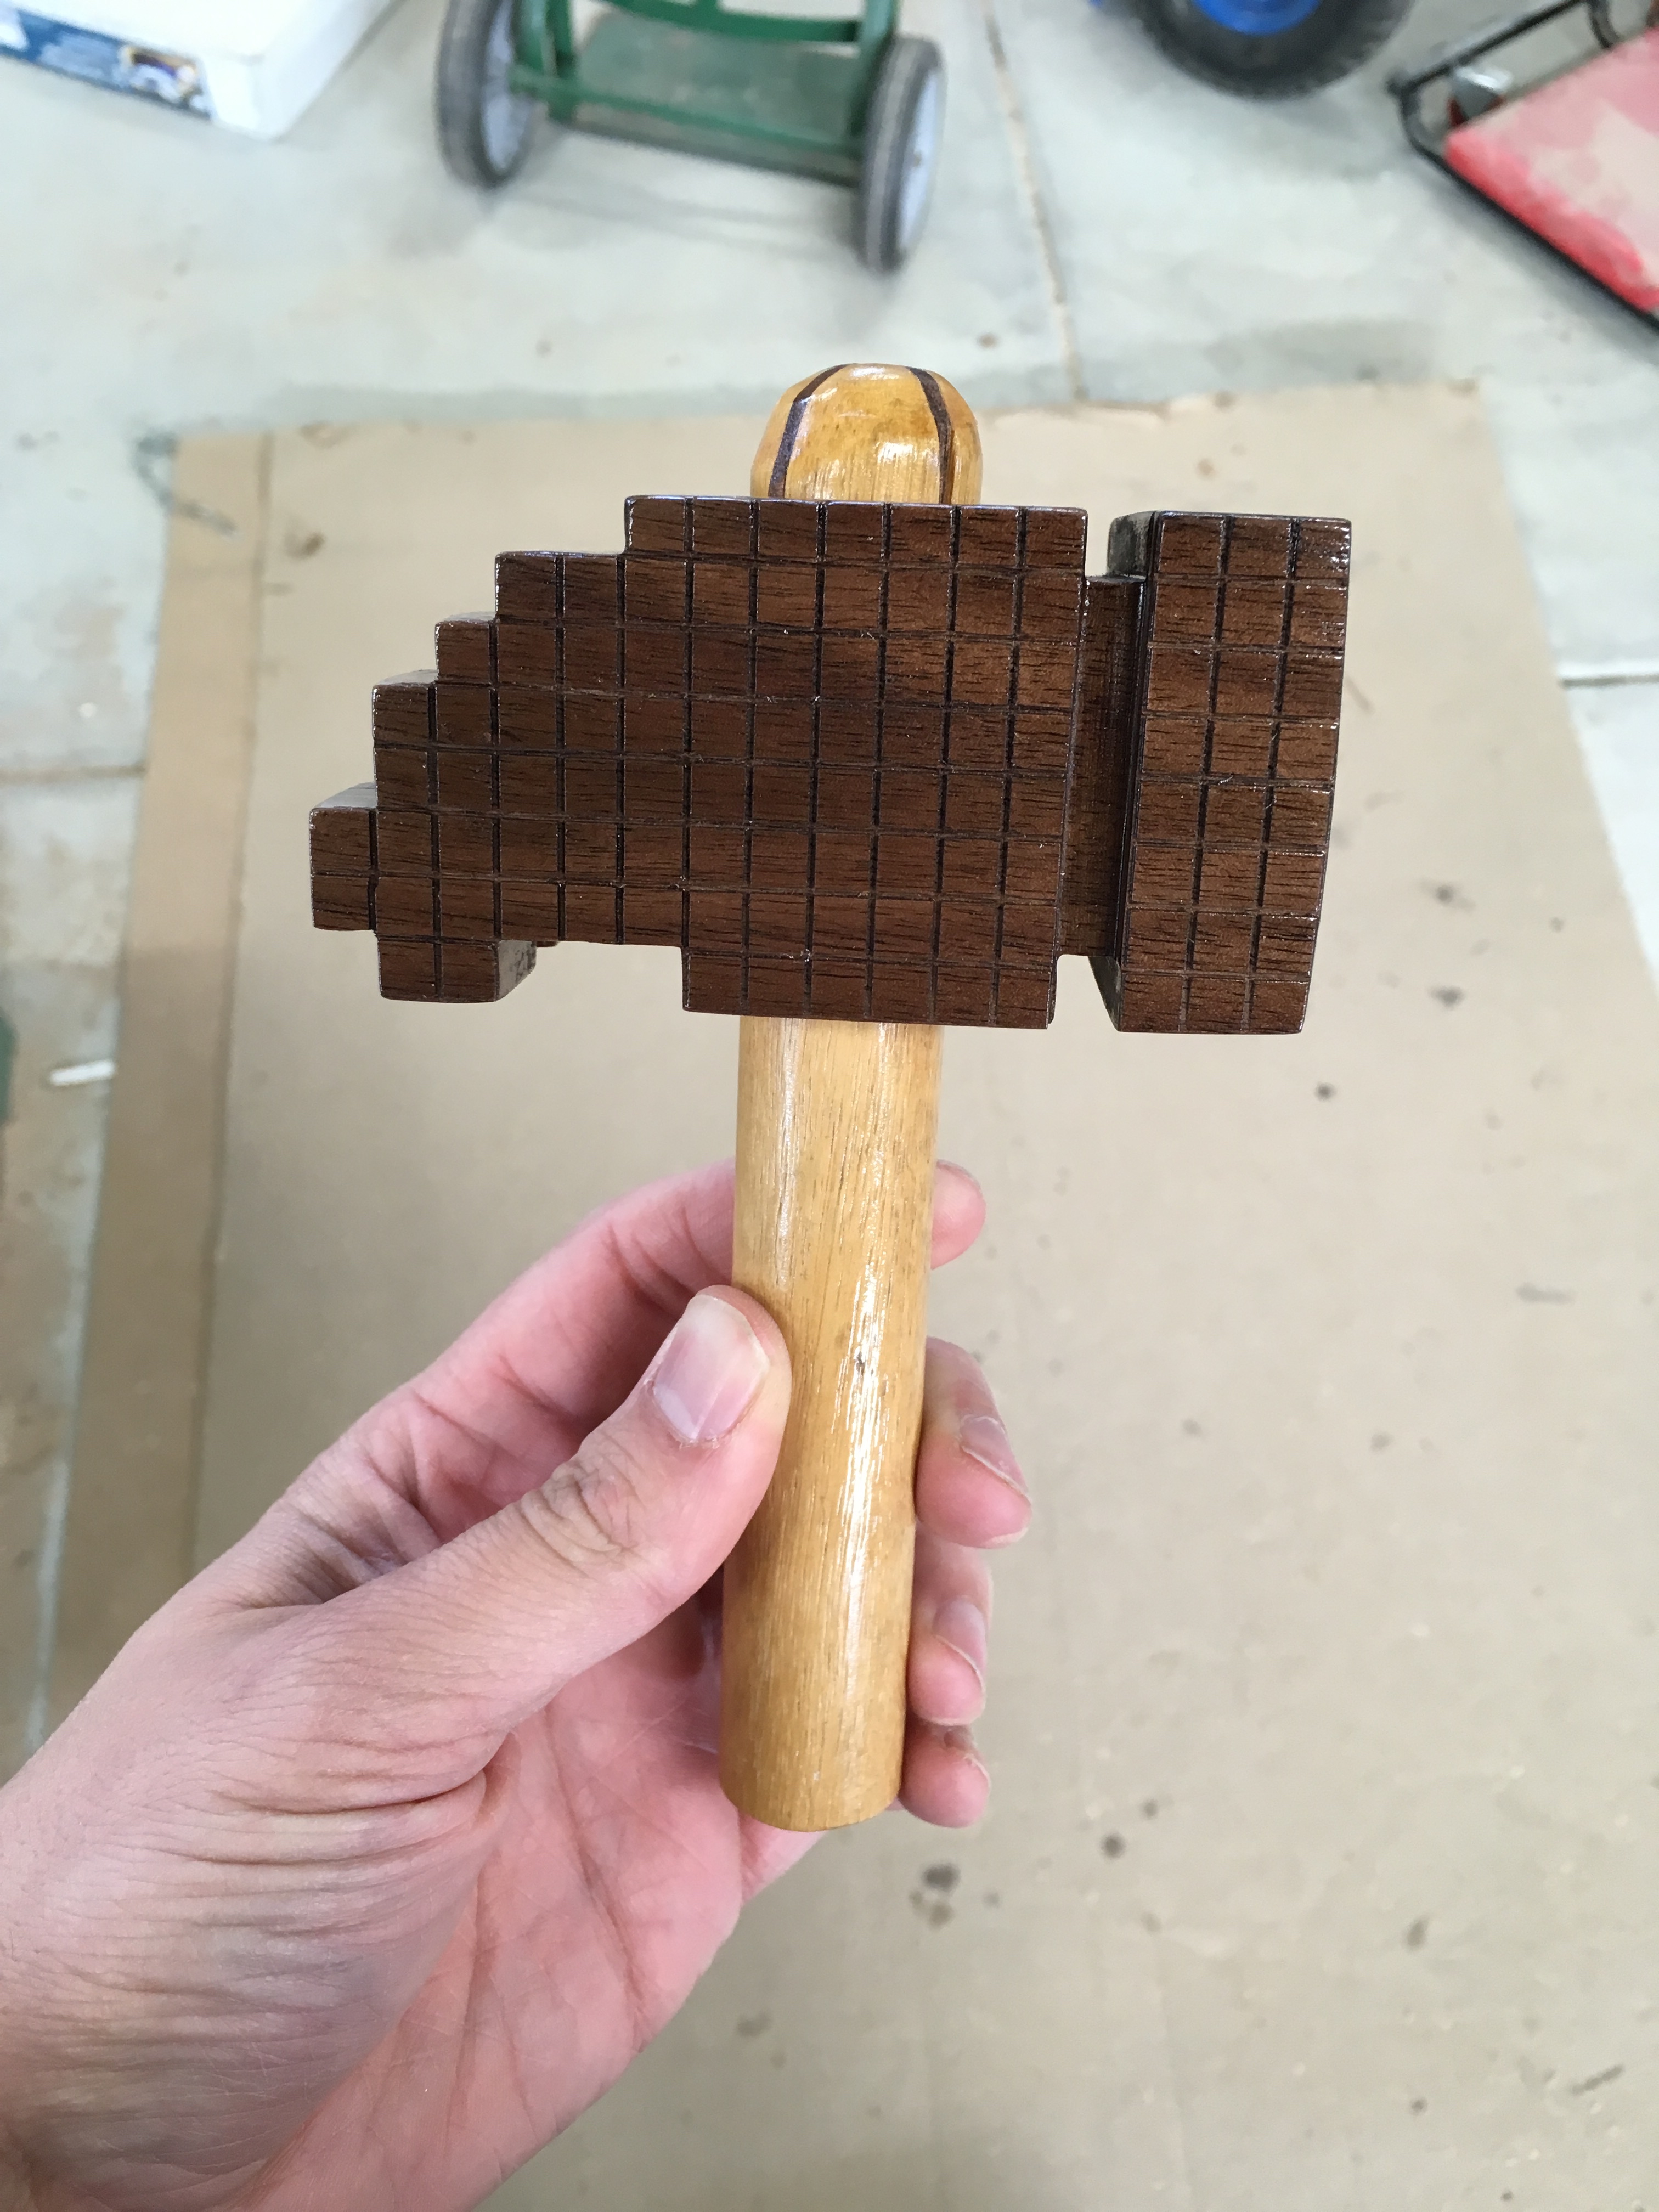
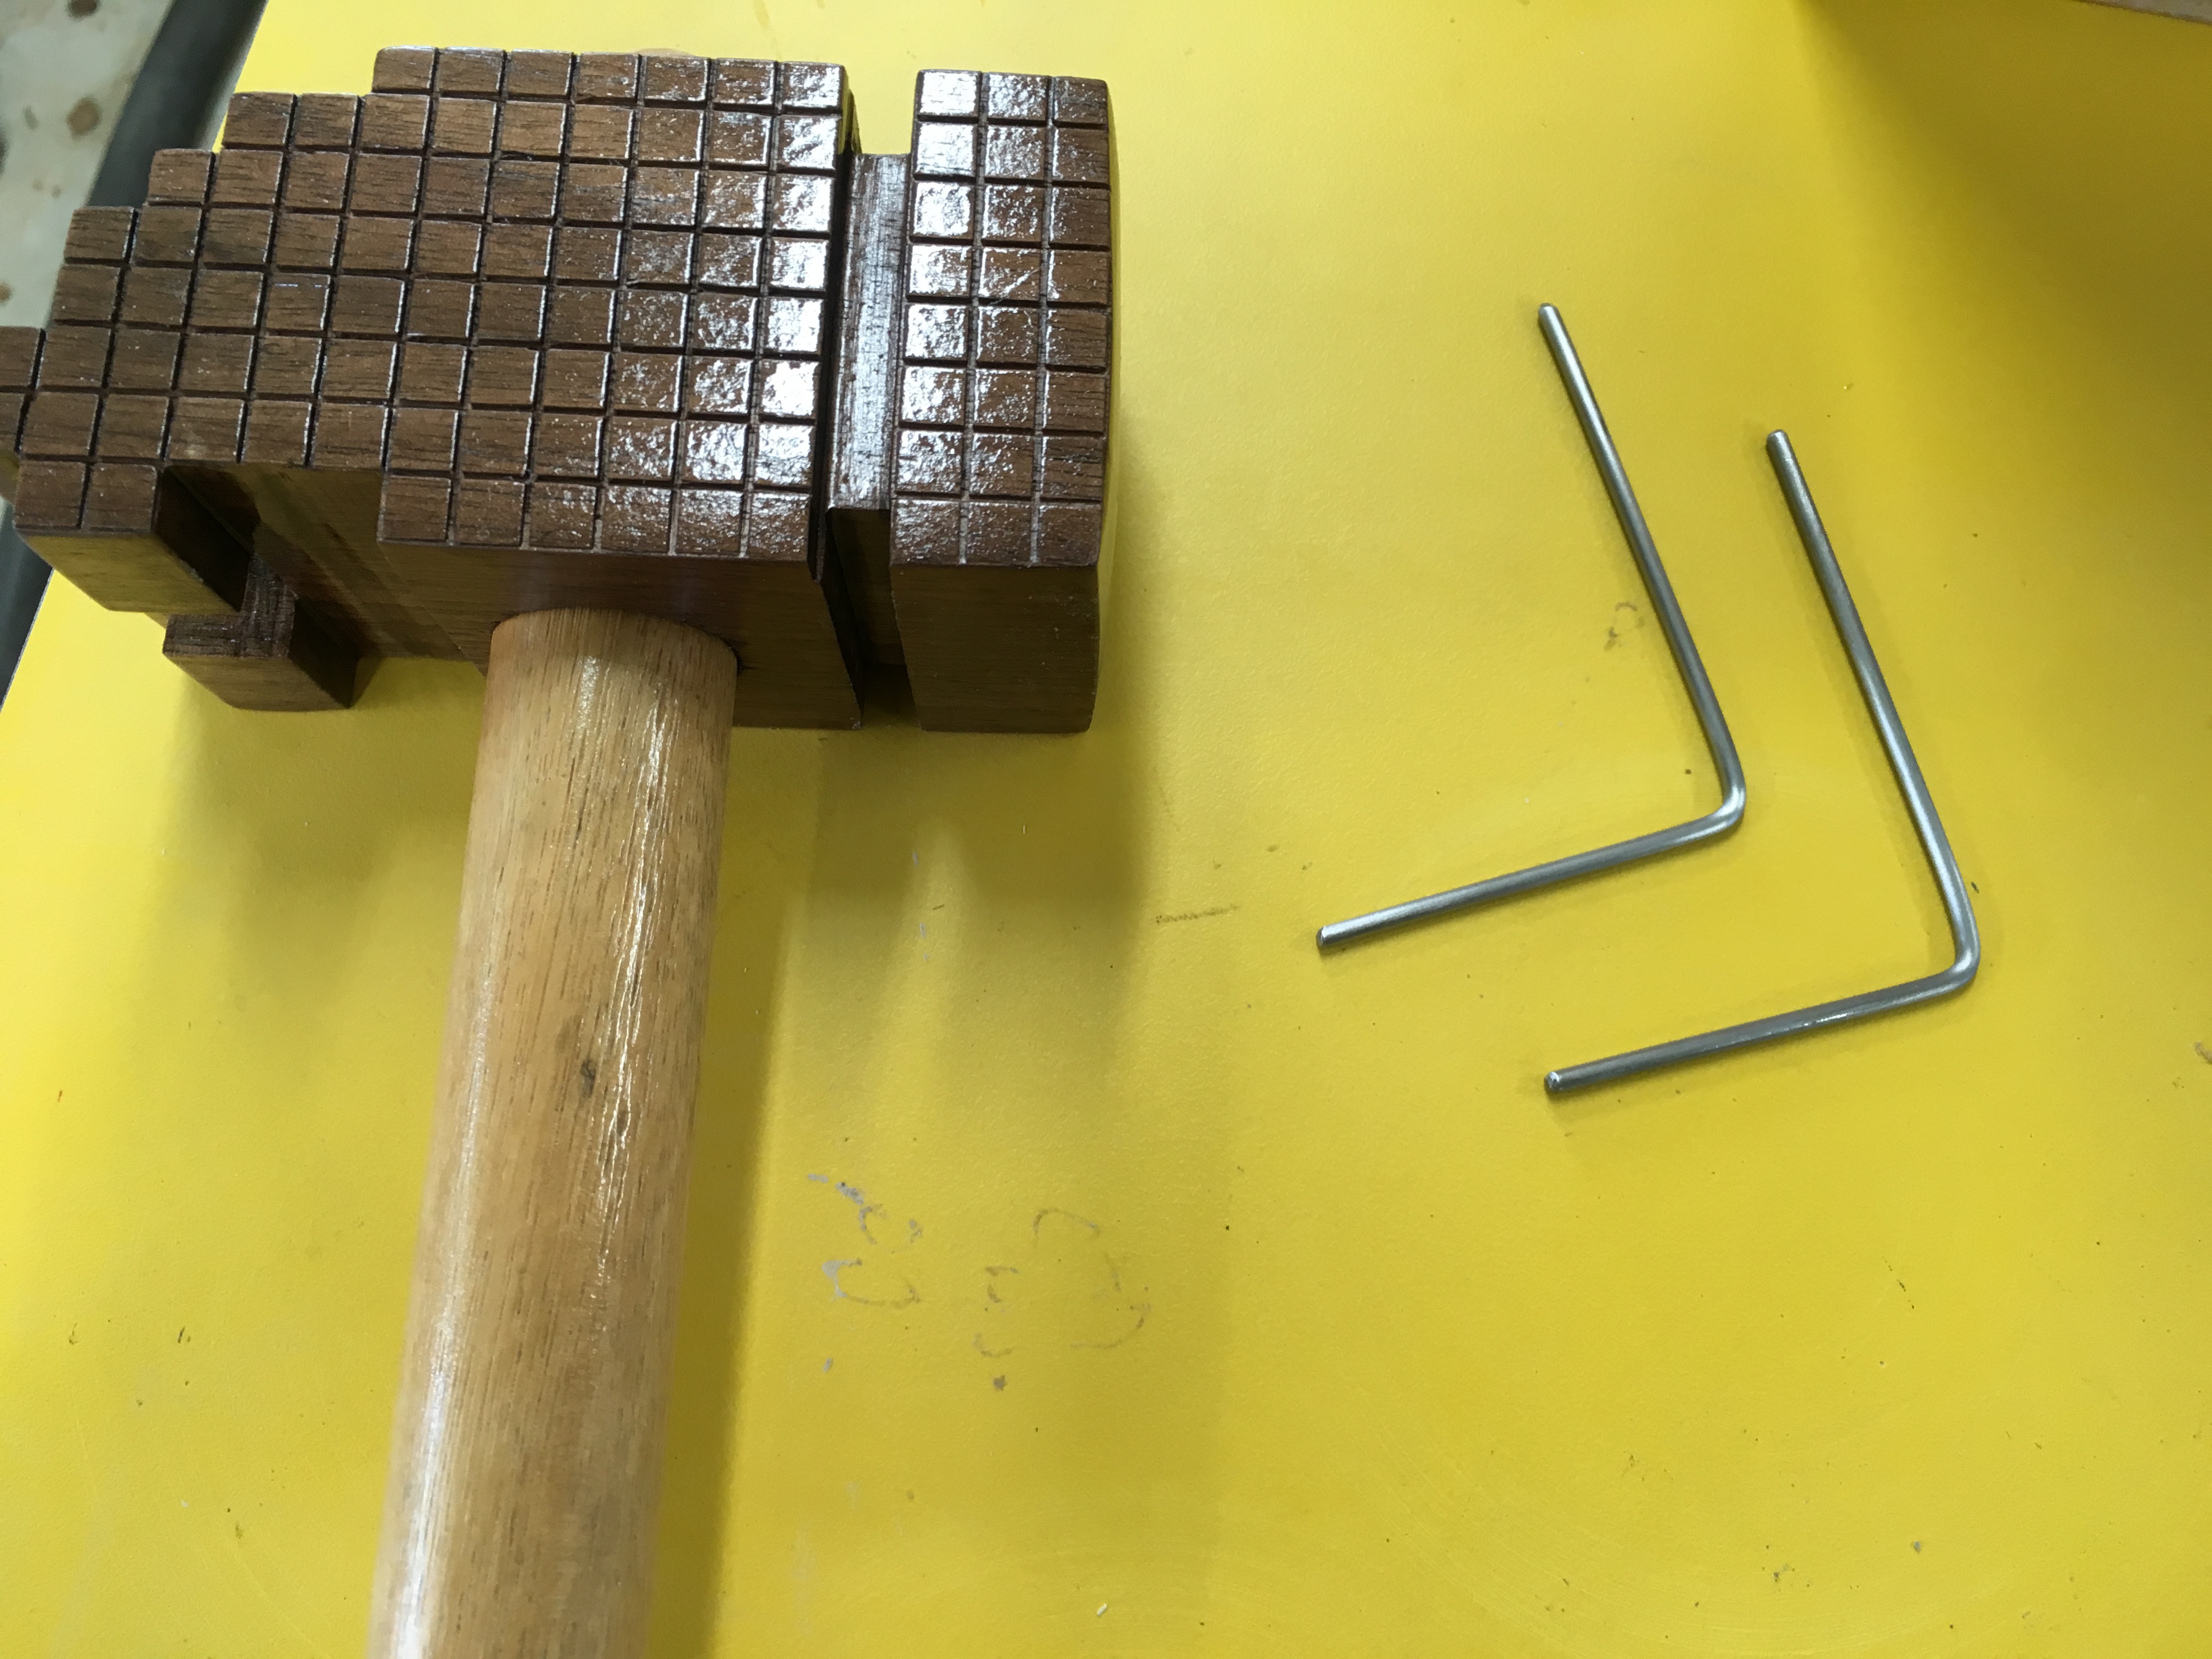
I made the hammer head the same way, by carving a grid on the X-Carve and then cutting out the real shape on the bandsaw.
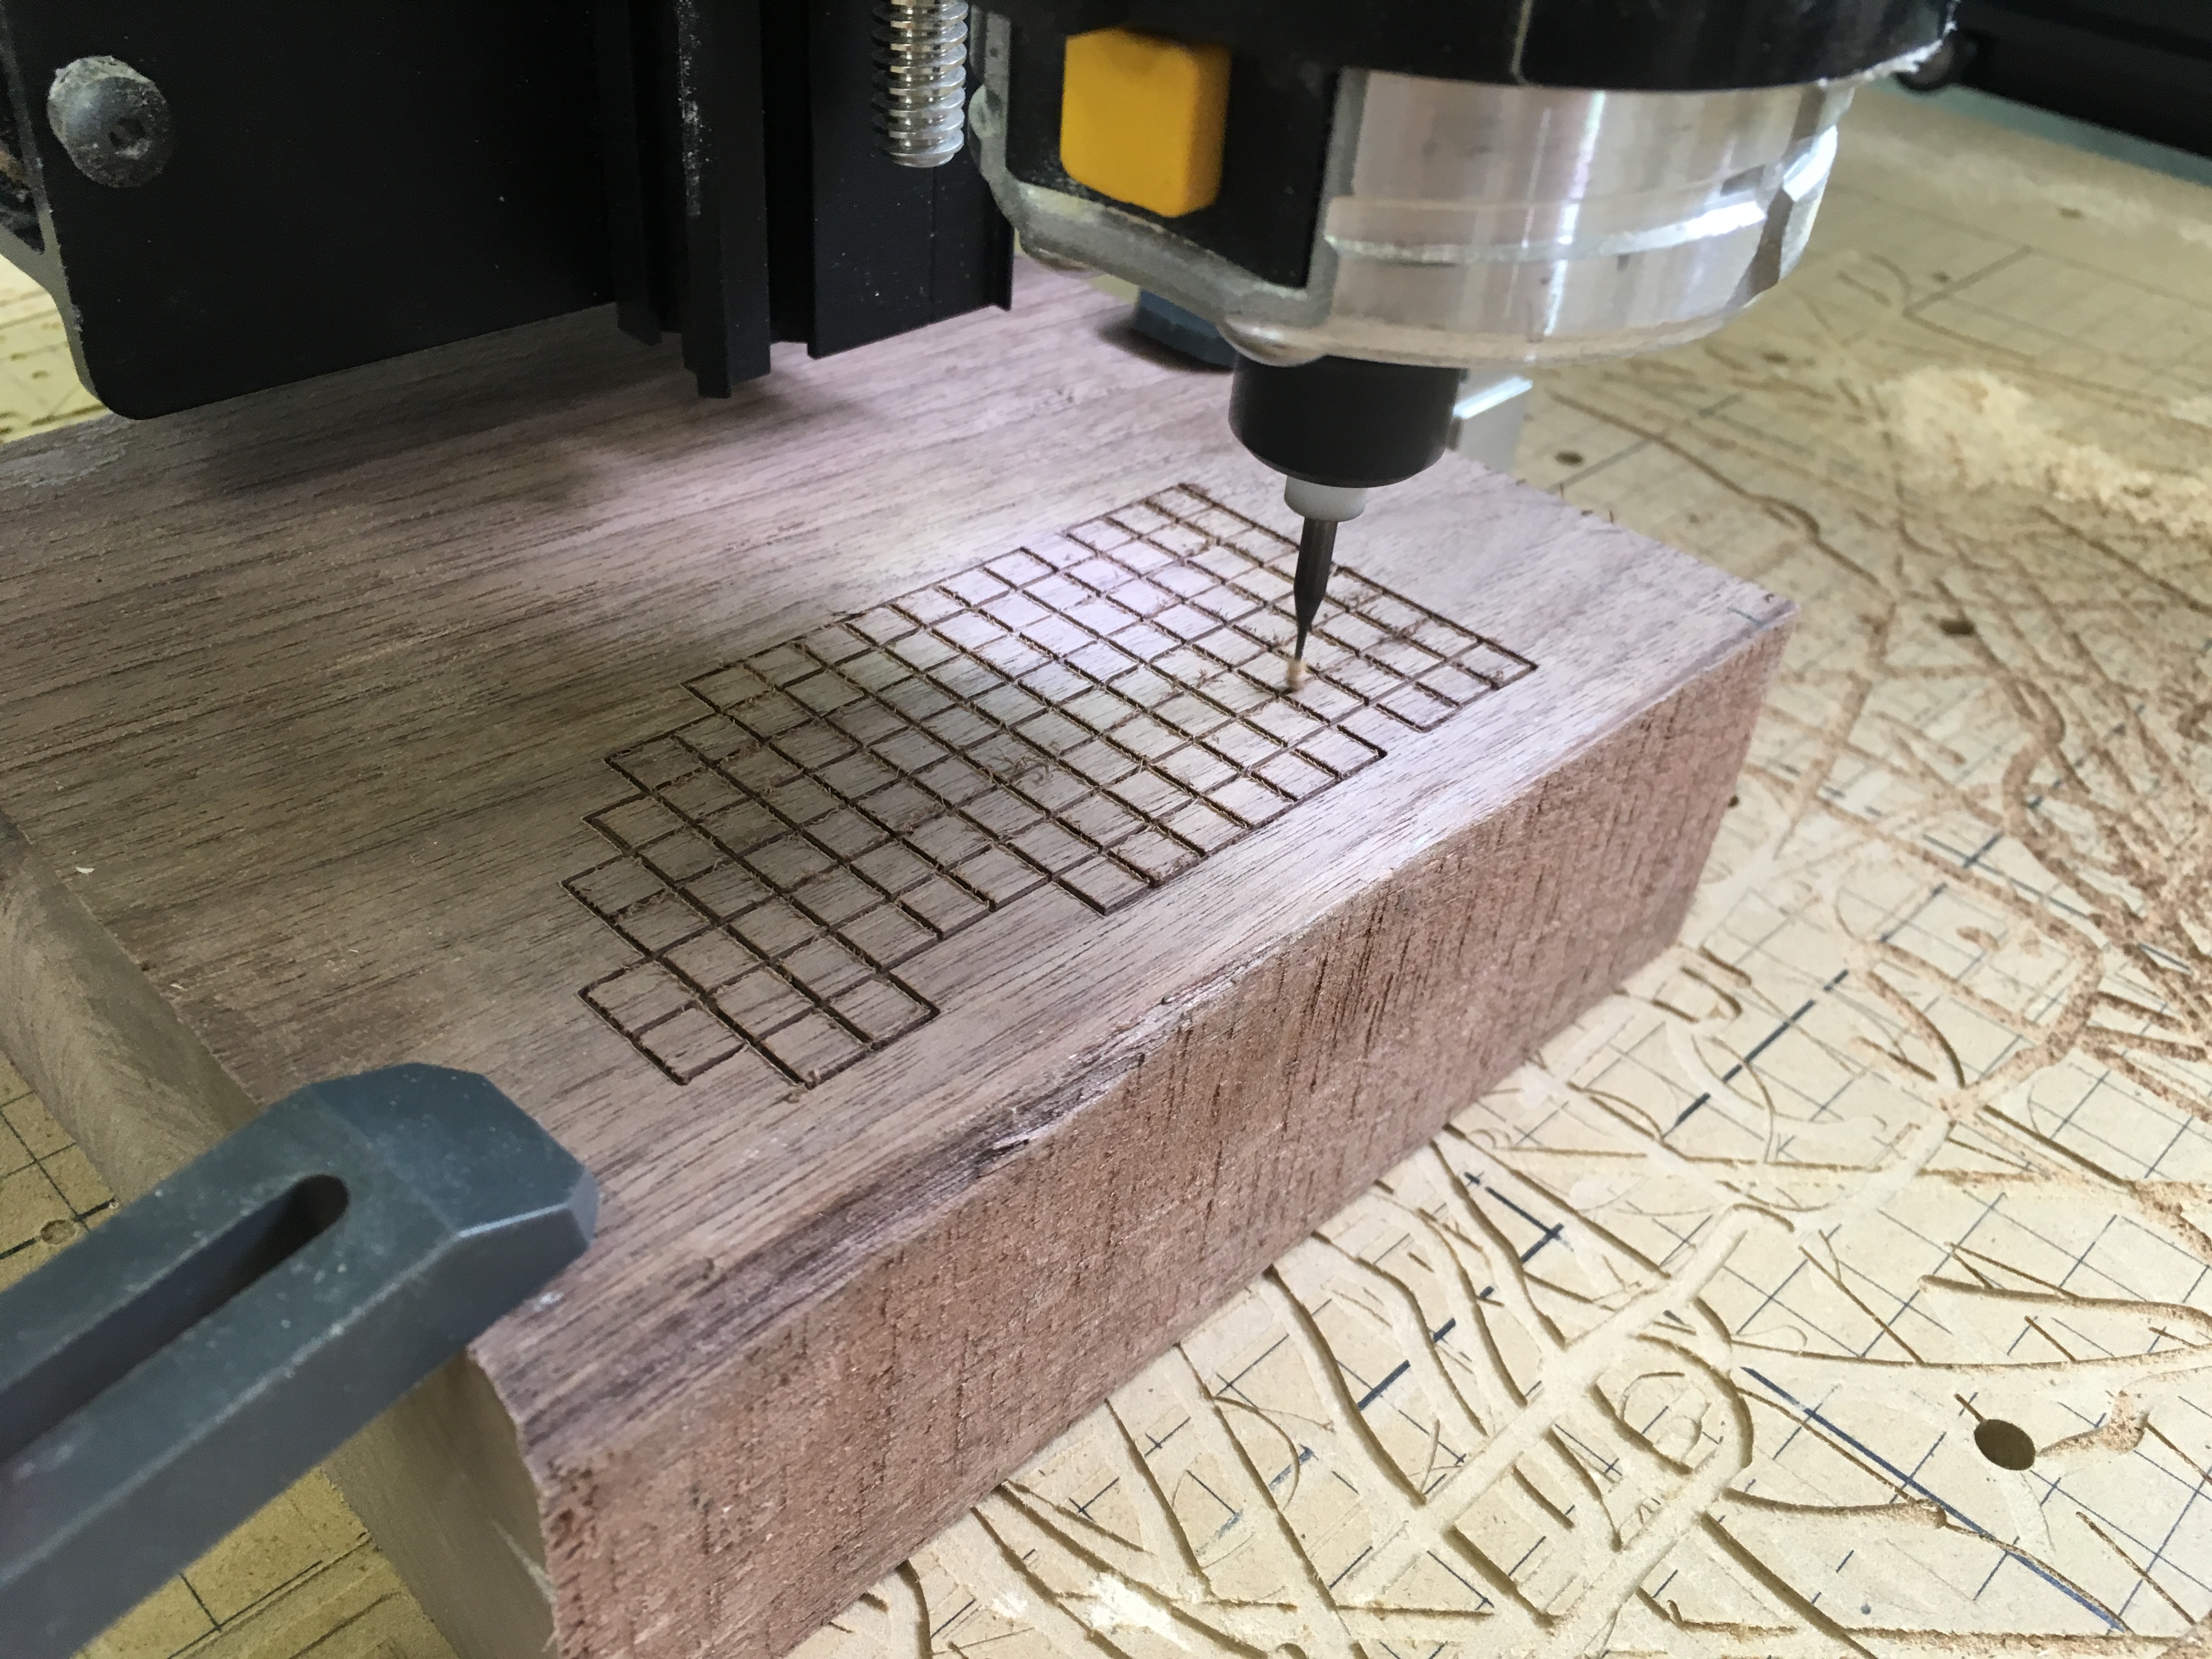
I don’t have any bits that could cut two inches deep, and cutting the edges on the bandsaw resulted in sharper corners.
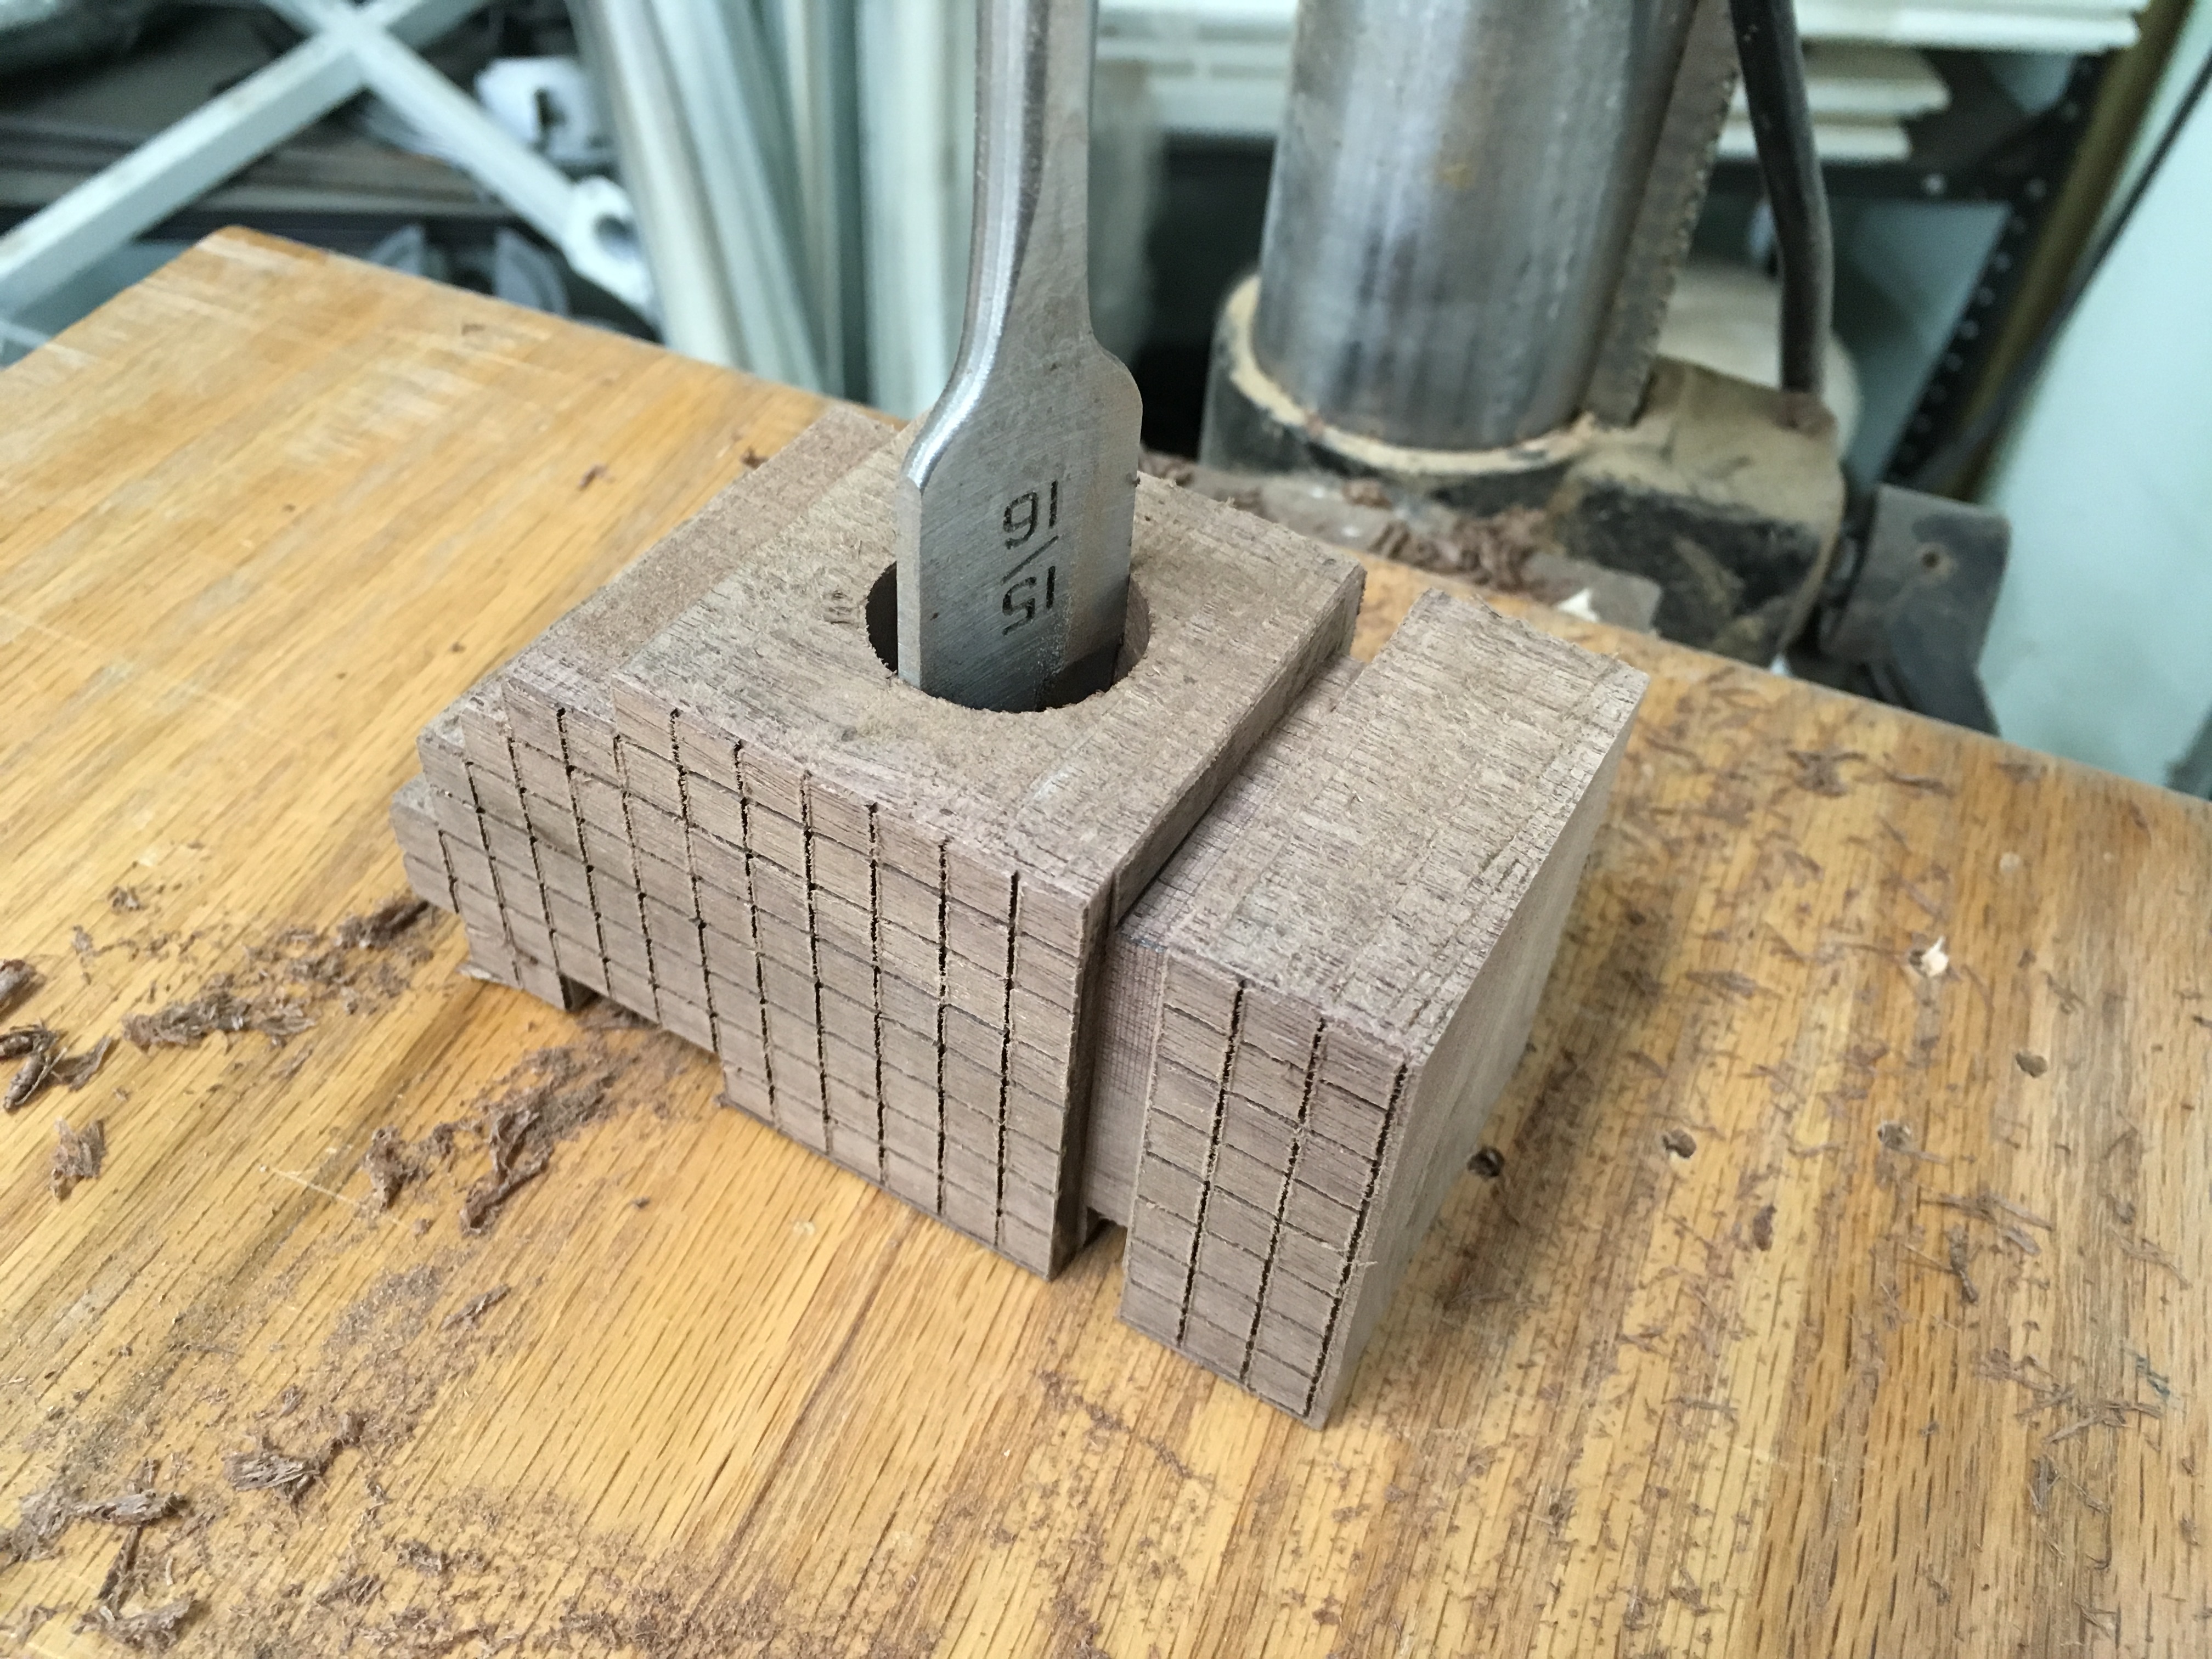
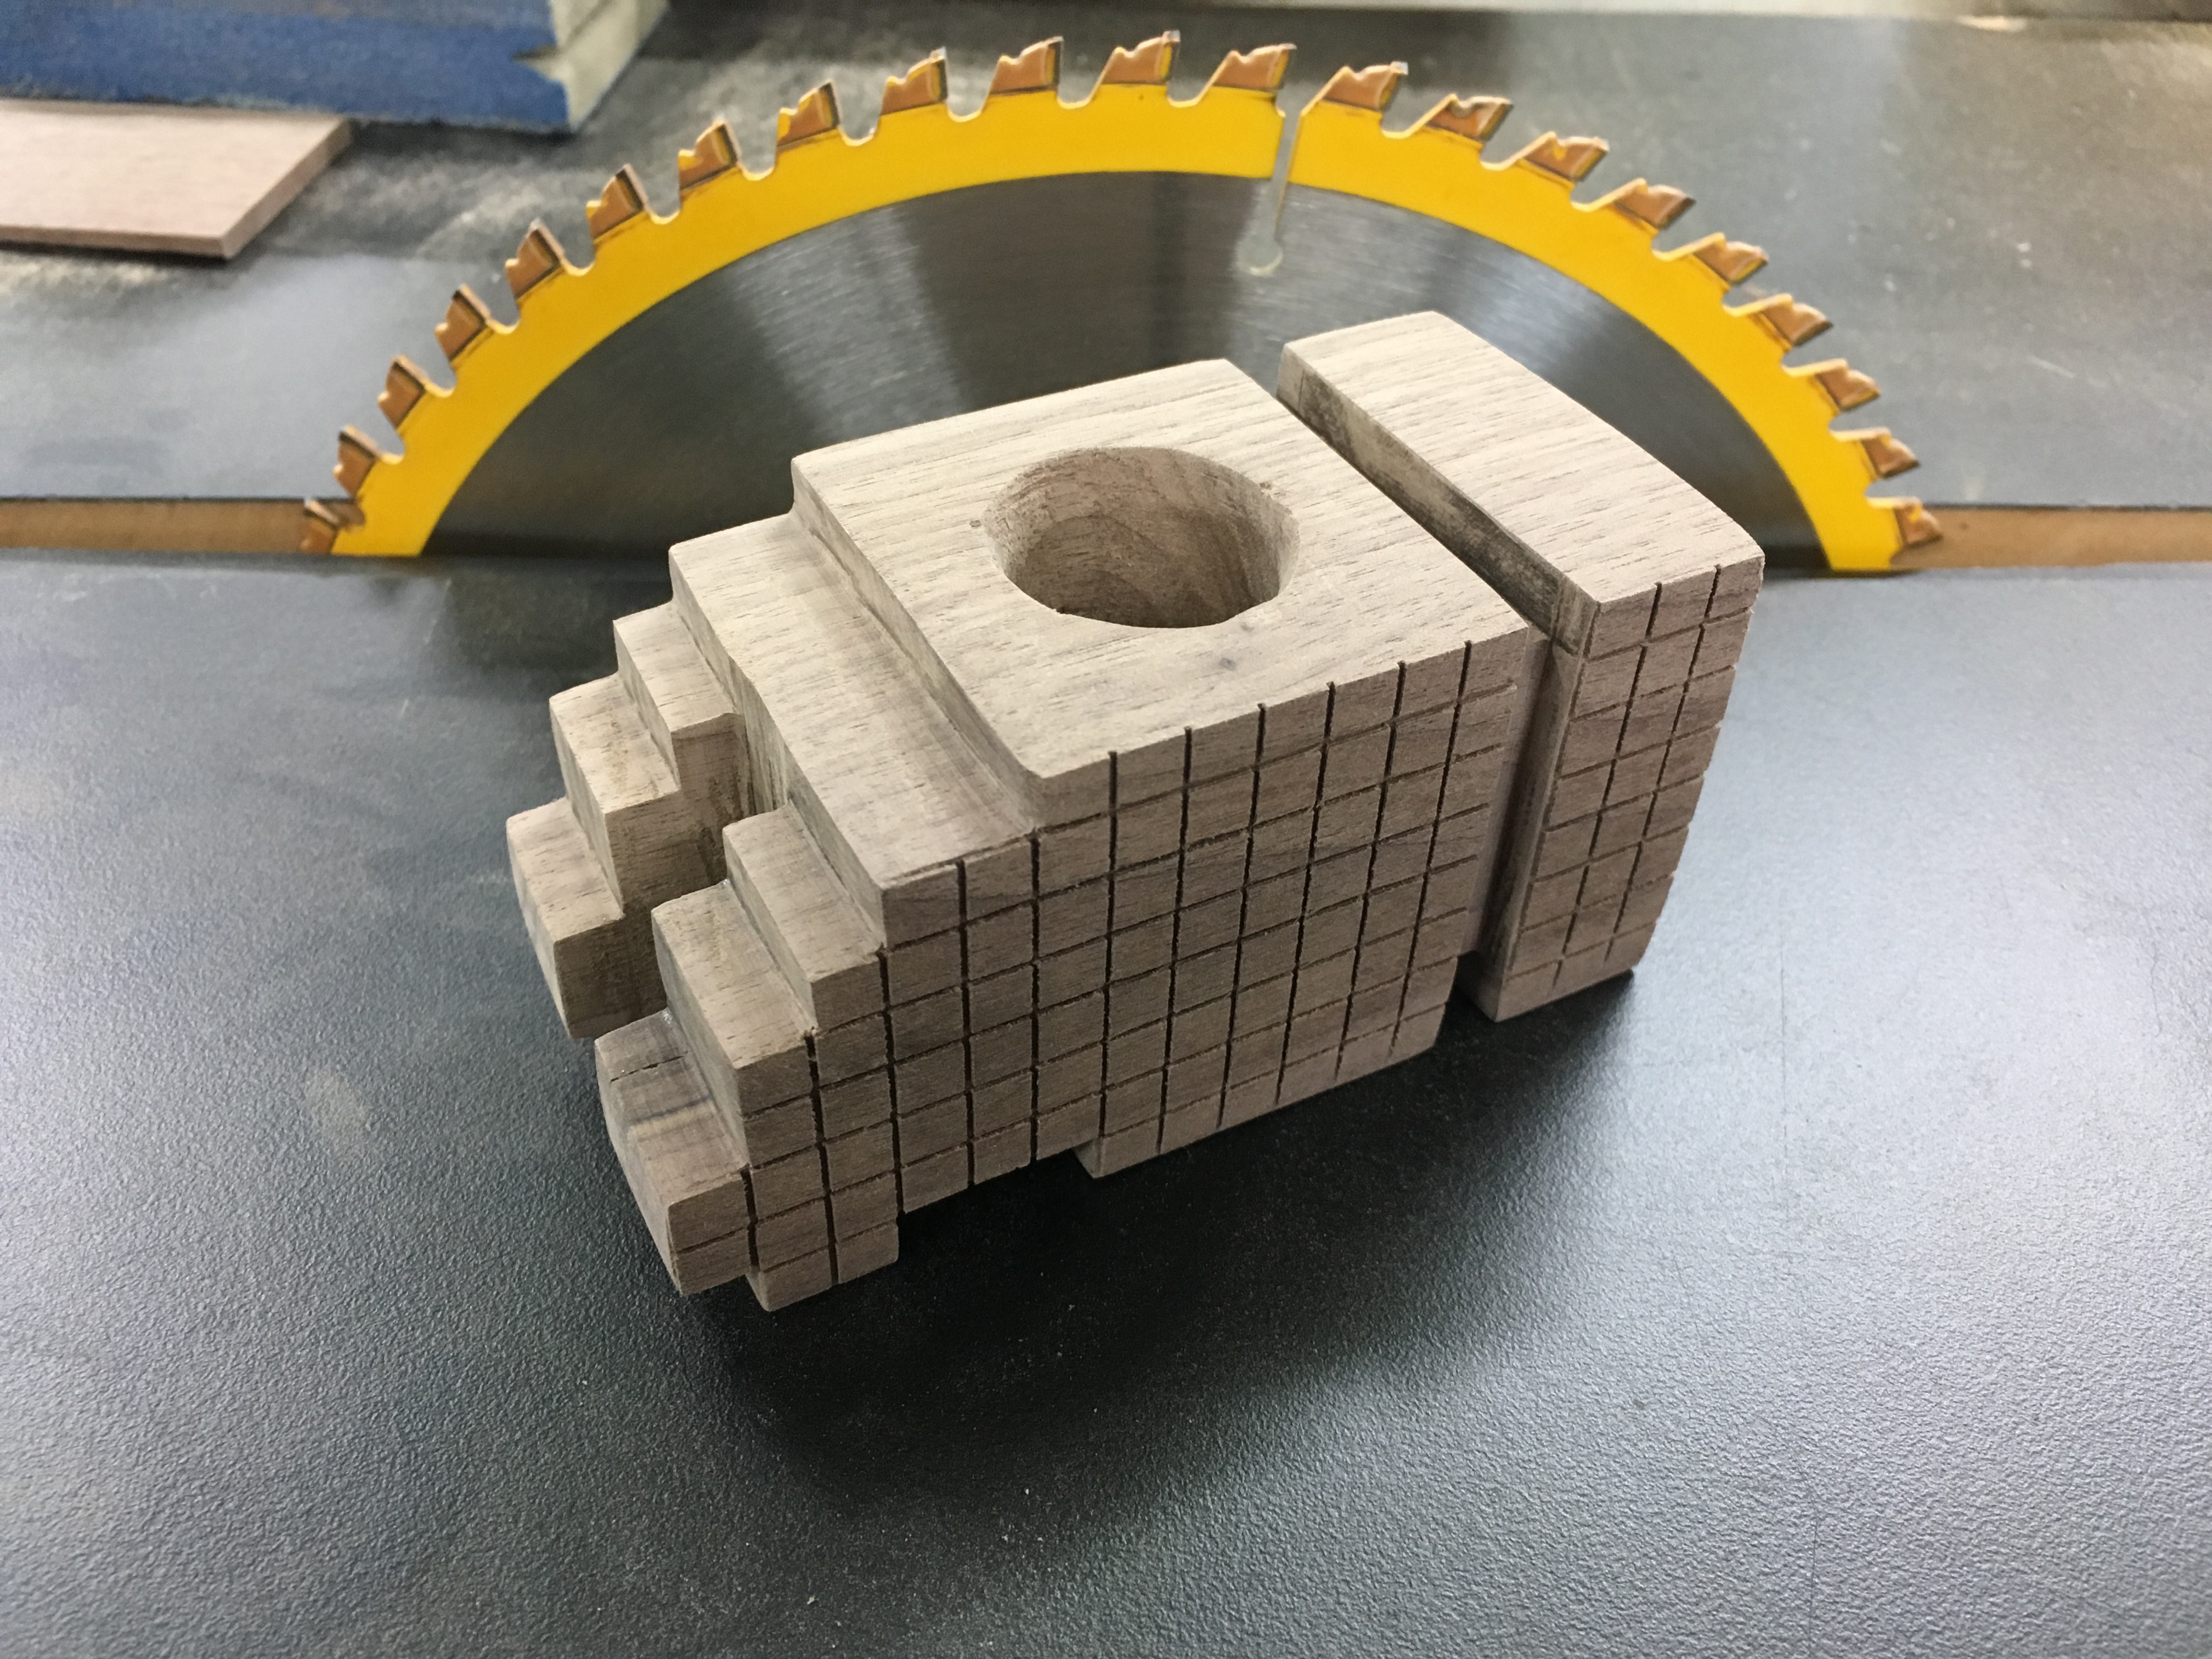
In order to attach a handle, I cut a 15/16″ hole through the hammer head. Reenactment pictured below.
I filed the top of the hole to flare it out so that the handle would fit better as I pounded the wedges into it. (I also took some liberties and cut a space between the hammer claws, even though it’s not clear from the game that the hammer has separate claws.)
I apparently forgot to take any pictures of the handle-making process, so you’ll have to take my word for it that I used part of a broken broomstick, rounded the ends, cut an X in one end, and then pounded walnut wedges into it to secure the handle in place.
(This video explains the process of using wedges to attach a hammer handle.)
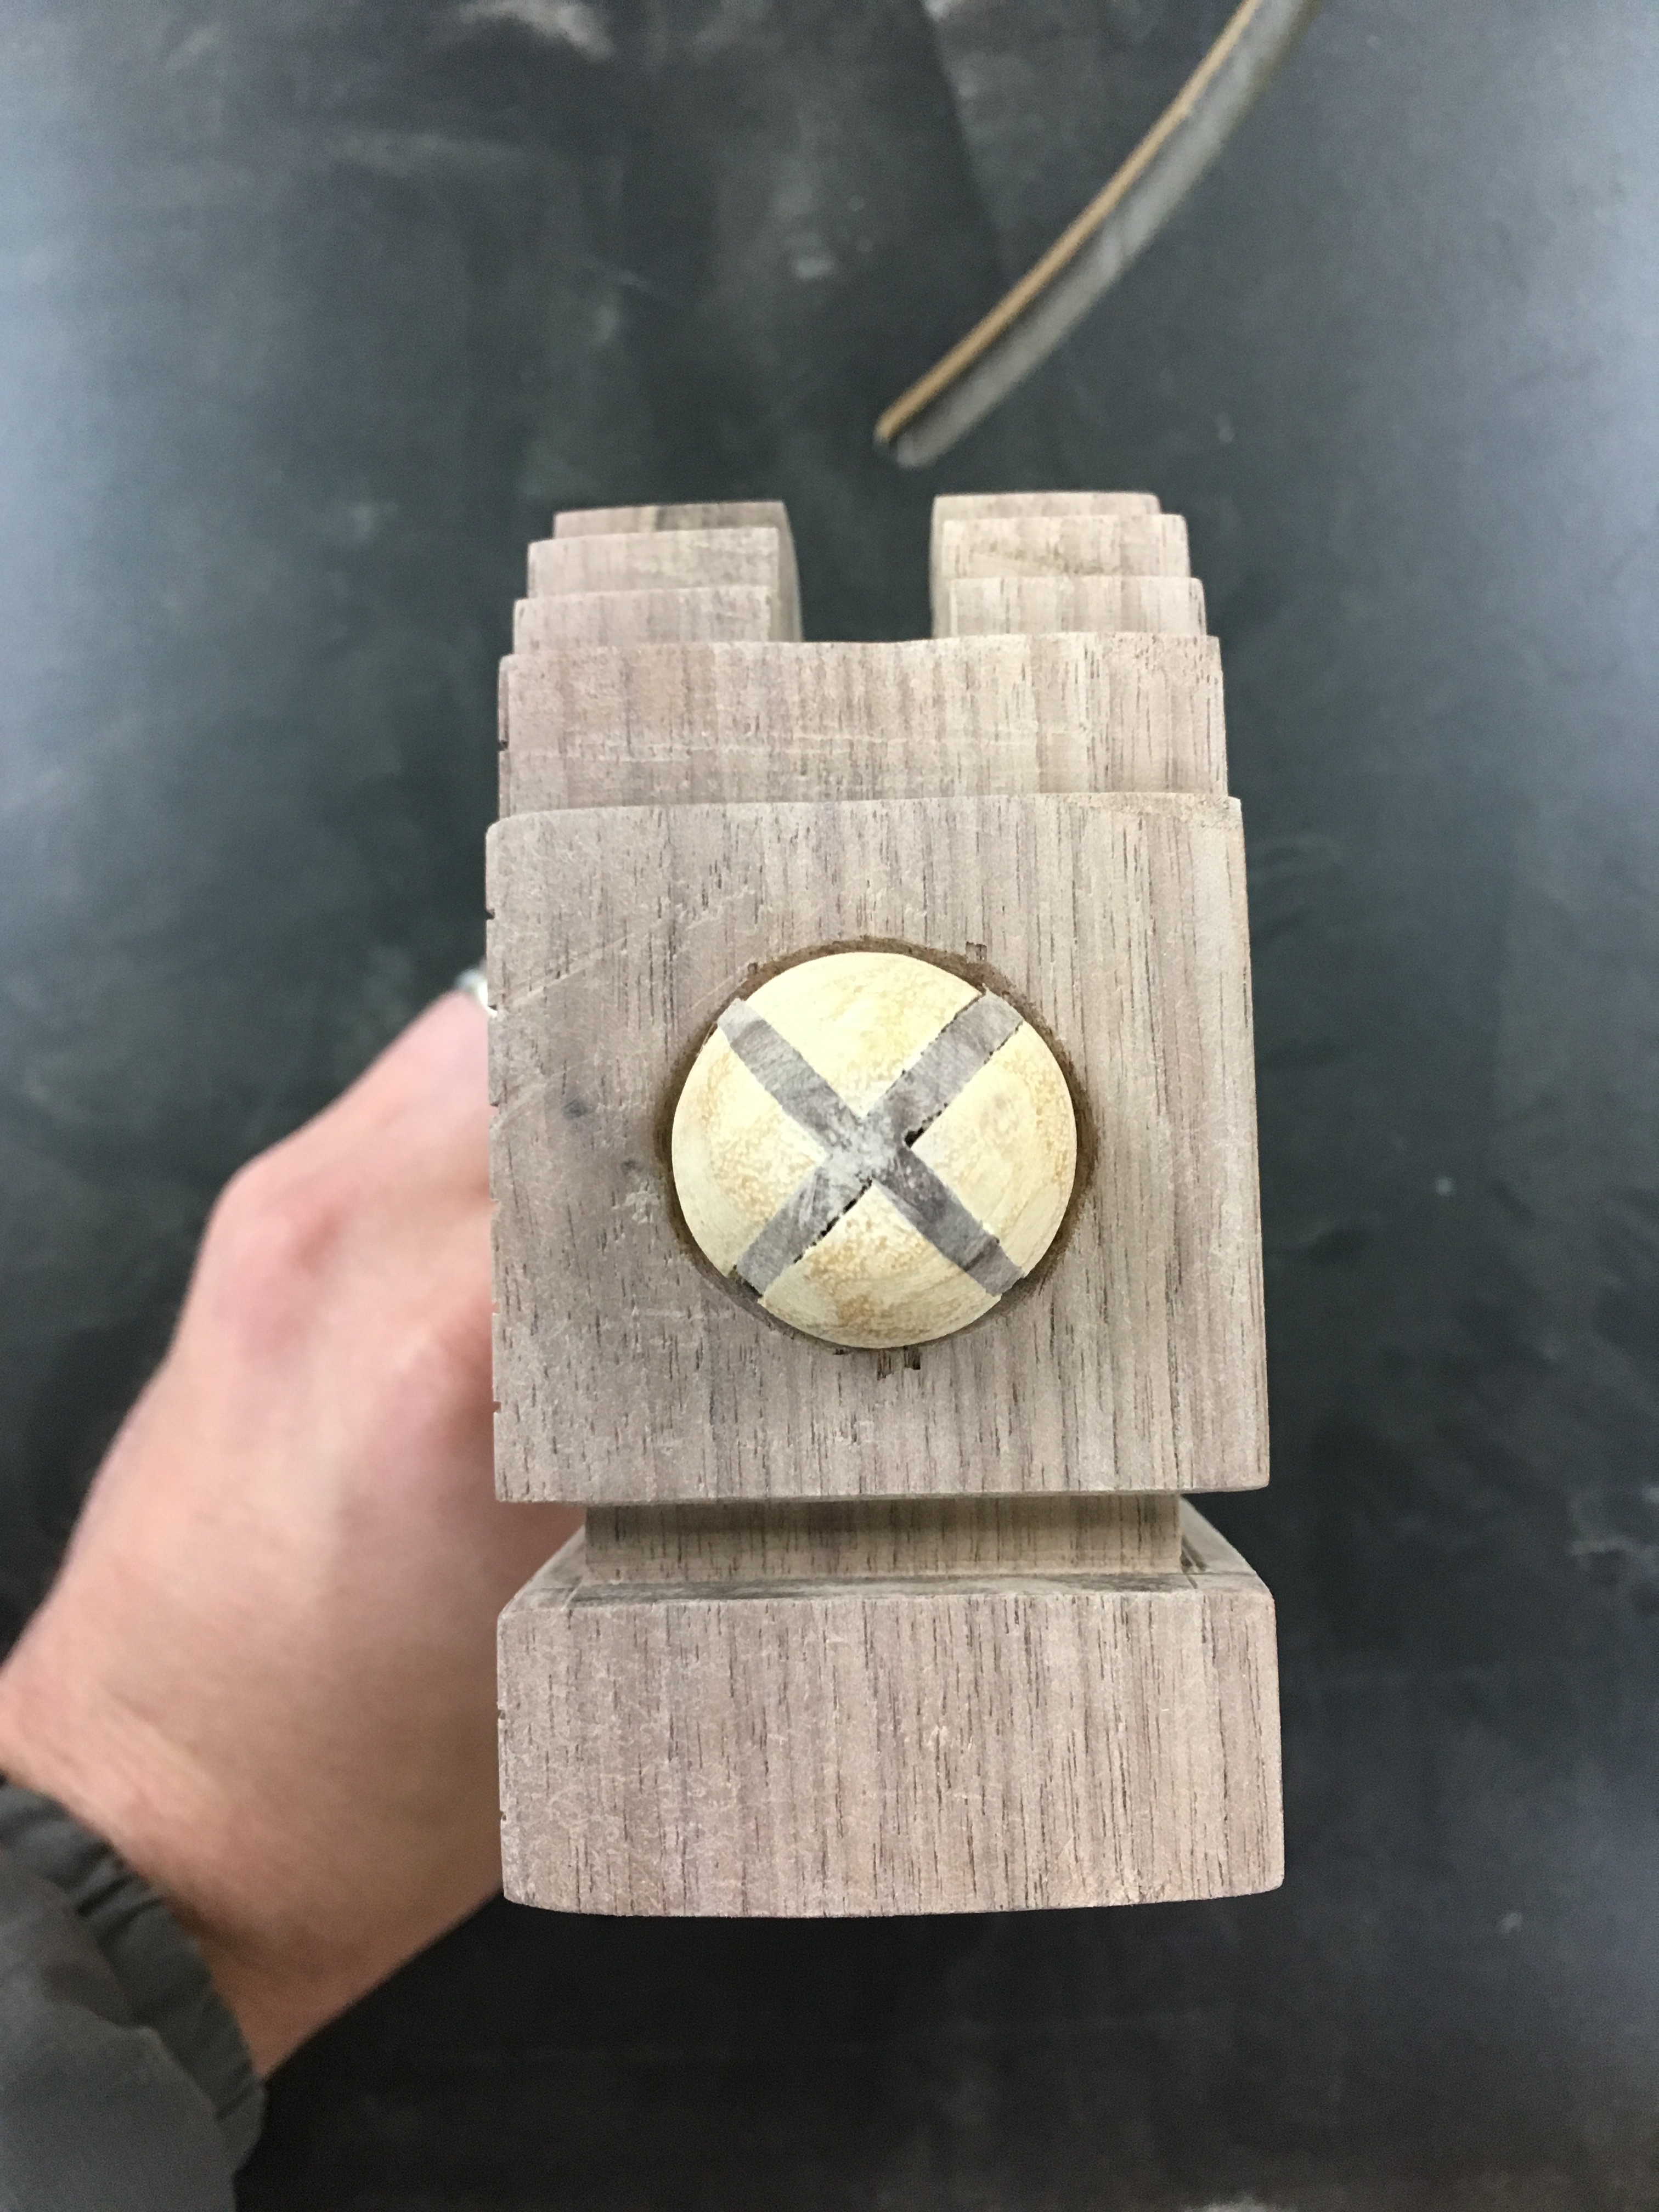
This was my first time successfully making my own wedges for a hammer and my most successful X-shaped wedging.
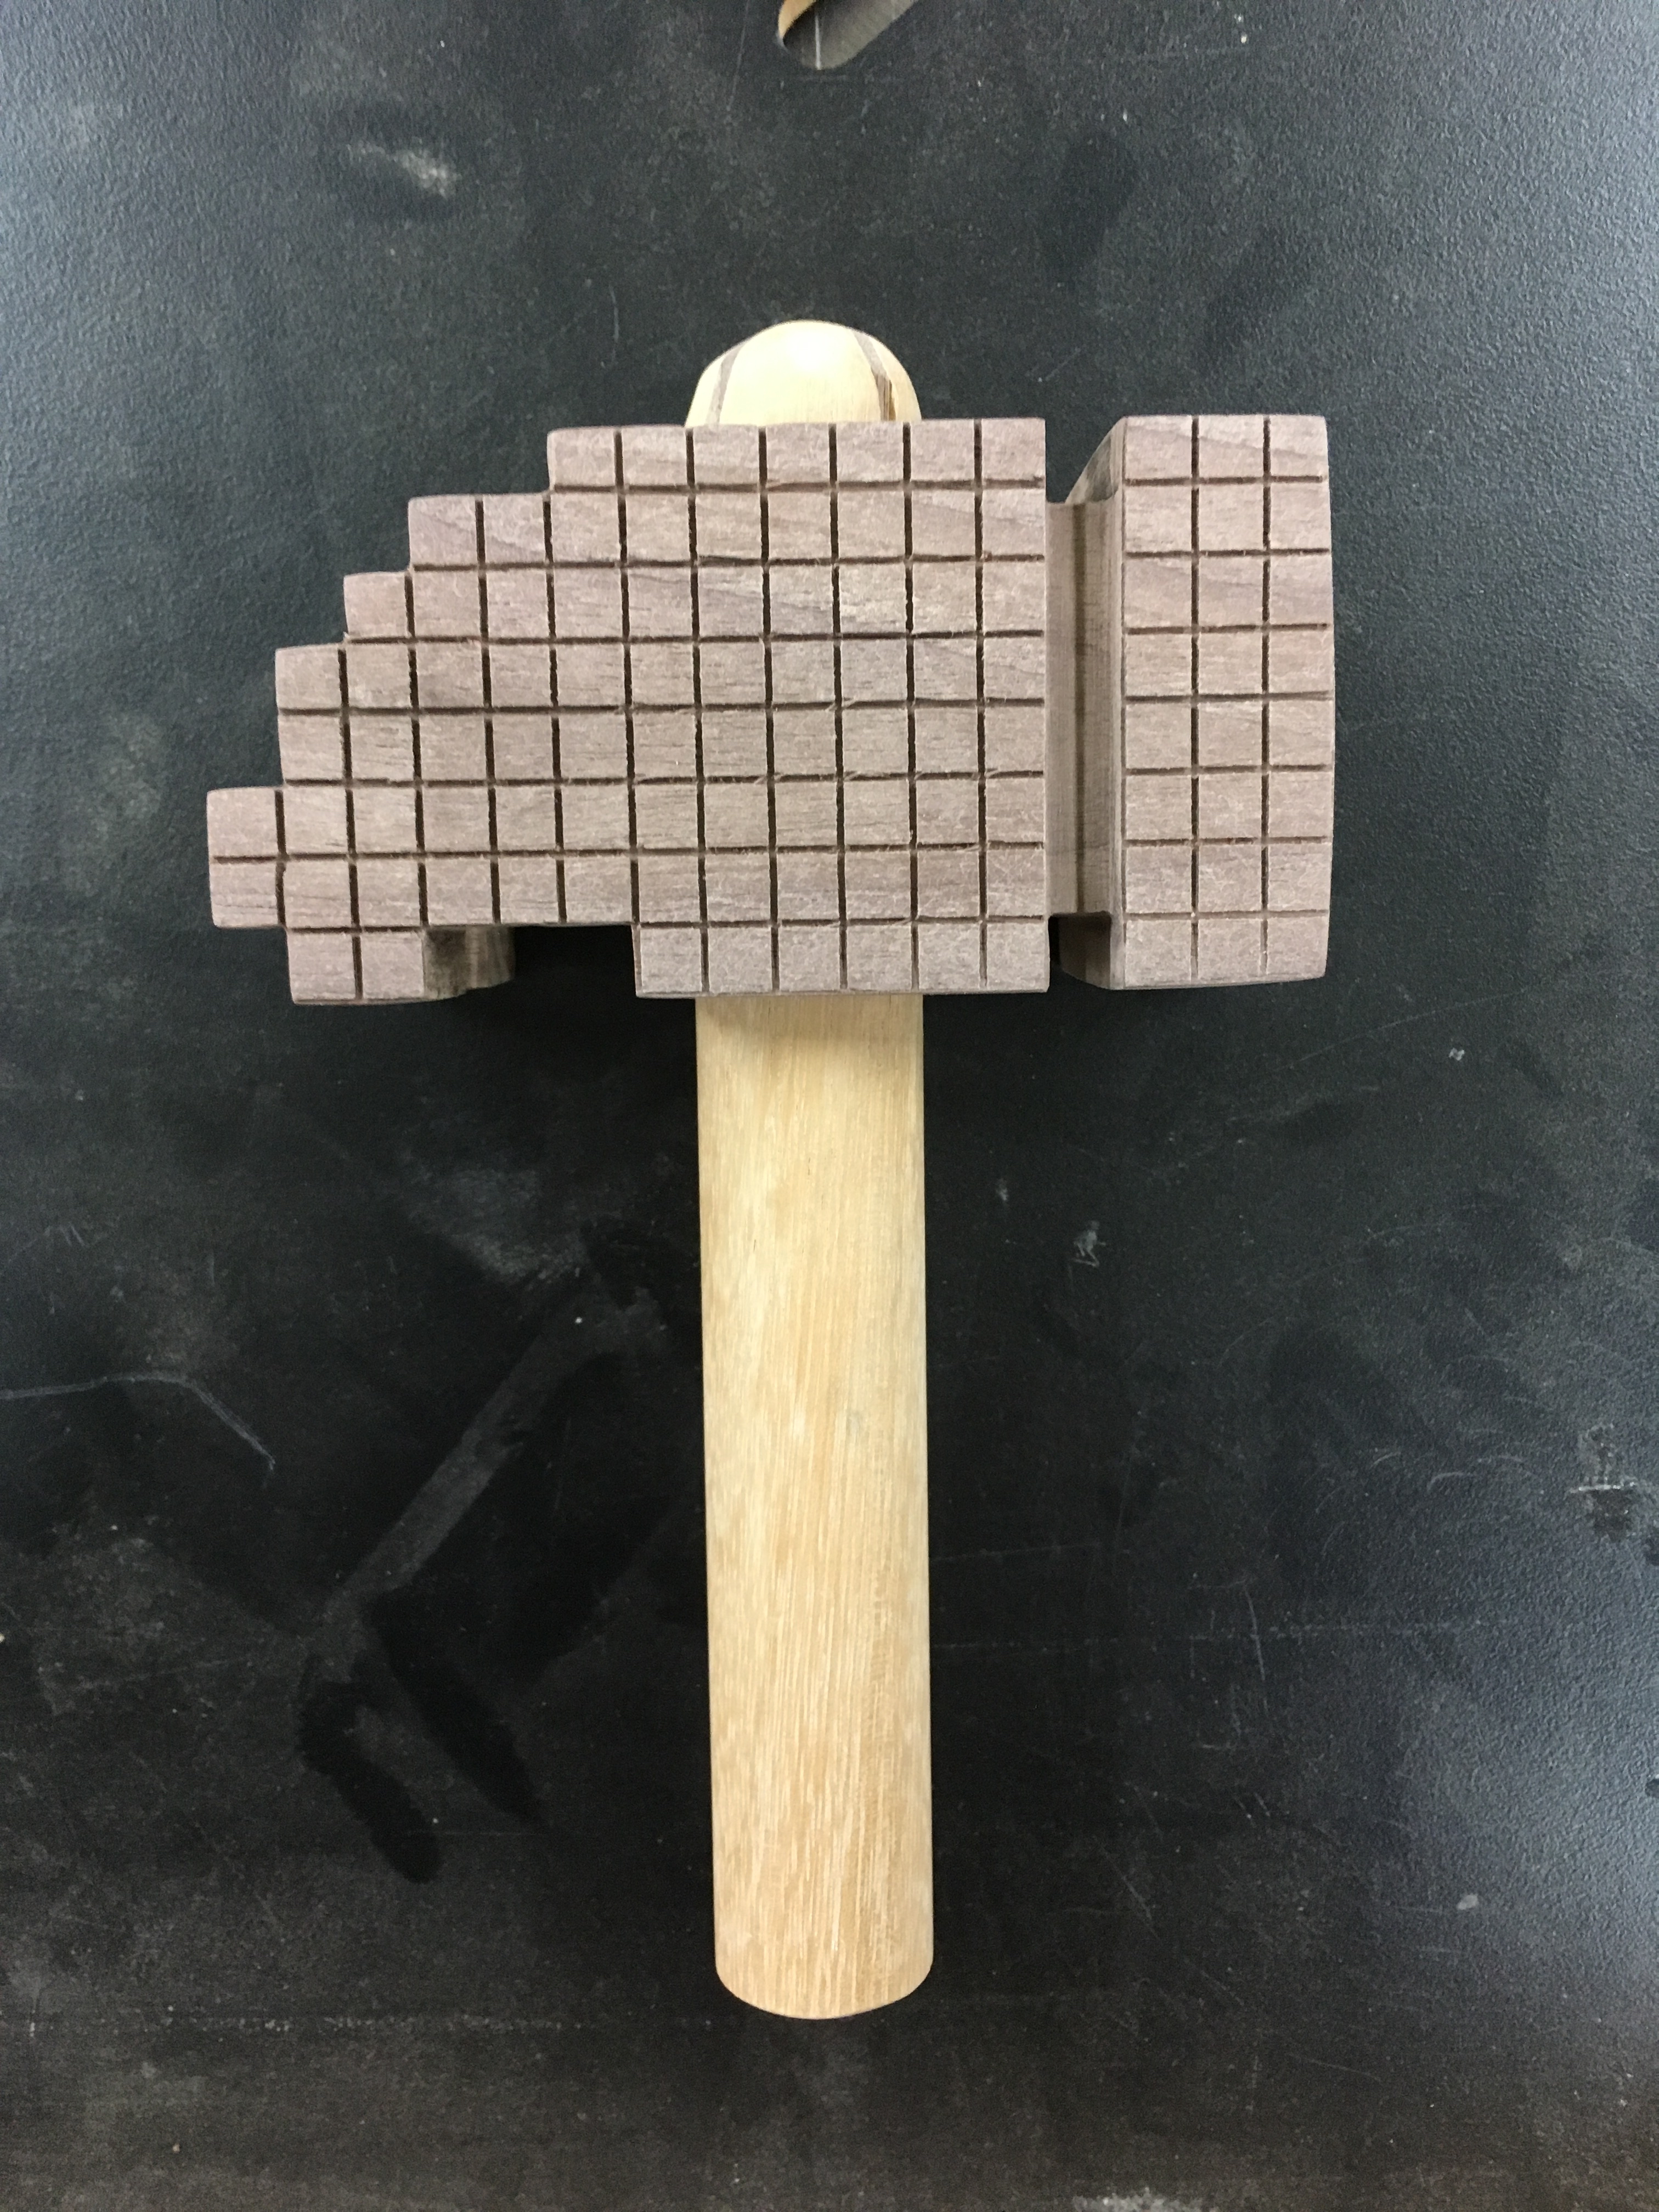
The last step for the hammer was to coat it with clear enamel. This really made the contrast between the walnut head and the birch (?) handle pop.
I decided to use this project to make a spline-cutting jig and cut splines for the first time. It went better than expected!

The splines are walnut so as to match the hammer.
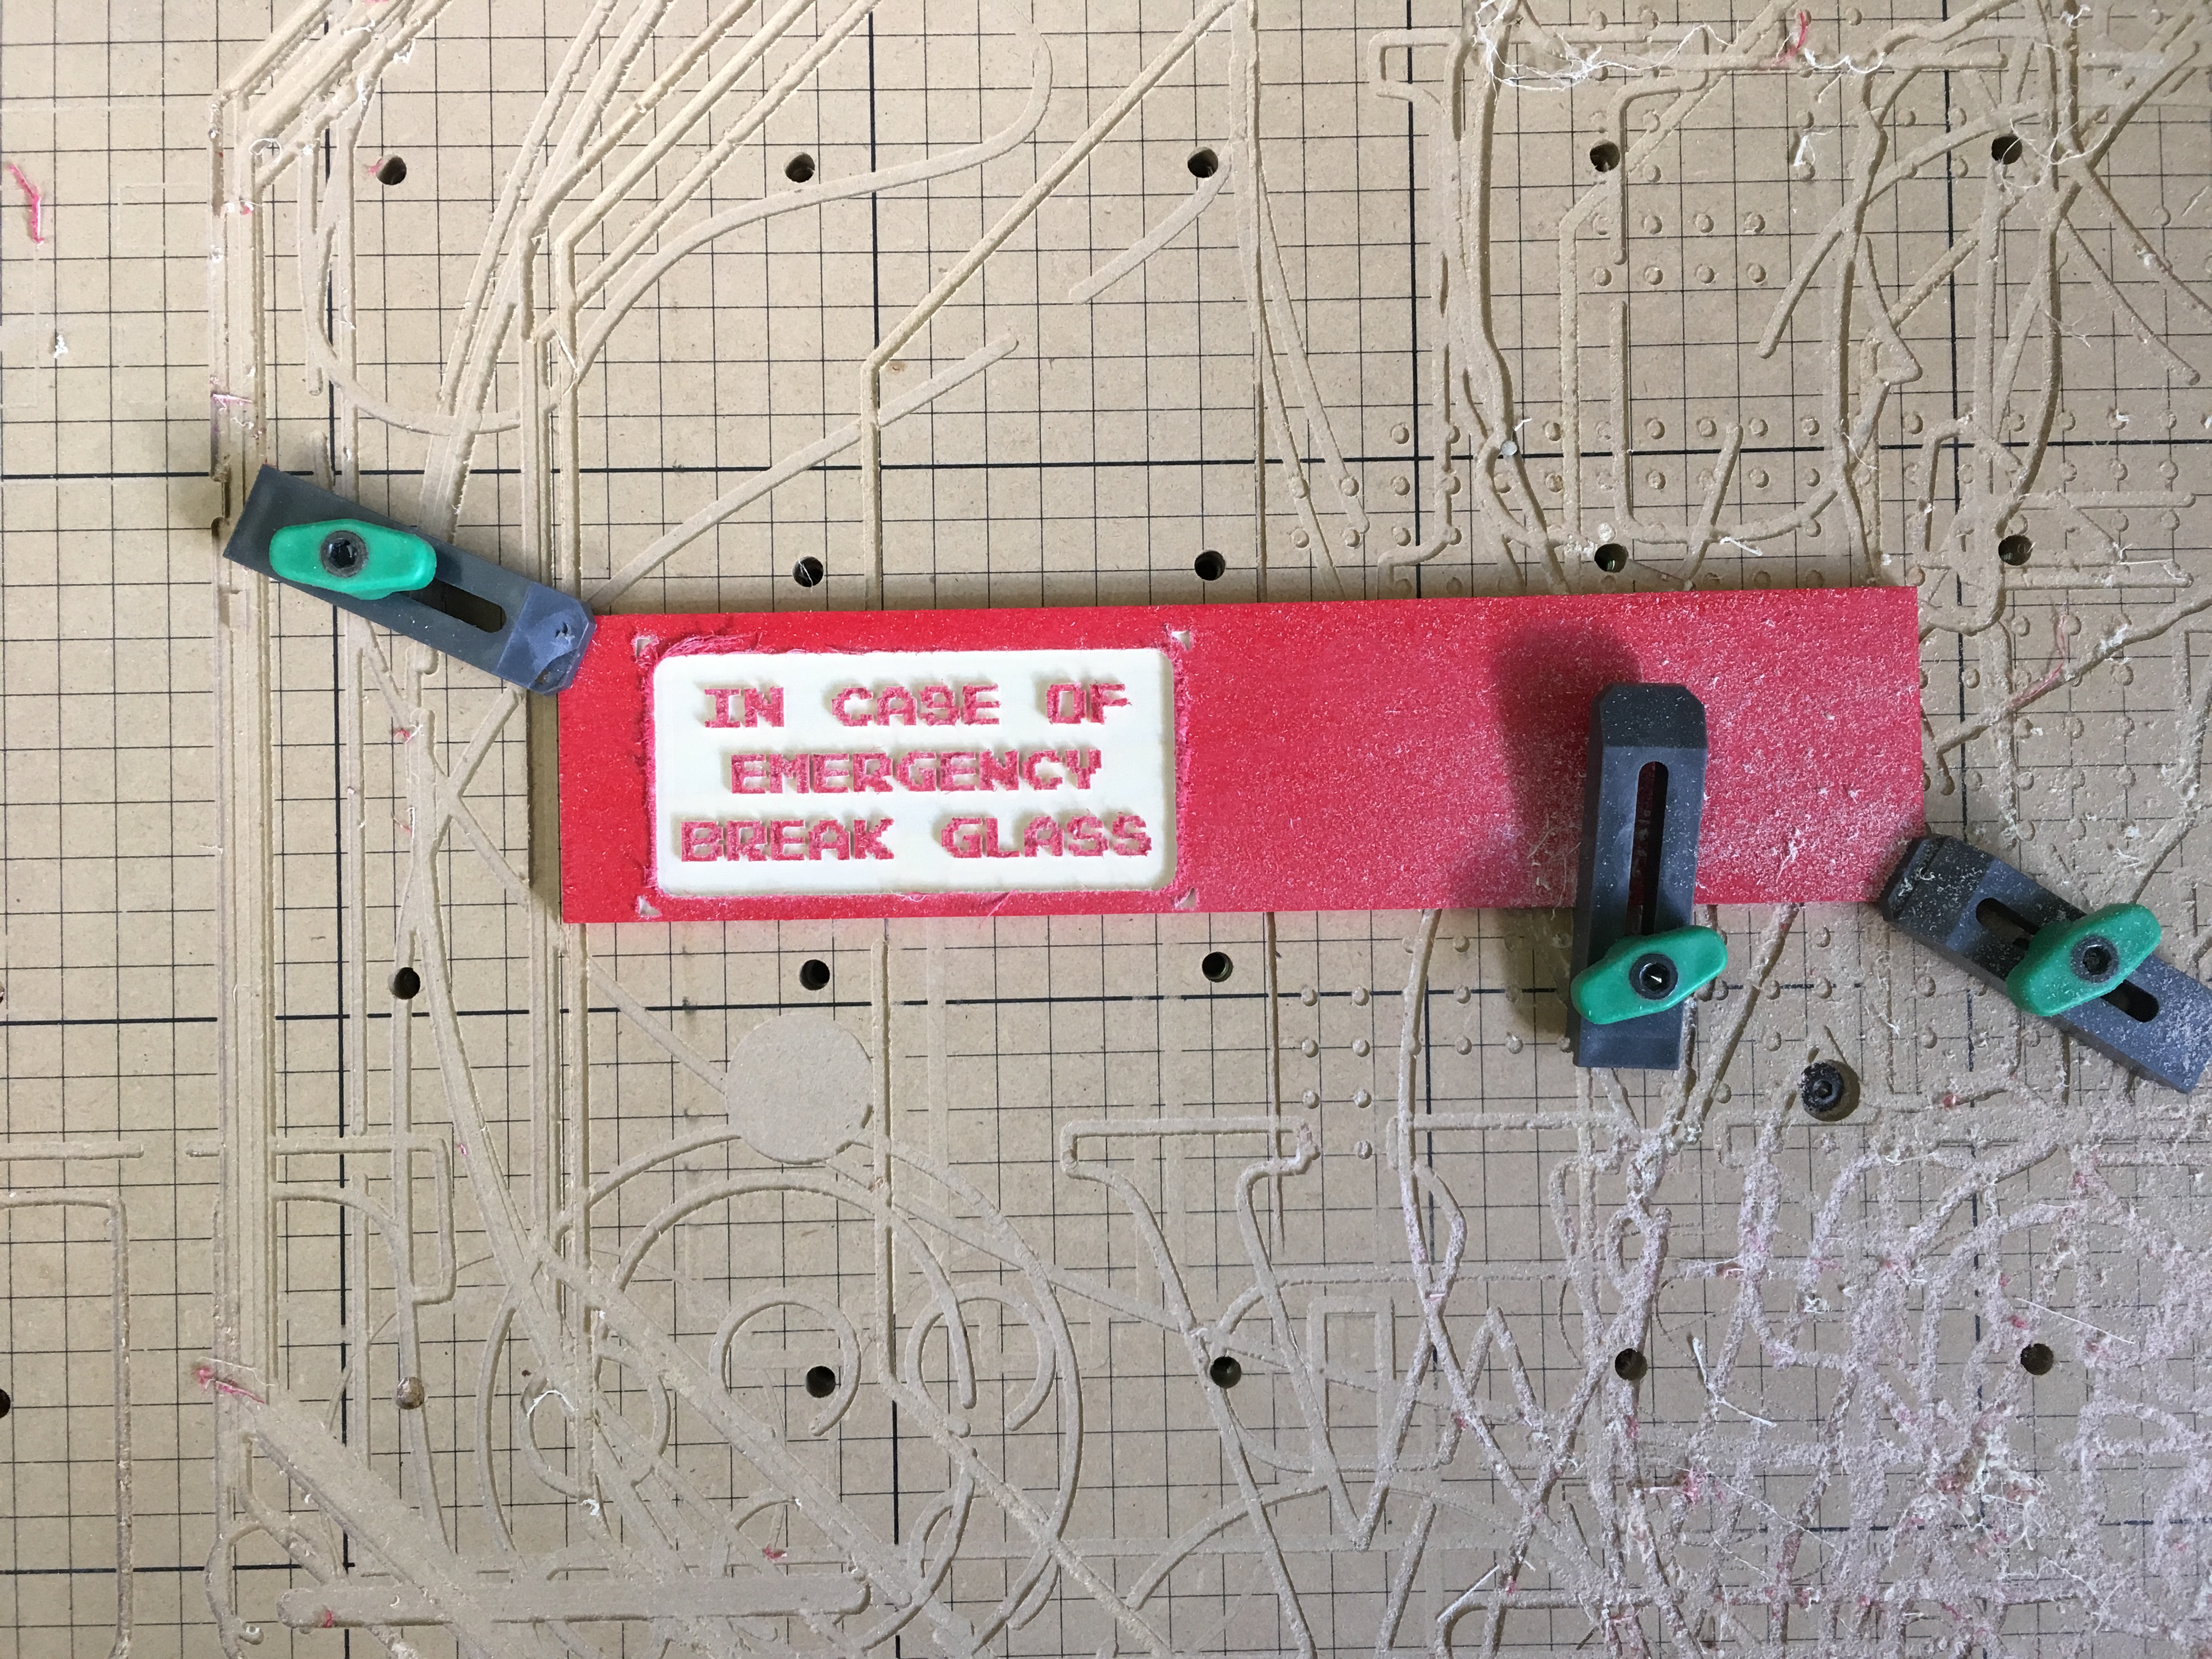
I originally wanted a vinyl sticker for the “In case of emergency label,” but I don’t have the means to make one, and ordering a single custom sticker from a sign-maker would have been cost-prohibitive. So instead, I cut a little placard on the X-Carve.
To mount the sign and P-Wing inside the box, I used epoxy to affix two more pieces of the aforementioned broomstick. I used epoxy instead of wood glue because this joint involves end-grain, which doesn’t always adhere well with just glue, and I don’t want these joints to fail since there is no way to fix them without breaking in to the box.
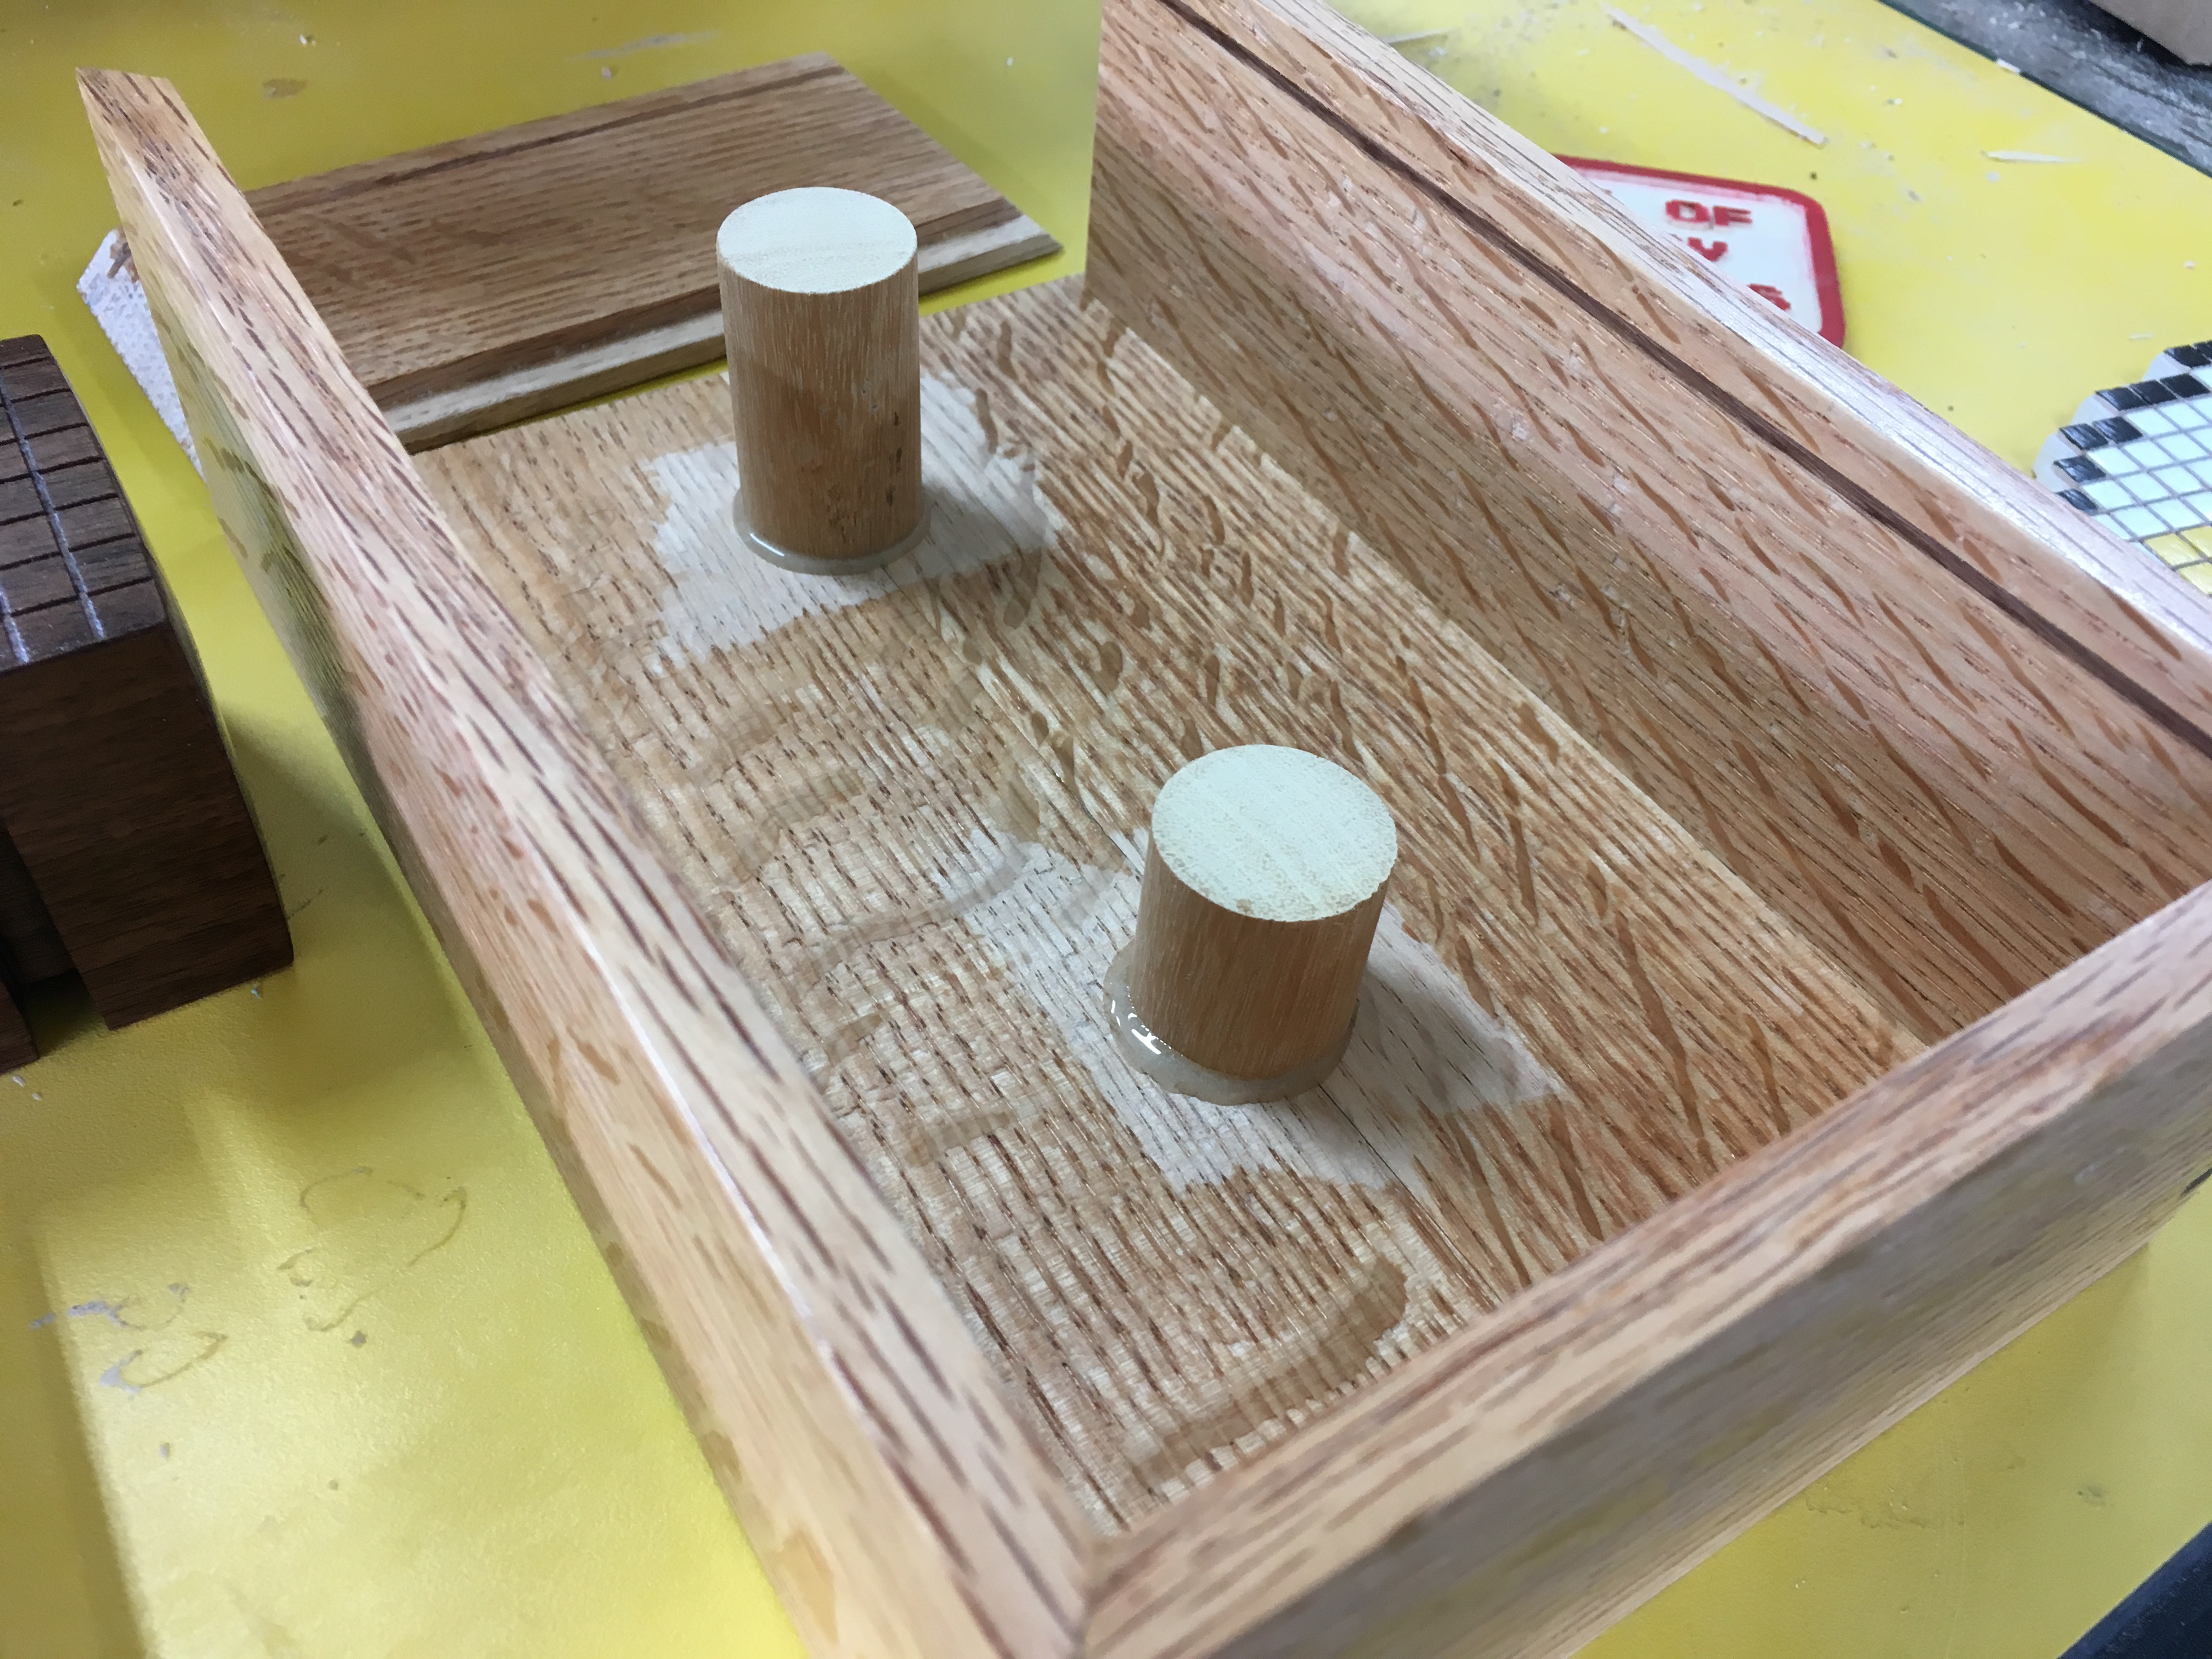
You can see in the above picture that at some point, I cut a groove around the top edge of the box to accept the glass front, which is really plexiglass because I was going to be sending this box through the mail and I didn’t trust it to arrive unbroken. So if there is an emergency that merits breaking the glass, you’ll have to hit it really hard.
I mounted the sign and P-Wing to the ends of the broomstick dowels with epoxy as well.
At this point, the bottom two corners of the box are glued together, and the plexiglass front can go in. But first, I needed to figure out how to attach the hammer to the box.
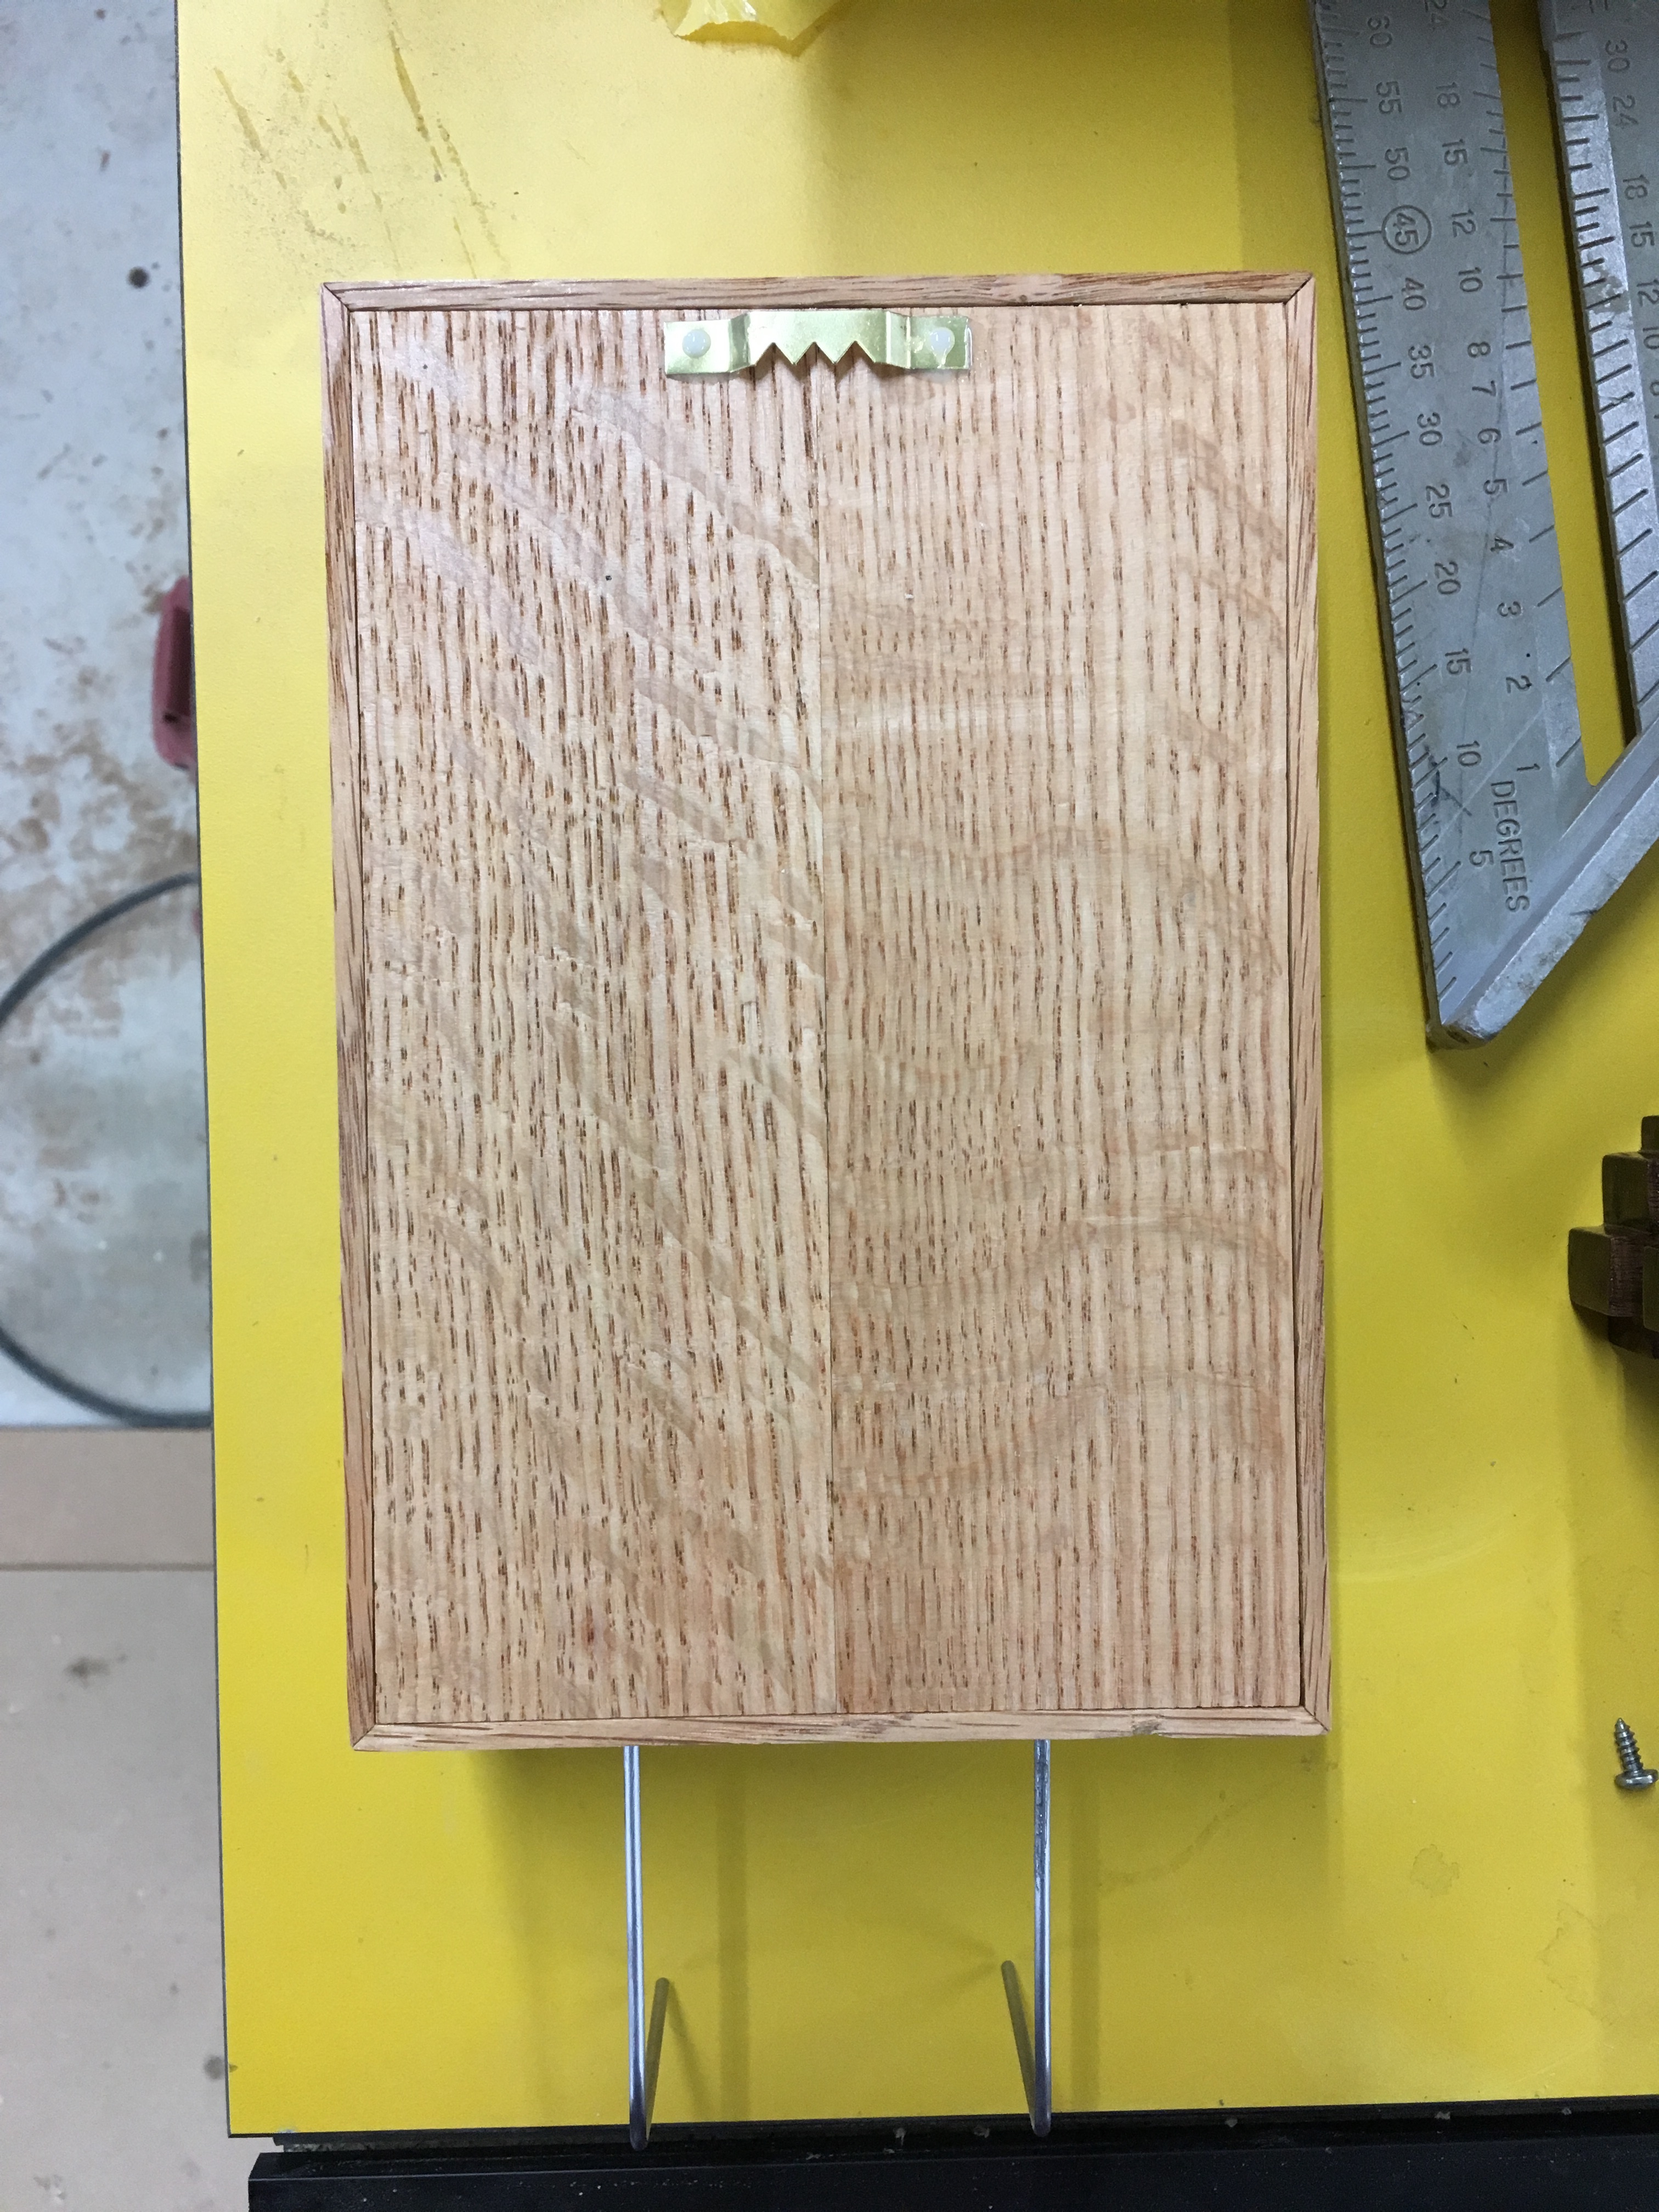
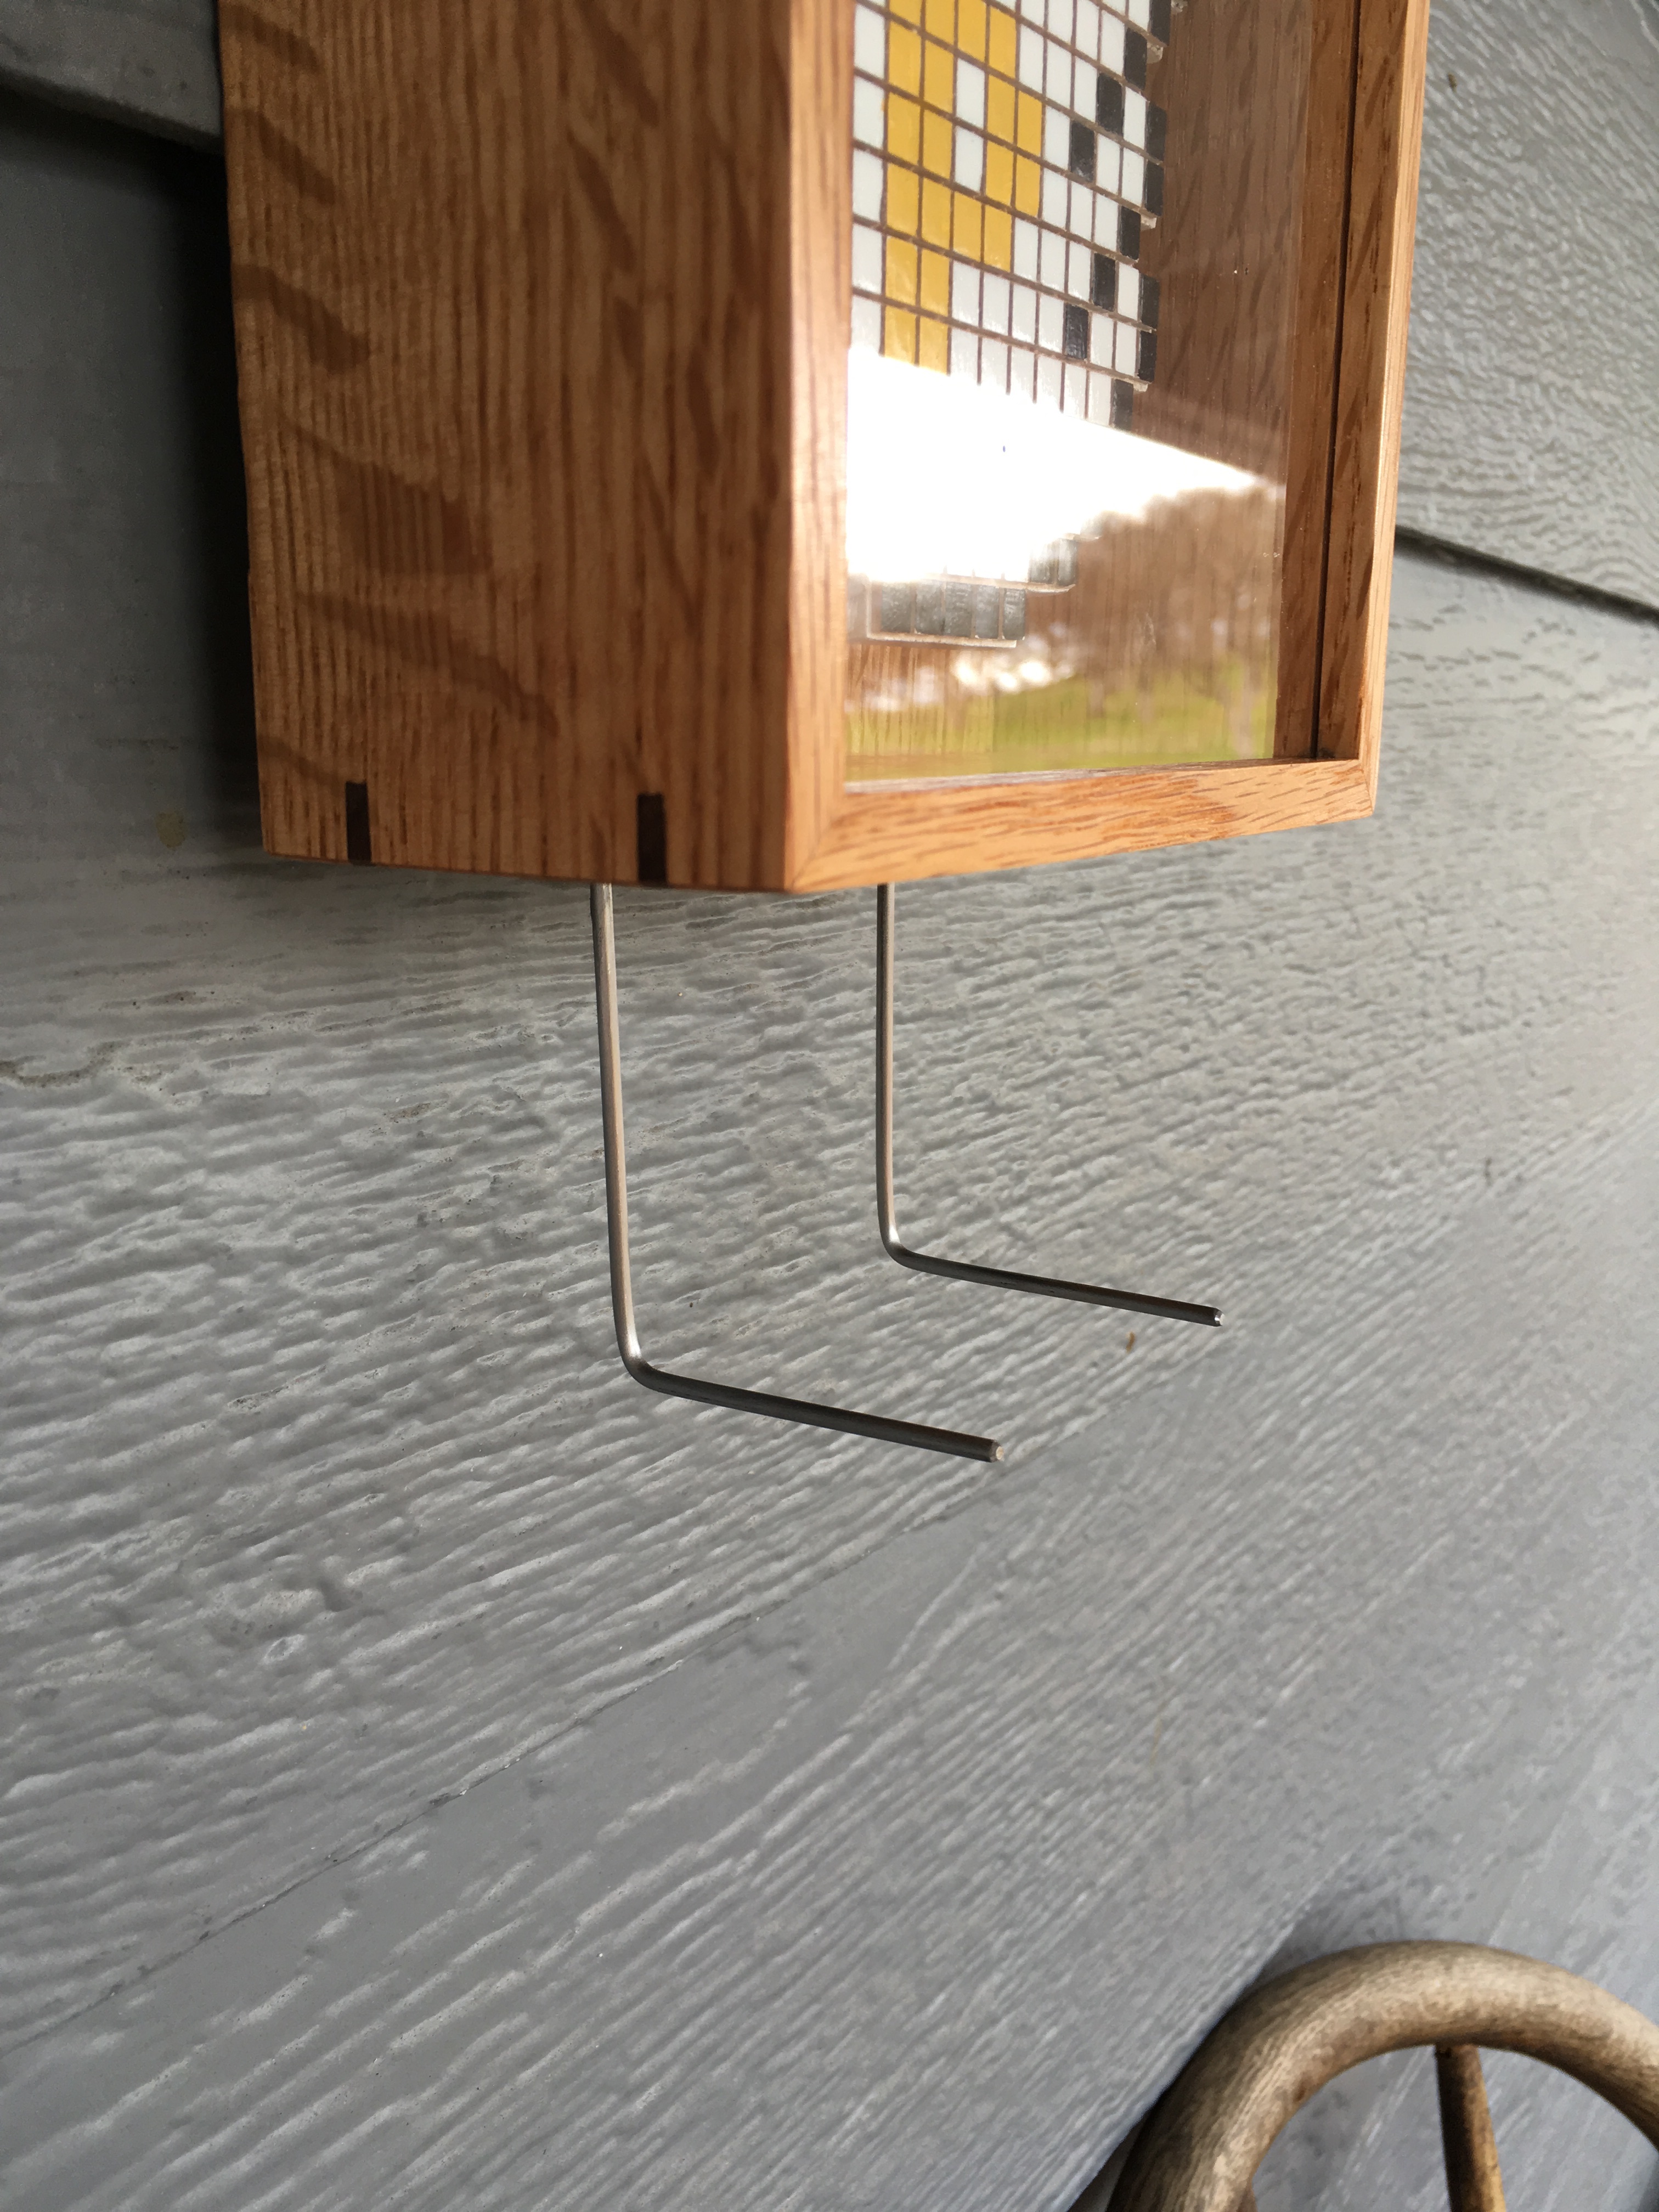
After poking around in my spare parts bin for a minute, I made a simple hook out of two pieces of a wire clothes hanger.
I drilled holes into the bottom of the box and epoxied the hooks in place. I also added a picture-hanging hook, although I’ve been exclusively using 3M Velcro strips to hang things for about three years.
You can see in the above picture that I glued the top on, effectively securing the contents of the box forever. That’s not true, I lied. Instead of using wood glue on the top corners, I used hide glue. Hide glue has the useful property that it can be loosened with heat, so if the box ever does need to be opened for repairs or some nefarious purpose, the owner could heat the top corners with a heat gun or hot water, and the top of the box should come loose.
Here’s a shot of the finished splines and hammer hook.
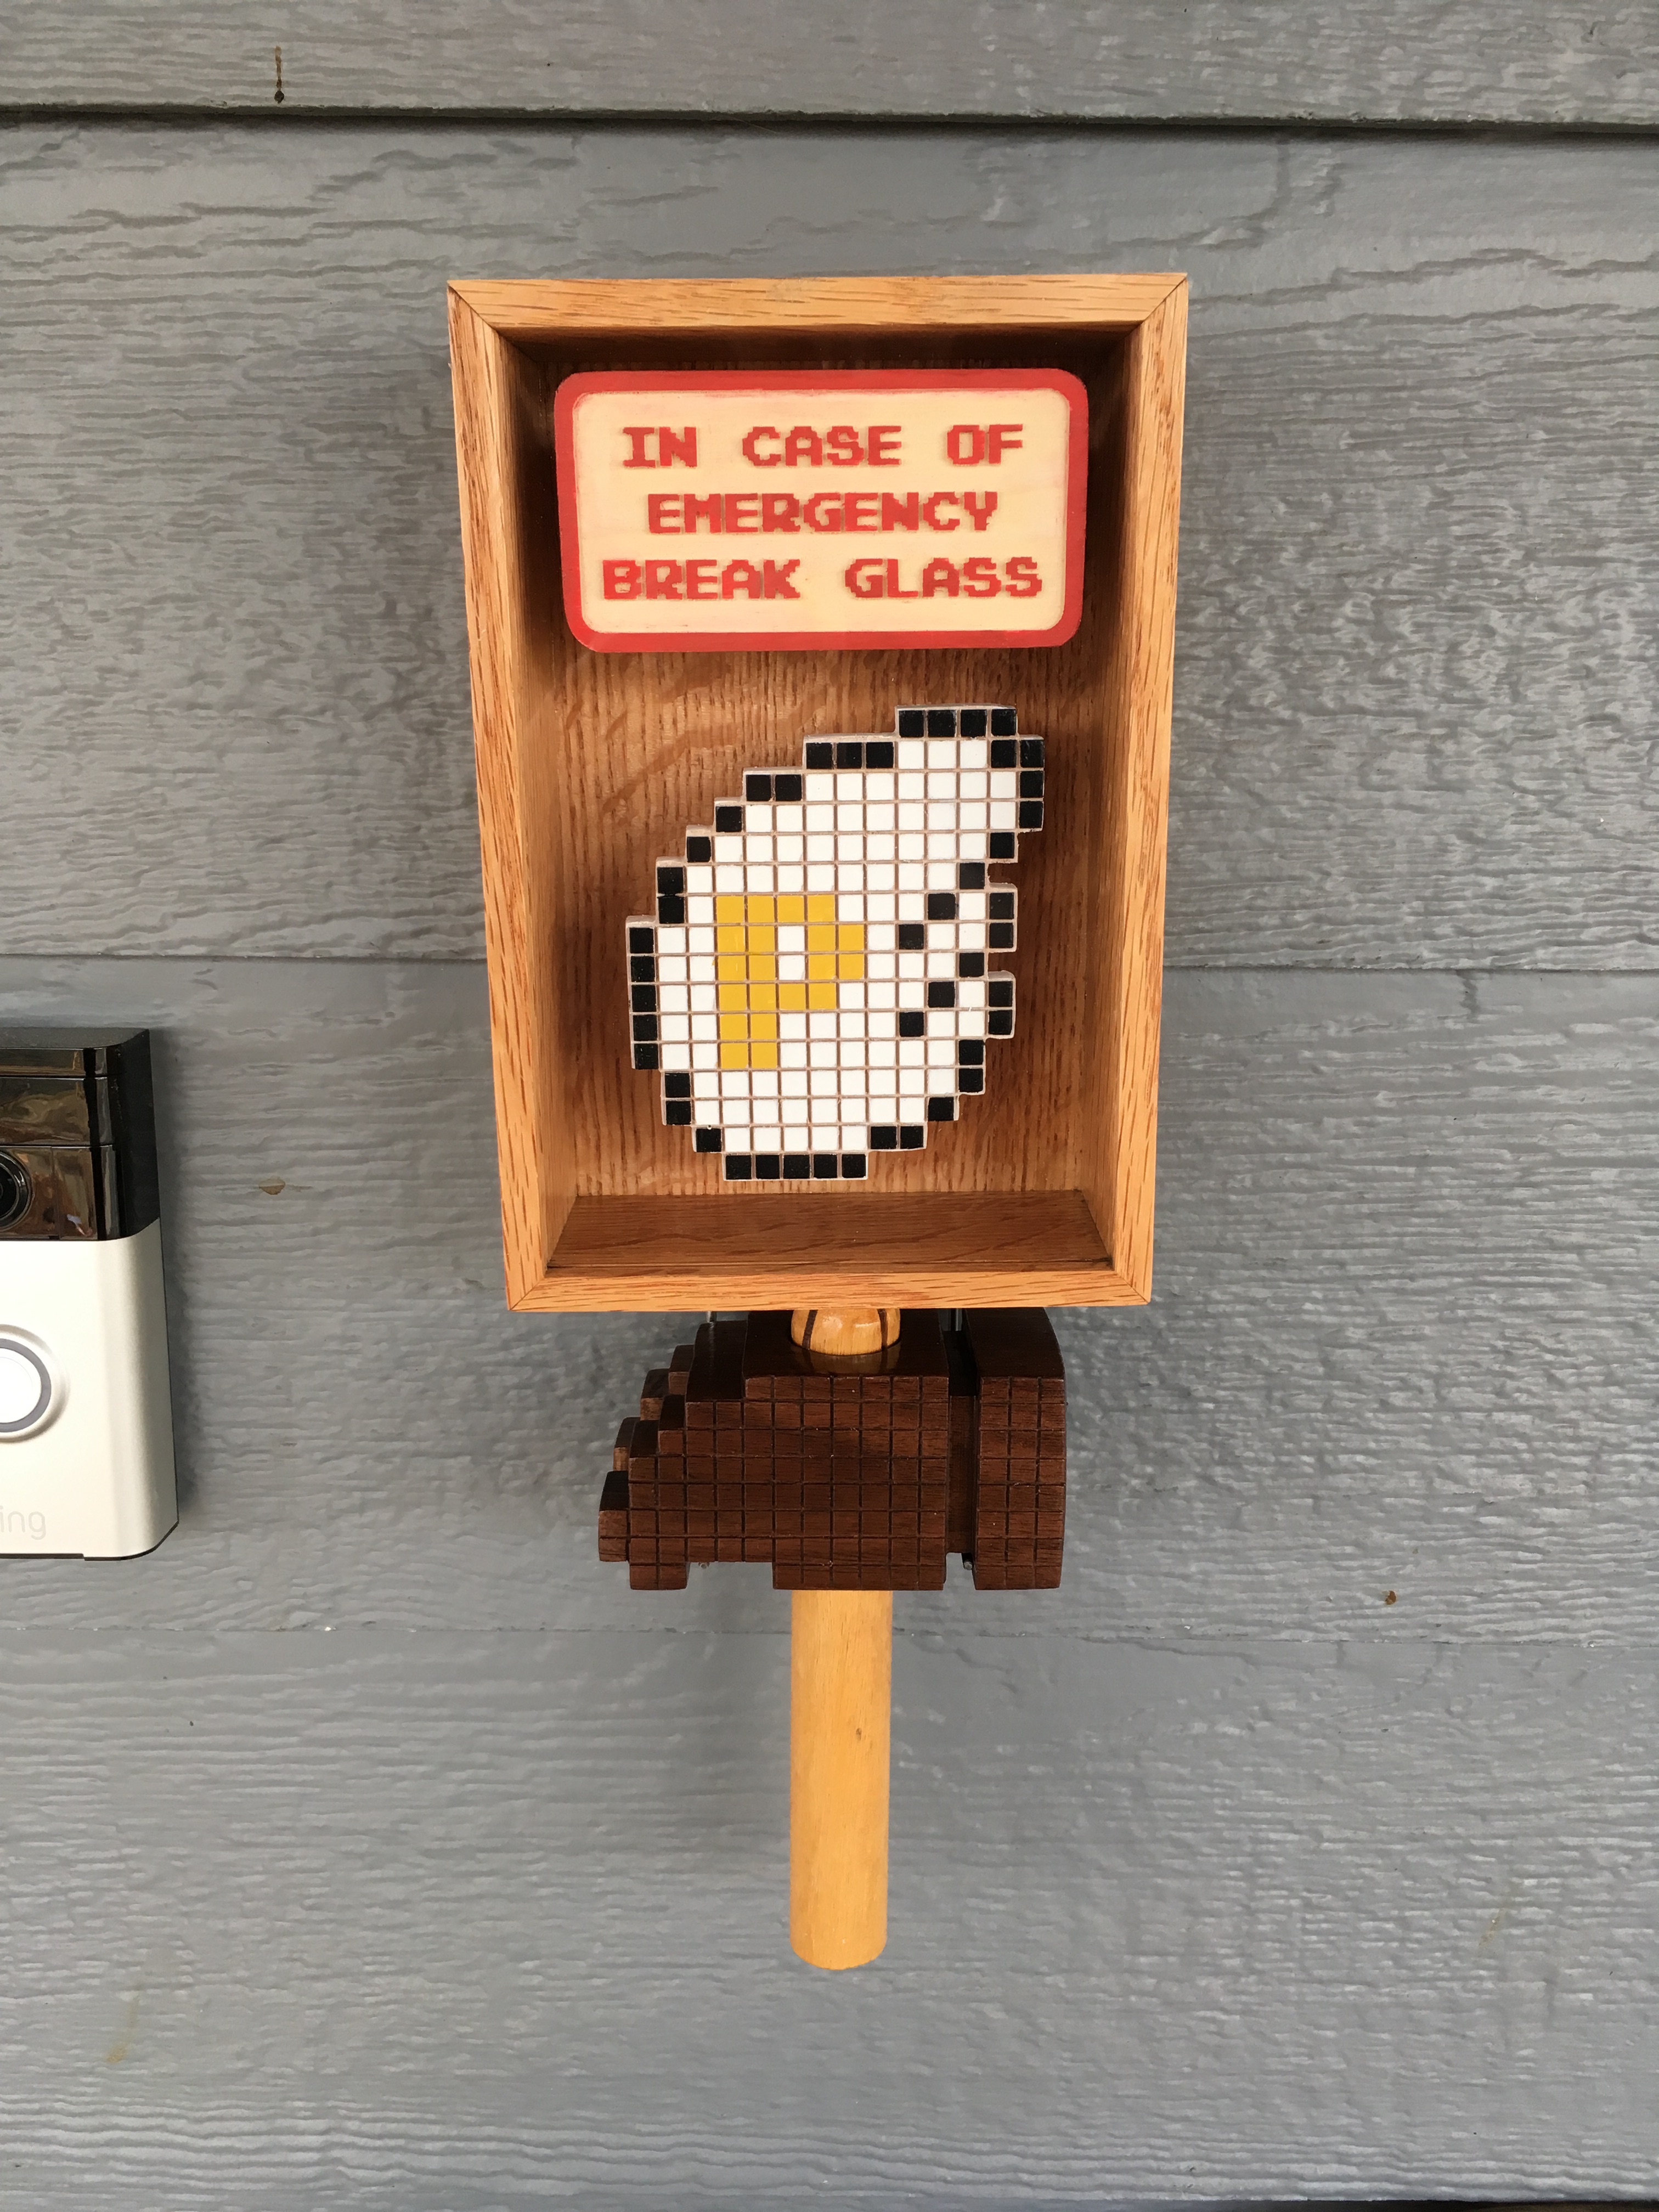
And a shot of the hammer in place.

And the final product. I sent it to a friend who needed something to jazz up a newly renovated space, and I can only assume that upon hanging it up, he installed a spotlight to showcase it and a velvet rope to protect it.
What’s next? Installing wood flooring in your parents’ living room???
This is one of the best things I’ve seen in a long time!
Certainly one of my favourite all time games, I still break it out every once in a while.
I remember being a bit obsessed when I was little and as a punishment I lost the Nintendo for a week. On the day I was allowed to play again I woke up at like 4am to play it again.
I really love chewing material with my CNC, but there are tradeoffs. It’s good to know when another simple tool will do the job cleaner and/or quicker! Looks awesome!
Excellent work! Delightful to look at, and fun to think about actually using …
LOVE IT. Nicely done.