

I have fulfilled the greatest dreams of my childhood and built an arcade machine that plays my favorite games from the Nintendo, Super Nintendo, and more.
There are many very good tutorials on the Web on how to build your own bartop arcade, so I won’t be going into a ton of detail. I mainly followed this tutorial from I Like to Make Stuff and this one from The Geek Pub. The basic steps are to get a Raspberry Pi computer, load RetroPie onto it, buy some arcade buttons, and make it all fit into a box.
I already had a Raspberry Pi that I won at That Conference a couple of years ago, but I got my buttons from Amazon. The set came with enough buttons and joysticks for two players to each have eight buttons plus a coin and player button.

The LEDs inside are powered by the USB connection to the Raspberry Pi.
For all of the non-rectangular pieces, I cut them out using my X-Carve. This was especially helpful for all of the button holes, since they were not the same size as any of my drill bits.


After getting the holes cut in the control panel, I wired up the entire system and made sure that it worked. A couple quick rounds of Mike Tyson’s Punch-Out confirmed that everything was copacetic.

For the monitor frame, I cut a window the exact size of the screen, then an inlay that would cover the bezel, and a deeper inlay for the area where the screen’s buttons are so that they wouldn’t get pressed by the frame.


Doing the frame this way hides the fact that the screen is a monitor, something that lots of other builds don’t do. I don’t want to be taken out of the moment by a distracting monitor logo and LED light. Ugh! An LED, can you imagine?? I did drill tiny holes in front of each button so they can still be pushed using a paperclip, but the holes became almost invisible after I painted the frame.
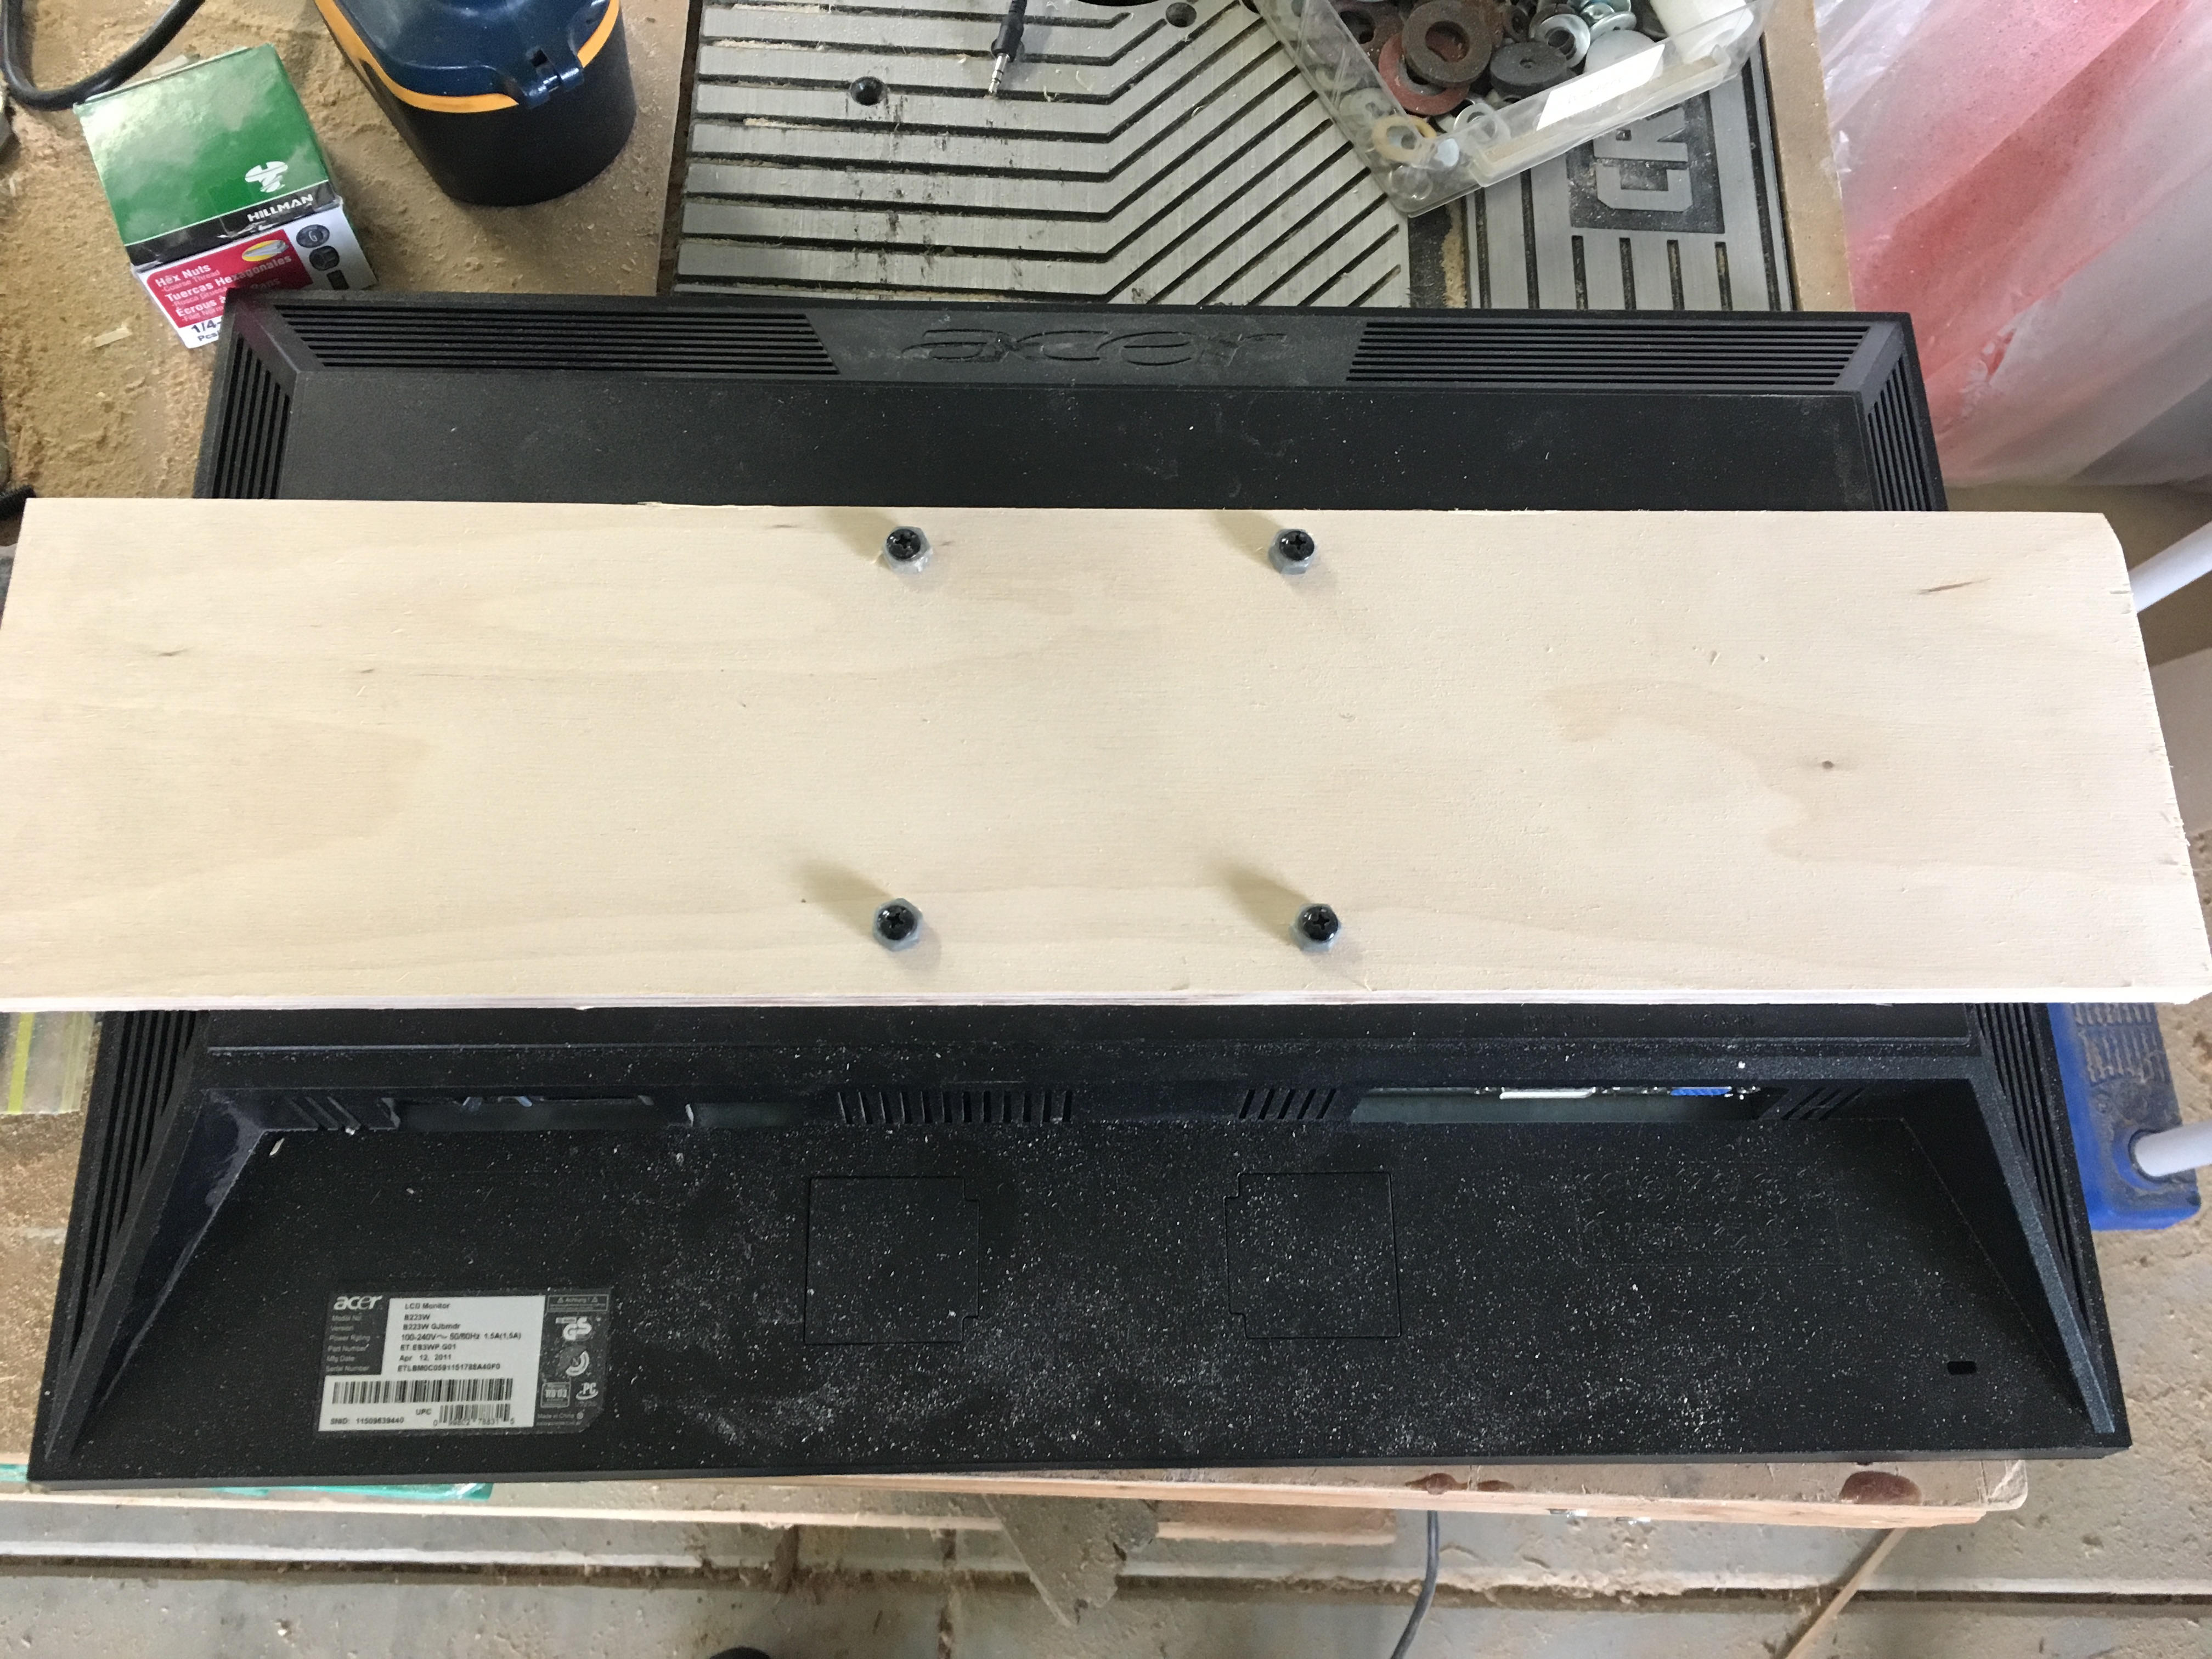
The monitor is attached to the frame by a board screwed into its mounting holes. I didn’t do this exactly right, so check one of the linked tutorials for a better example.
I followed The Geek Pub’s example, and attached guide strips where all of the sides needed to be attached. Then I glued and nailed the sides to the guides.


Lots of bartop arcade builders order custom vinyl graphics for their cabinets. I decided to go low-tech and painted a simple retro design on the cabinet and control panel in the same colors as the buttons.


Instead of going the usual route of a translucent graphic on plexiglass for the marquee, I carved a custom Nintendo logo bitmap into some quarter-inch plywood. I did this with a halftone-generator app I wrote for Easel, but it hasn’t been published for general use yet, so I can’t link to it here.

I covered the back of the marquee with red paper so that the logo will appear red when an LED light is mounted behind it.

I lined the marquee box with reflective tape to increase reflectivity. This was probably unnecessary.


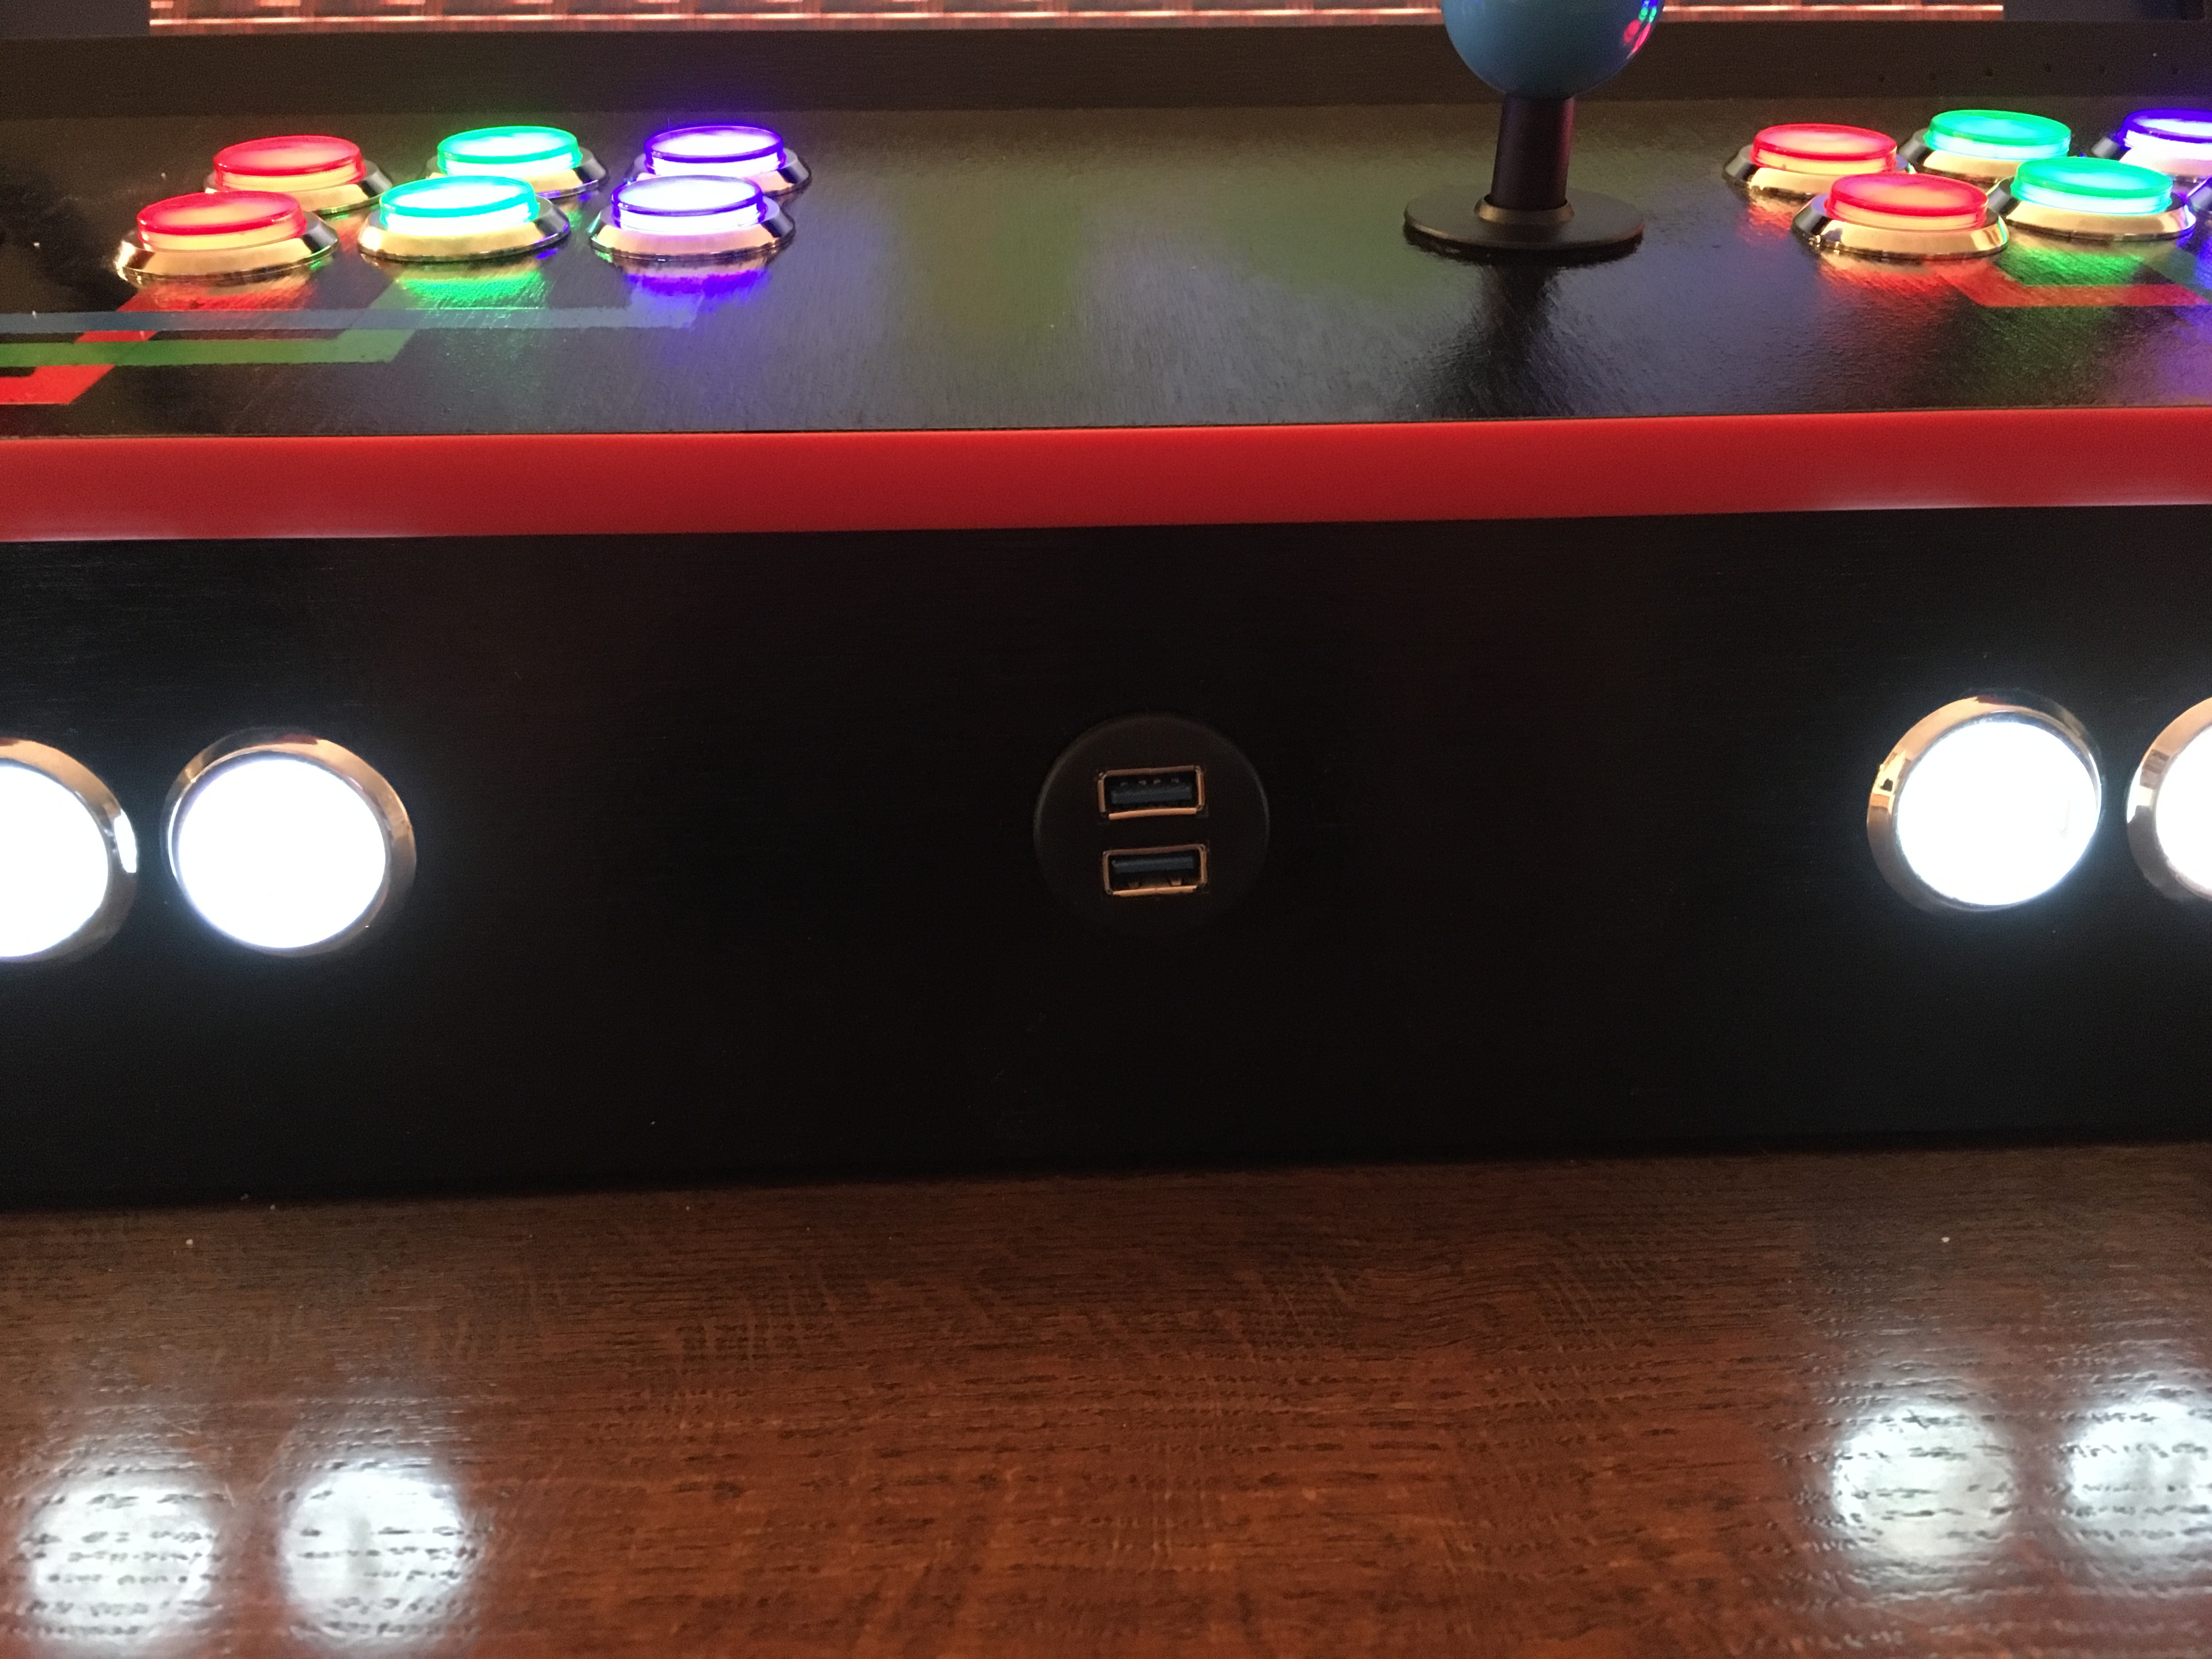
The front panel holds the Coin and Player buttons for each player. Coin doubles as Select, and Player is the same as Start.

I also mounted a pair of USB ports on the front panel to allow for easy connection of a keyboard, thumb drive, or USB controllers.
All of the electronics plug into a power strip that feeds out the back of the cabinet. I was originally going to use the speakers built into the monitor, but they didn’t have nearly enough power, so I stuck some external speakers in the cabinet too.
To allow for heat to vent out, I carved a number of holes into the back in no particular shape.

I also ran some t-molding around all of the exposed plywood edges. This really gave it an authentic arcade feel.
You can find instructions online for loading games onto the Pi, but it goes without saying that you should only use games that you already own a physical copy of.

The final step: invite the kids to play so you can inevitably step in and show them up. Done and done!

I wish you were still active on Twitter so I could tell you you are awesome in a way that approaches real time.
Get a couple hundred like-minded friends together to constantly praise me, and I will consider returning.
So, when will we see you on PBS?
Probably not until Ken Burns does a documentary series on modern-day hermits.
That is glorious! Sabbaticalling like a boss!
Great work Chris!! Makes mine look terrible!!
https://youtu.be/1uvrJnTiOfI
That. Is. So. Cool.
OUTSTANDING!!! Could i trouble you for dimensions of your cabinet? I’m about to build a bartop for a college project and am having trouble with dimensions :-/ How tall at highest point? How wide-outside to outside? How big is your monitor? How deep is control panel?
The back is 22″ tall.
The tallest point is 25″ tall.
The entire cabinet is 18″ deep.
The control panel is about 7″ deep and 21″ wide (so the entire cabinet is 22″ wide, since I used half-inch plywood). The front bottom panel is 4″ tall.
The monitor is 20″ wide and 13.125″ tall. The visible part of the monitor (excluding the bezel, which is hidden behind the monitor frame) is 18.625″ x 11.625″.
Hello. I am in school and I thought I would say hi. Tell me how Gabriel and Gideon are doing please.
THANK YOU
Gabriel and Gideon are doing well. They had a lot of fun when you came over last week, and they are already talking about when you’ll come over again. YOU’RE WELCOME
In the middle of a build. I’m curious what command/function do you use for the side buttons? Thanks
I haven’t actually mapped them yet. My plan is to figure out which pinball game I like best and then map them to whatever buttons trigger the two flippers.
Would you be willing to share the design files you used for the cutouts on the X-Carve?
All of the cuts I made on the X-Carve are in this project: http://easel.inventables.com/projects/4KasbUdVMtjFq9Mit7jTLQ but be aware that they are all very specific to the monitor and control pads I used.