
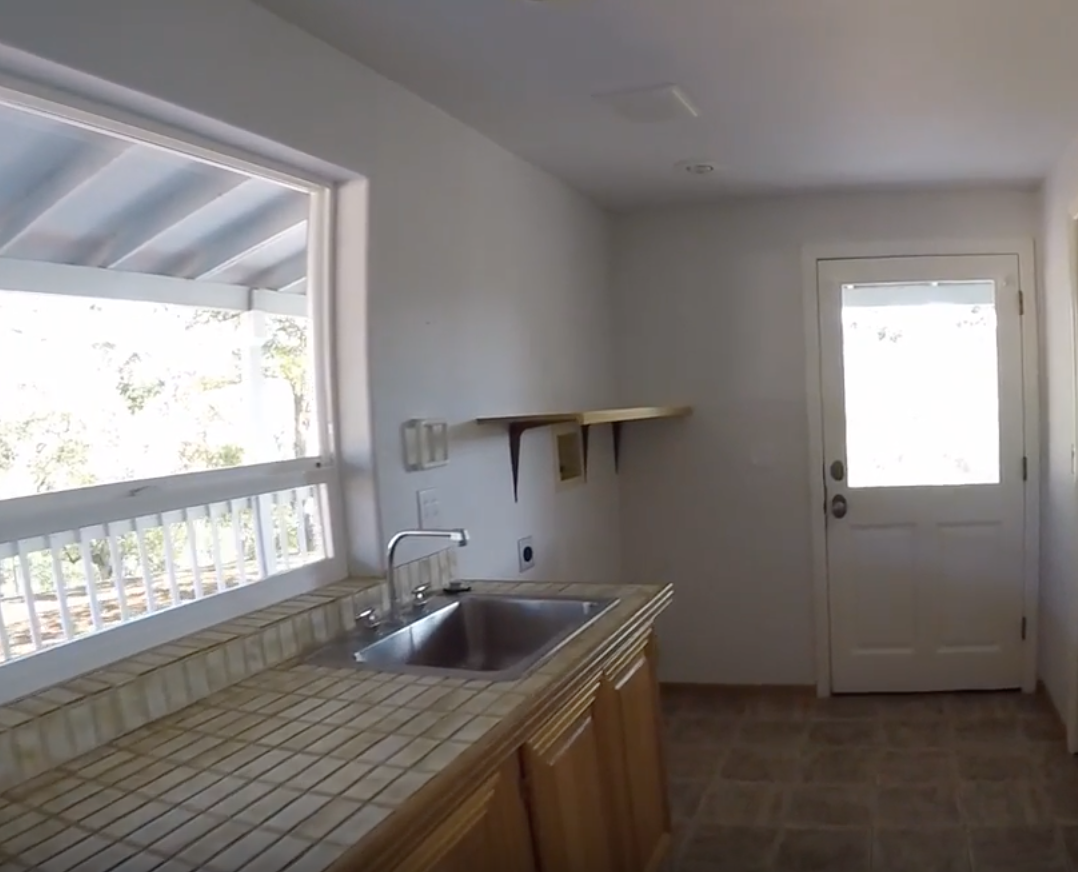
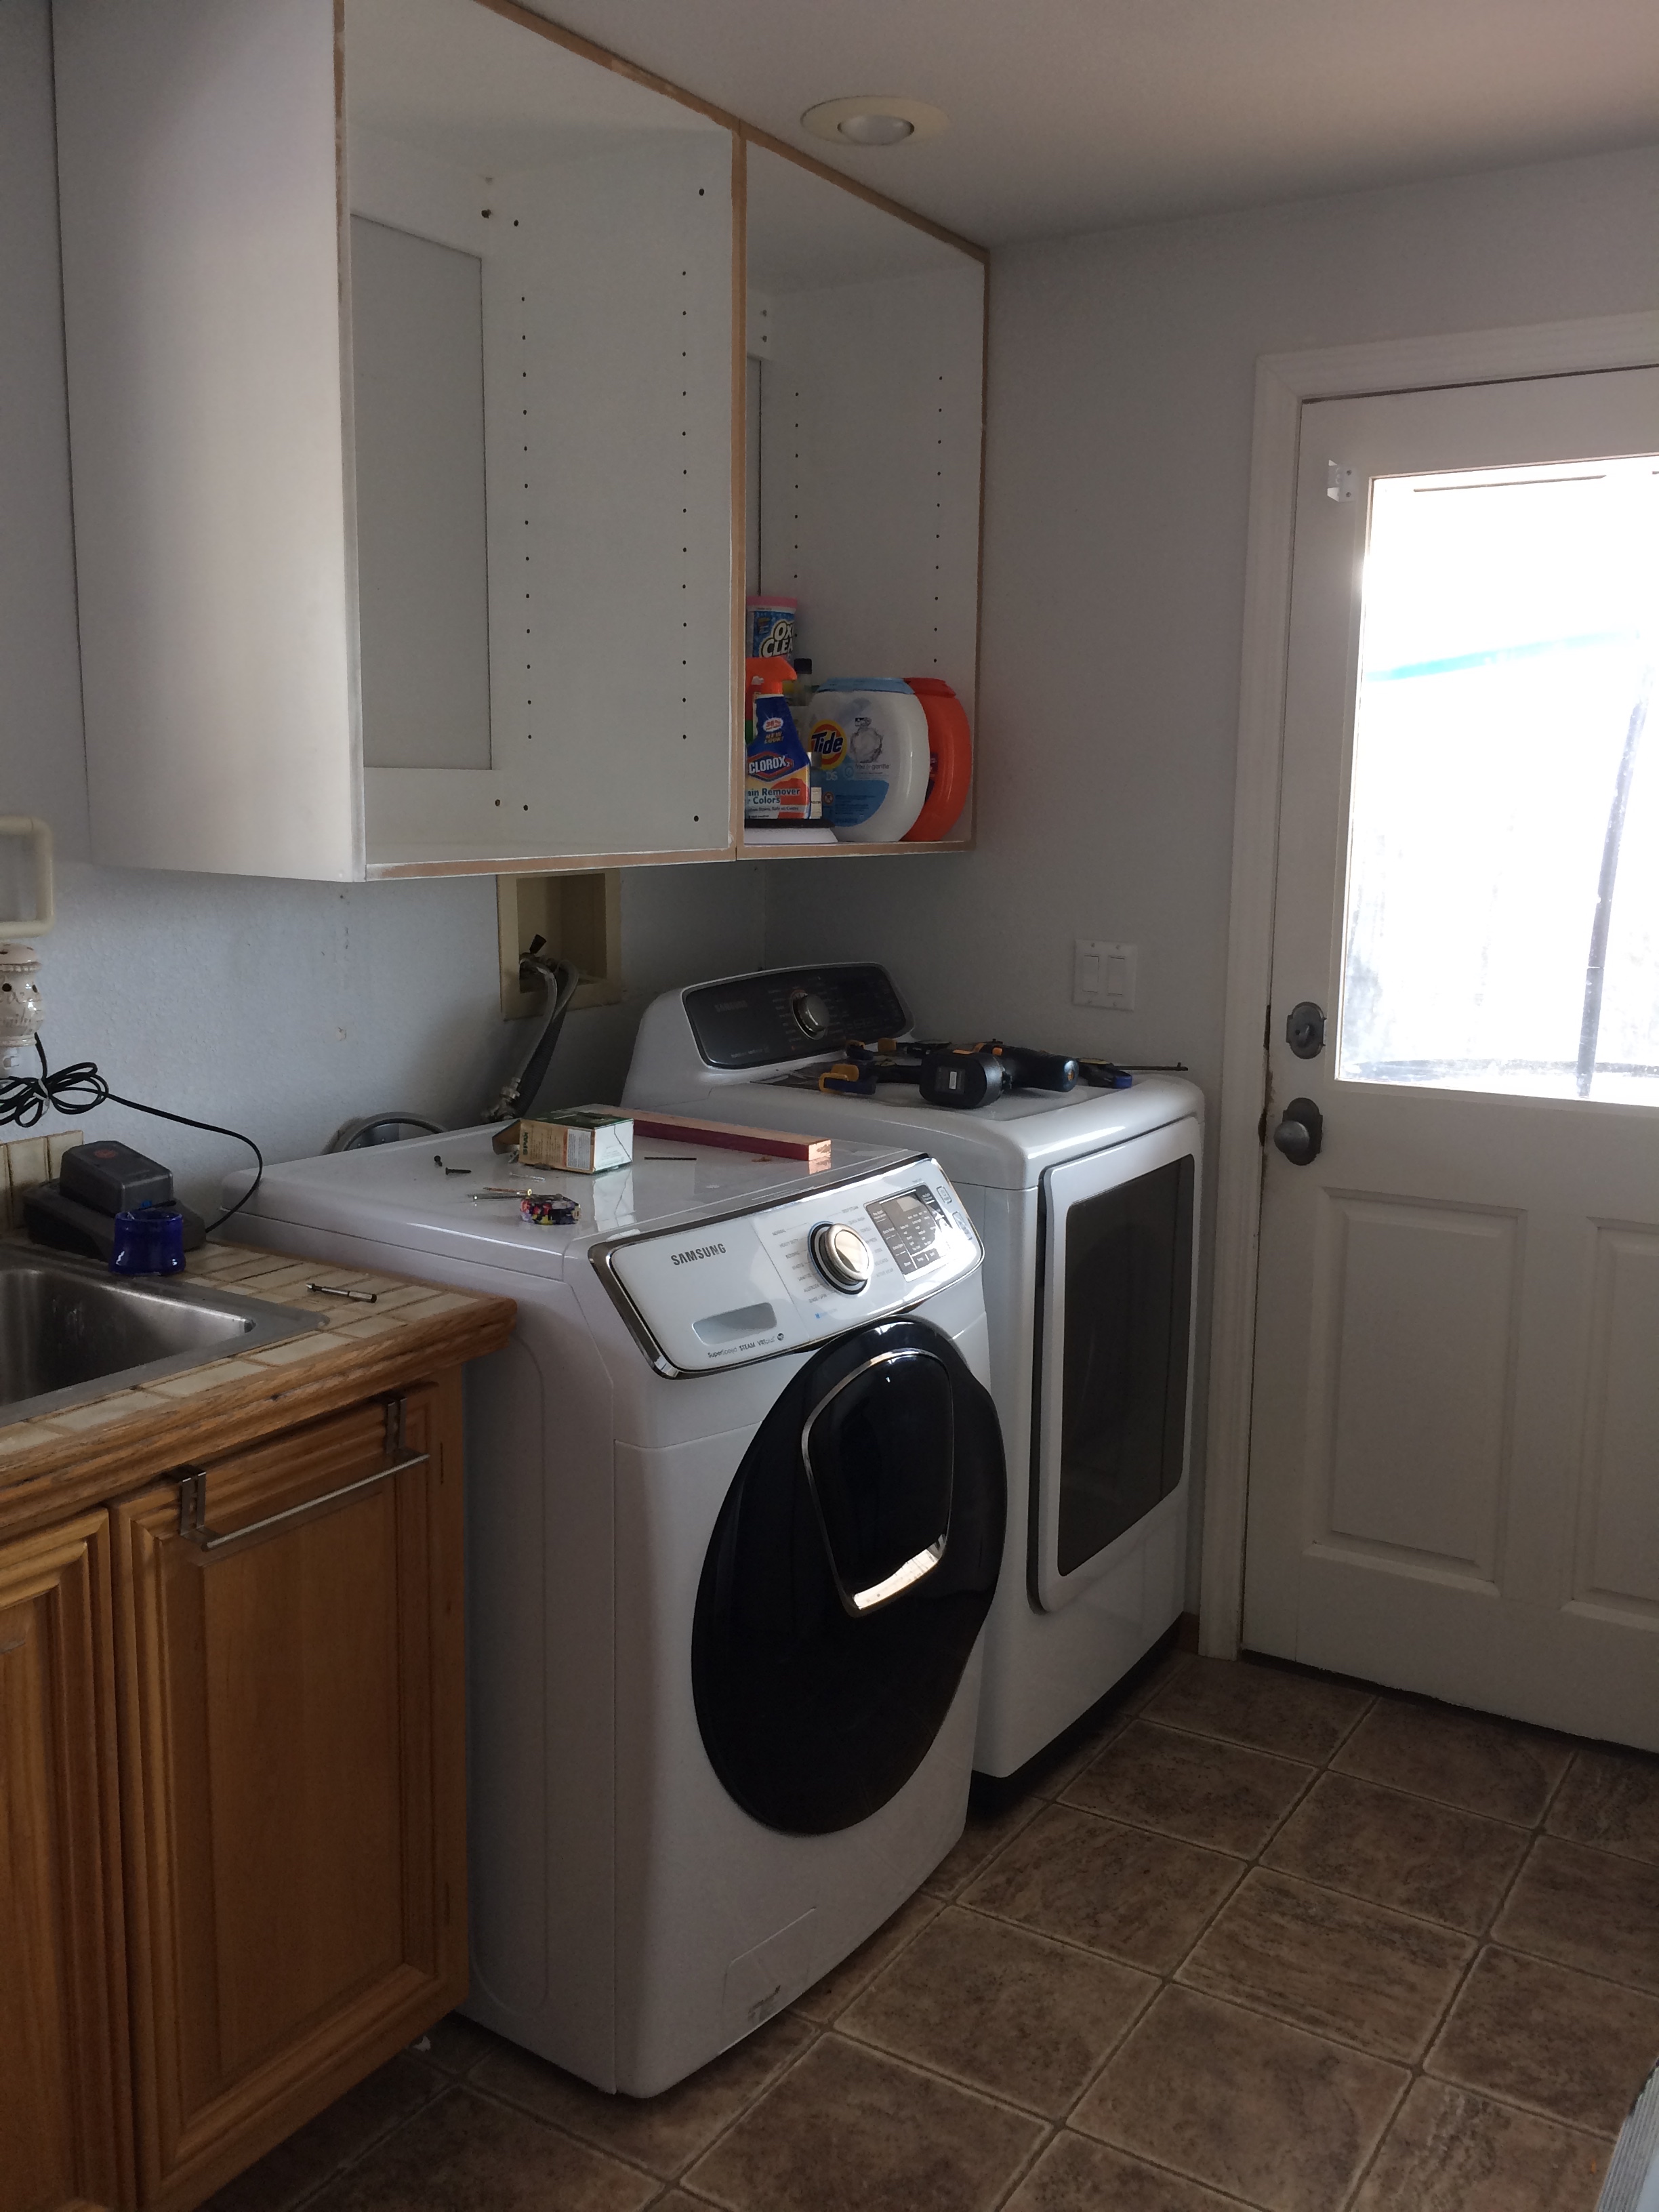
The area above our washer and dryer (not pictured) was mostly wasted space, so my wife asked me to build some custom cabinets. (Actually, she said, “Can you just buy some cabinets for above the washer and dryer? You really don’t have to build custom ones. I just want something better than this shelf. Anything. “) I designed some cabinets that would use up all of the available space, resulting in a rectangular box about 57″ long, 37″ tall, and 18” deep.
I originally built a single MDF box, but when I realized how heavy it would be, I split it into two boxes so that we could lift it into place without a crane. Pro-tip: Don’t build something that will weigh a hundred pounds if you’ll have to hold it above your head while you’re screwing it to the wall.
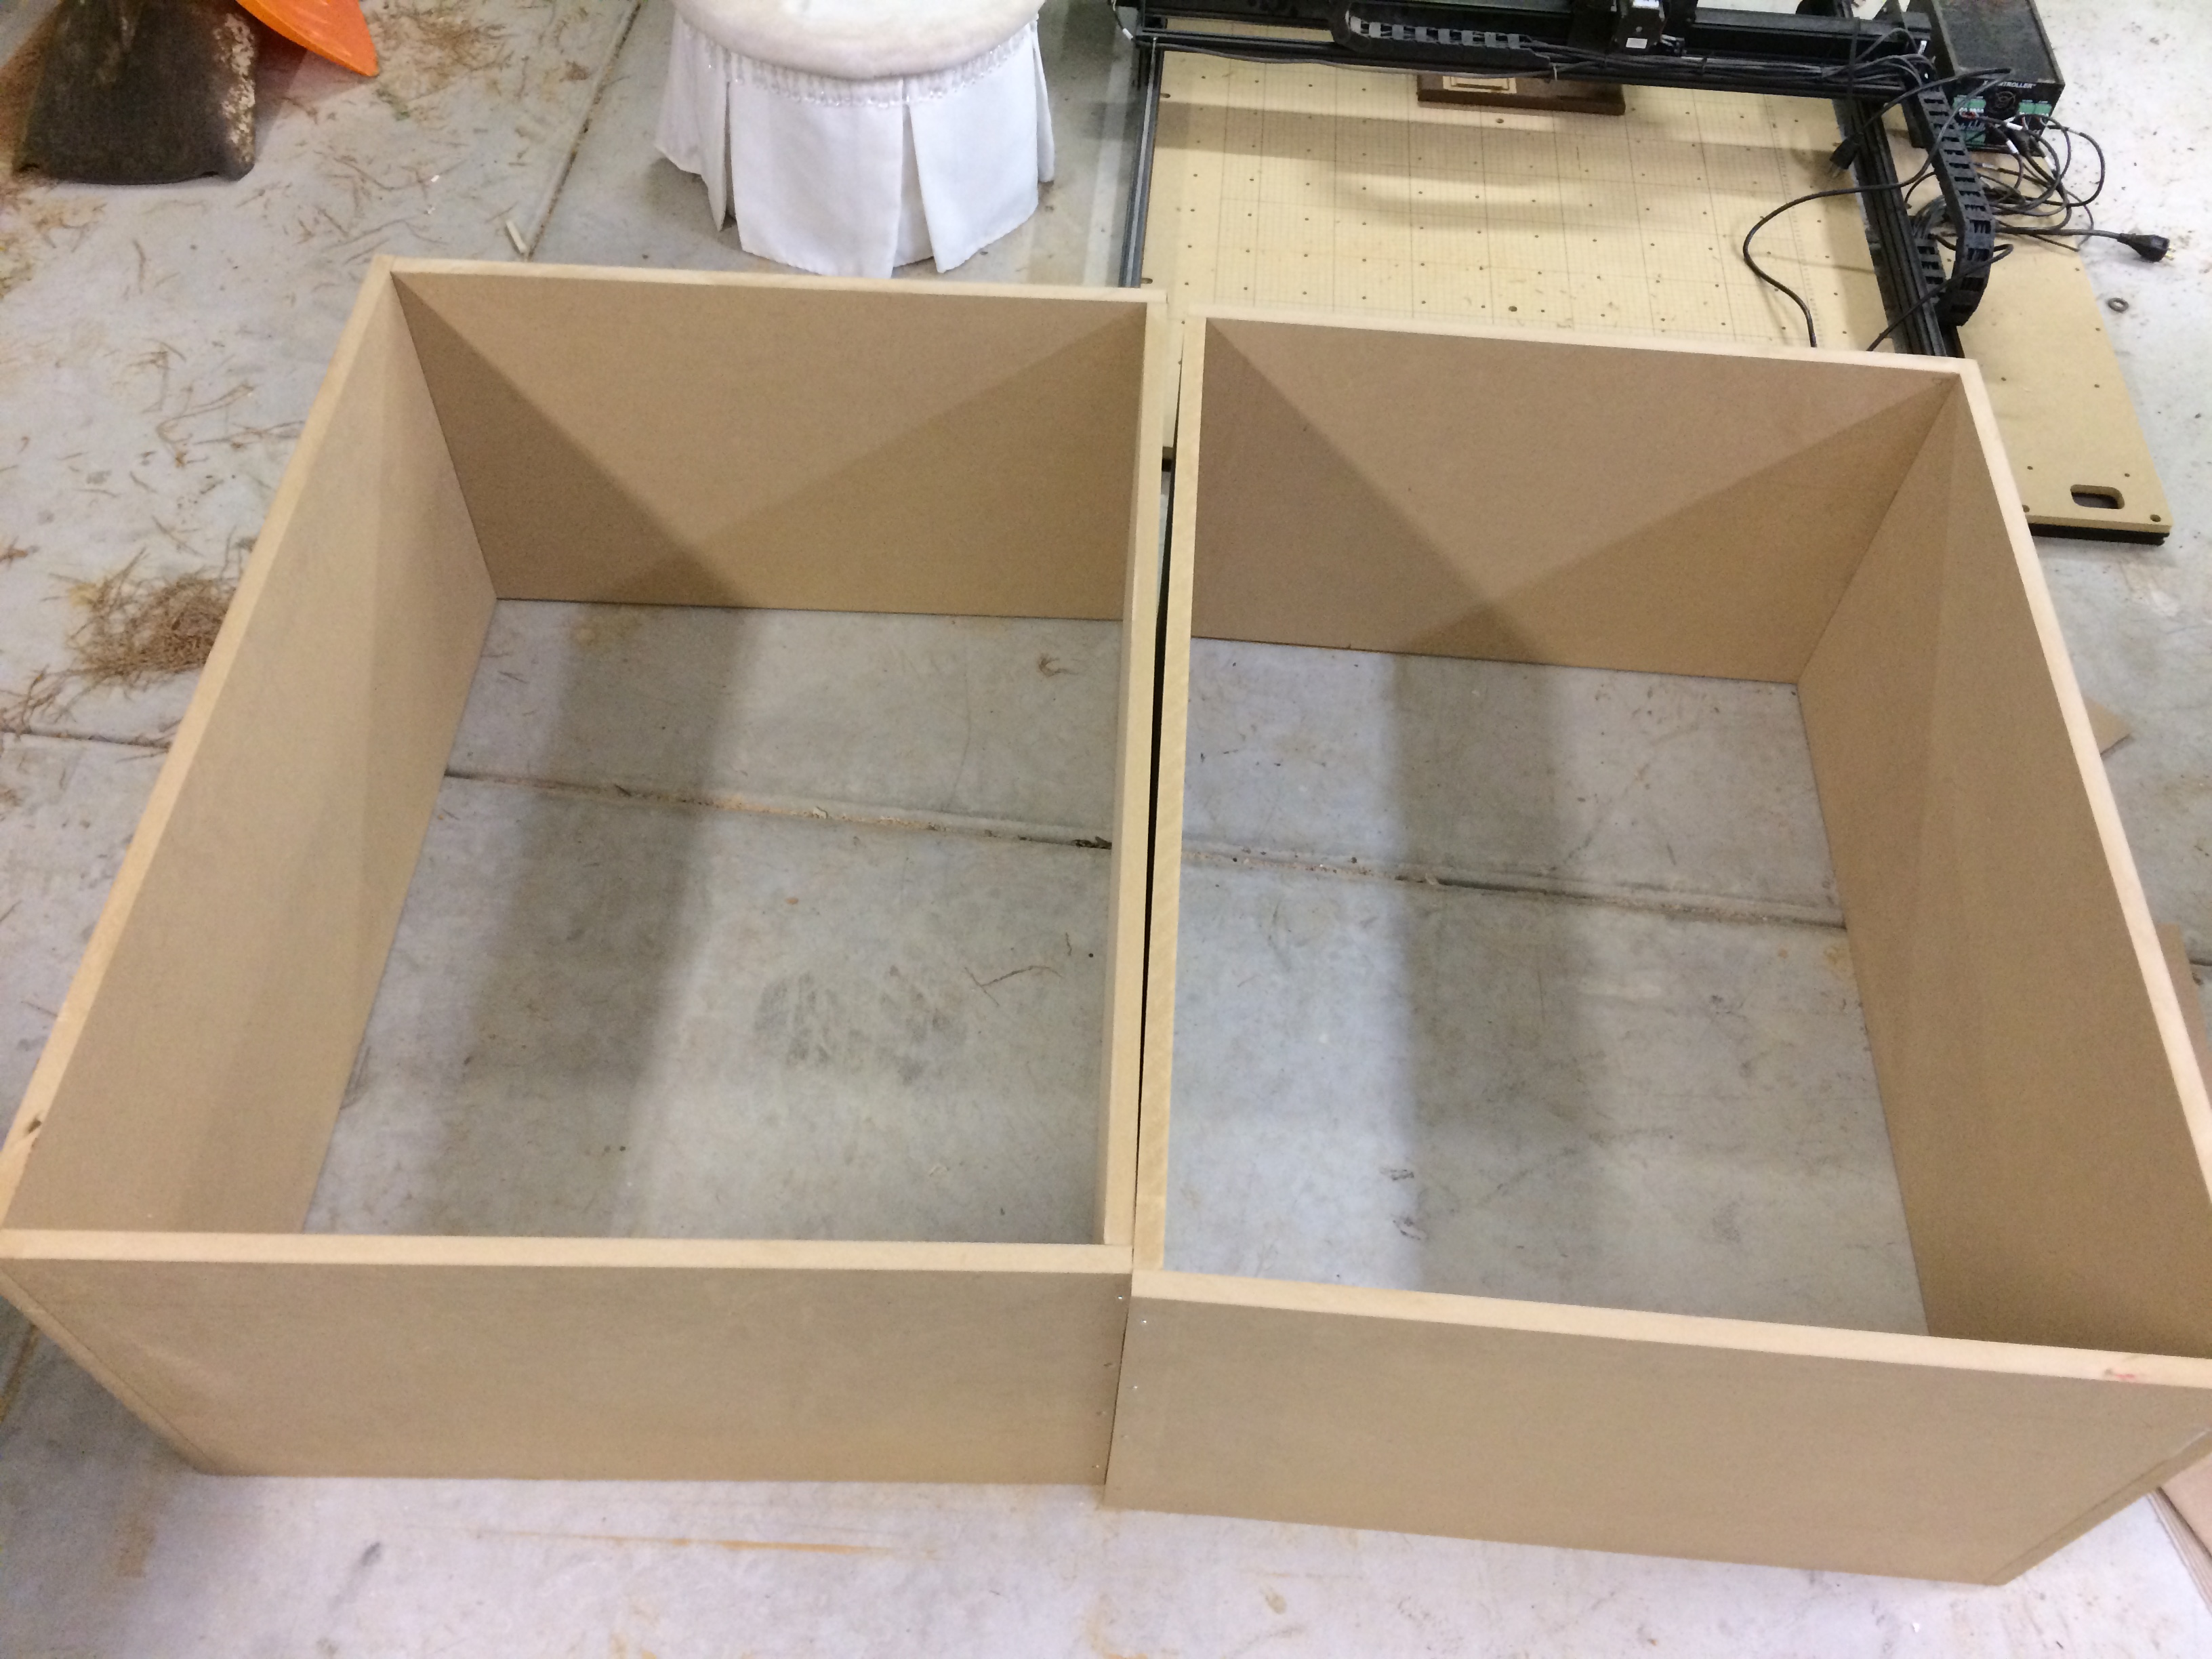
I added boards to the top and bottom of the back of each box to increase stability as well as provide a place to screw the cabinet to the wall.
I saw a tip online about covering the edges of MDF with drywall joint compound to achieve a smoother edge after painting, so I tried that. It seemed to work ok, but it was kind of a hassle.
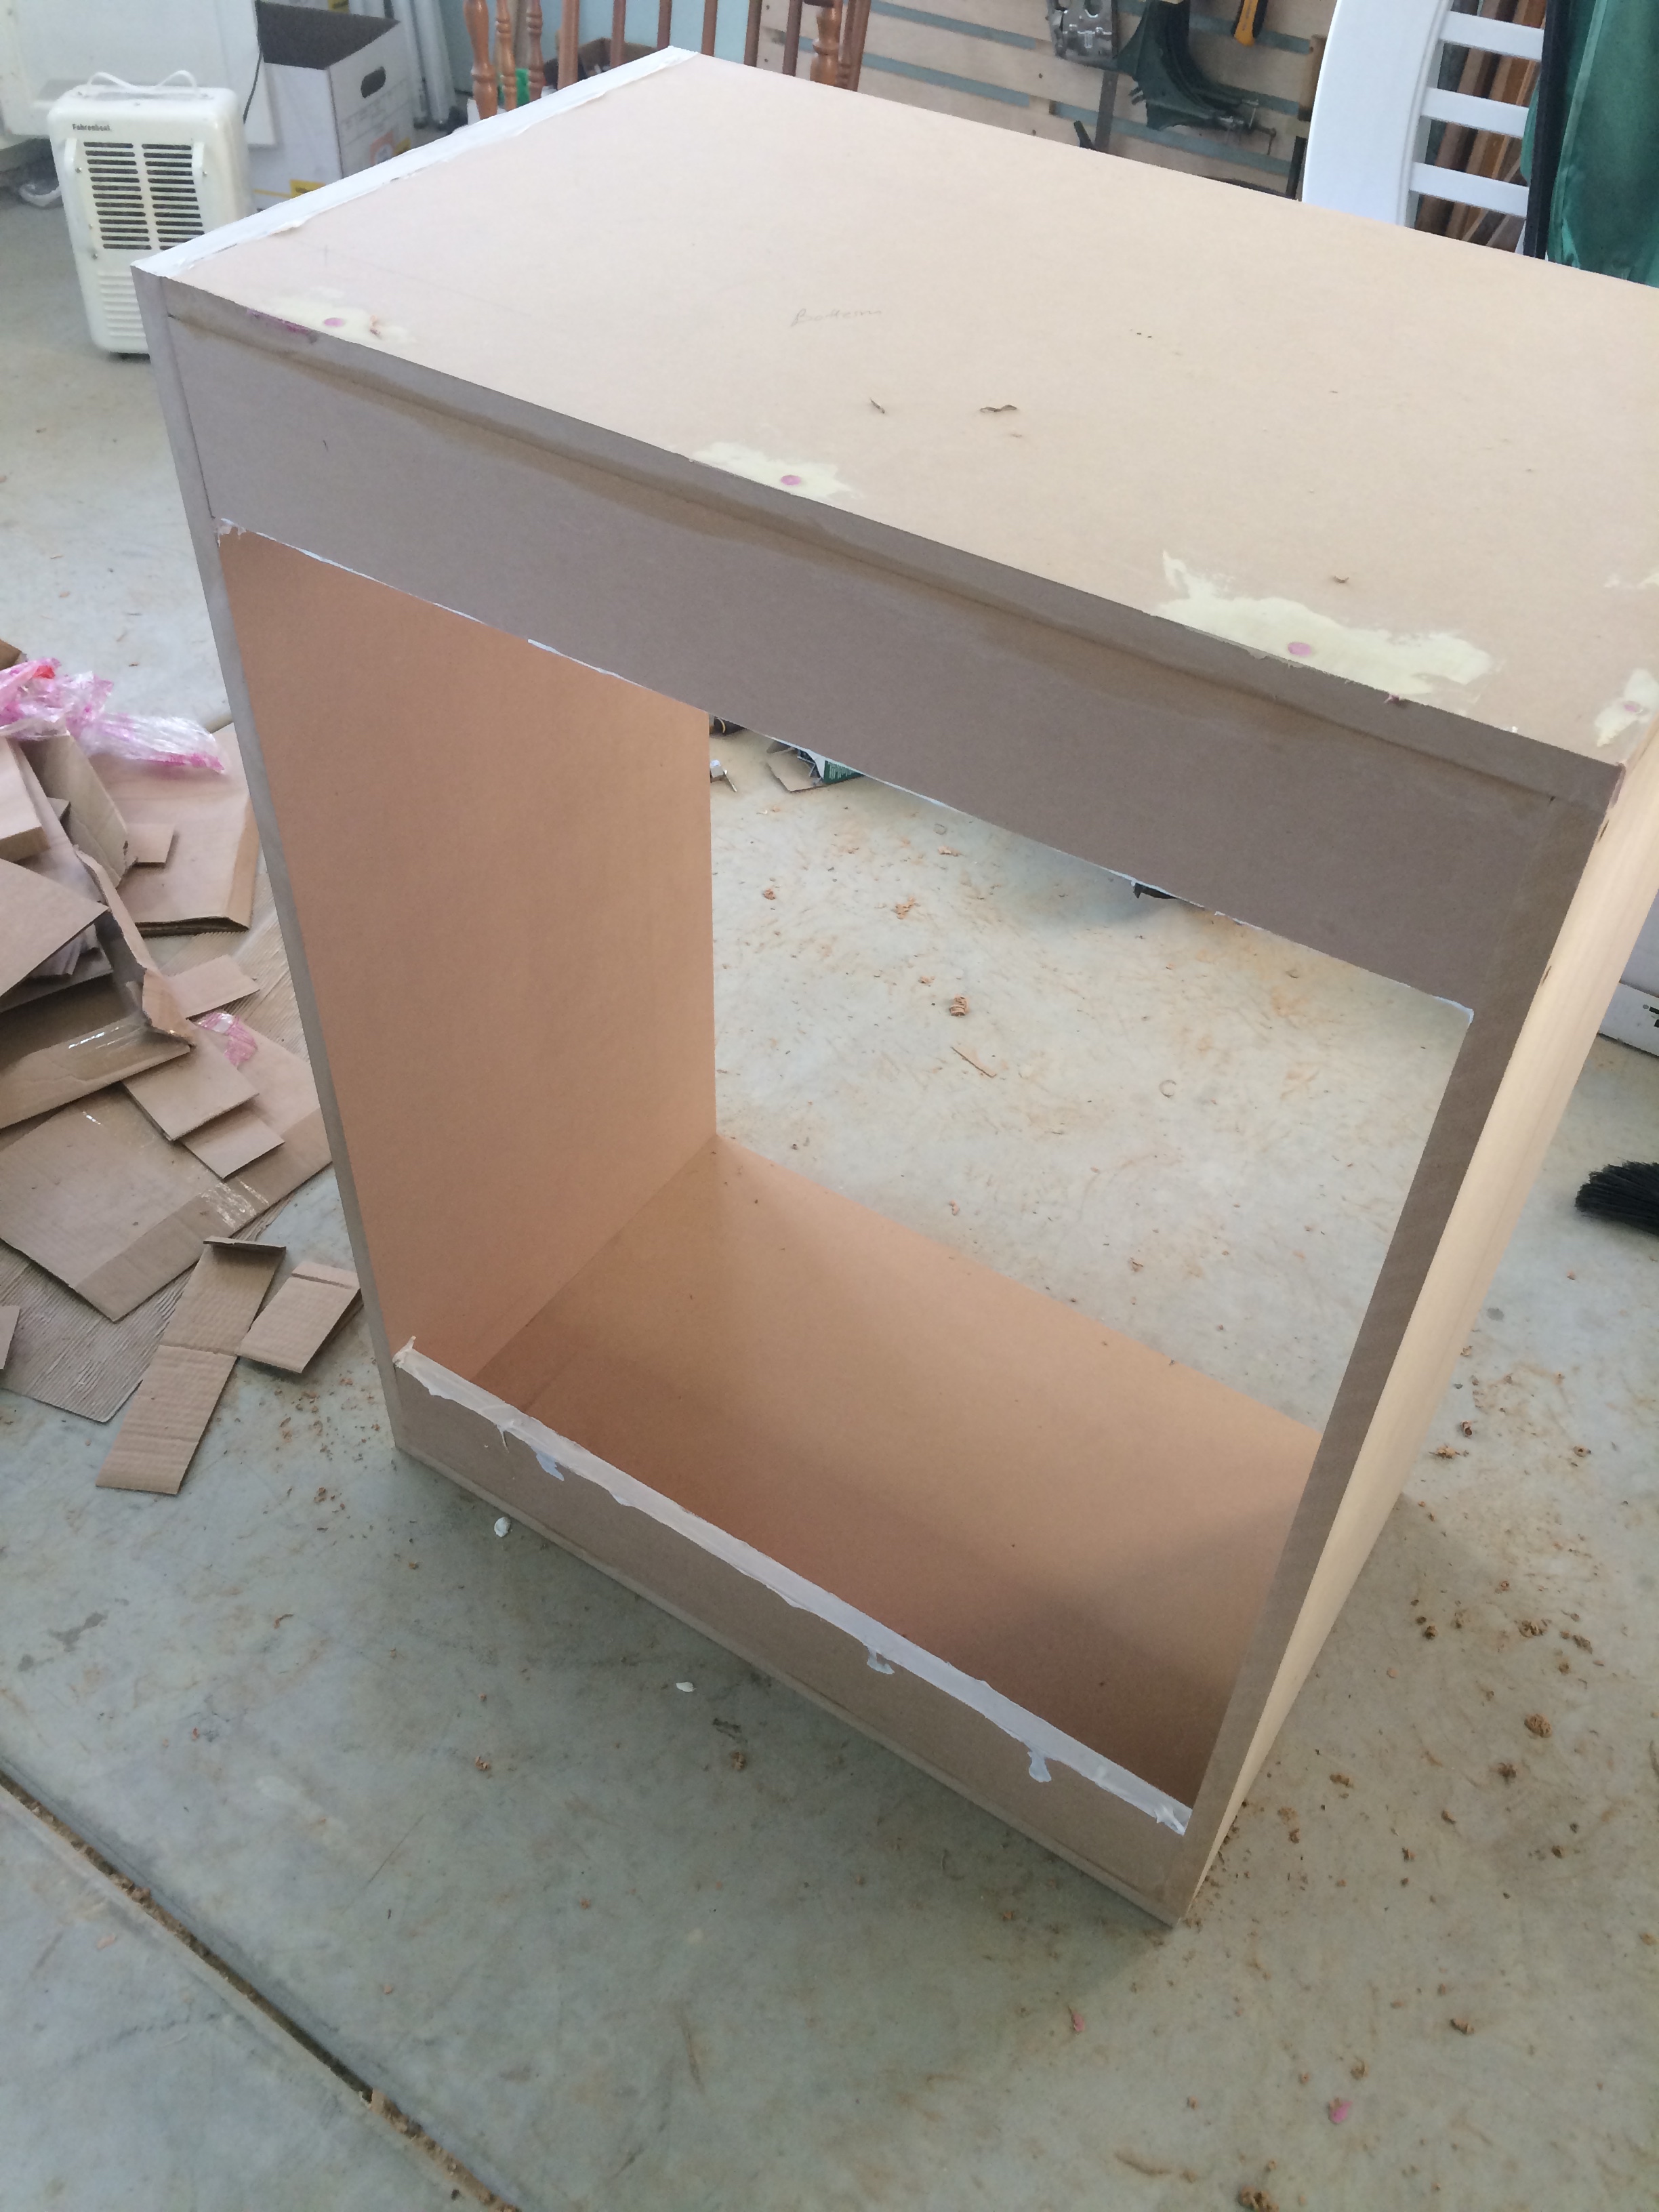
After painting, I drilled a series of quarter-inch holes two inches apart to allow for adjustable shelves. I originally meant to cut all of these with my CNC router to ensure that they were precisely spaced, but I forgot until after I had assembled the boxes.
We hung the cabinets without any trouble. There would have been trouble if we had had to lift the entire thing up there all at once.
I built the face frame out of thin MDF strips and pocket screws and attached them to the cabinet boxes with wood glue and a brad nailer.

In order to make the doors, I wrote a program that reads a cross-section profile of a cabinet rail and panel, like this:

and tells my CNC router to carve that style of cabinet door in 3D (more on that in a future post). Unfortunately, my wife only wants Shaker-style cabinet doors. I still carved them on the X-Carve as a proof of concept for more complicated future doors.
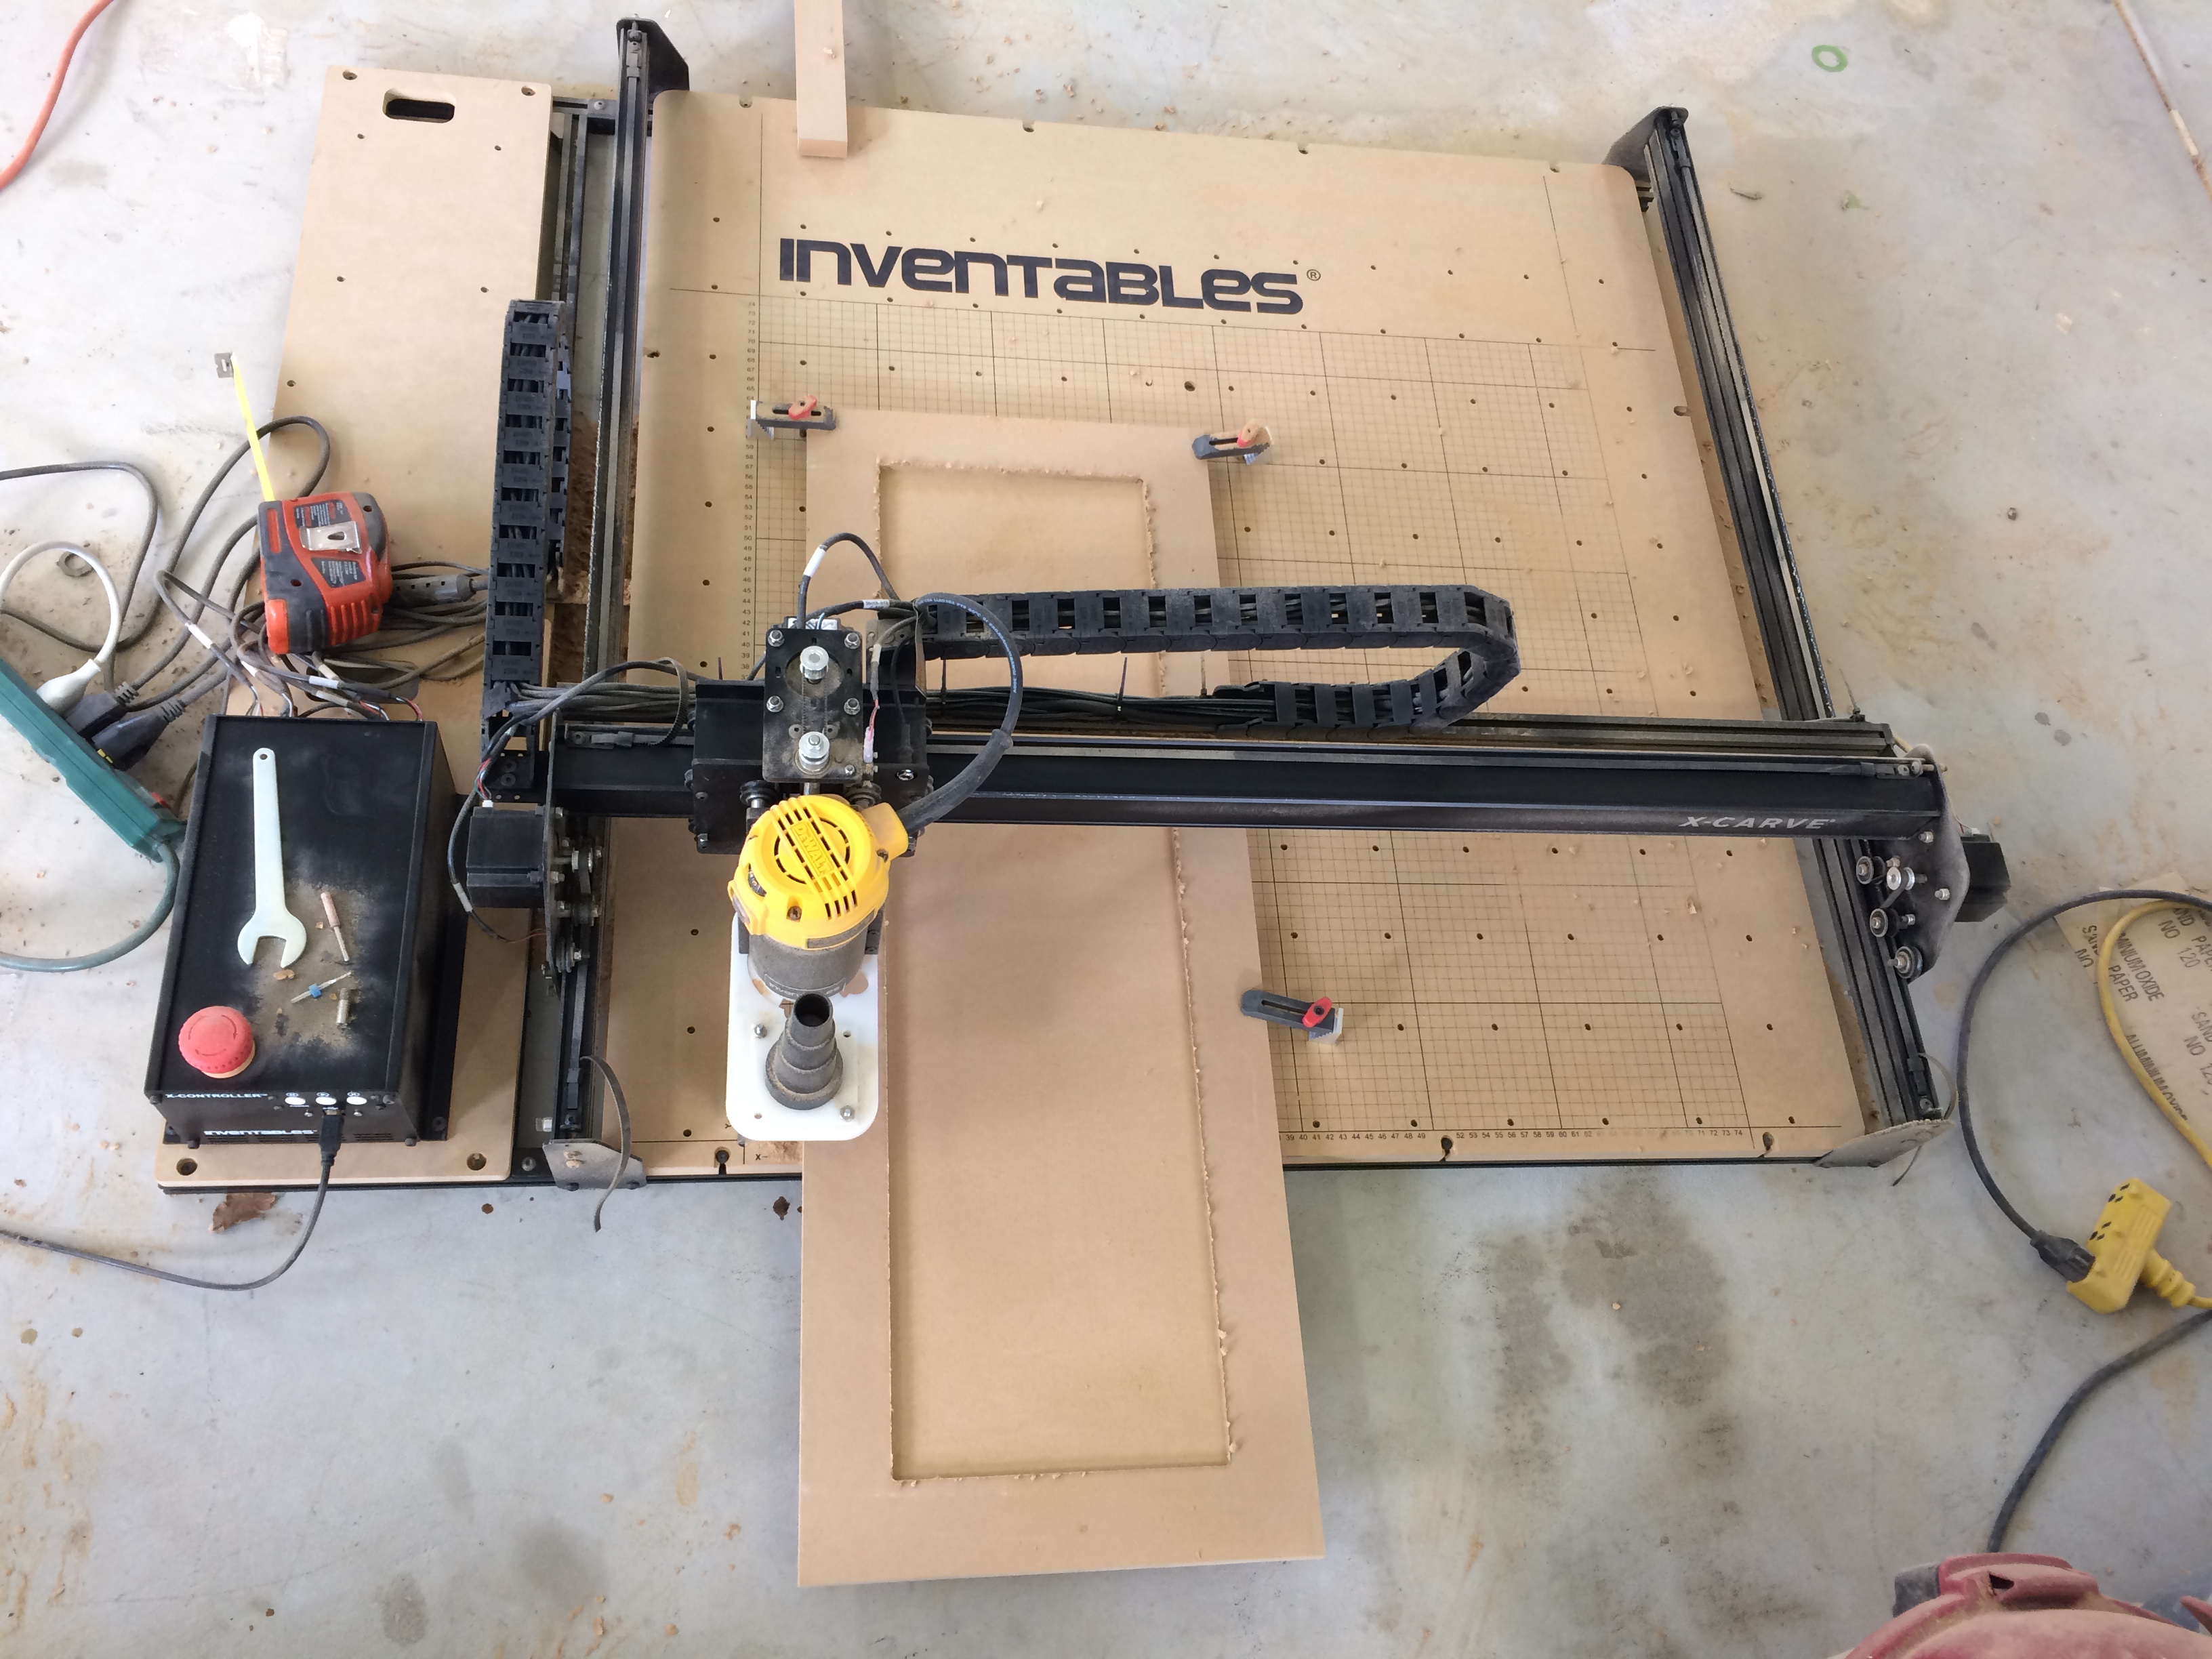
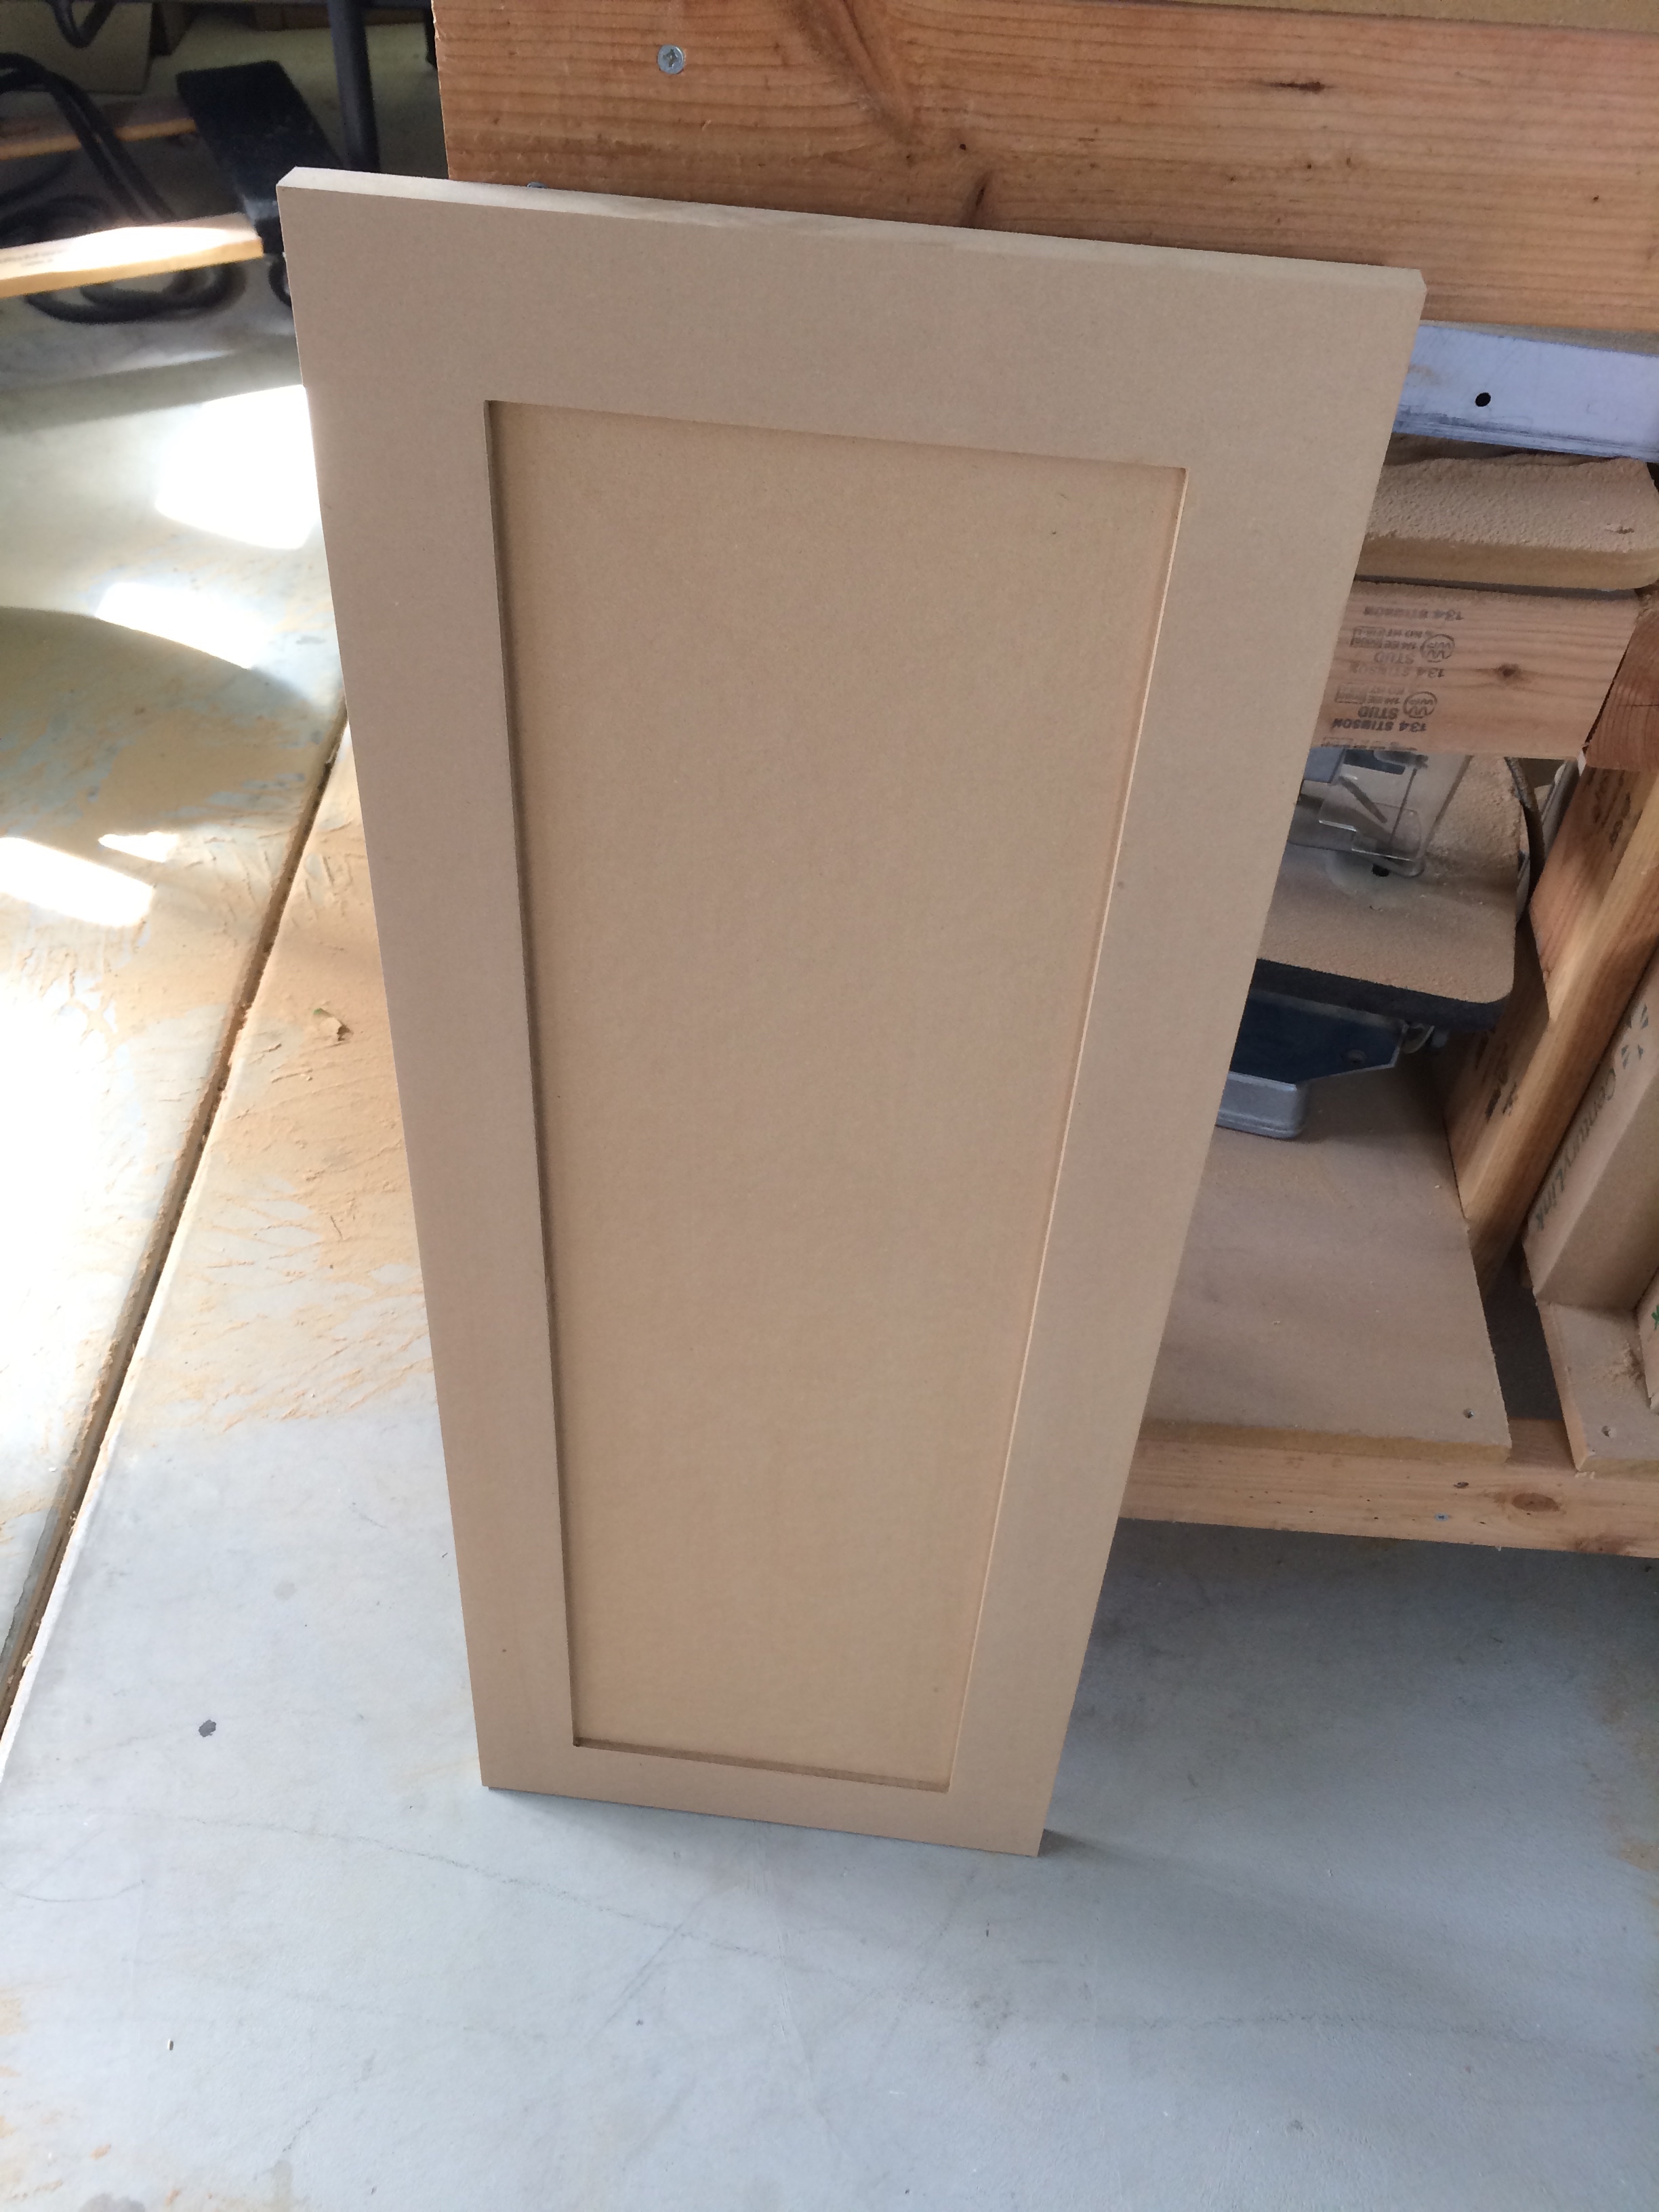
The doors are 35″ tall, which meant that I couldn’t cut the recessed panel in a single session, so I had to carve out the bottom half, carefully move the door without losing the x-axis alignment, and then carve the rest. It worked out pretty well:

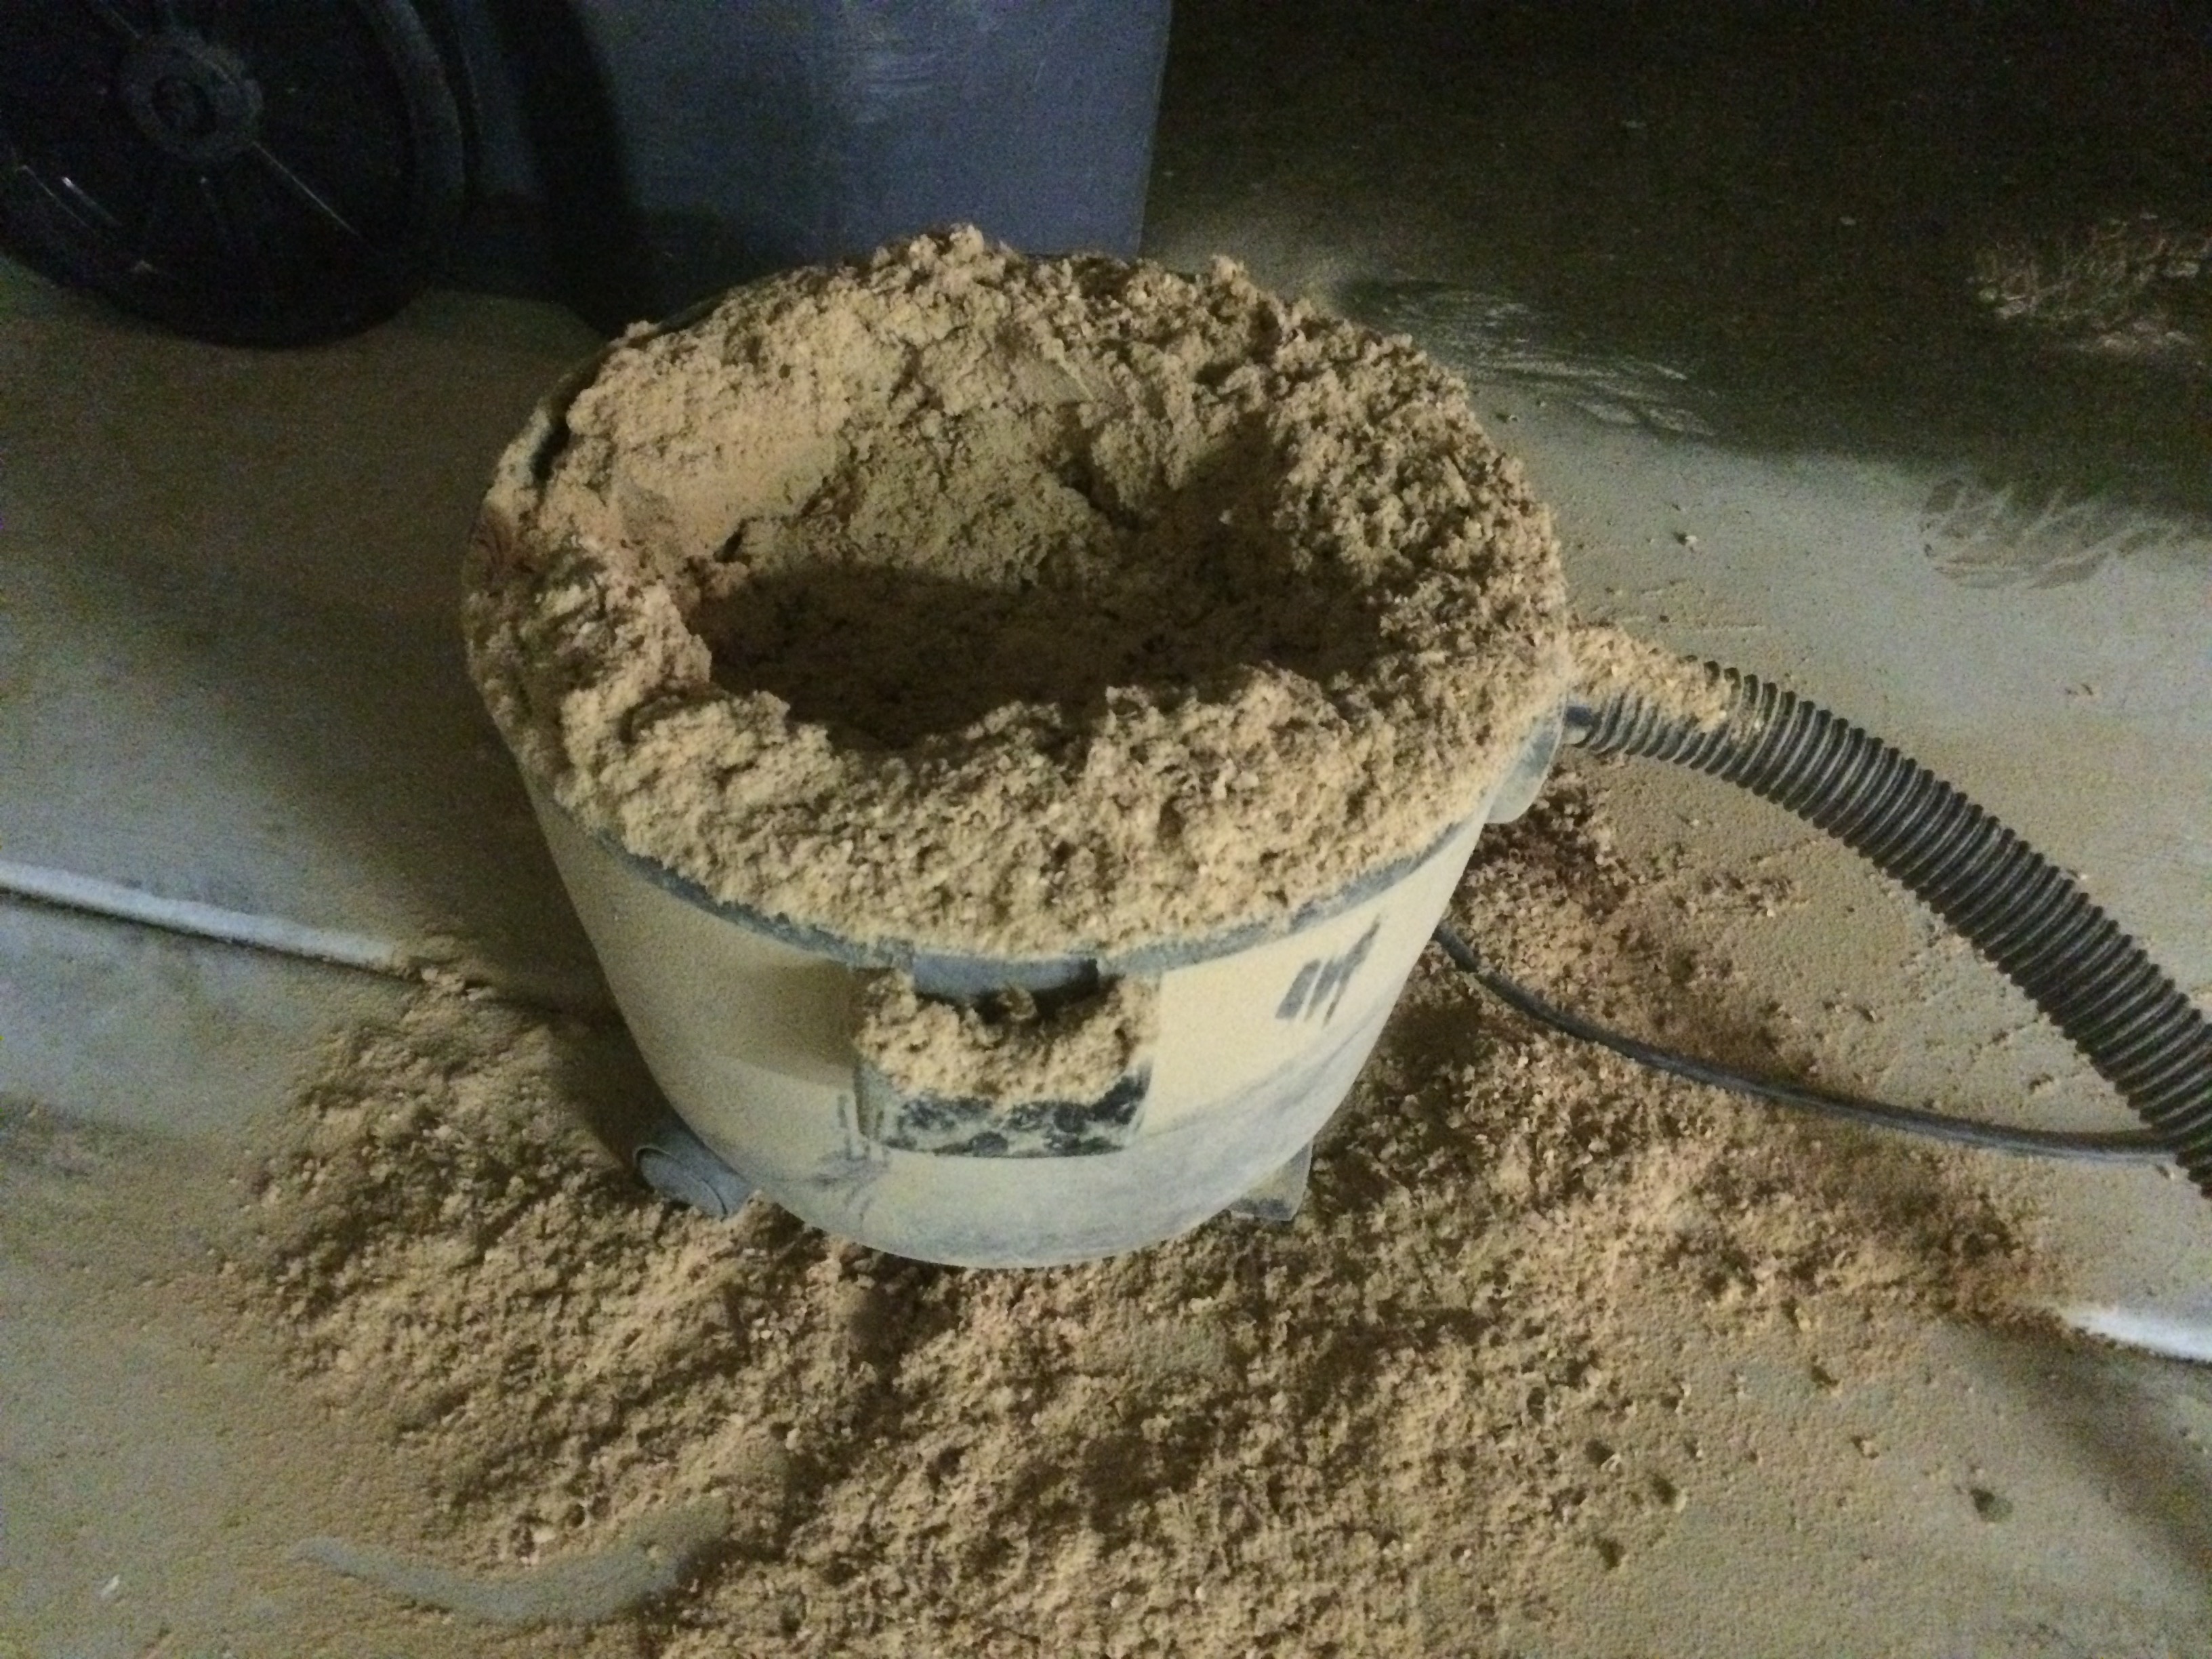
FYI, if you’re going to be pulverizing five liters of MDF, empty your ShopVac regularly.
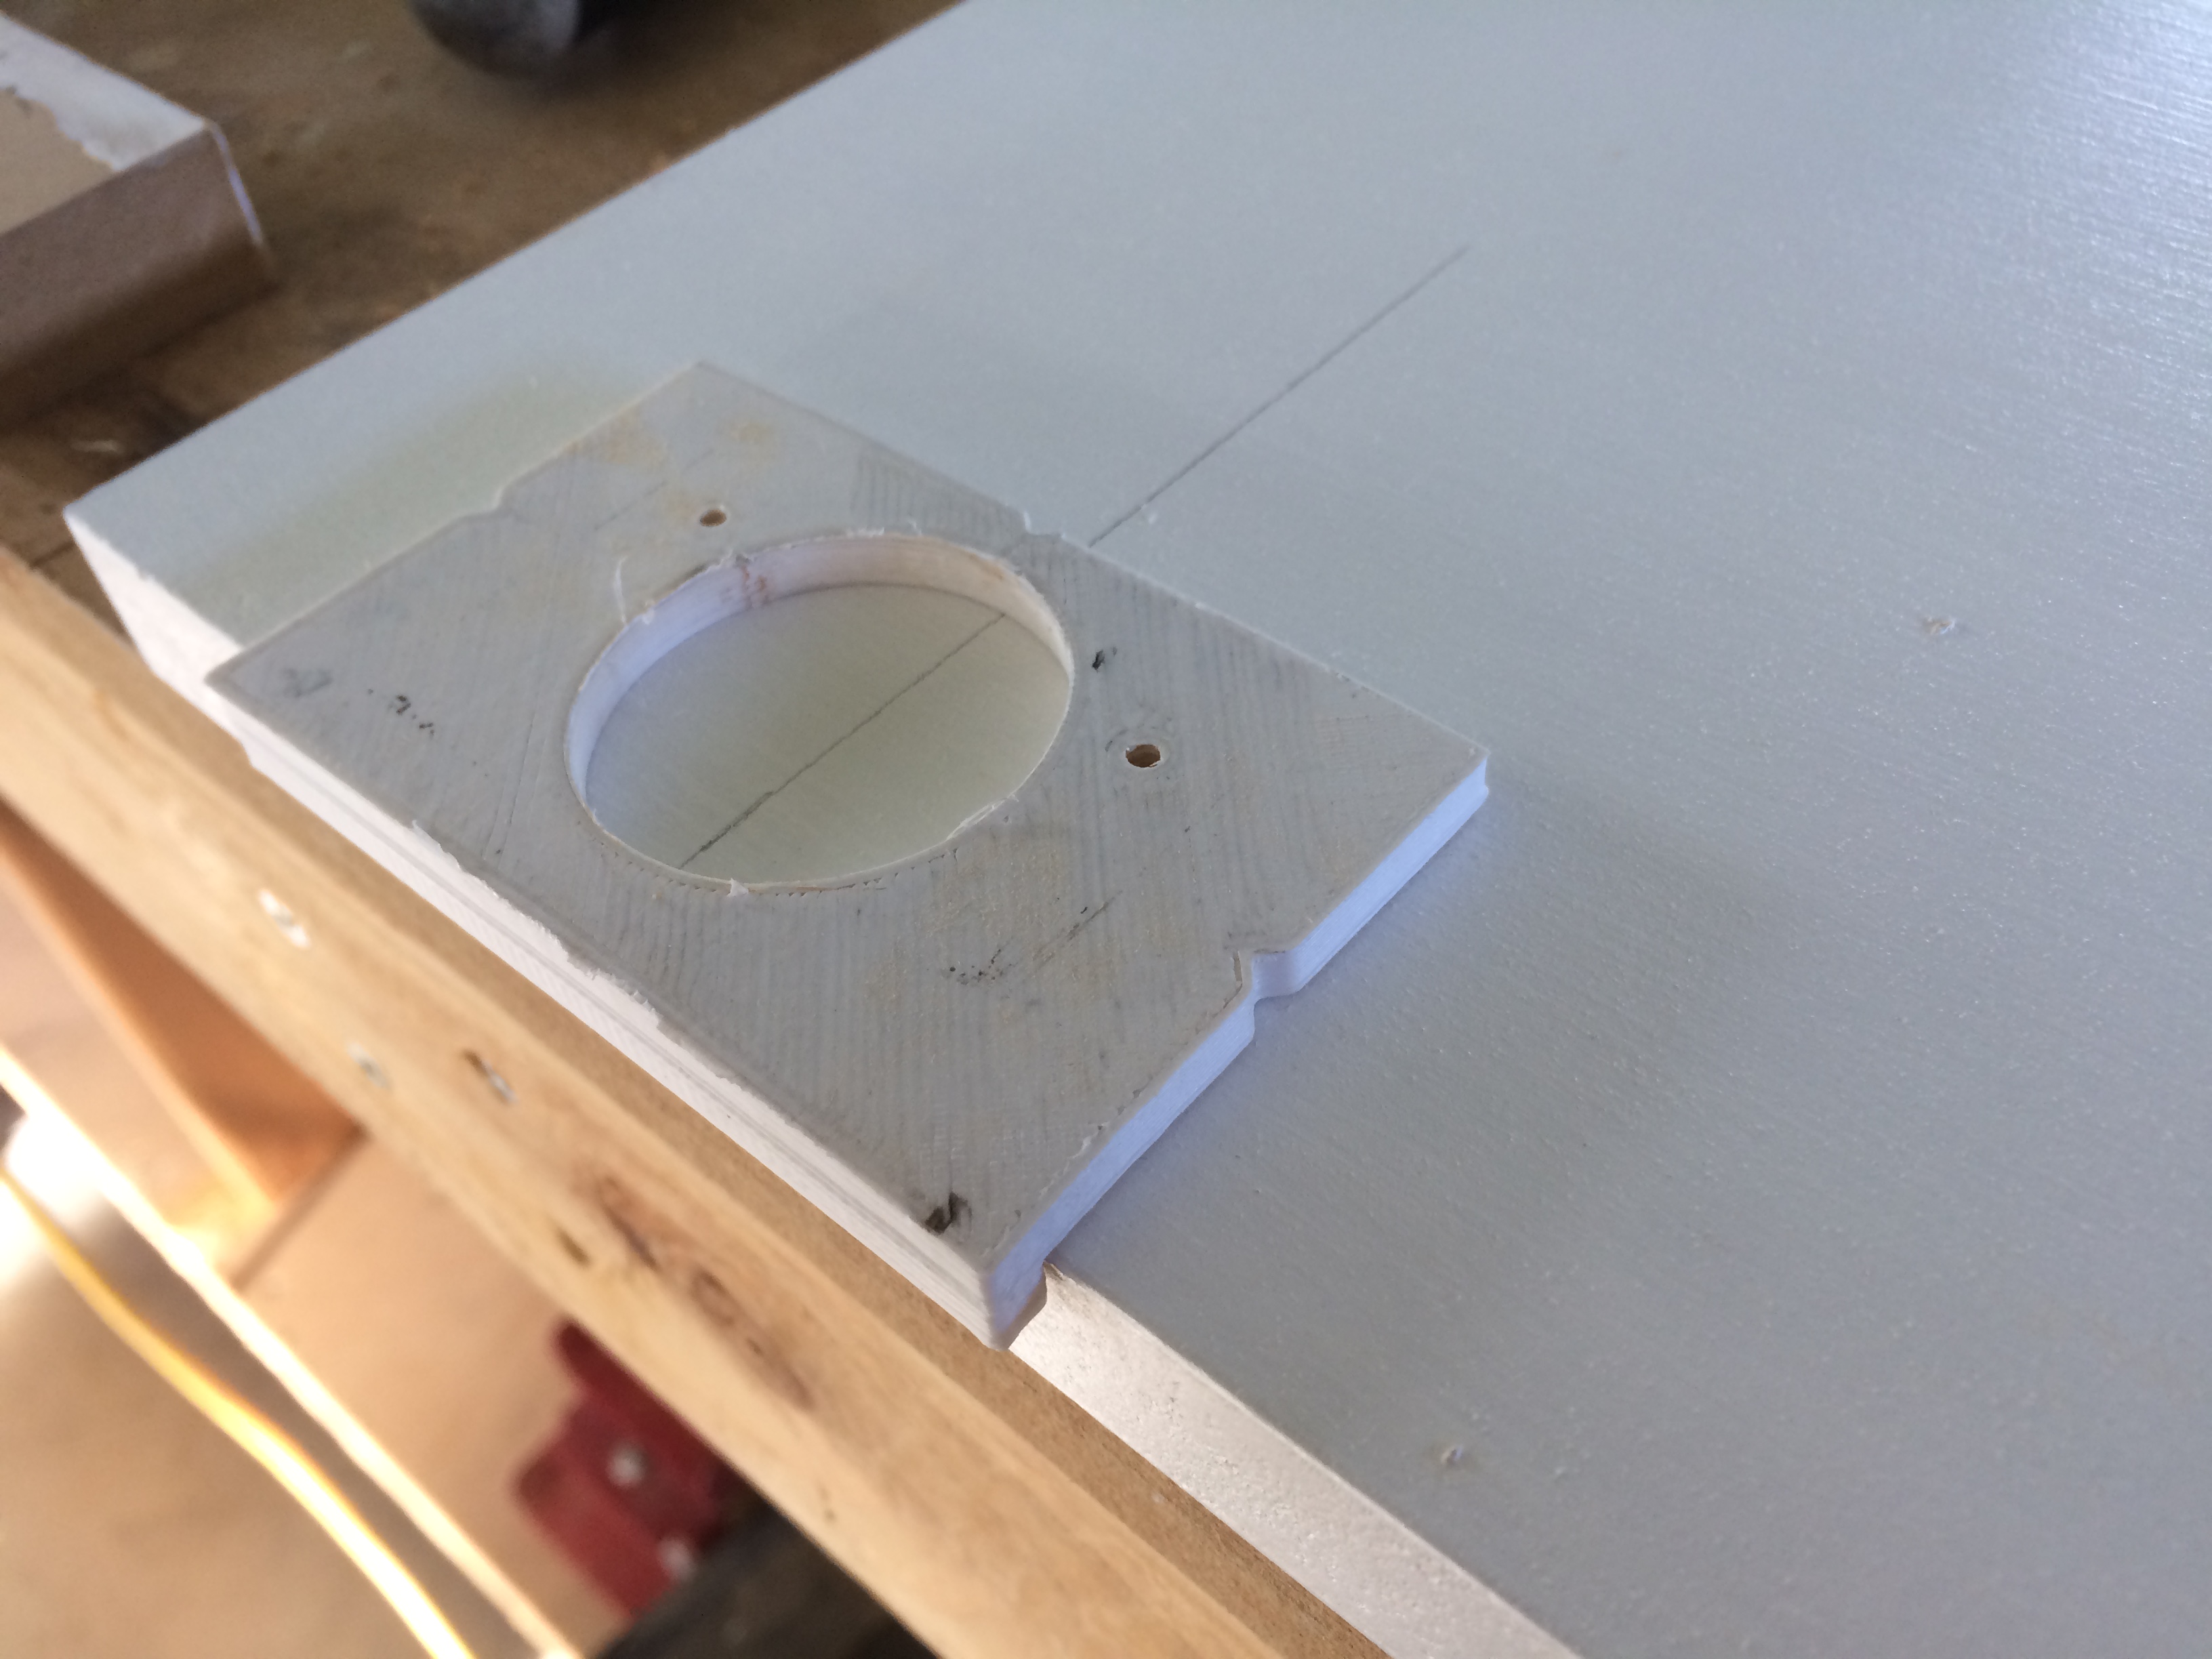
I chose hidden European-style hinges with a half-inch offset. These require drilling 35mm holes in very specific locations, so I 3D-printed a jig to guide my drill press…
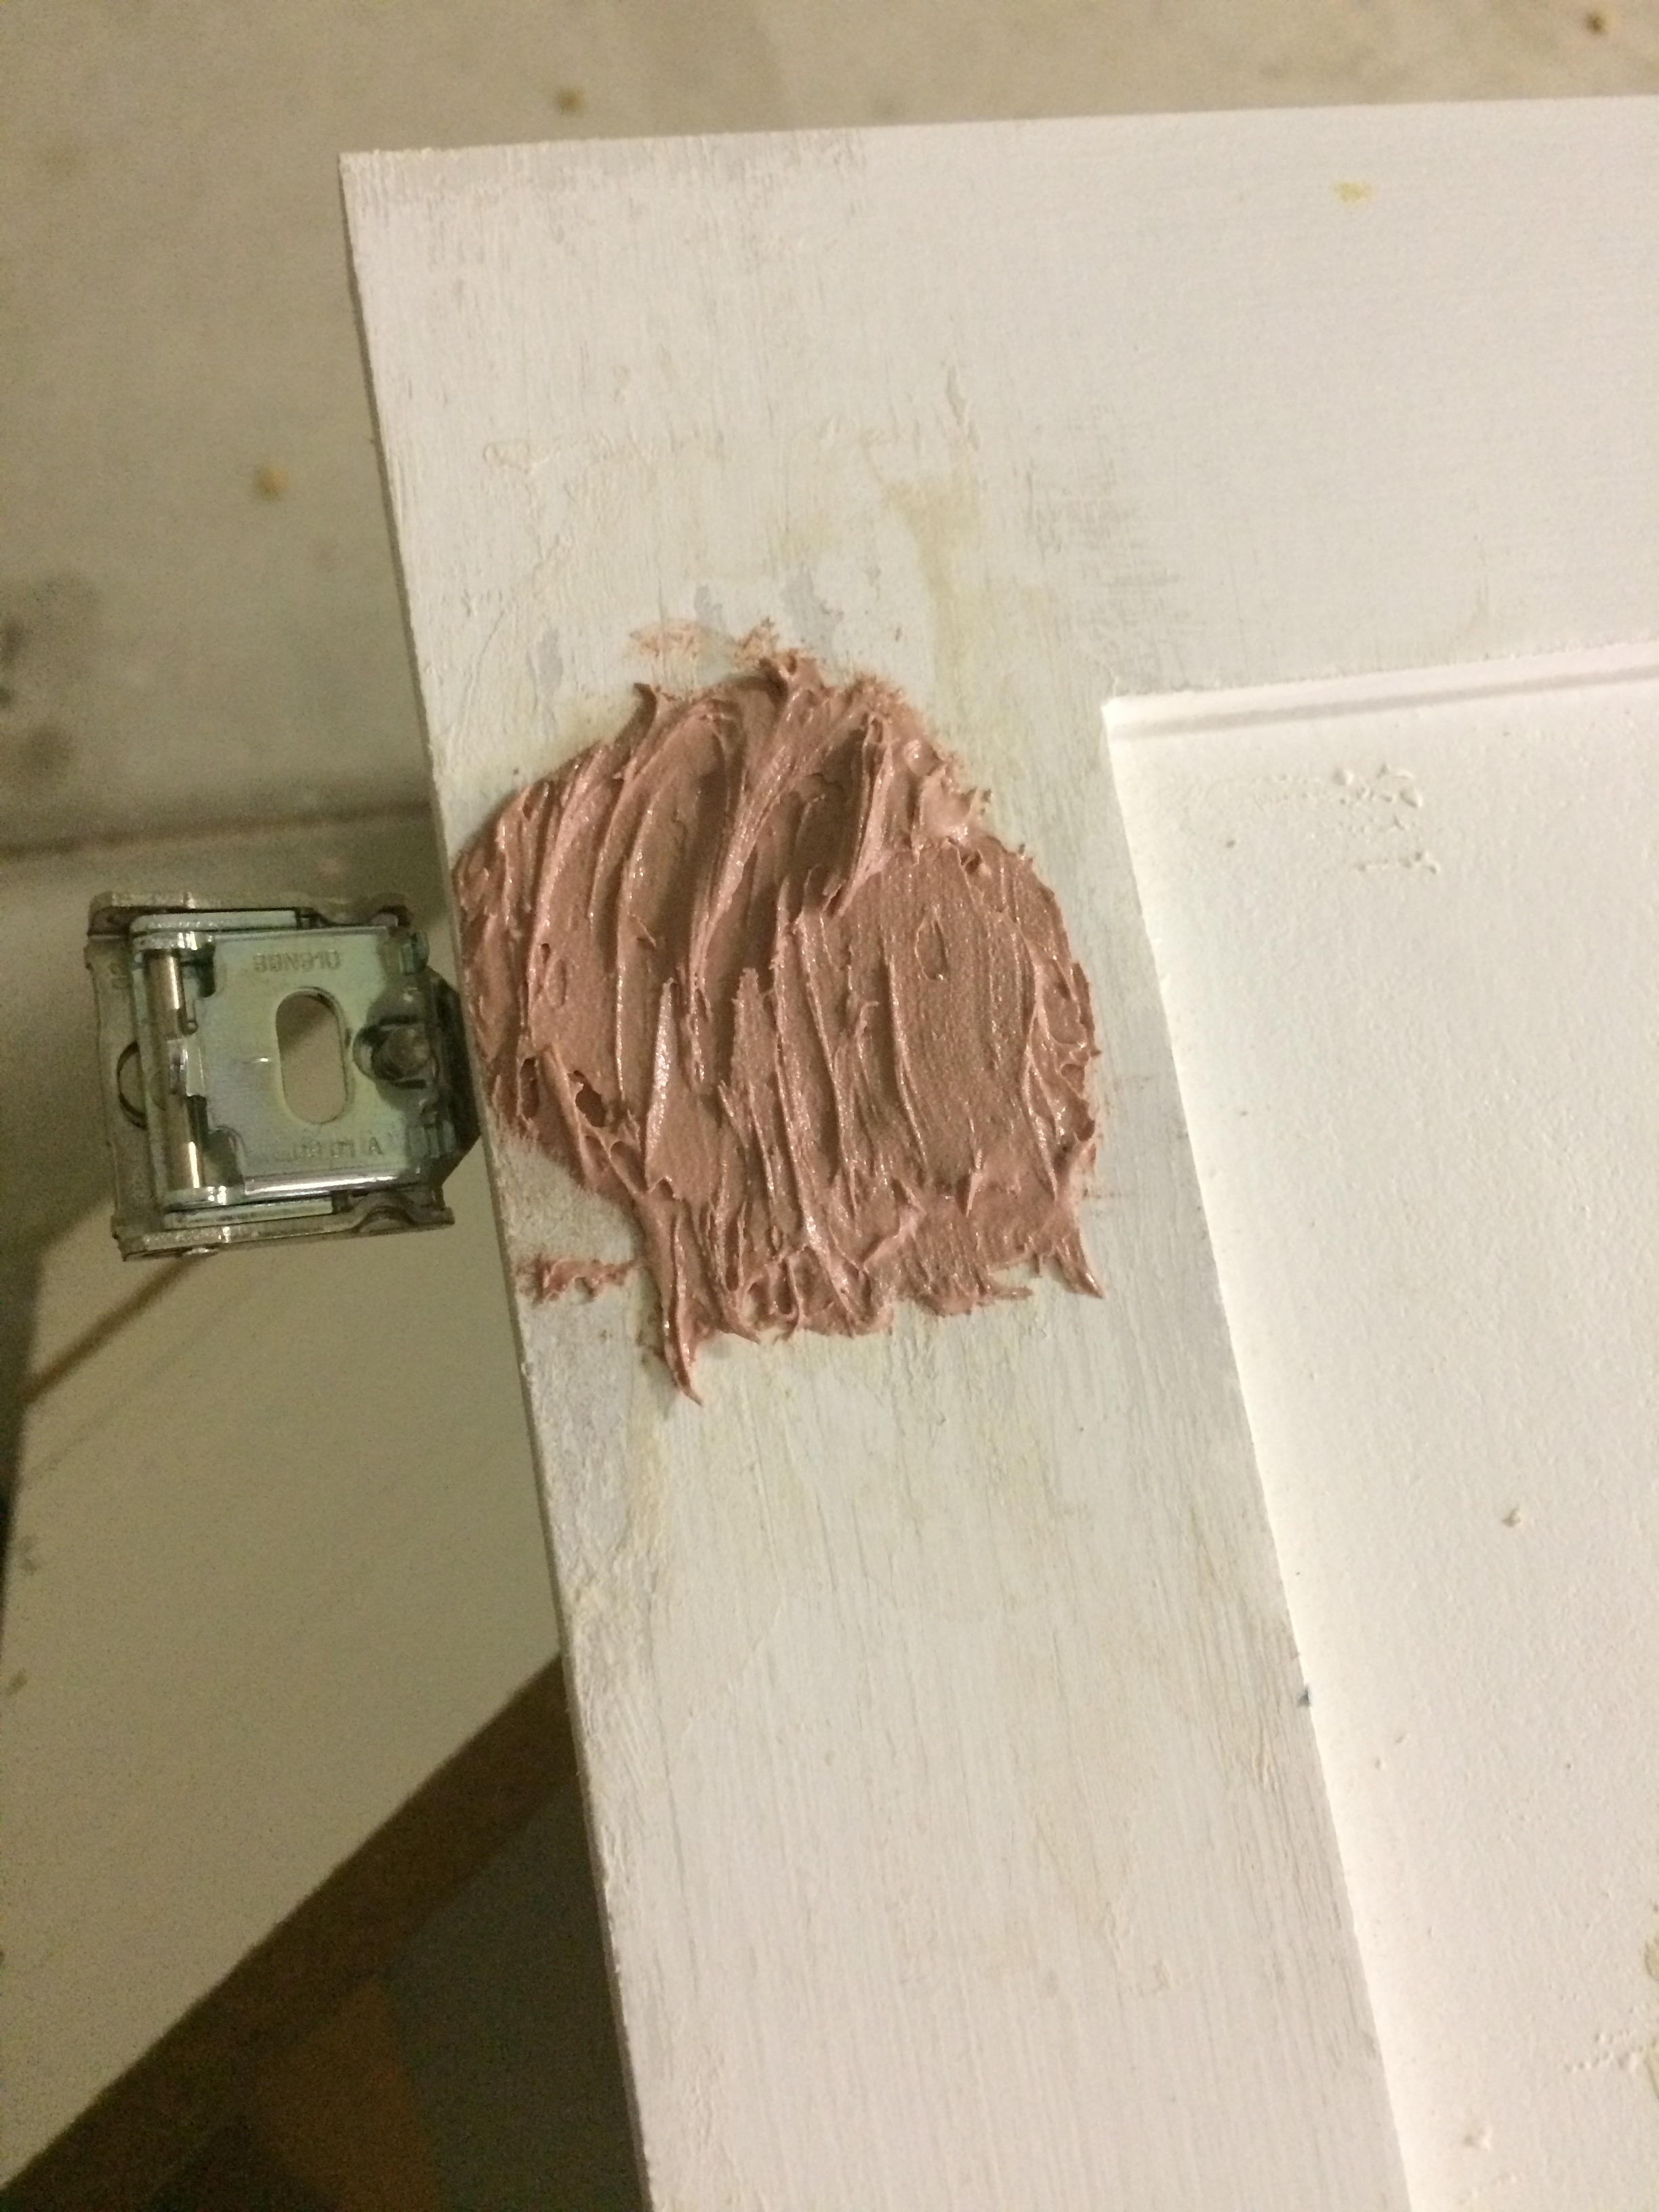
…and then promptly drilled all the way through one of the doors. Thank you Bondo for sponsoring this portion of my build:
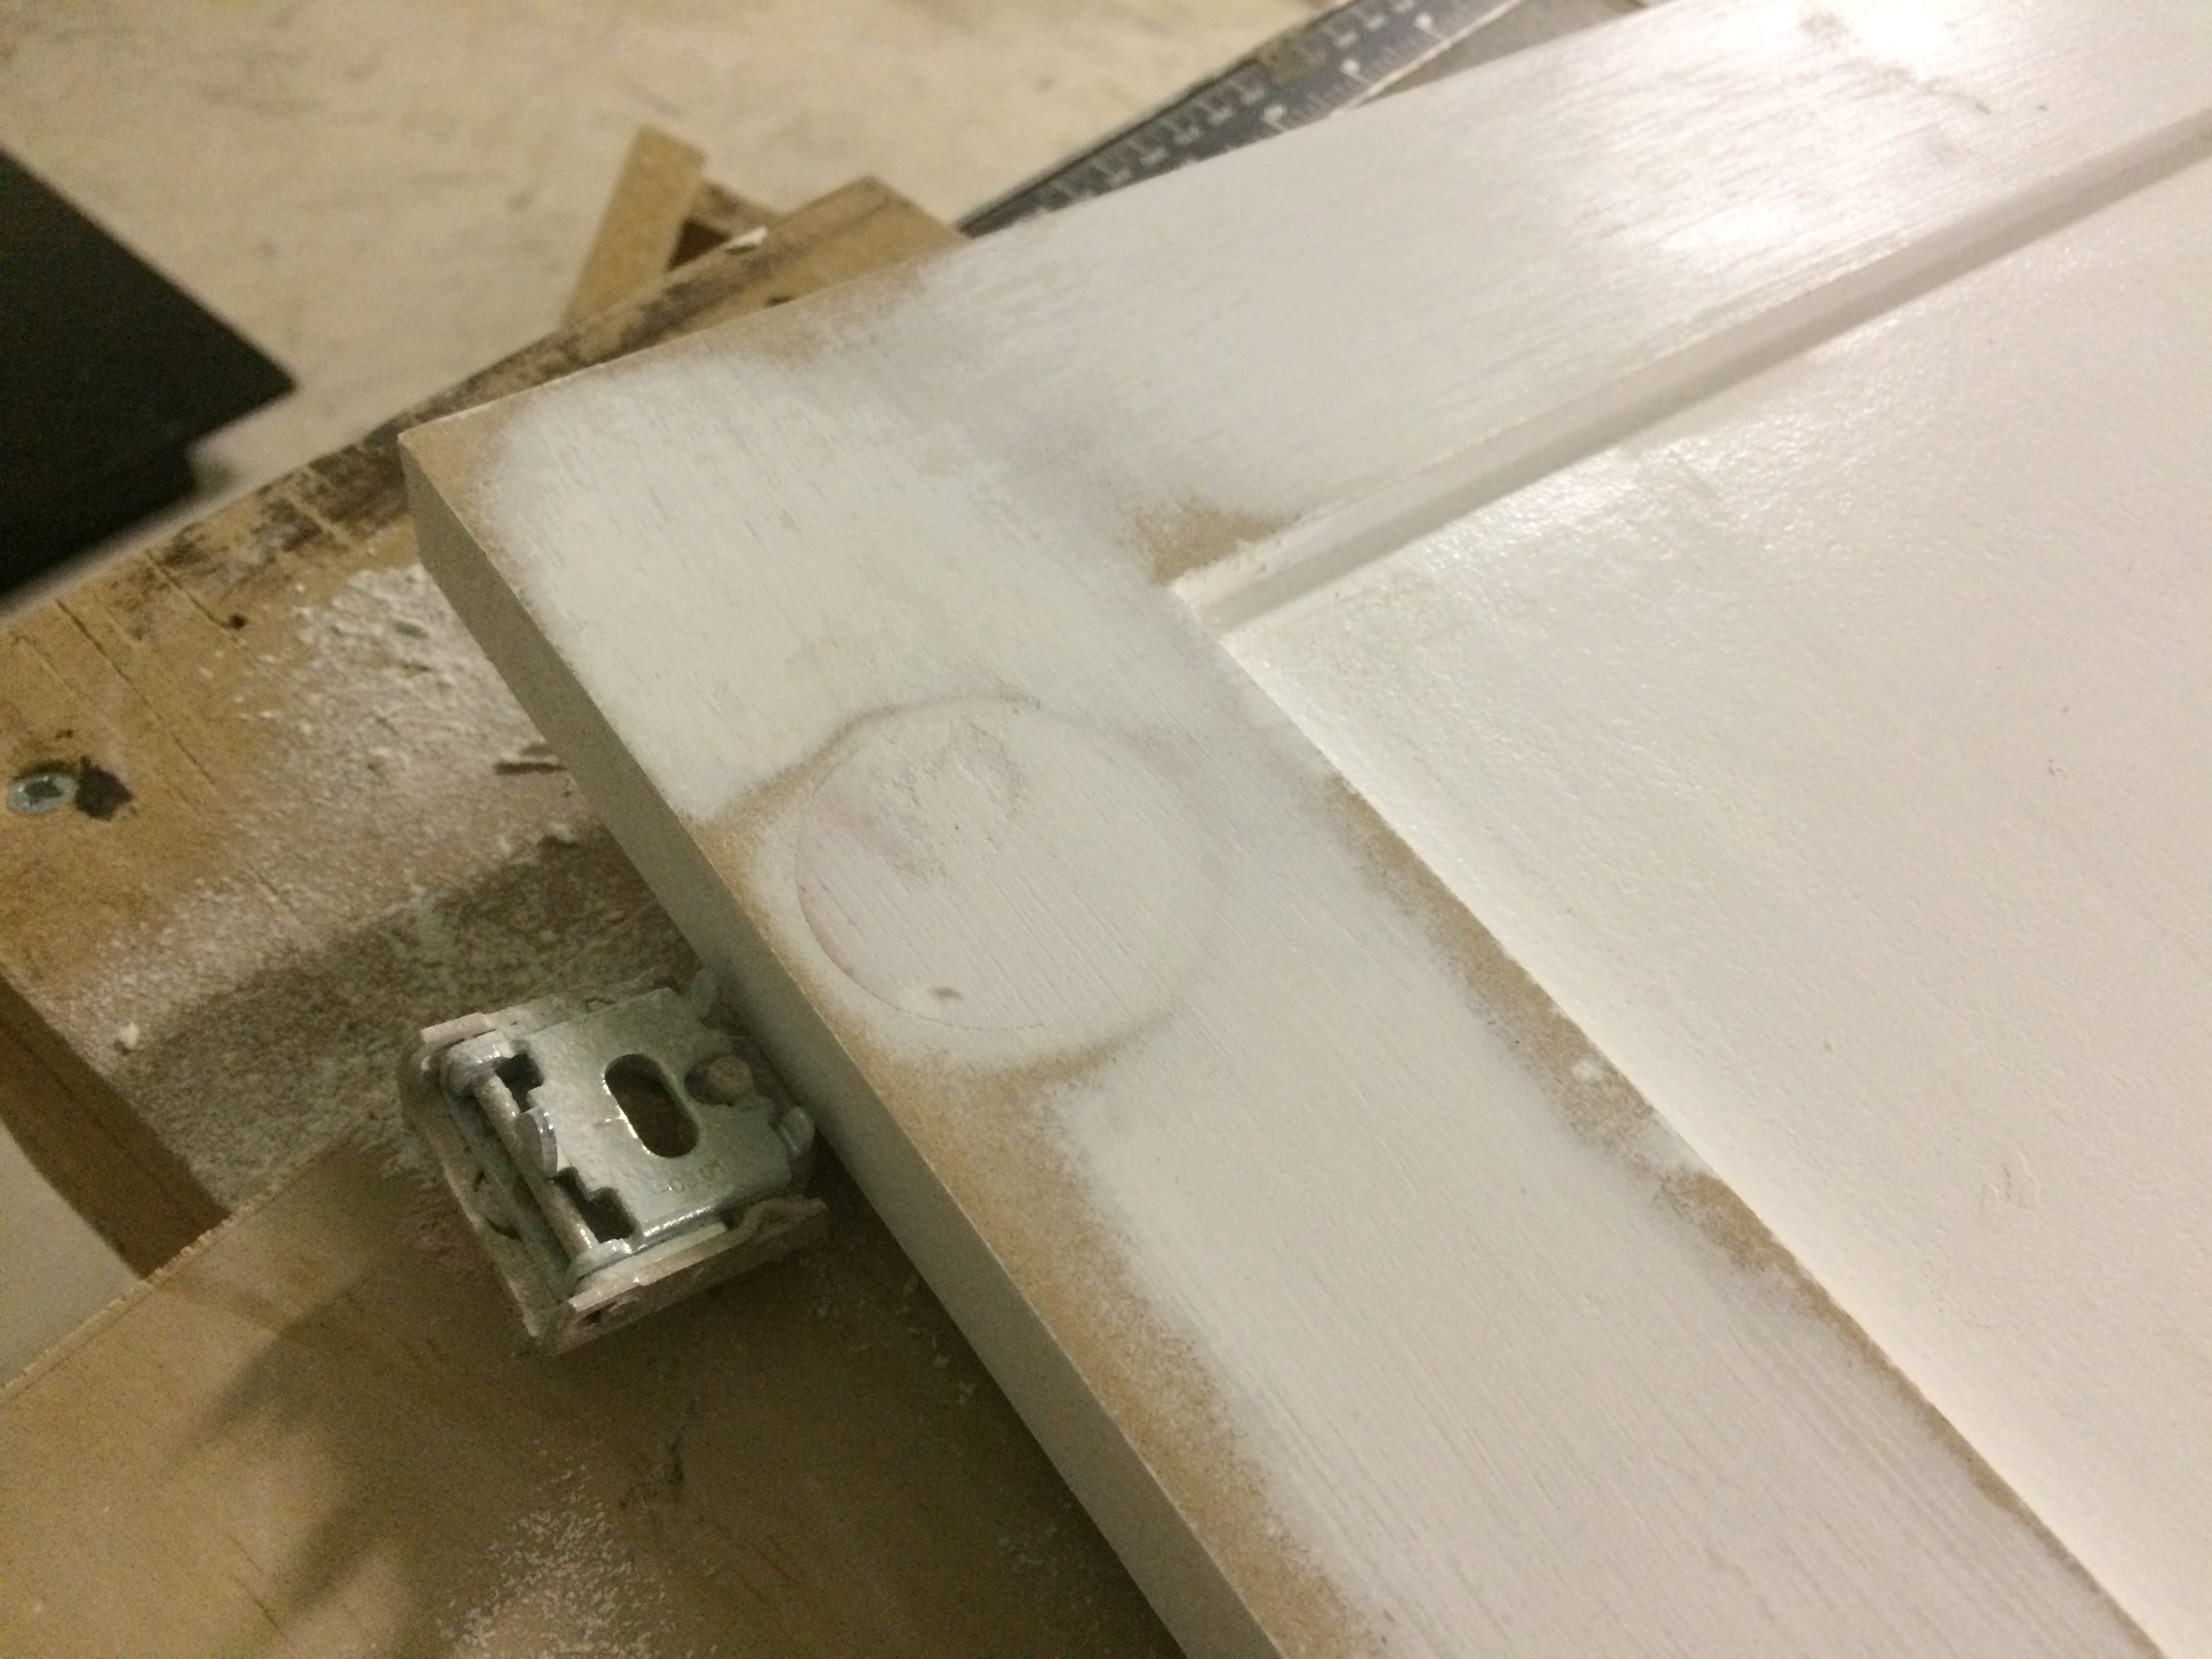
After I finished repainting, you couldn’t tell at all, and as long as I don’t tell anyone else, no one will ever know. It will be our little secret!
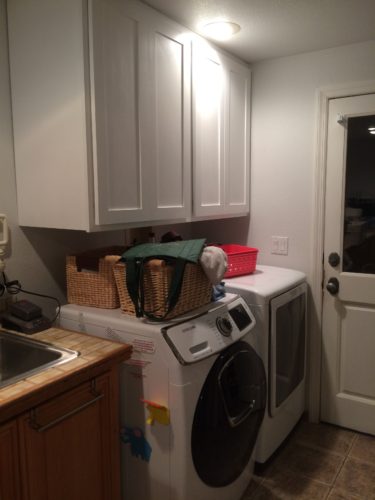
Now that the cabinets and doors are in place, the useable space above our washer and dryer has increased by 480%. Buying finished cabinets with this much storage space from Home Depot would cost about $430; I spent $100 in materials and 11.5 hours of my time (mostly painting, since my paint sprayer was acting up).
Epilogue: On June 3, 2025, I took the cabinet down and moved it to my shop in preparation for a full mudroom remodel. I shouldn’t have glued the faceframe on after hanging the two cabinets, since that made removal difficult while still trying to keep the cabinet in usable condition. I also shouldn’t have built the entire box out of MDF, since it was very heavy.
Amazing, your amazing!
I still say you should sell yourself to Oregon Public T V. You could be the next Al Borland, only funnier.
Nobody’s funnier than Al Borland.
How long did it take per door?
I think it was about 2 hours per door.