
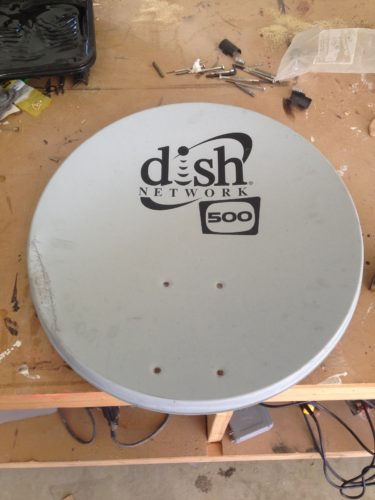
I recently had occasion to remove four satellite dishes from my roof that will never be used again. My 7-year-old son asked what I was going to do with them; I said I’d probably throw them in the trash. He said, “Or you could make some shields…” So I made some shields.
It turns out that making shields from satellite dishes is not a new idea. I mostly followed this popular Instructable for making a Captain America shield from a satellite dish, but with a few modifications that I’ll note below. I also made a brand-neutral copper variation.
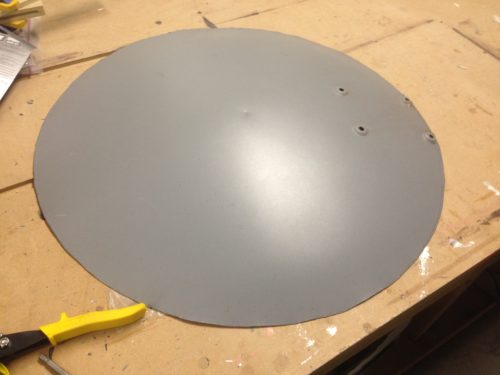
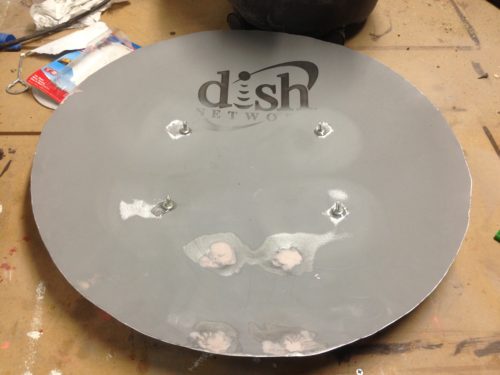
First, I removed all of the reflectors, keeping the bust and bolts. This particular reflector was dented from when I threw it off the roof, so I hammered it back into shape. (Actually, all of the reflectors were dented from when I threw them off the roof, so the first step really should have been “Don’t throw the dishes off the roof.”)
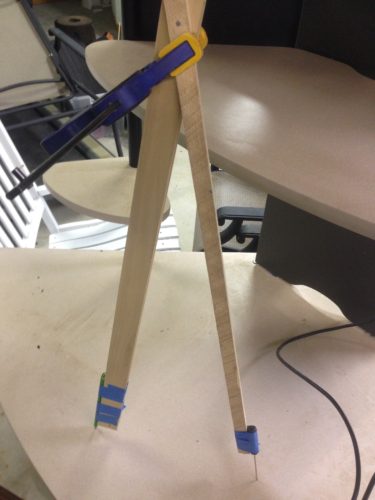
The Captain America shield is round, but the dishes are ovoid. I made this very accurate compass to help me draw a circle onto the dish.
Once I had drawn the largest possible circle, I cut slits into the bent edge so that it would peel away as I cut out the circle.
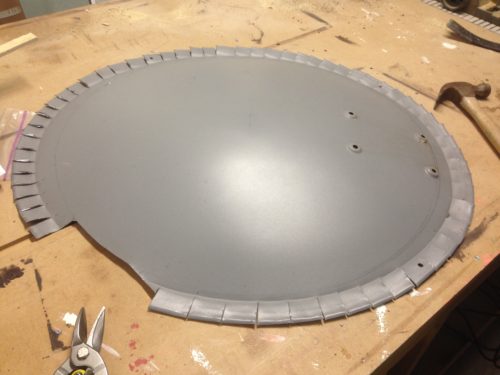
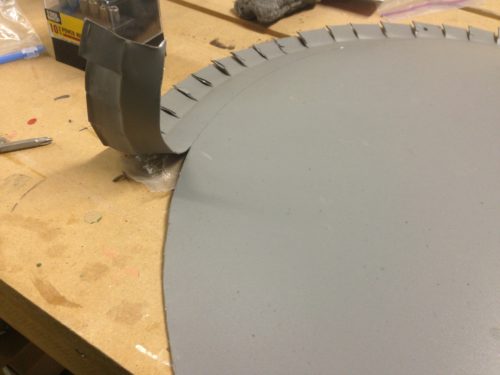
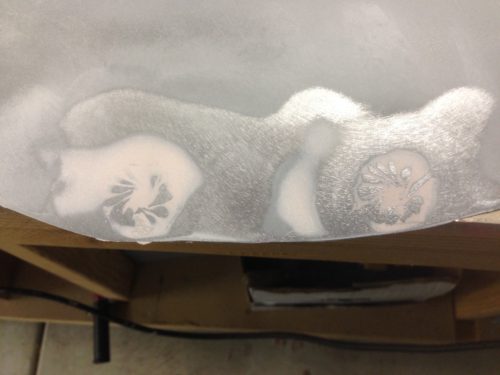
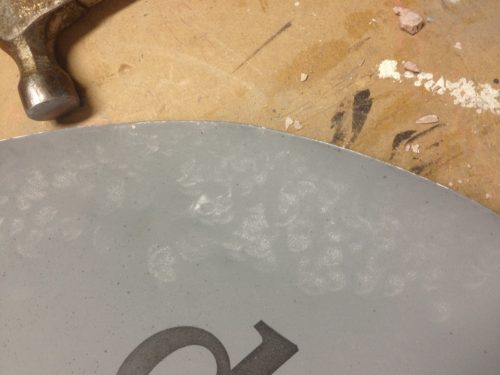
At this point, the Instructable author used a Dremel to grind down the edge, but I found that a handheld sander and 100-grit sandpaper were an acceptable replacement.
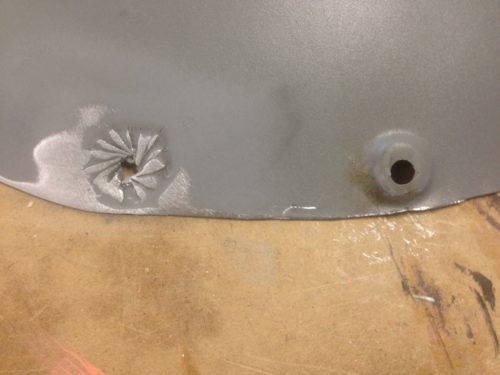
The next task was eliminating the bolt holes.
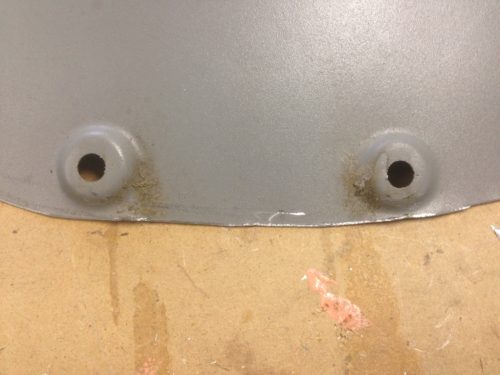
You can’t just hammer them flat, so the Instructable author filled the divots with JB Weld, ground off the protrusions, and then smoothed them out with Bondo. This seemed excessive to me, and I don’t have an angle grinder, so I found an easier way.
I began by cutting about a dozen slits radiating out from the center of each hole with the same metal shears I used to cut out the shape of the shield.
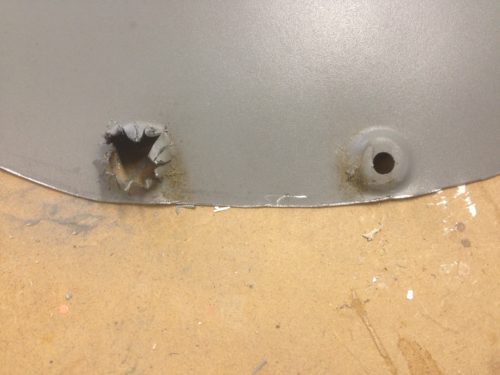
Then I hammered the flaps down. They overlap a little, but the bump is gone at this point. I flipped over the dish and hammered them flat from the other side too.
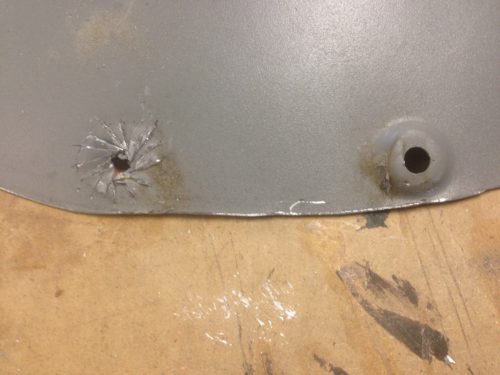
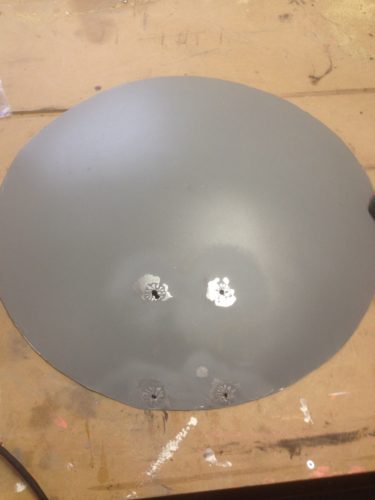
I sanded off the protrusions…
…and I had four much-smaller holes that could be filled with Bondo alone, eliminating the JB Weld step.
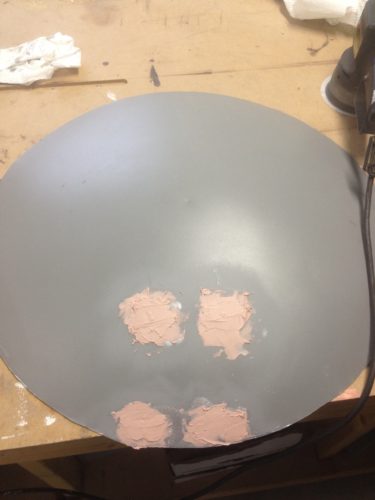
I may have used too much Bondo, but it was my first time. It sanded away easily enough.
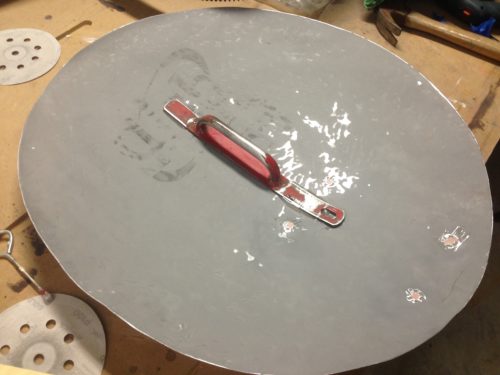
Take the four bolts that originally attached the dish to the mount, and epoxy them to the inside of the dish. They’ll be used to attach the arm straps.
I made the arms straps out of a belt I bought from Goodwill. They’re adjustable by removing the nuts and fitting the bolts into different belt holds (which were enlarged on the drill press).
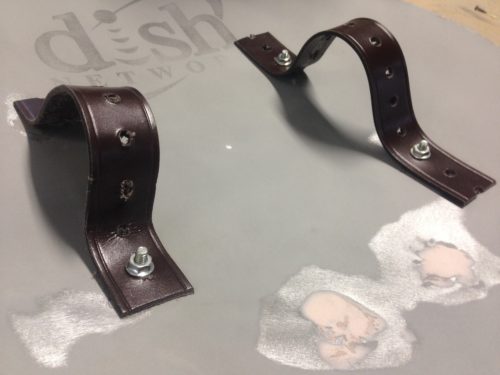
I attached my handles this way rather than how the Instructable author did in order to prevent having my (well, my kids’) arms rubbing against the exposed bolts.
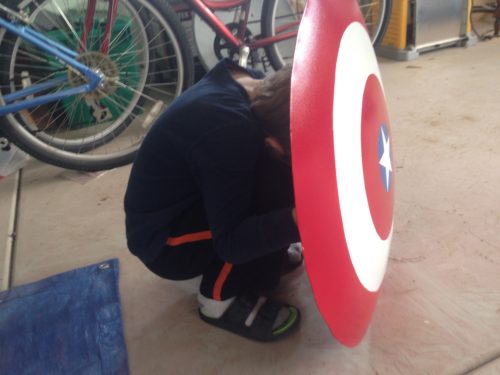
Look ma, I’m ready to do battle in a post-apocalyptic future!

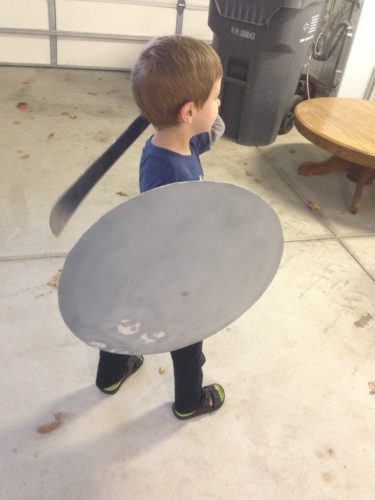
My son tested it out pre-paint, and it passed the test.
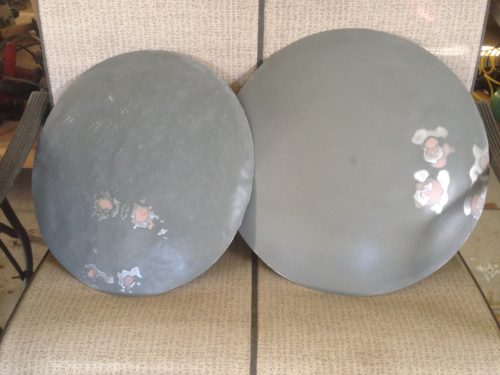
On the second shield, I decided to try for a “hammered copper” look. I cut out an oval shape and textured the entire thing with hammer blows.
This red metal handle had been floating around the shop for a few months. I don’t know where it came from, but it fit perfectly onto the inside of the shield. I affixed it with epoxy. (I’ve seen this type of shield referred to as both “center-grip” and “punch handle,” but I don’t know if either of those are technically the correct term.)
Here are both shields ready for paint. This photo shows the texture difference the best; both dishes originally had the same texture as the dish on the right.
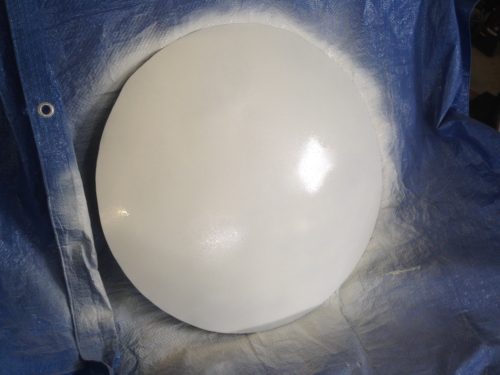
For Captain America, I started with a base coat of white enamel.
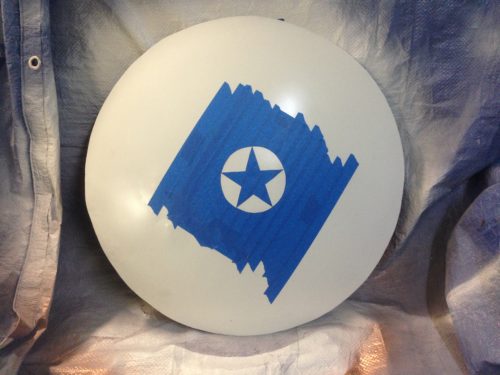
I taped off the center and then cut out the iconic Captain America star.
I made two mistakes here:
- I should not have cut out a circle exactly the size of the area that would be painted blue, because this meant that I would have to then tape exactly over the circle that I cut out here, which leaves no room for mistakes. I should have cut out a circle slightly larger than the star, even though I would have had to paint over a little bit of blue with the first red stripe.
- I made the star too small by 50%. I originally had drawn it the correct size, but then convinced myself that I had gotten the math wrong. I had not gotten the math wrong.
Anyhow, I gave this layer a quick spray of white so that any paint that was going to bleed under the tape would be white and not give the star rough blue edges.
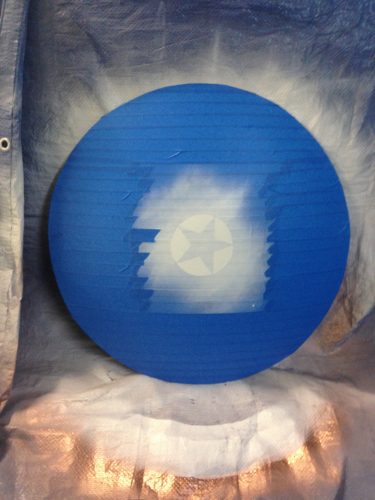
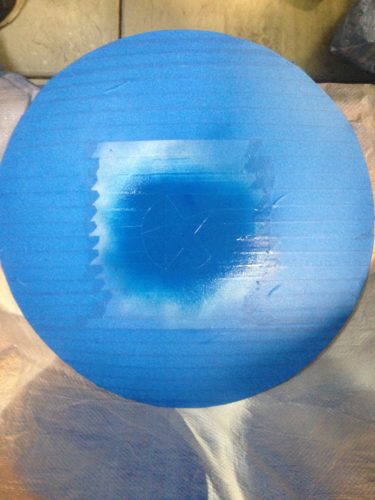
Then a coat of blue.
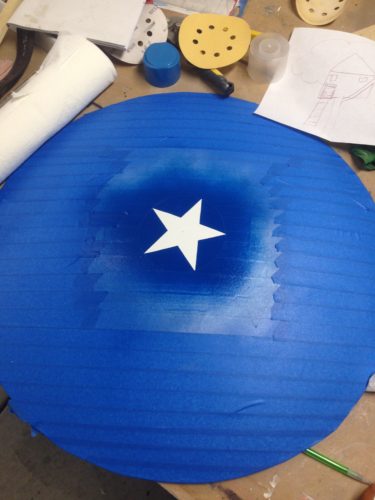
Perfect crisp lines on this (too-small) star. We’ll pretend this shield comes from the Marvel Universe where Loki shrank the star on Cap’s shield because he felt emasculated by the First Avenger.
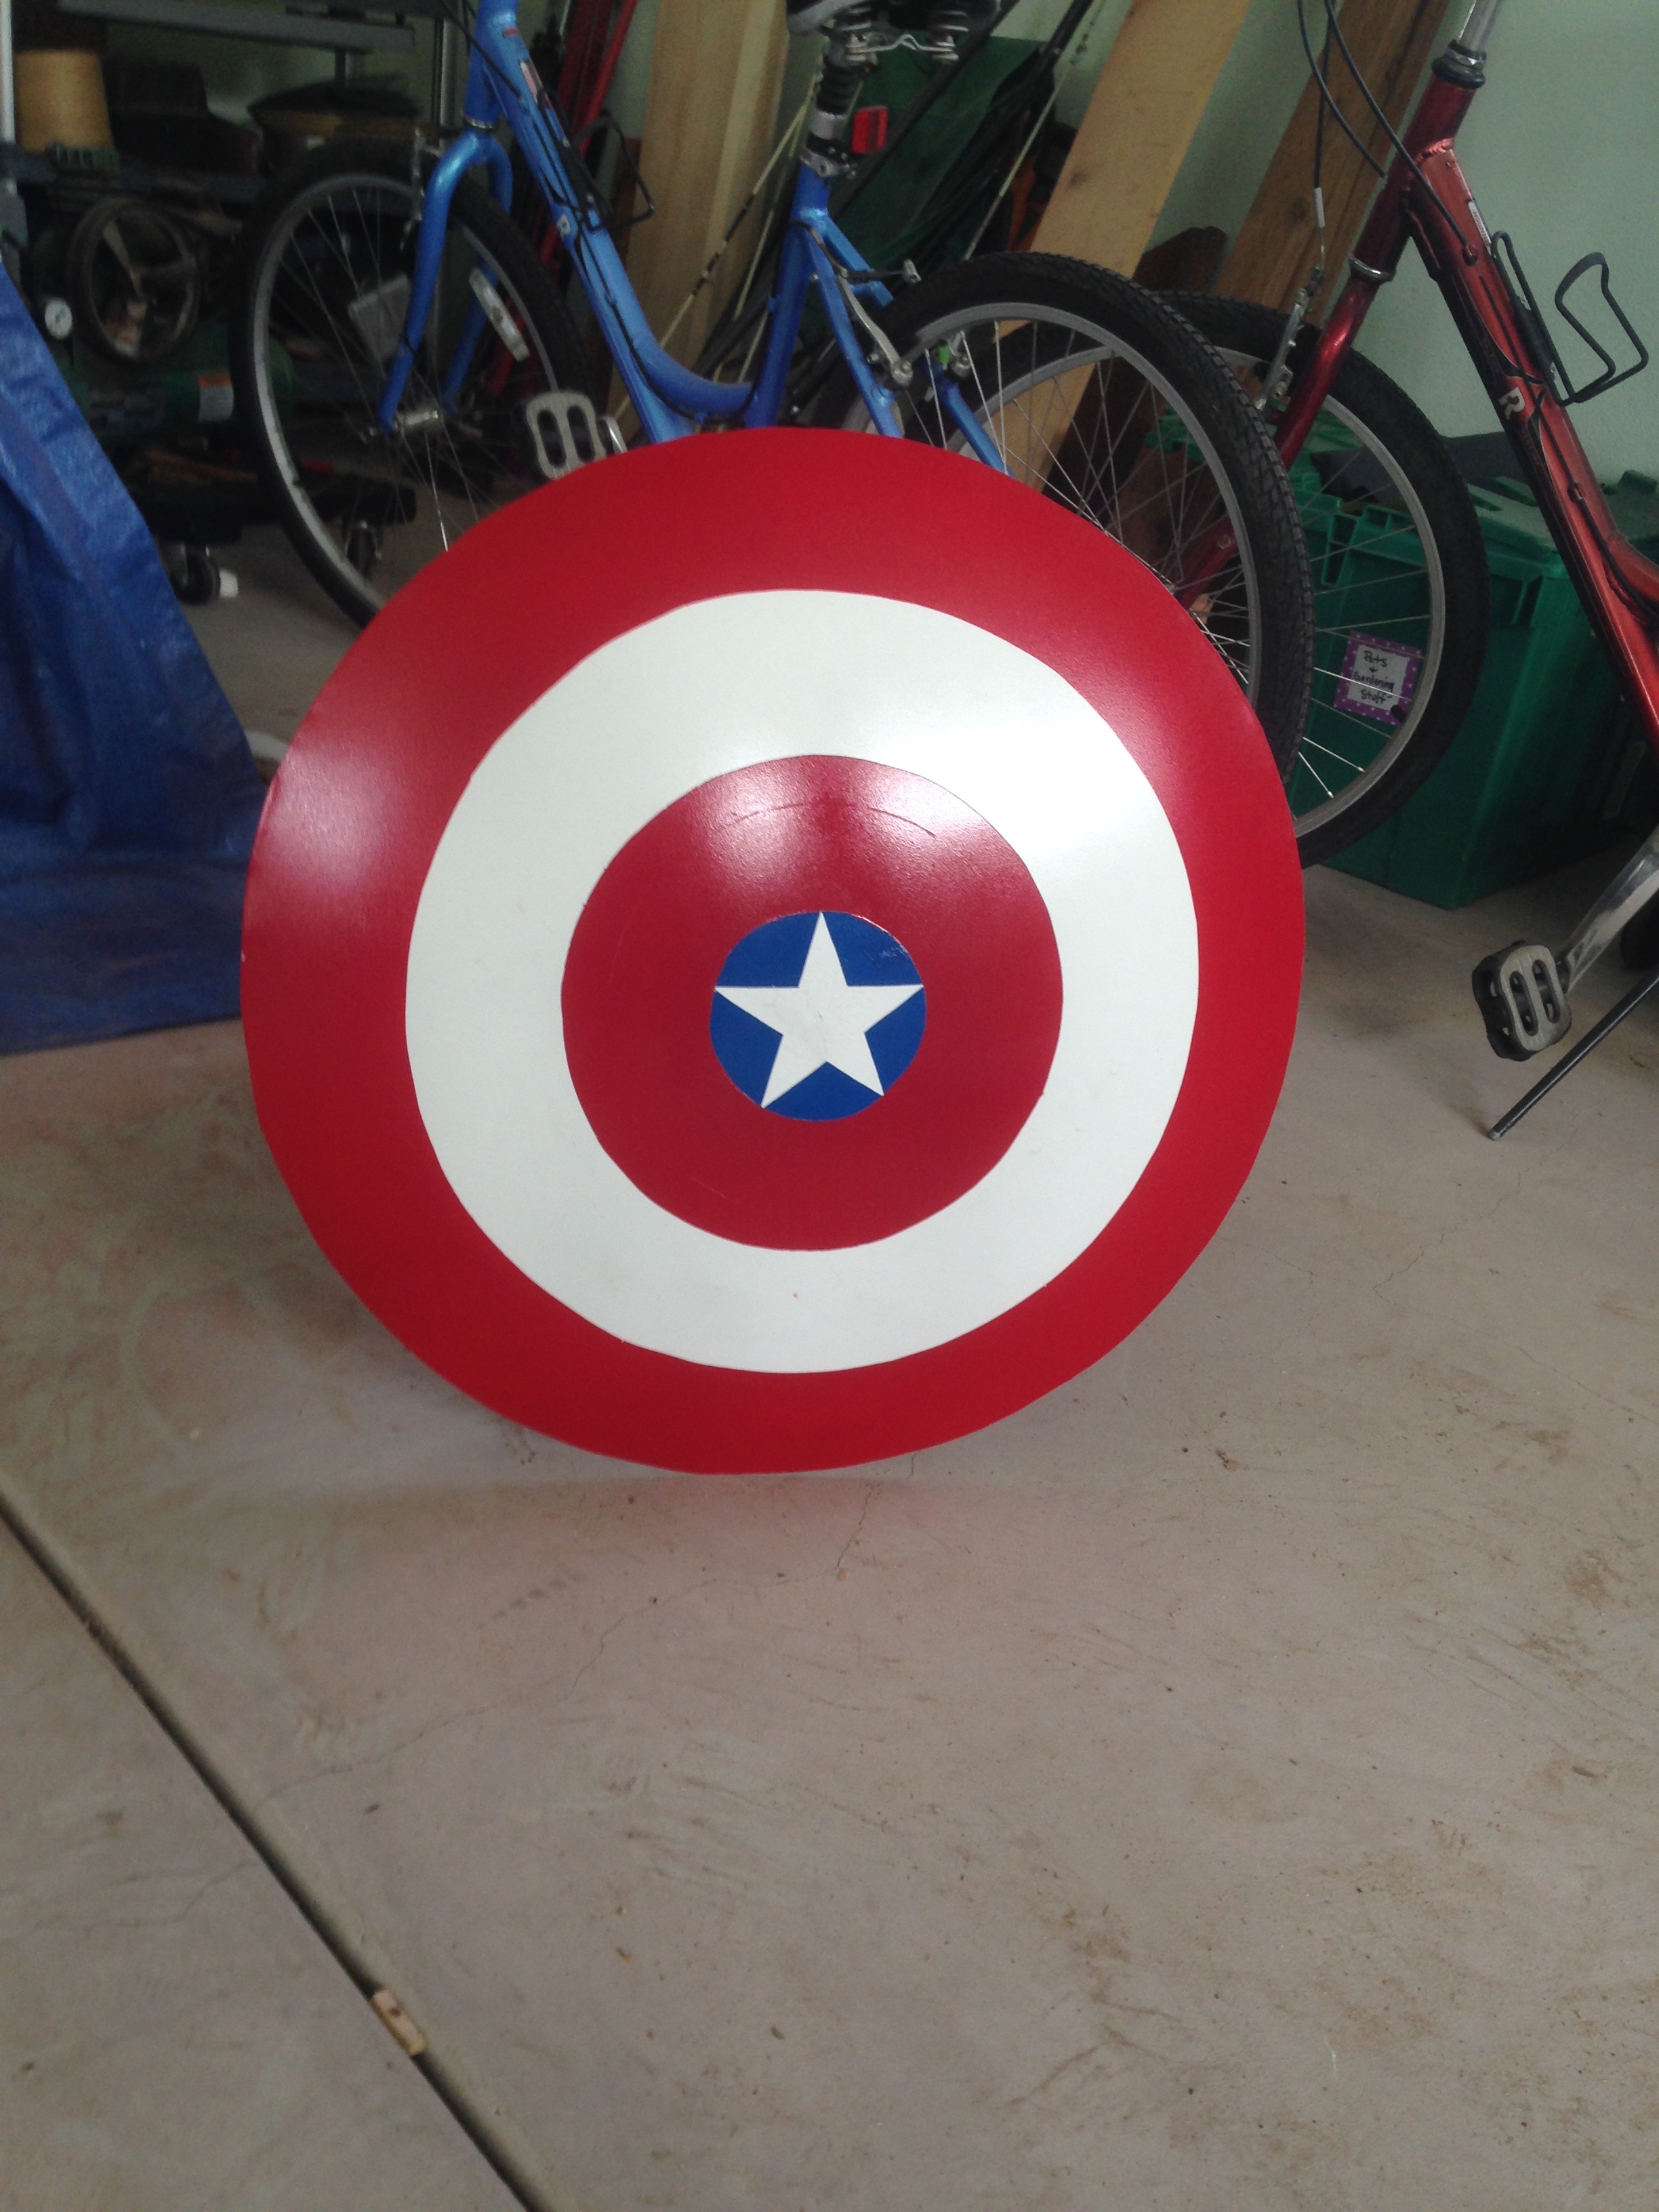
I cut out the red circles and re-taped the blue center circle and did two coats of cherry red paint. The result looked like this:
The shield isn’t standing up magically on its own. Here’s an alternate angle:
The oval shield got two coats of Rust-Oleum Metallic Copper spray paint, and then both shields were given three coats of a clear spray enamel. Nerf battles around my house are about to get a lot more intense.

Pingback: Repainting a Razor Powerwing Scooter
prophetic
pbs.twimg.com/media/CDpH-X0WIAA-B3N.jpg