
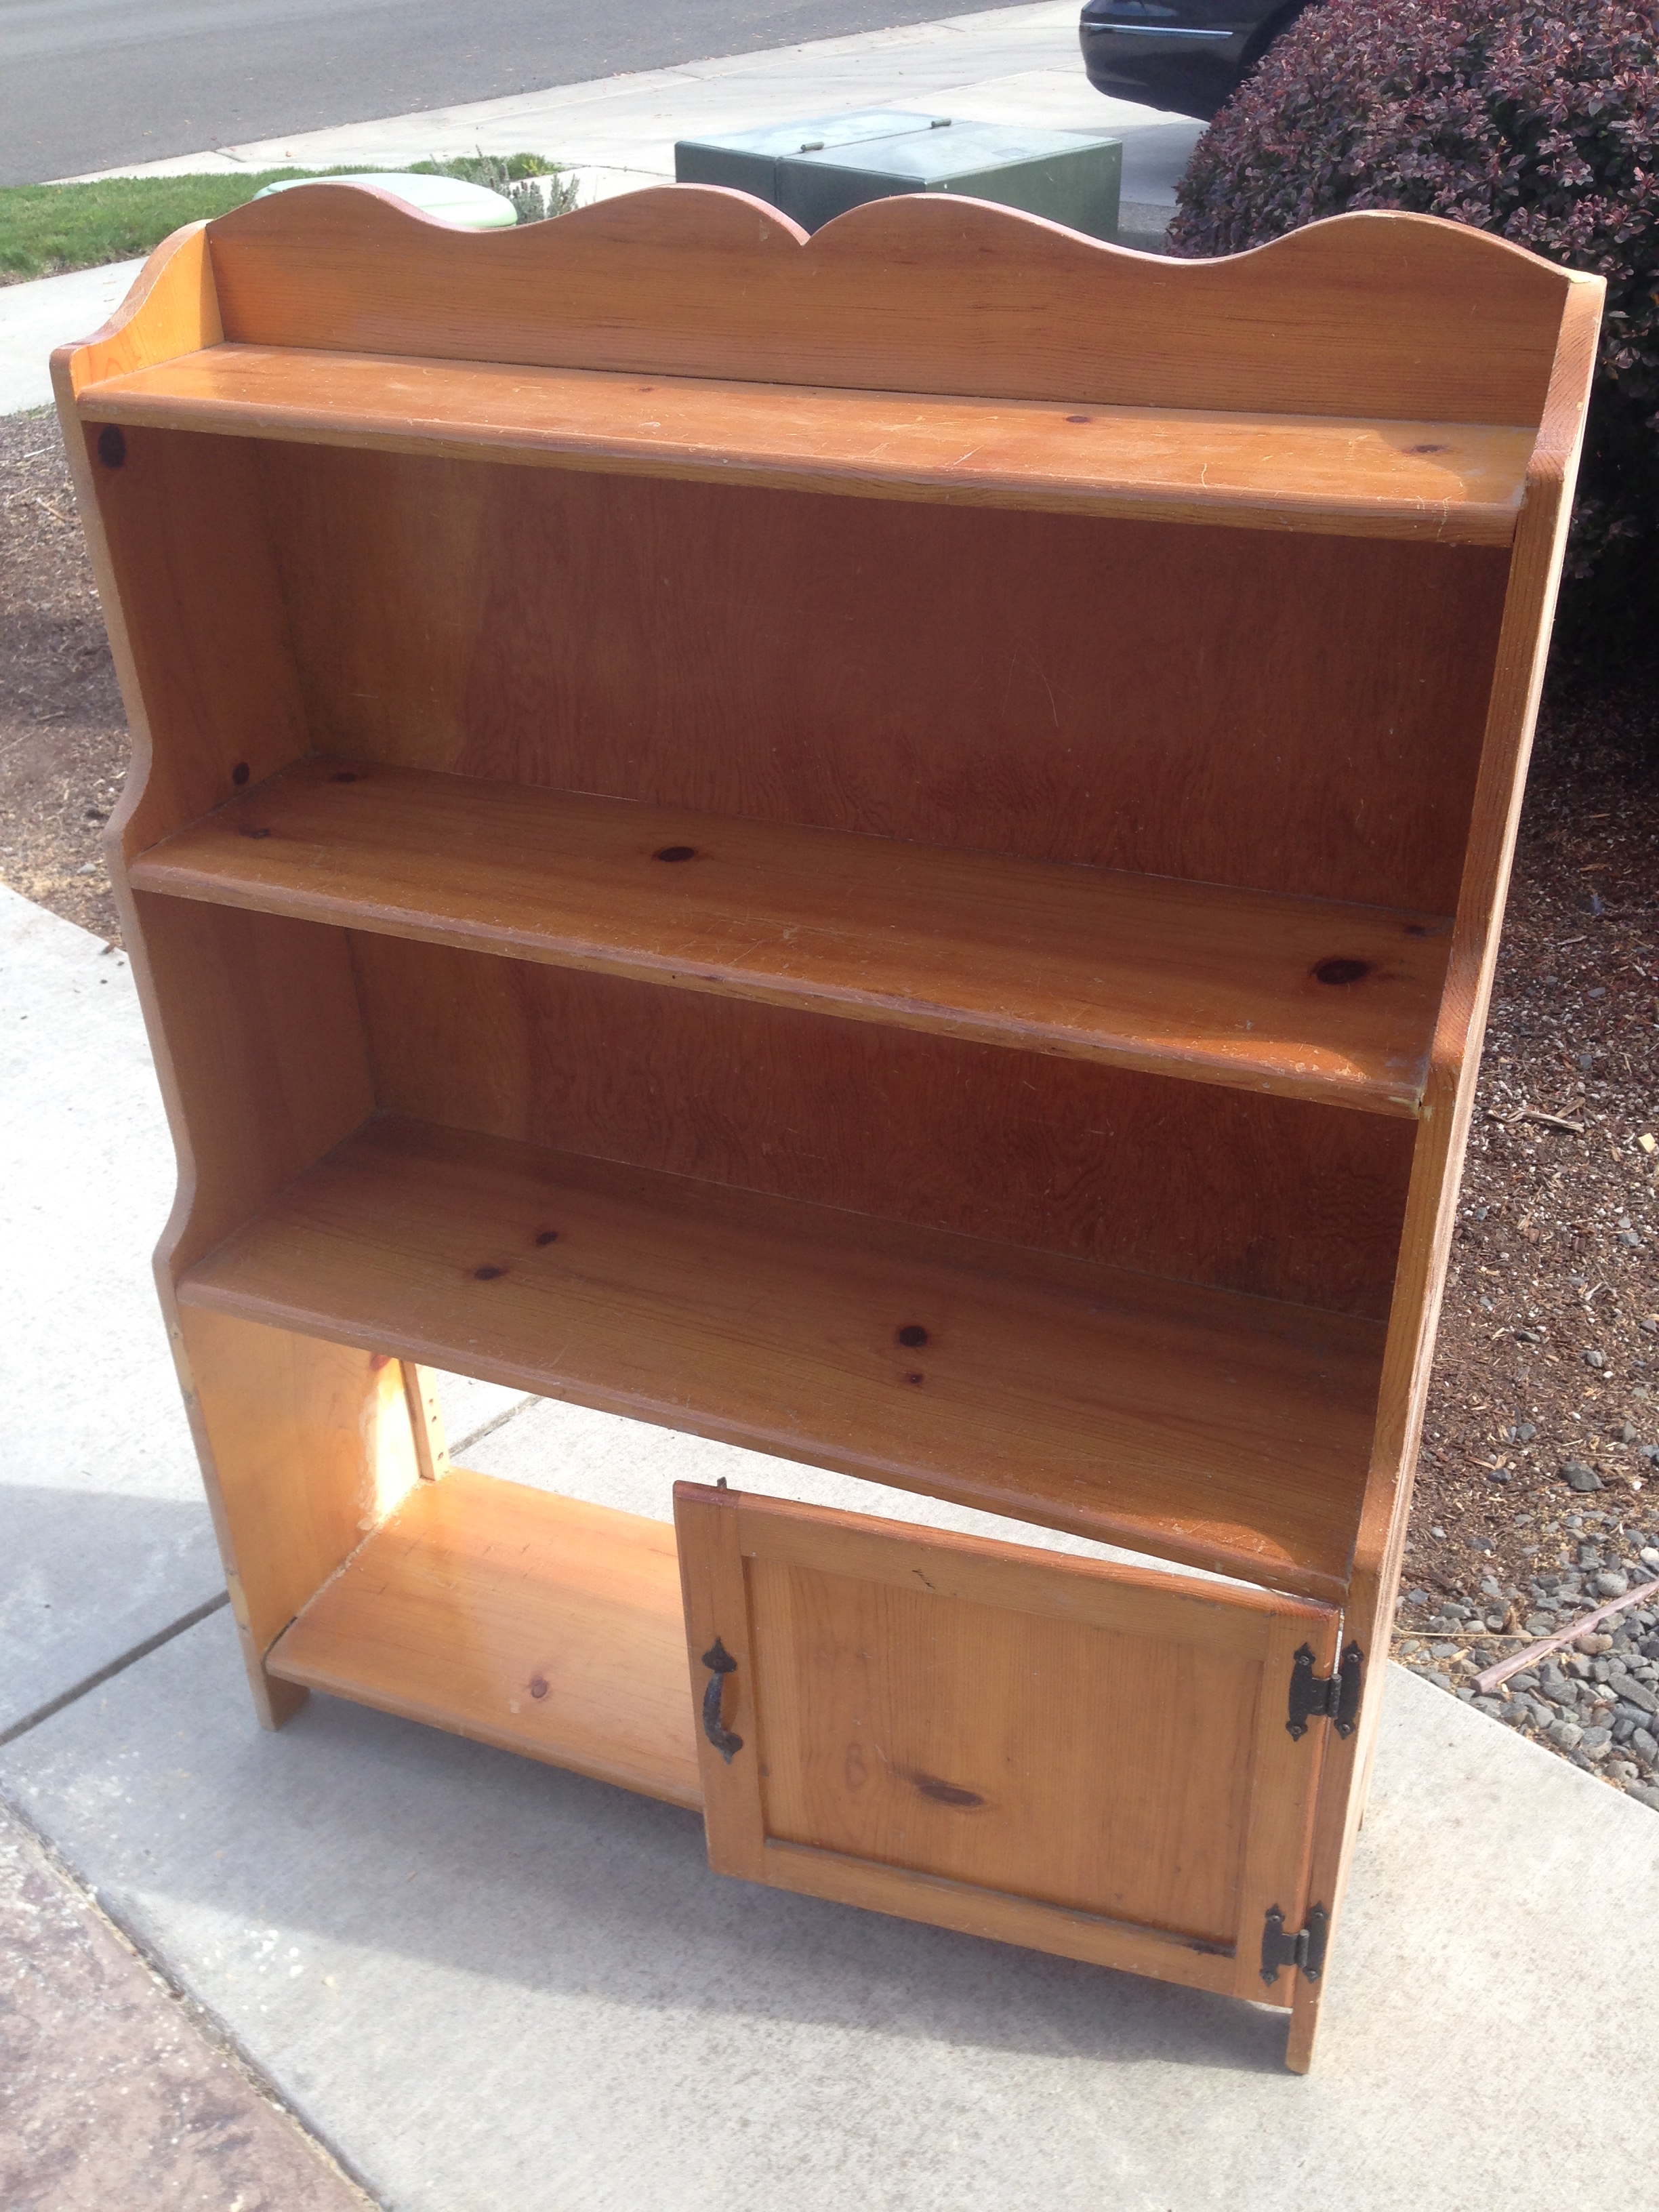
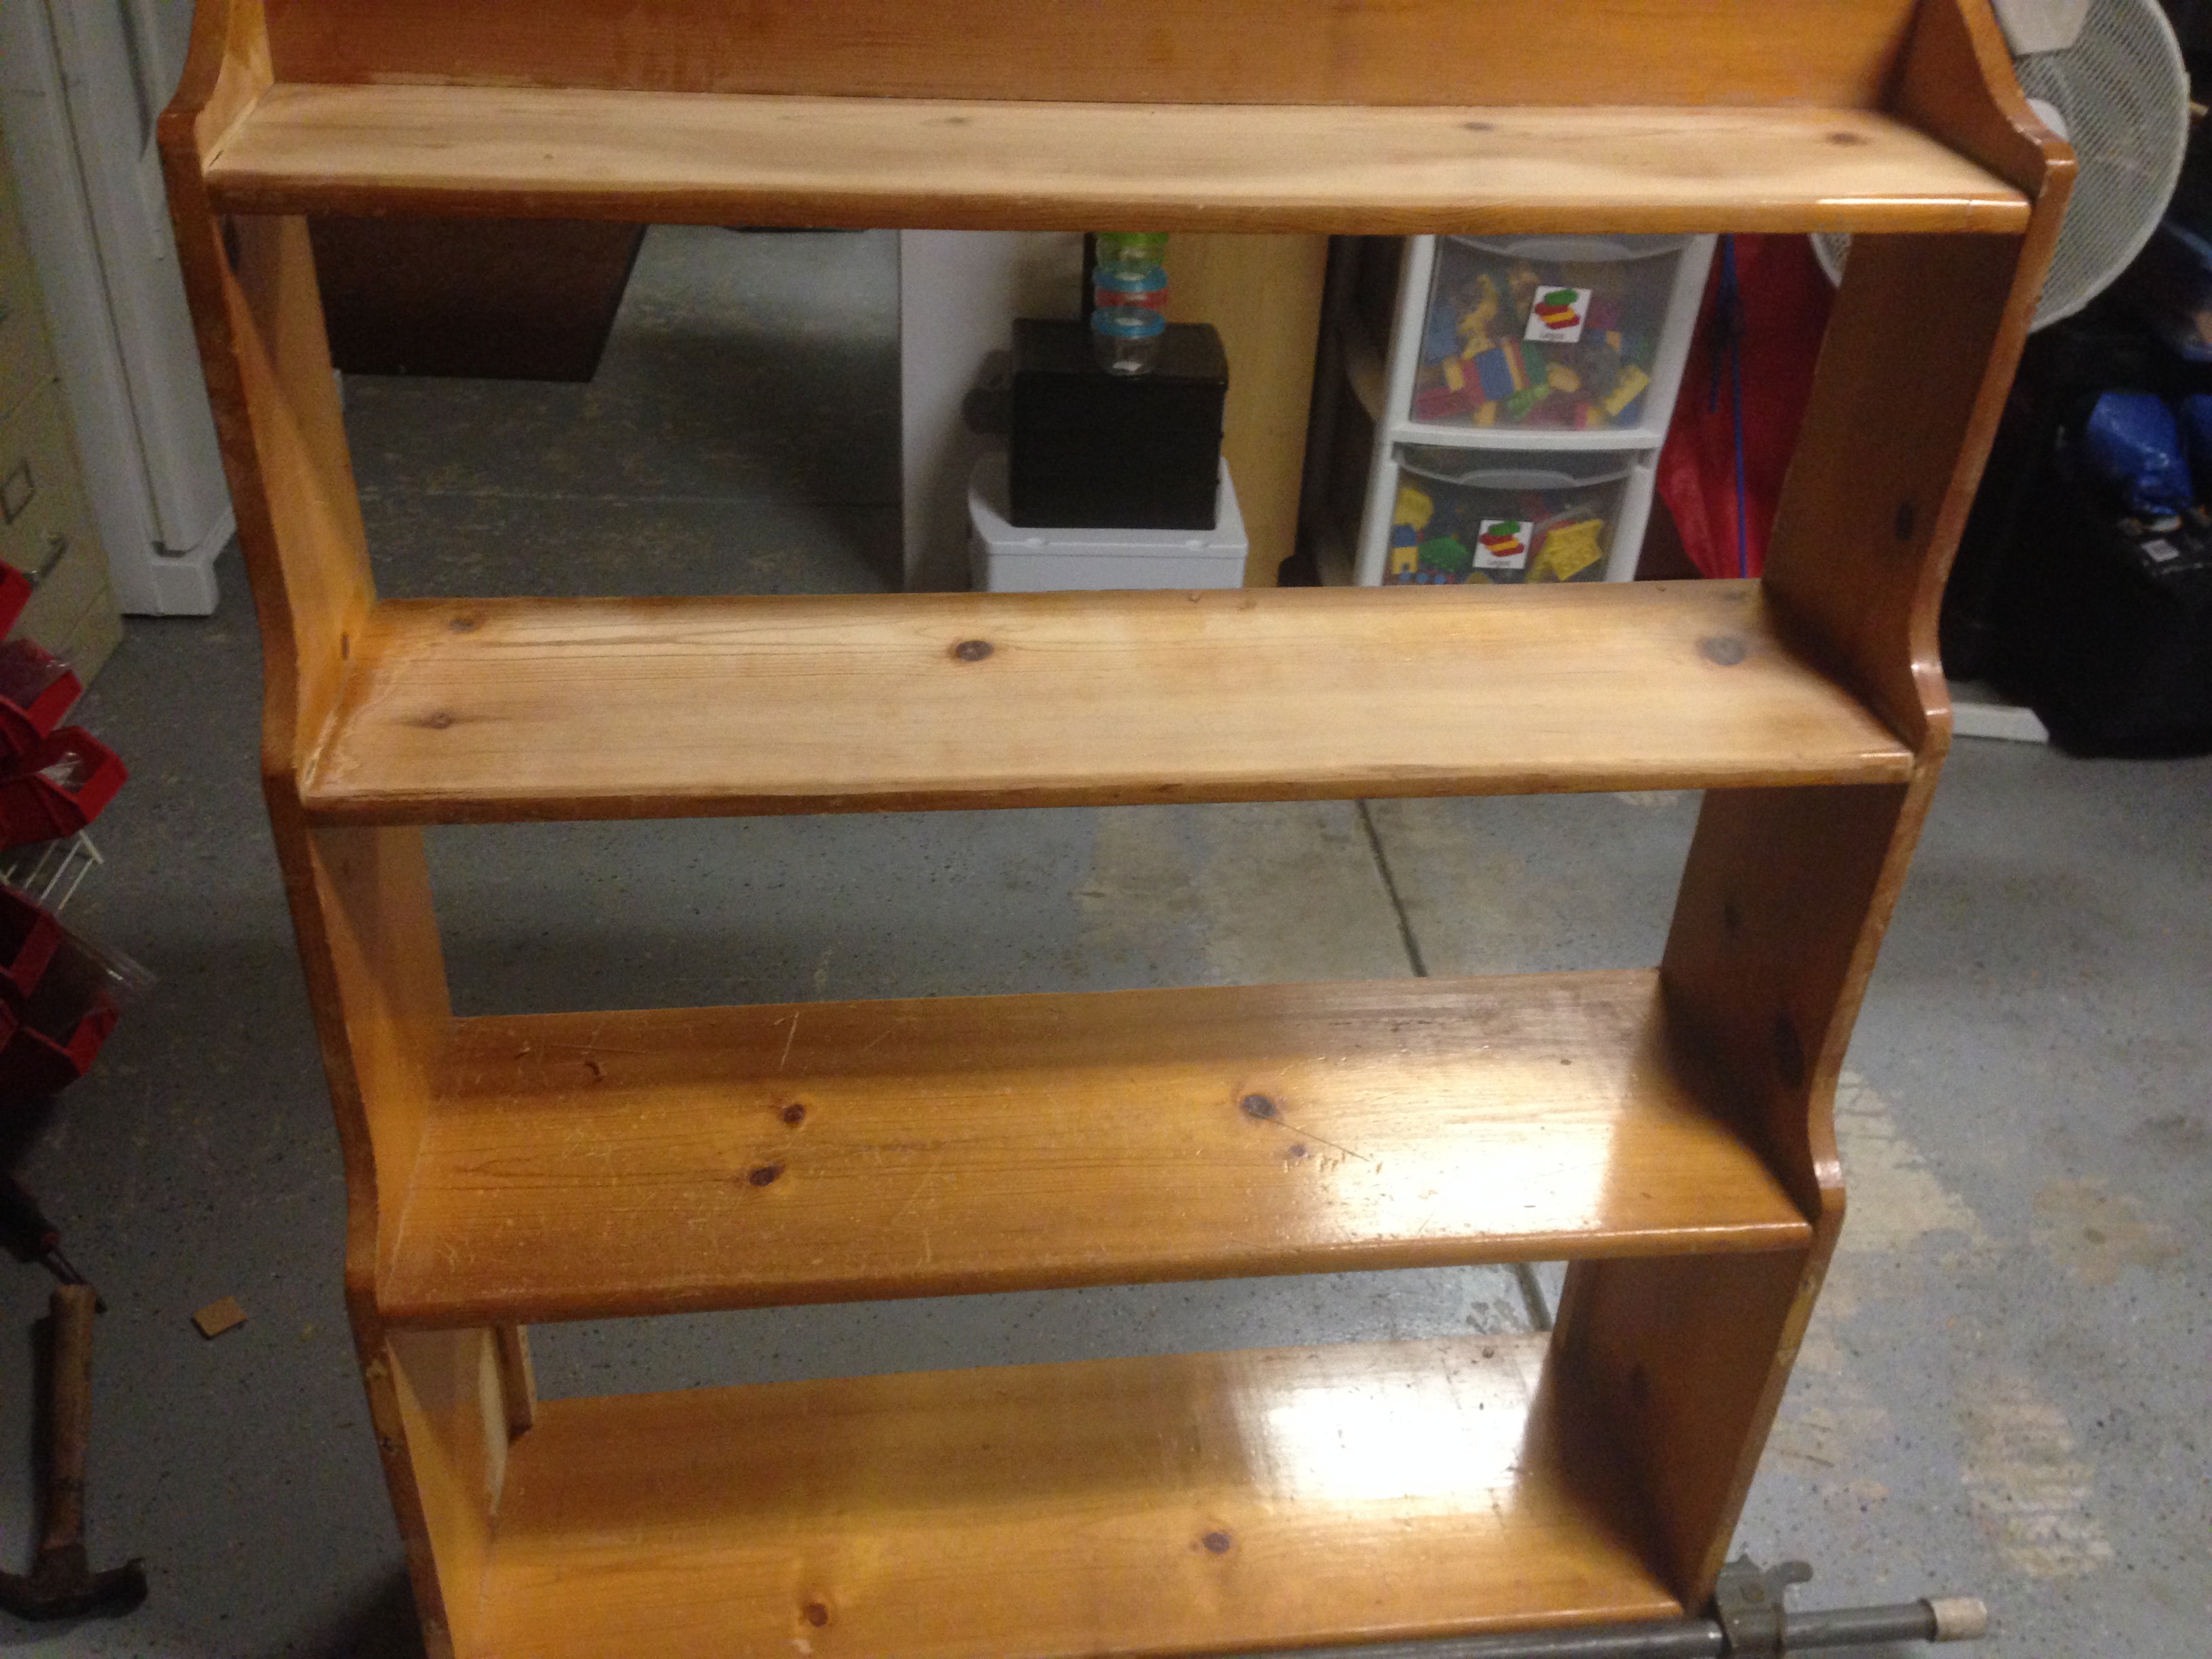
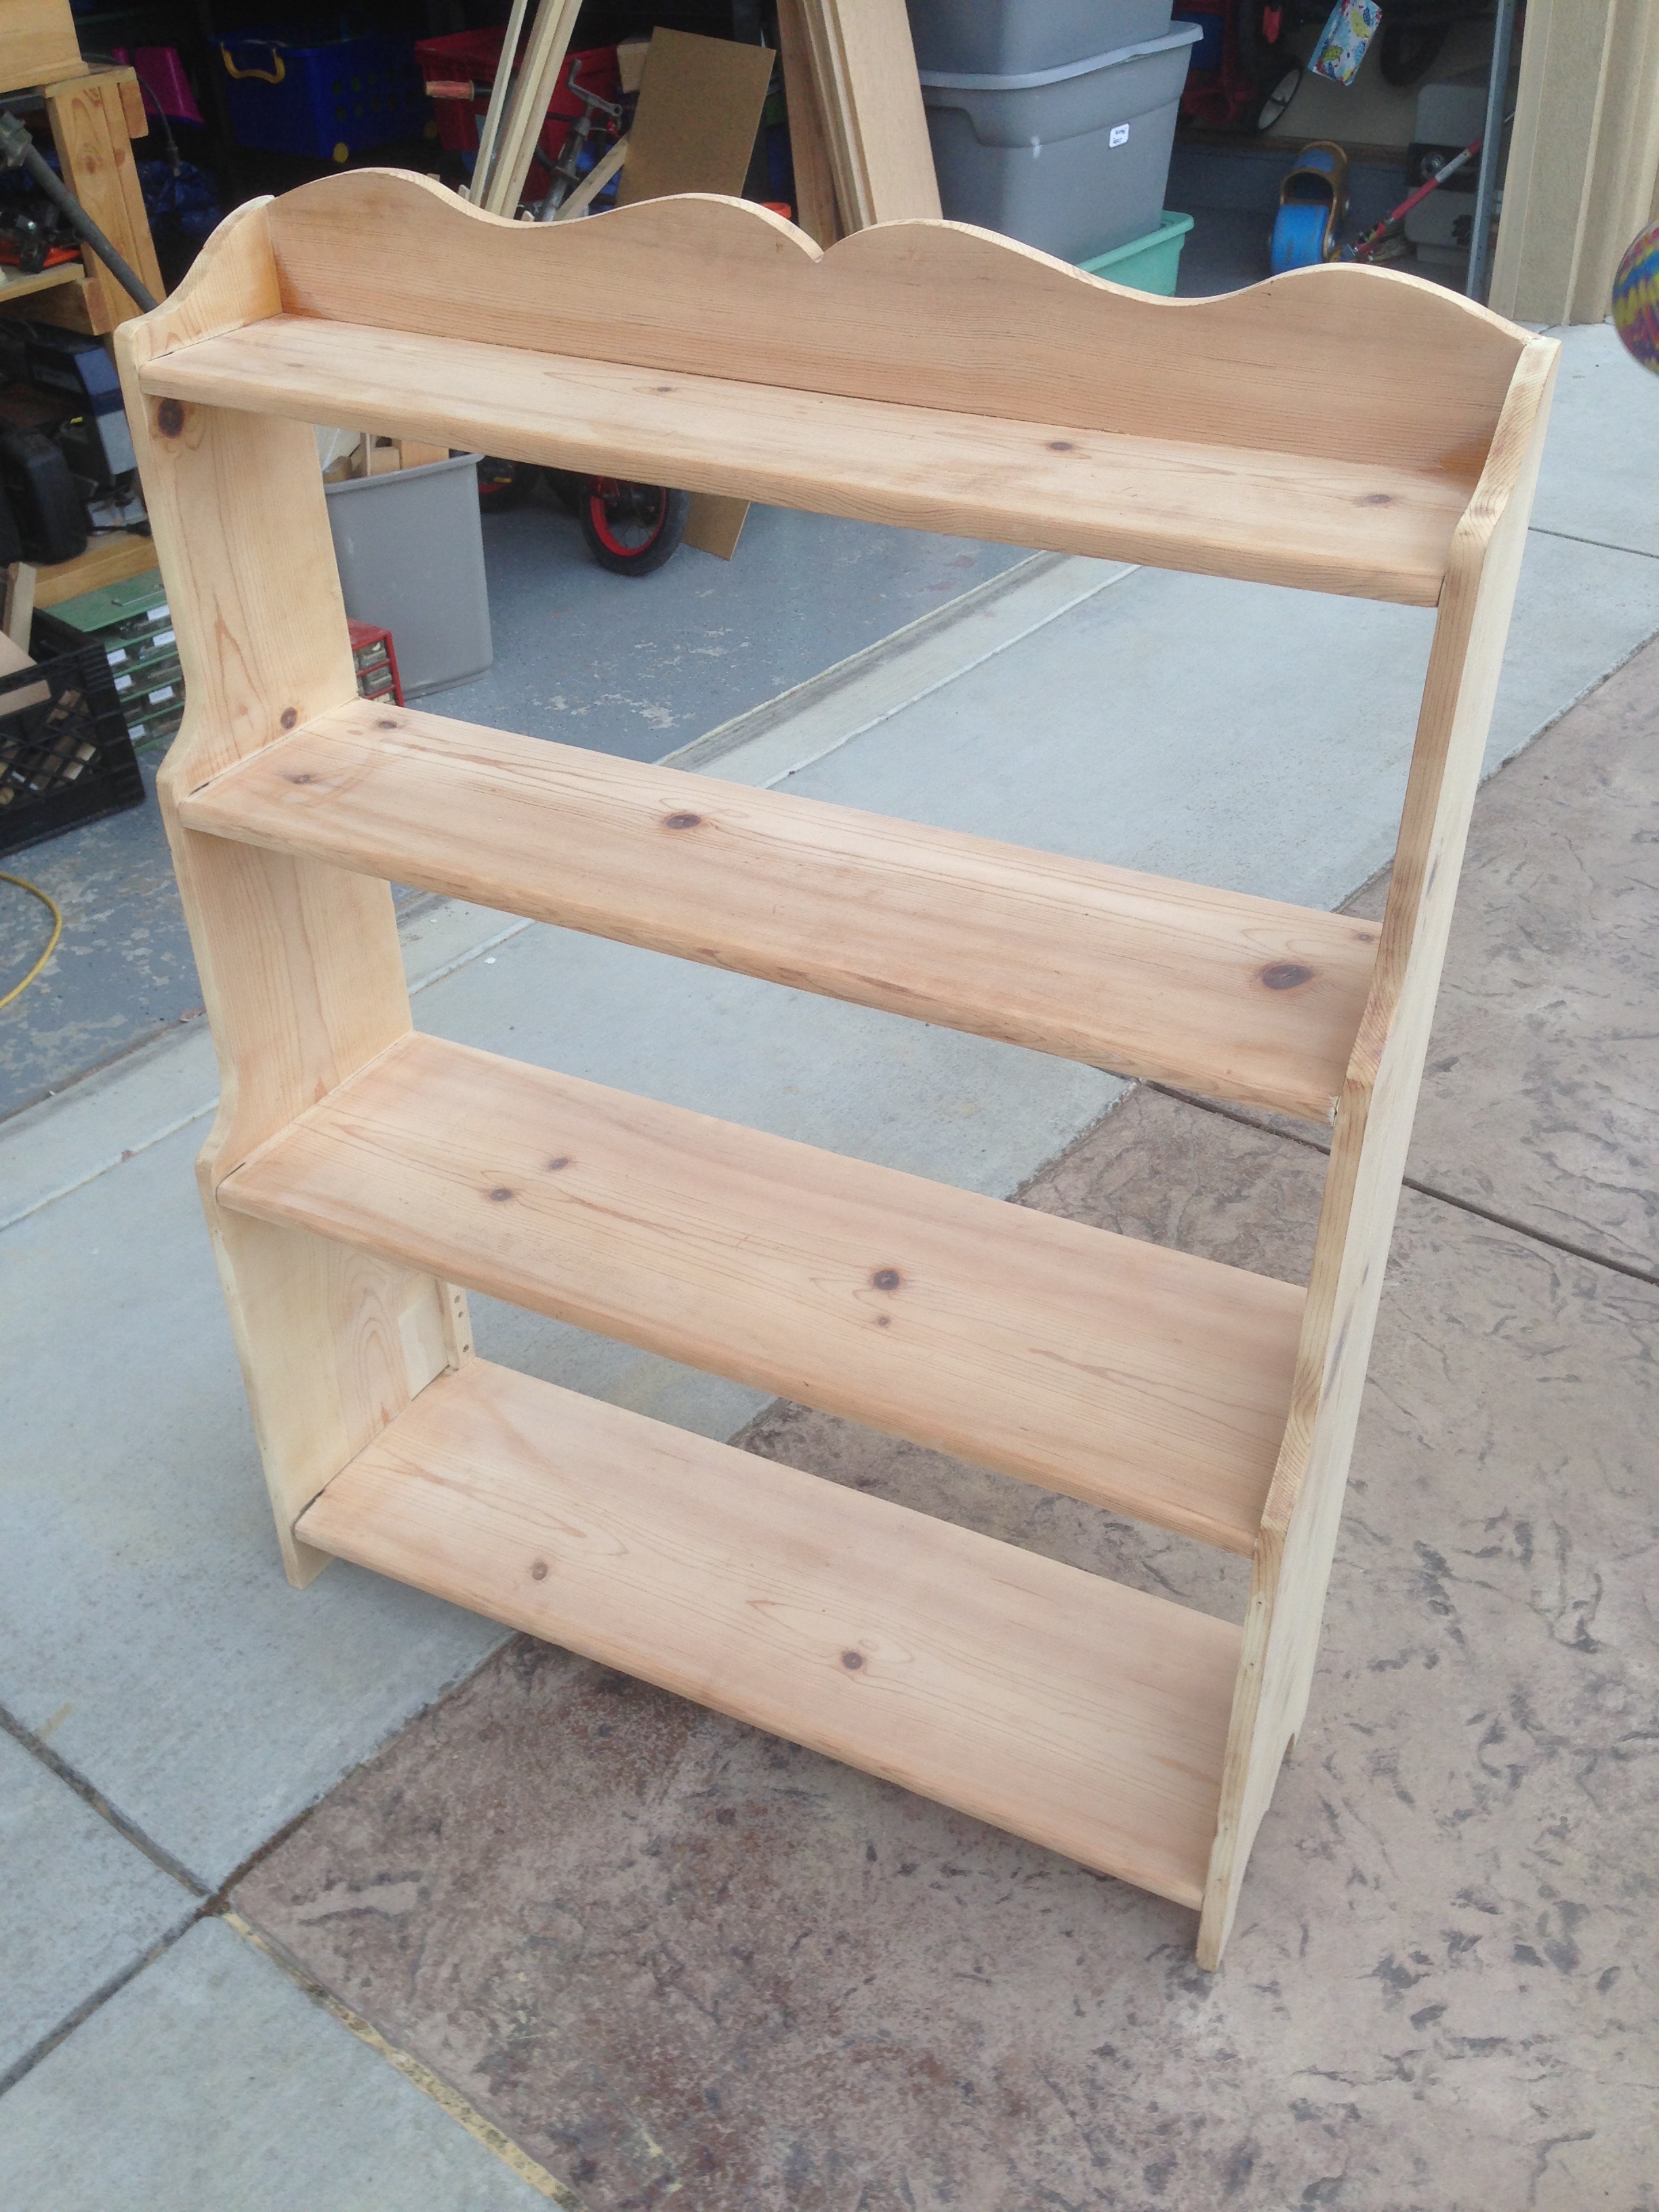
My father-in-law built this hutch in the 1980s, and after being used as a bookshelf for twenty years, it sat unused in a rabbit shed. My wife asked me to repair it and refinish it.
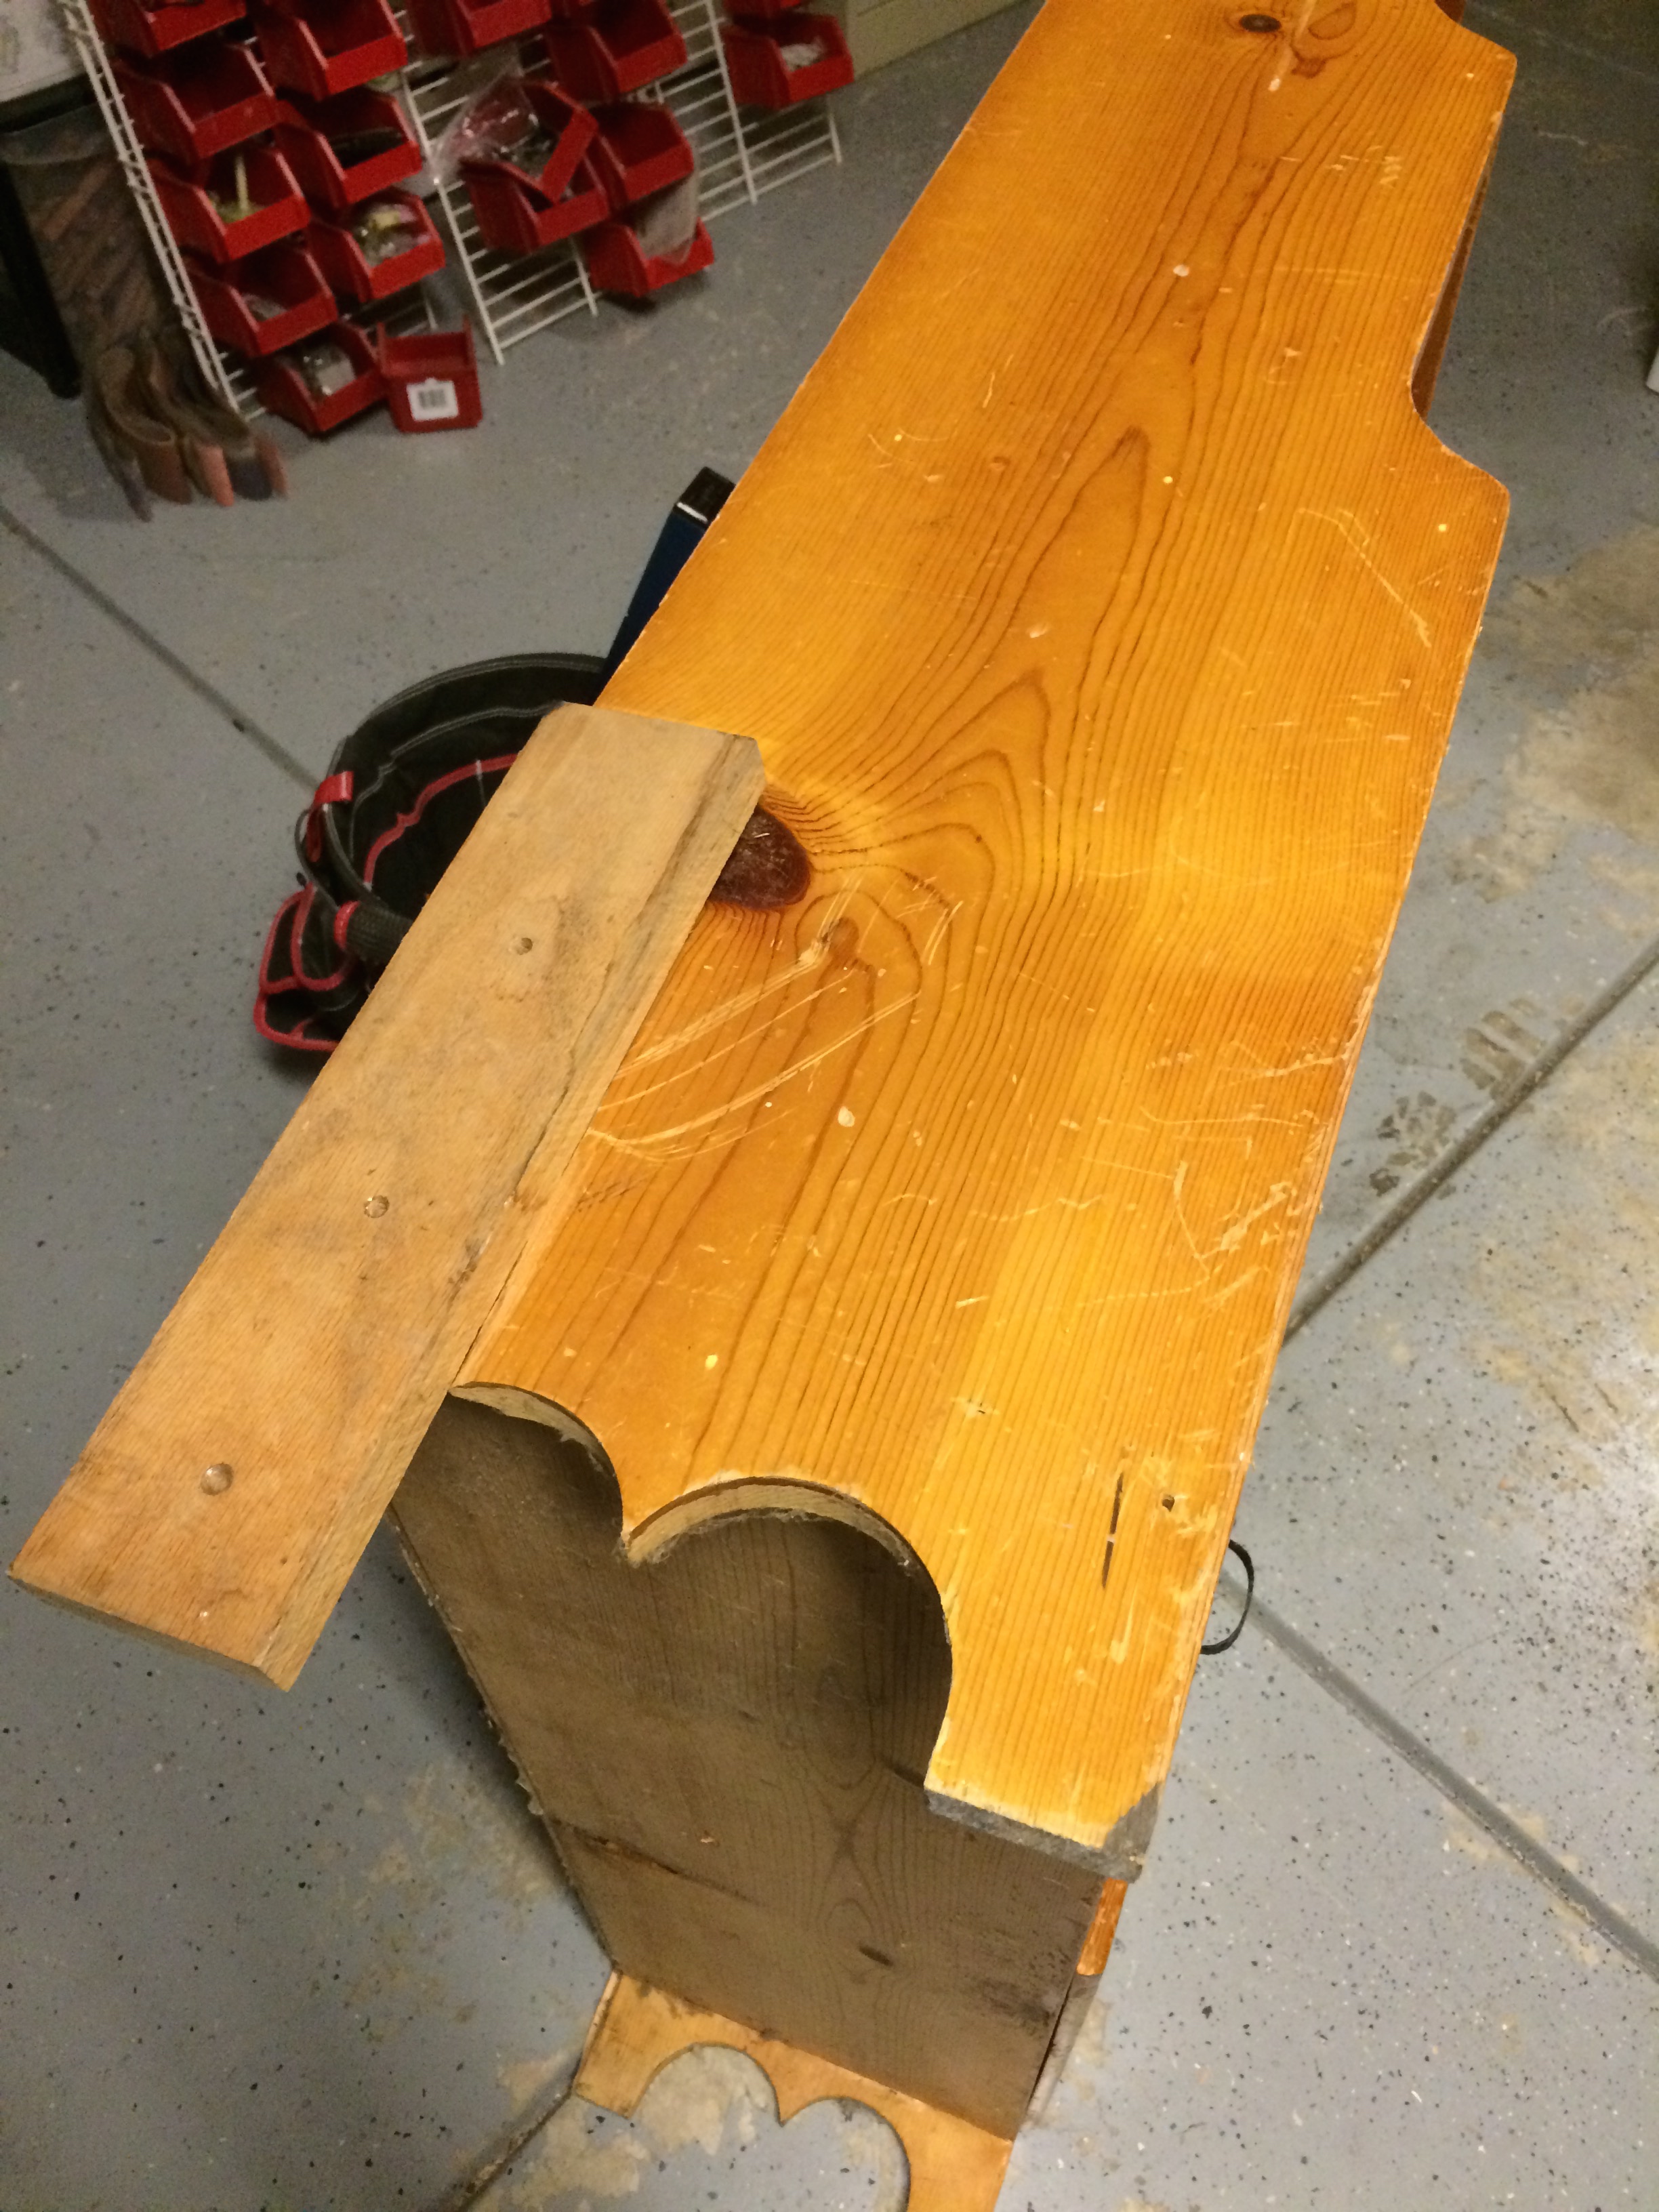
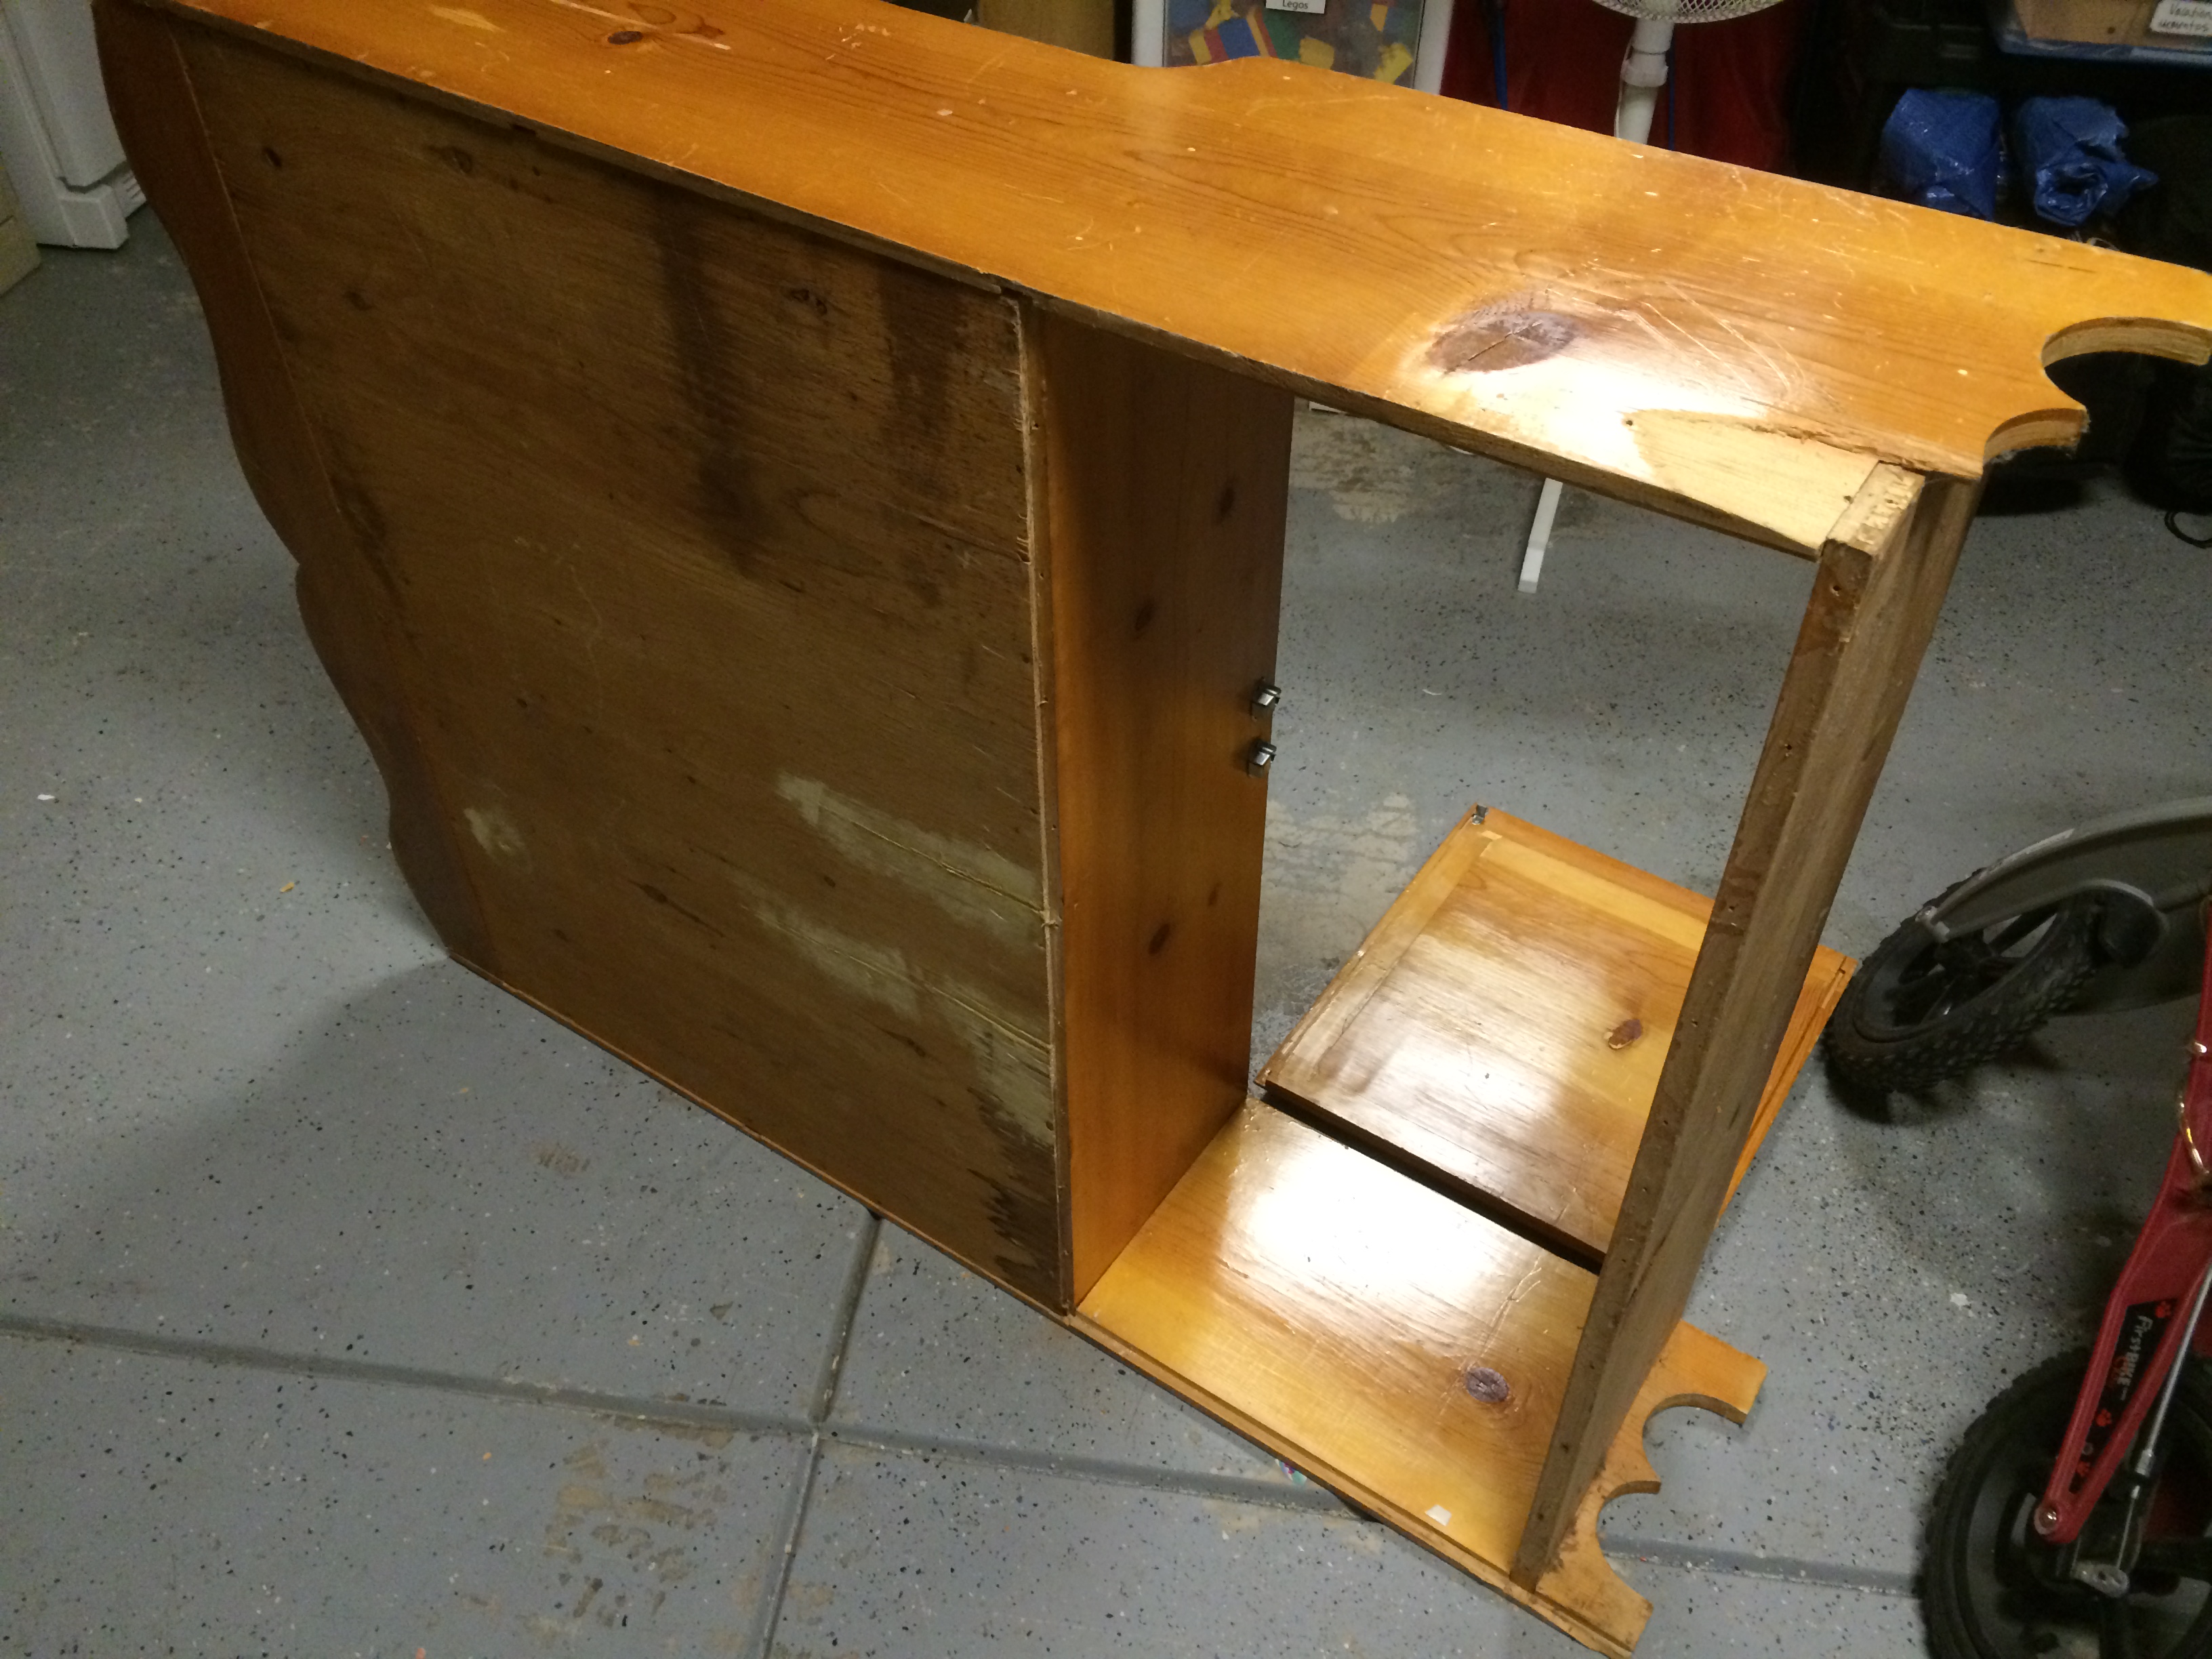
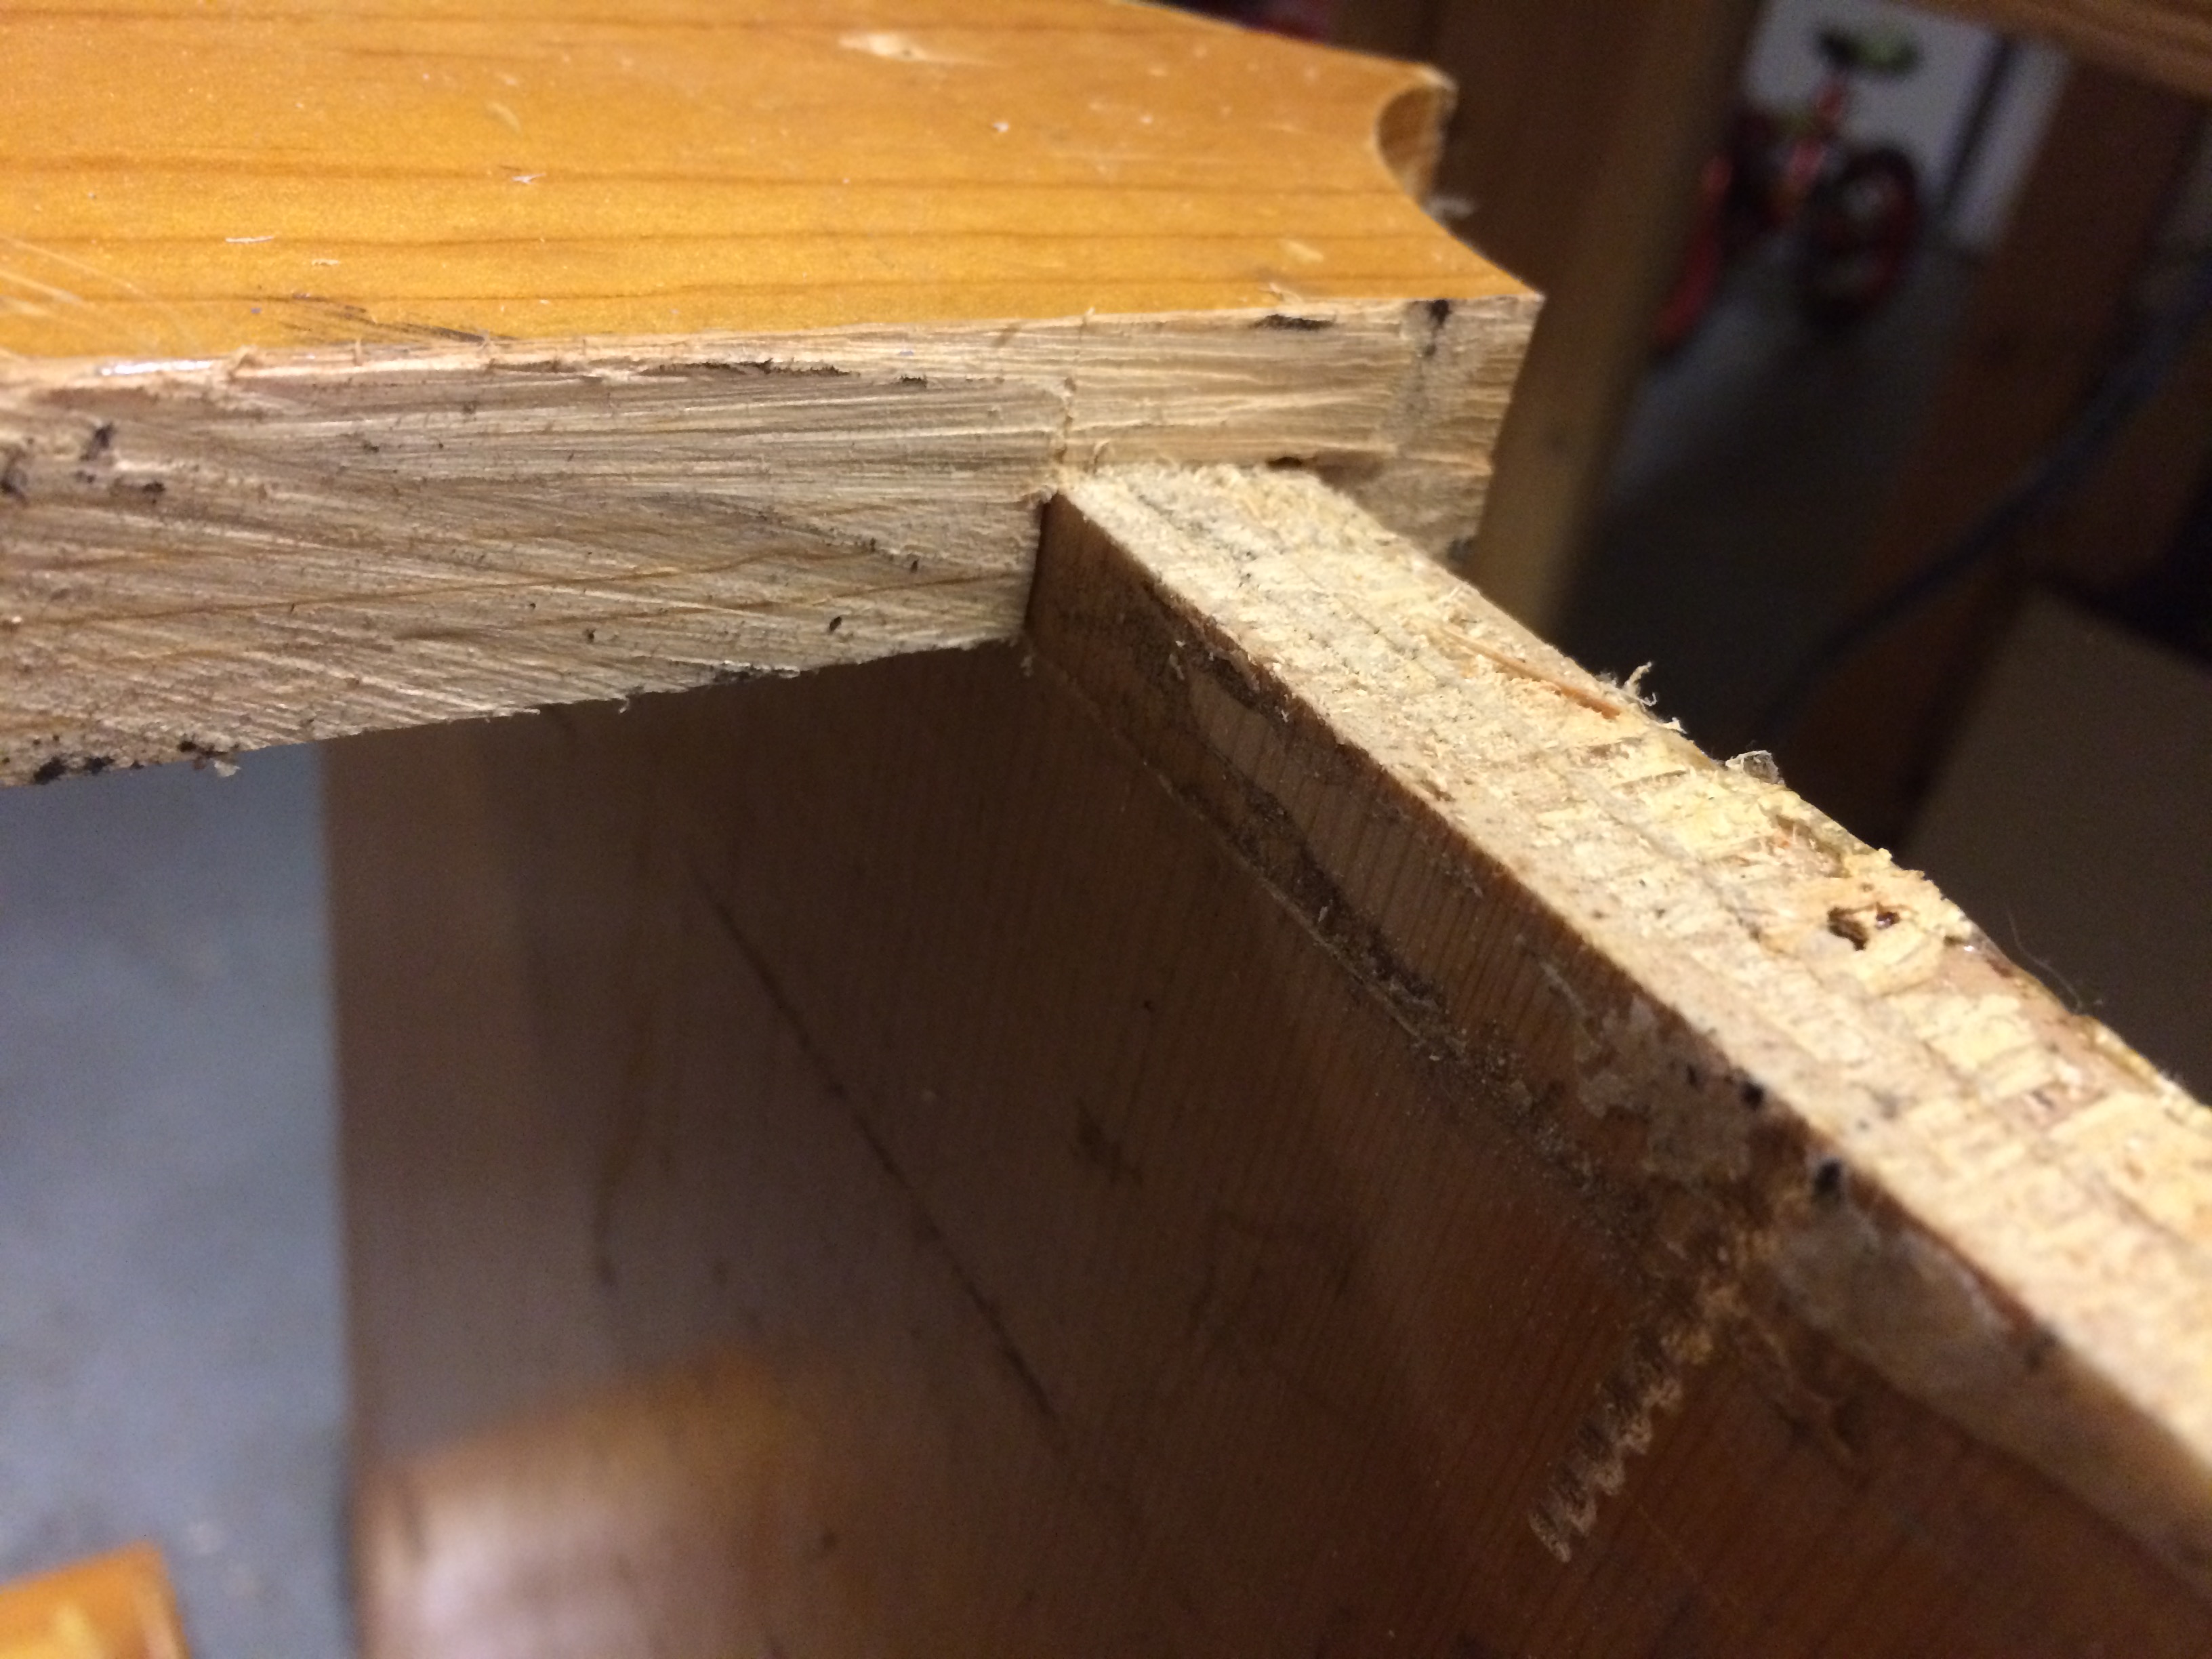
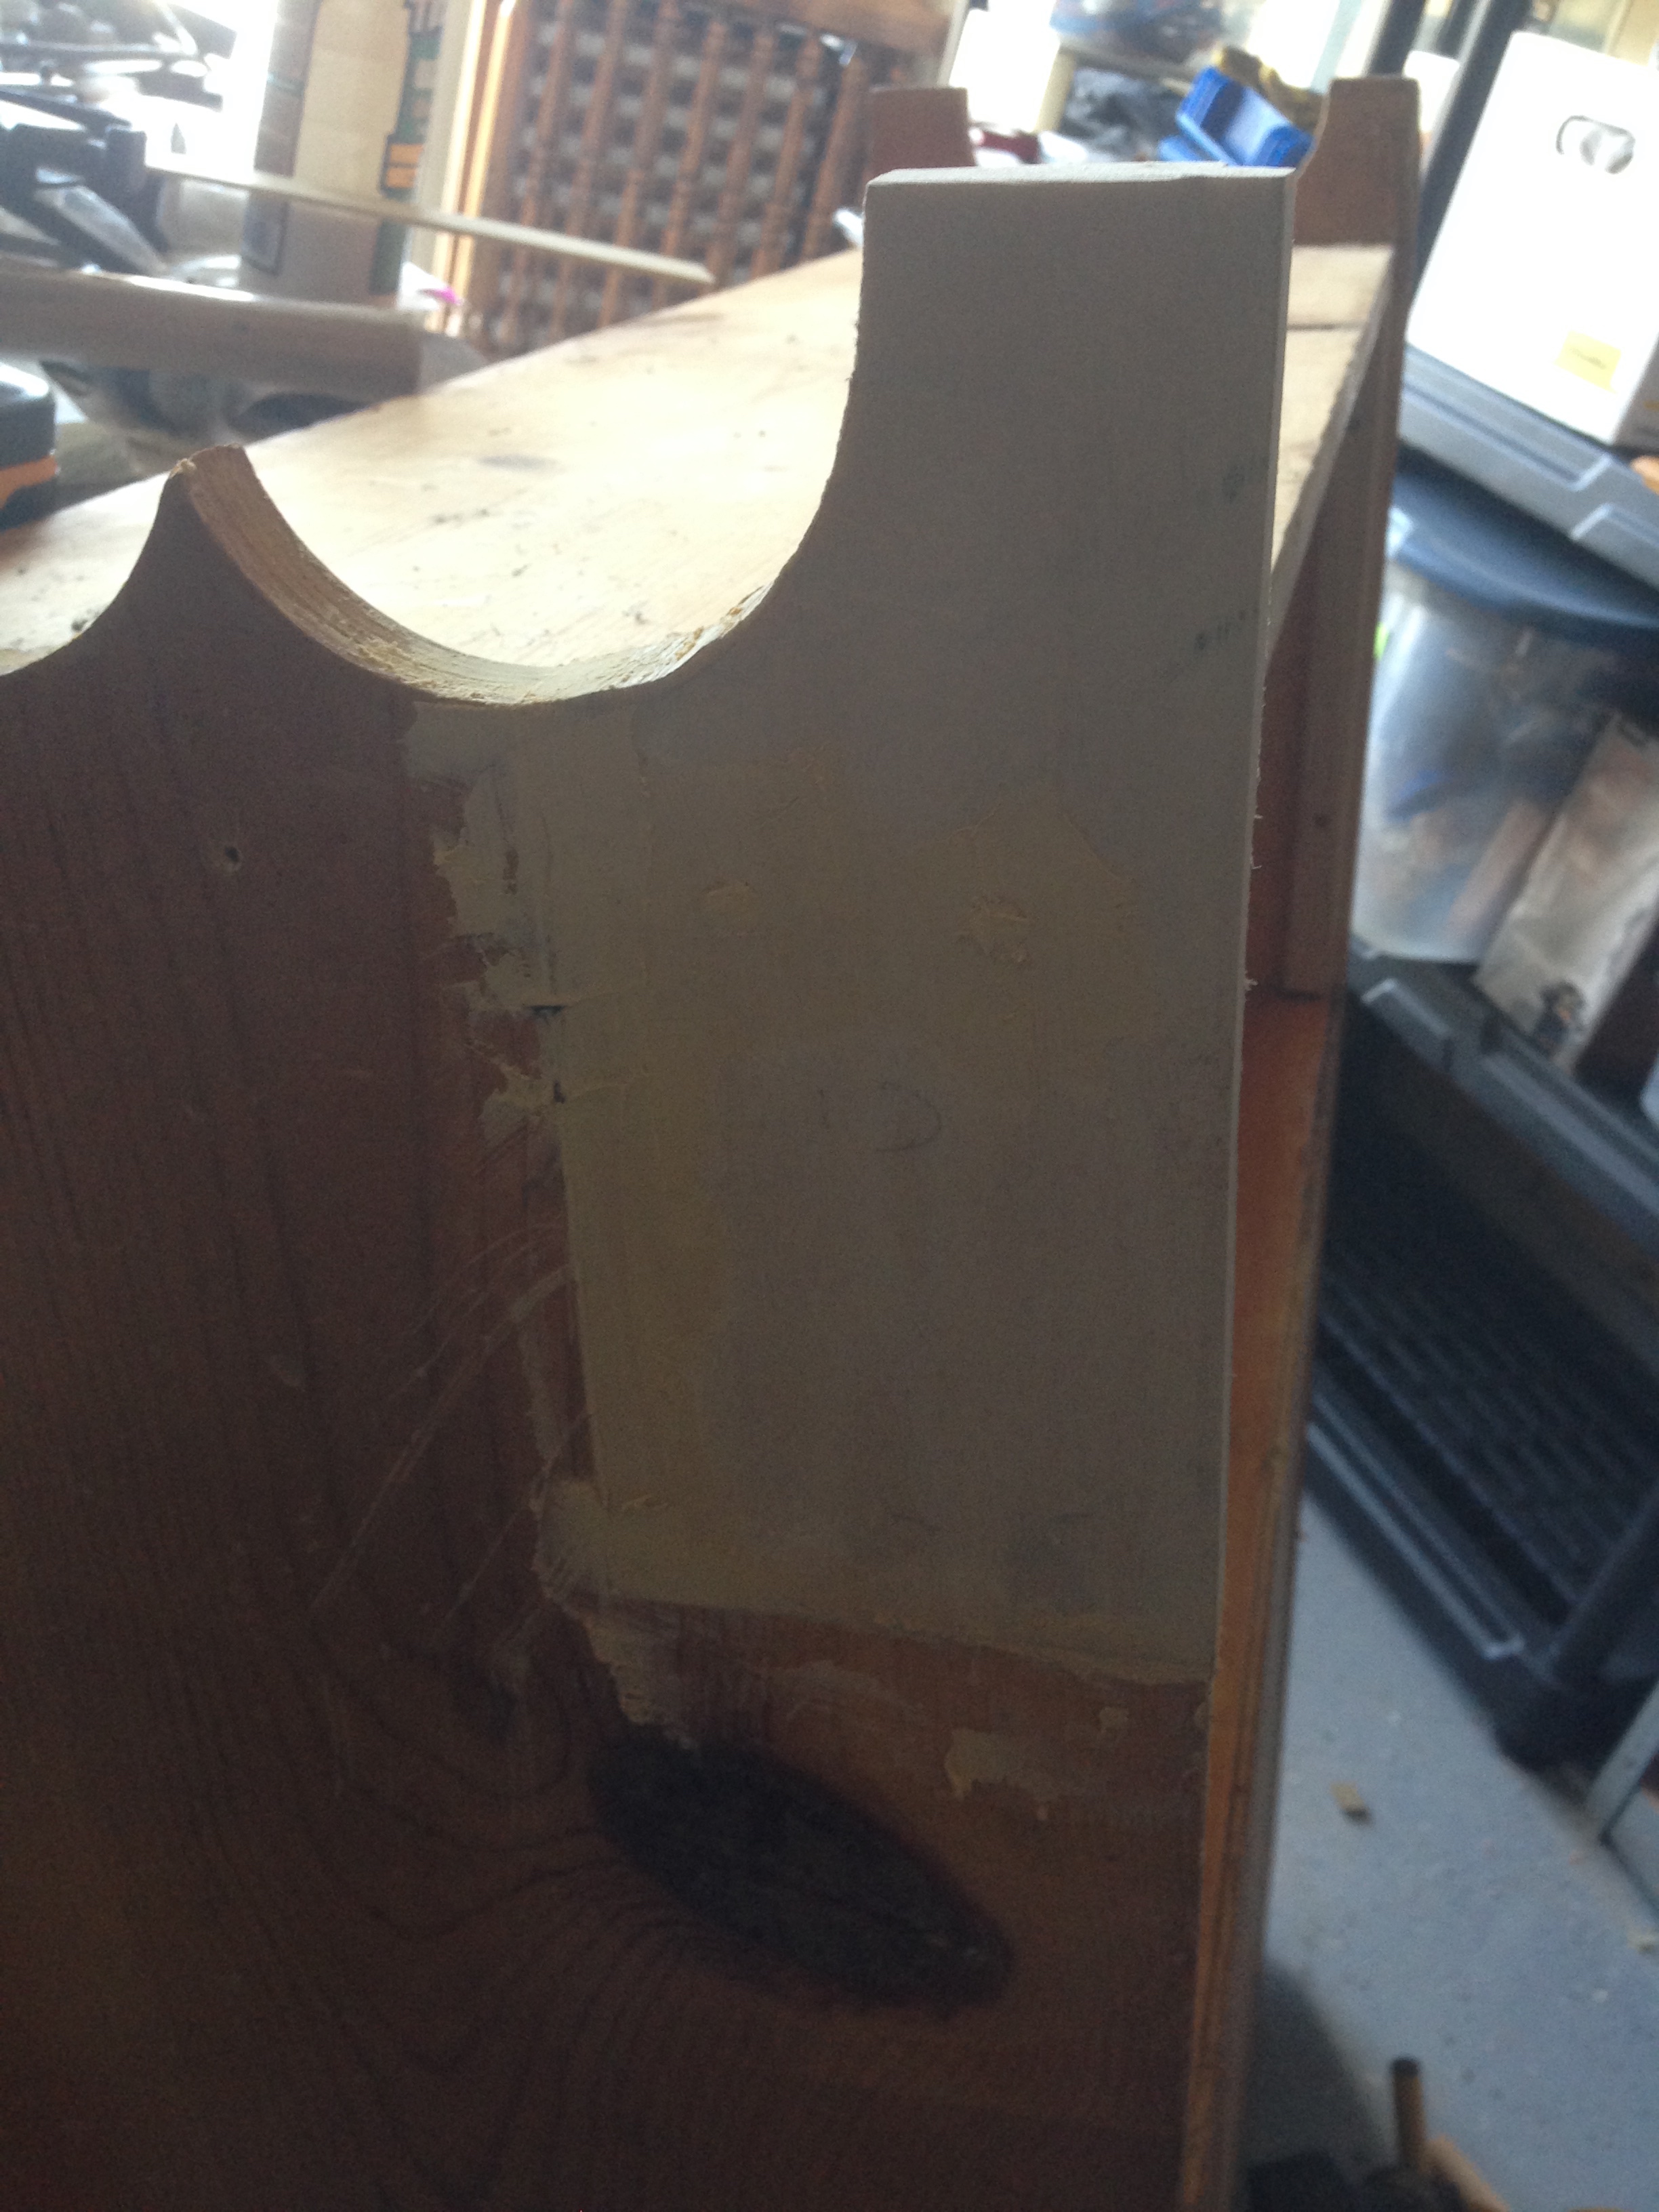
Here’s the main problem: one of the legs broke and had been replaced by a piece of scrap. Such an elegant solution!
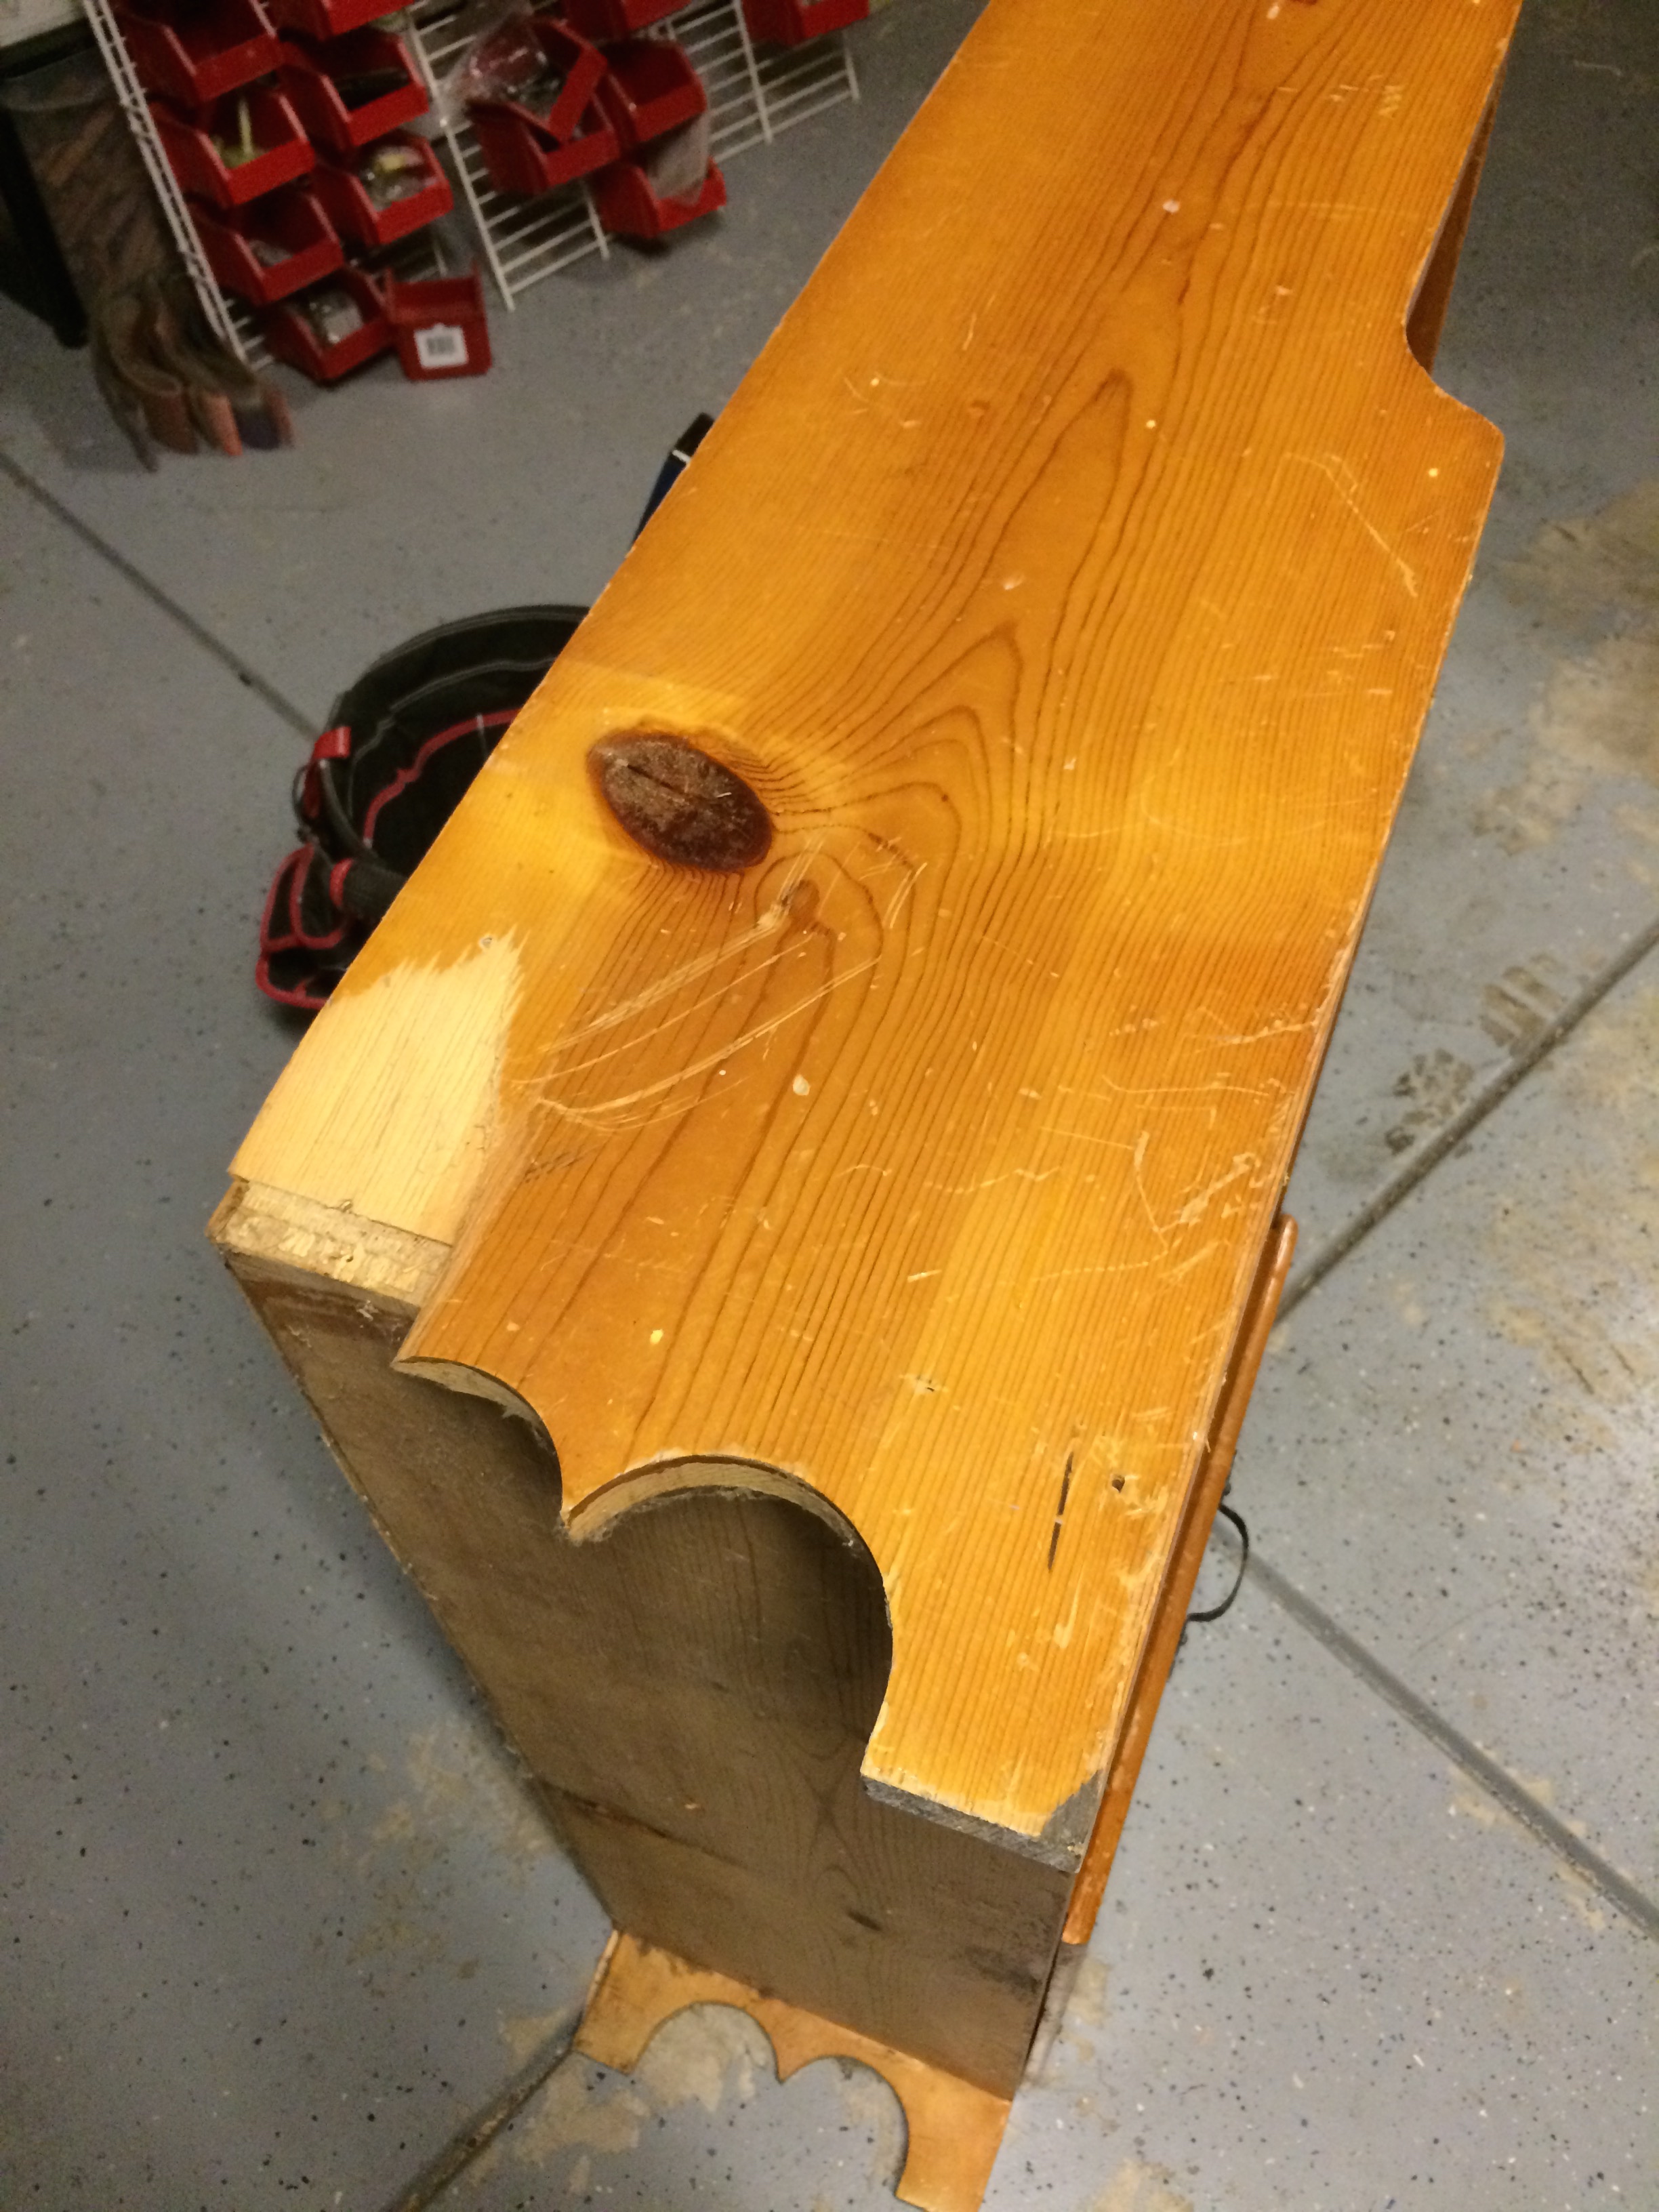
The damage hiding beneath the scrap.
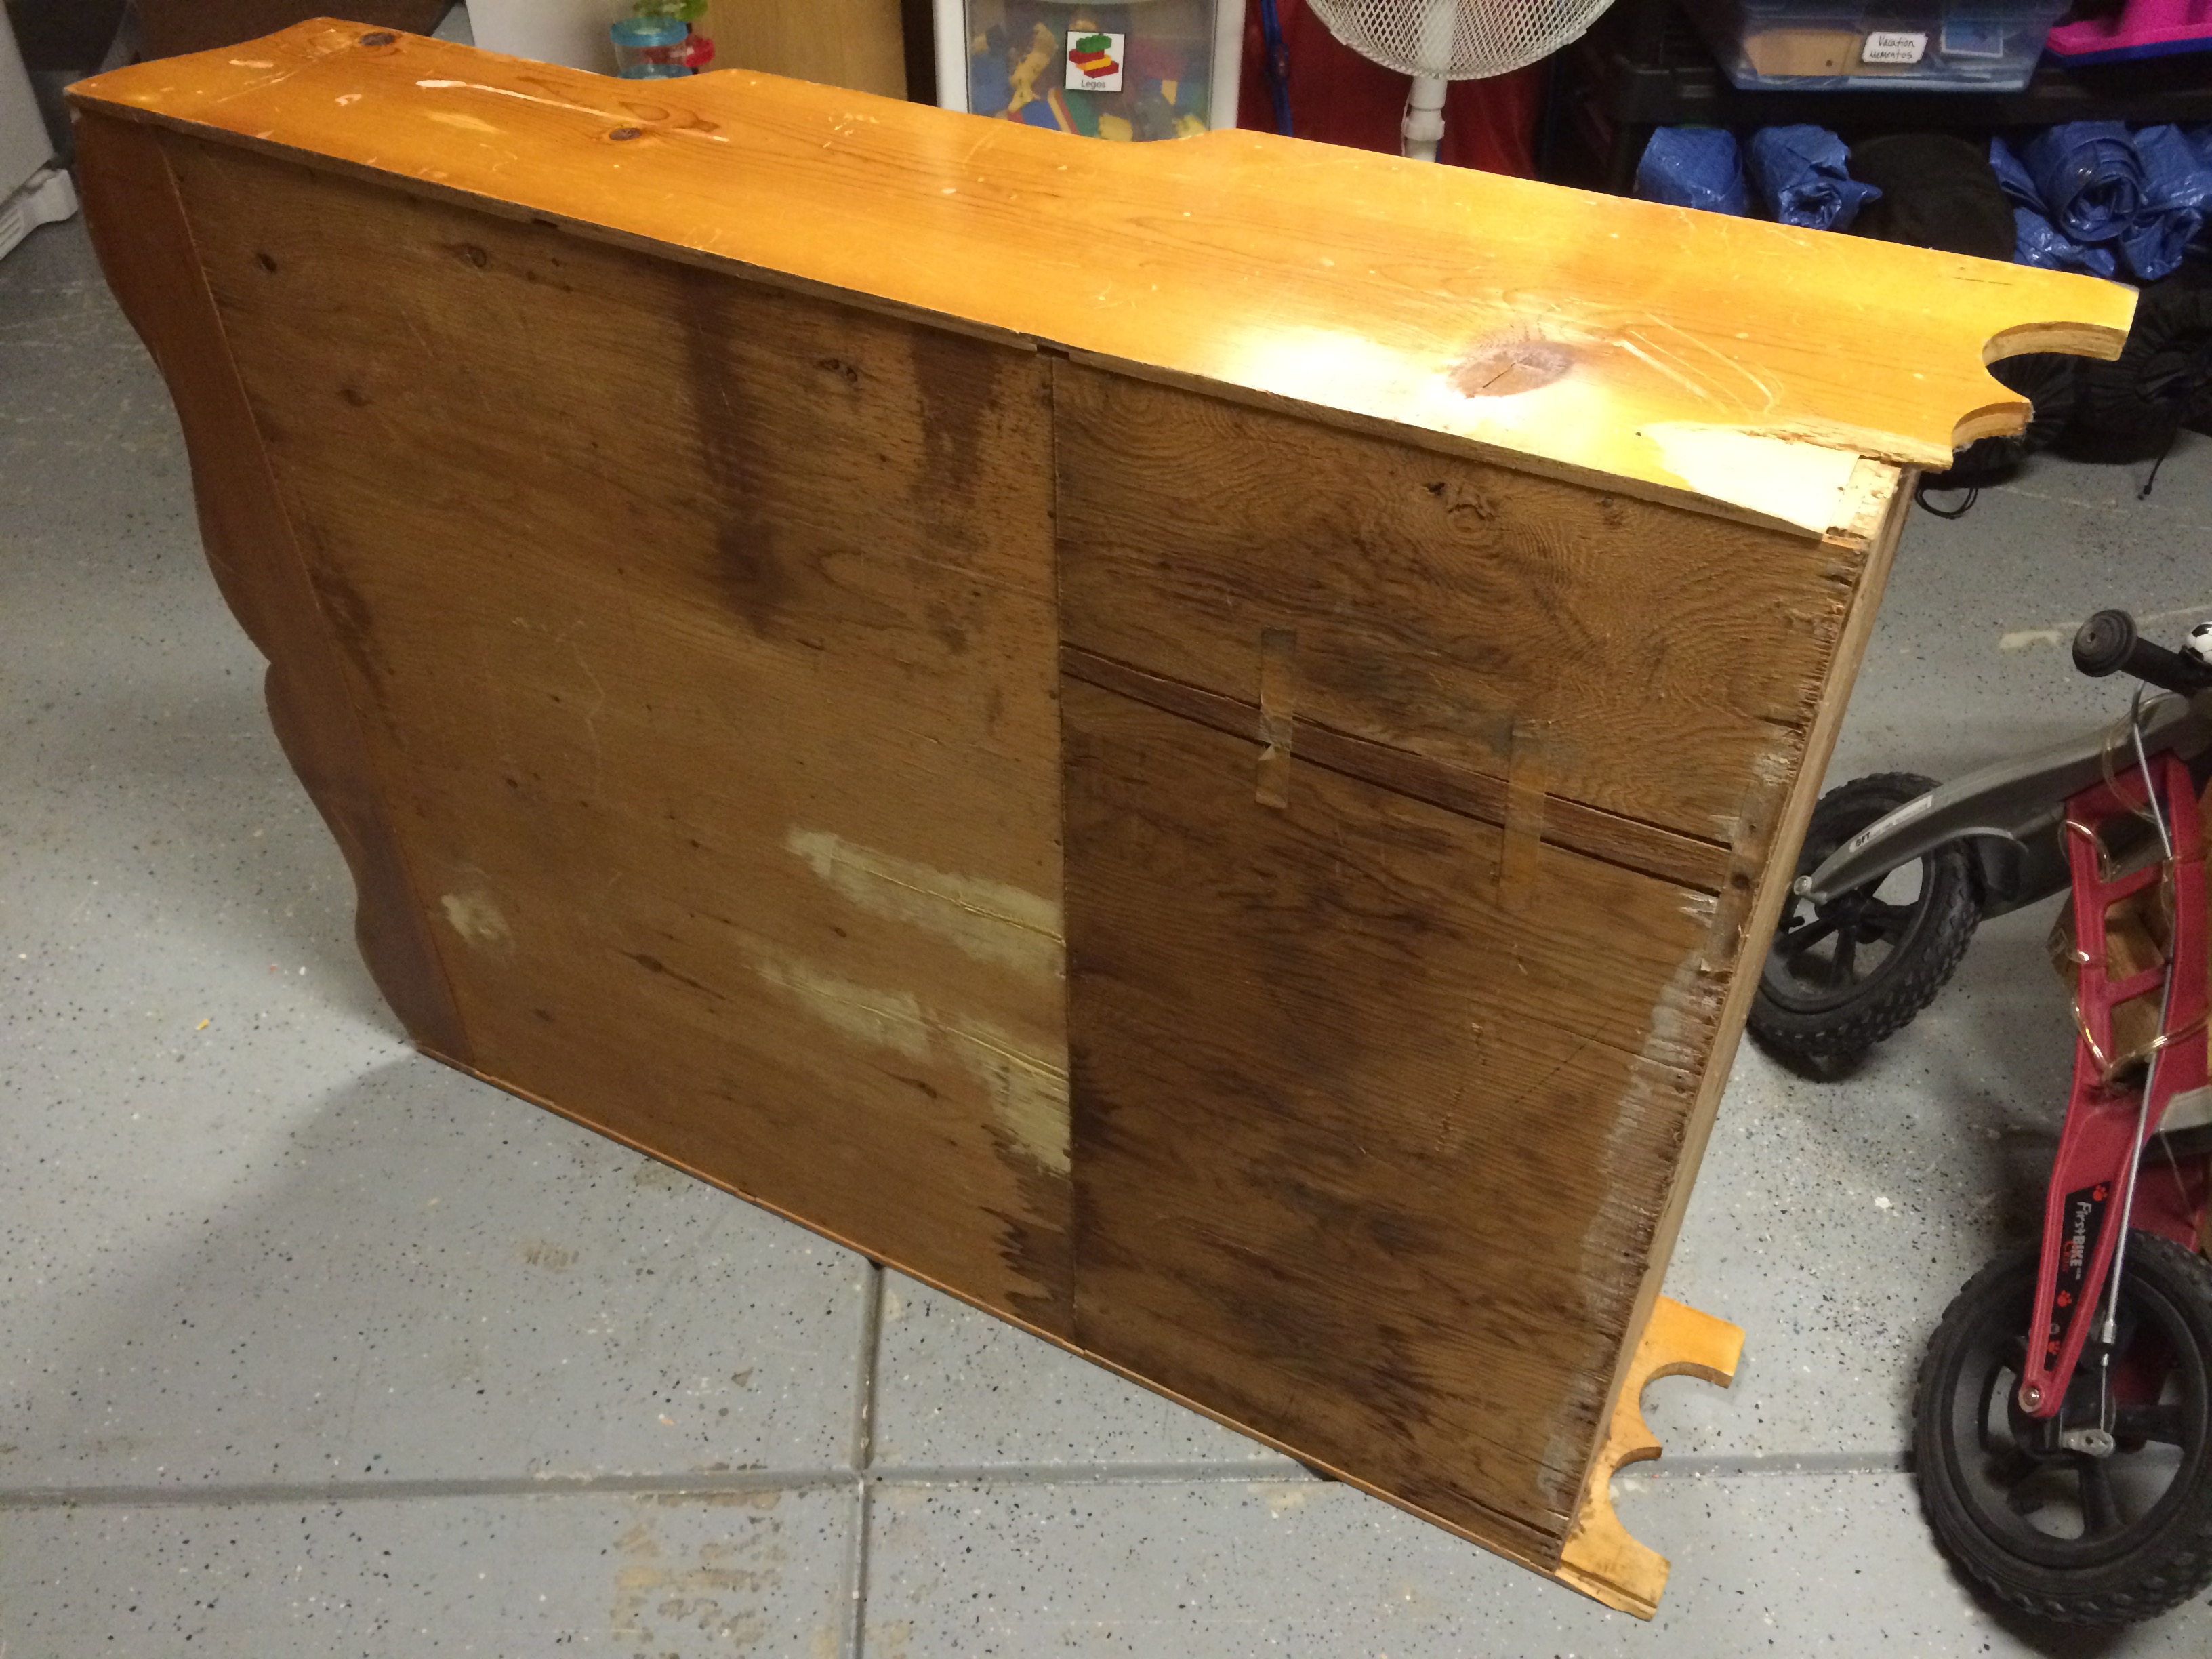
The back panels were in pretty bad shape. The bottom section was literally held together with tape…
…so I removed it.
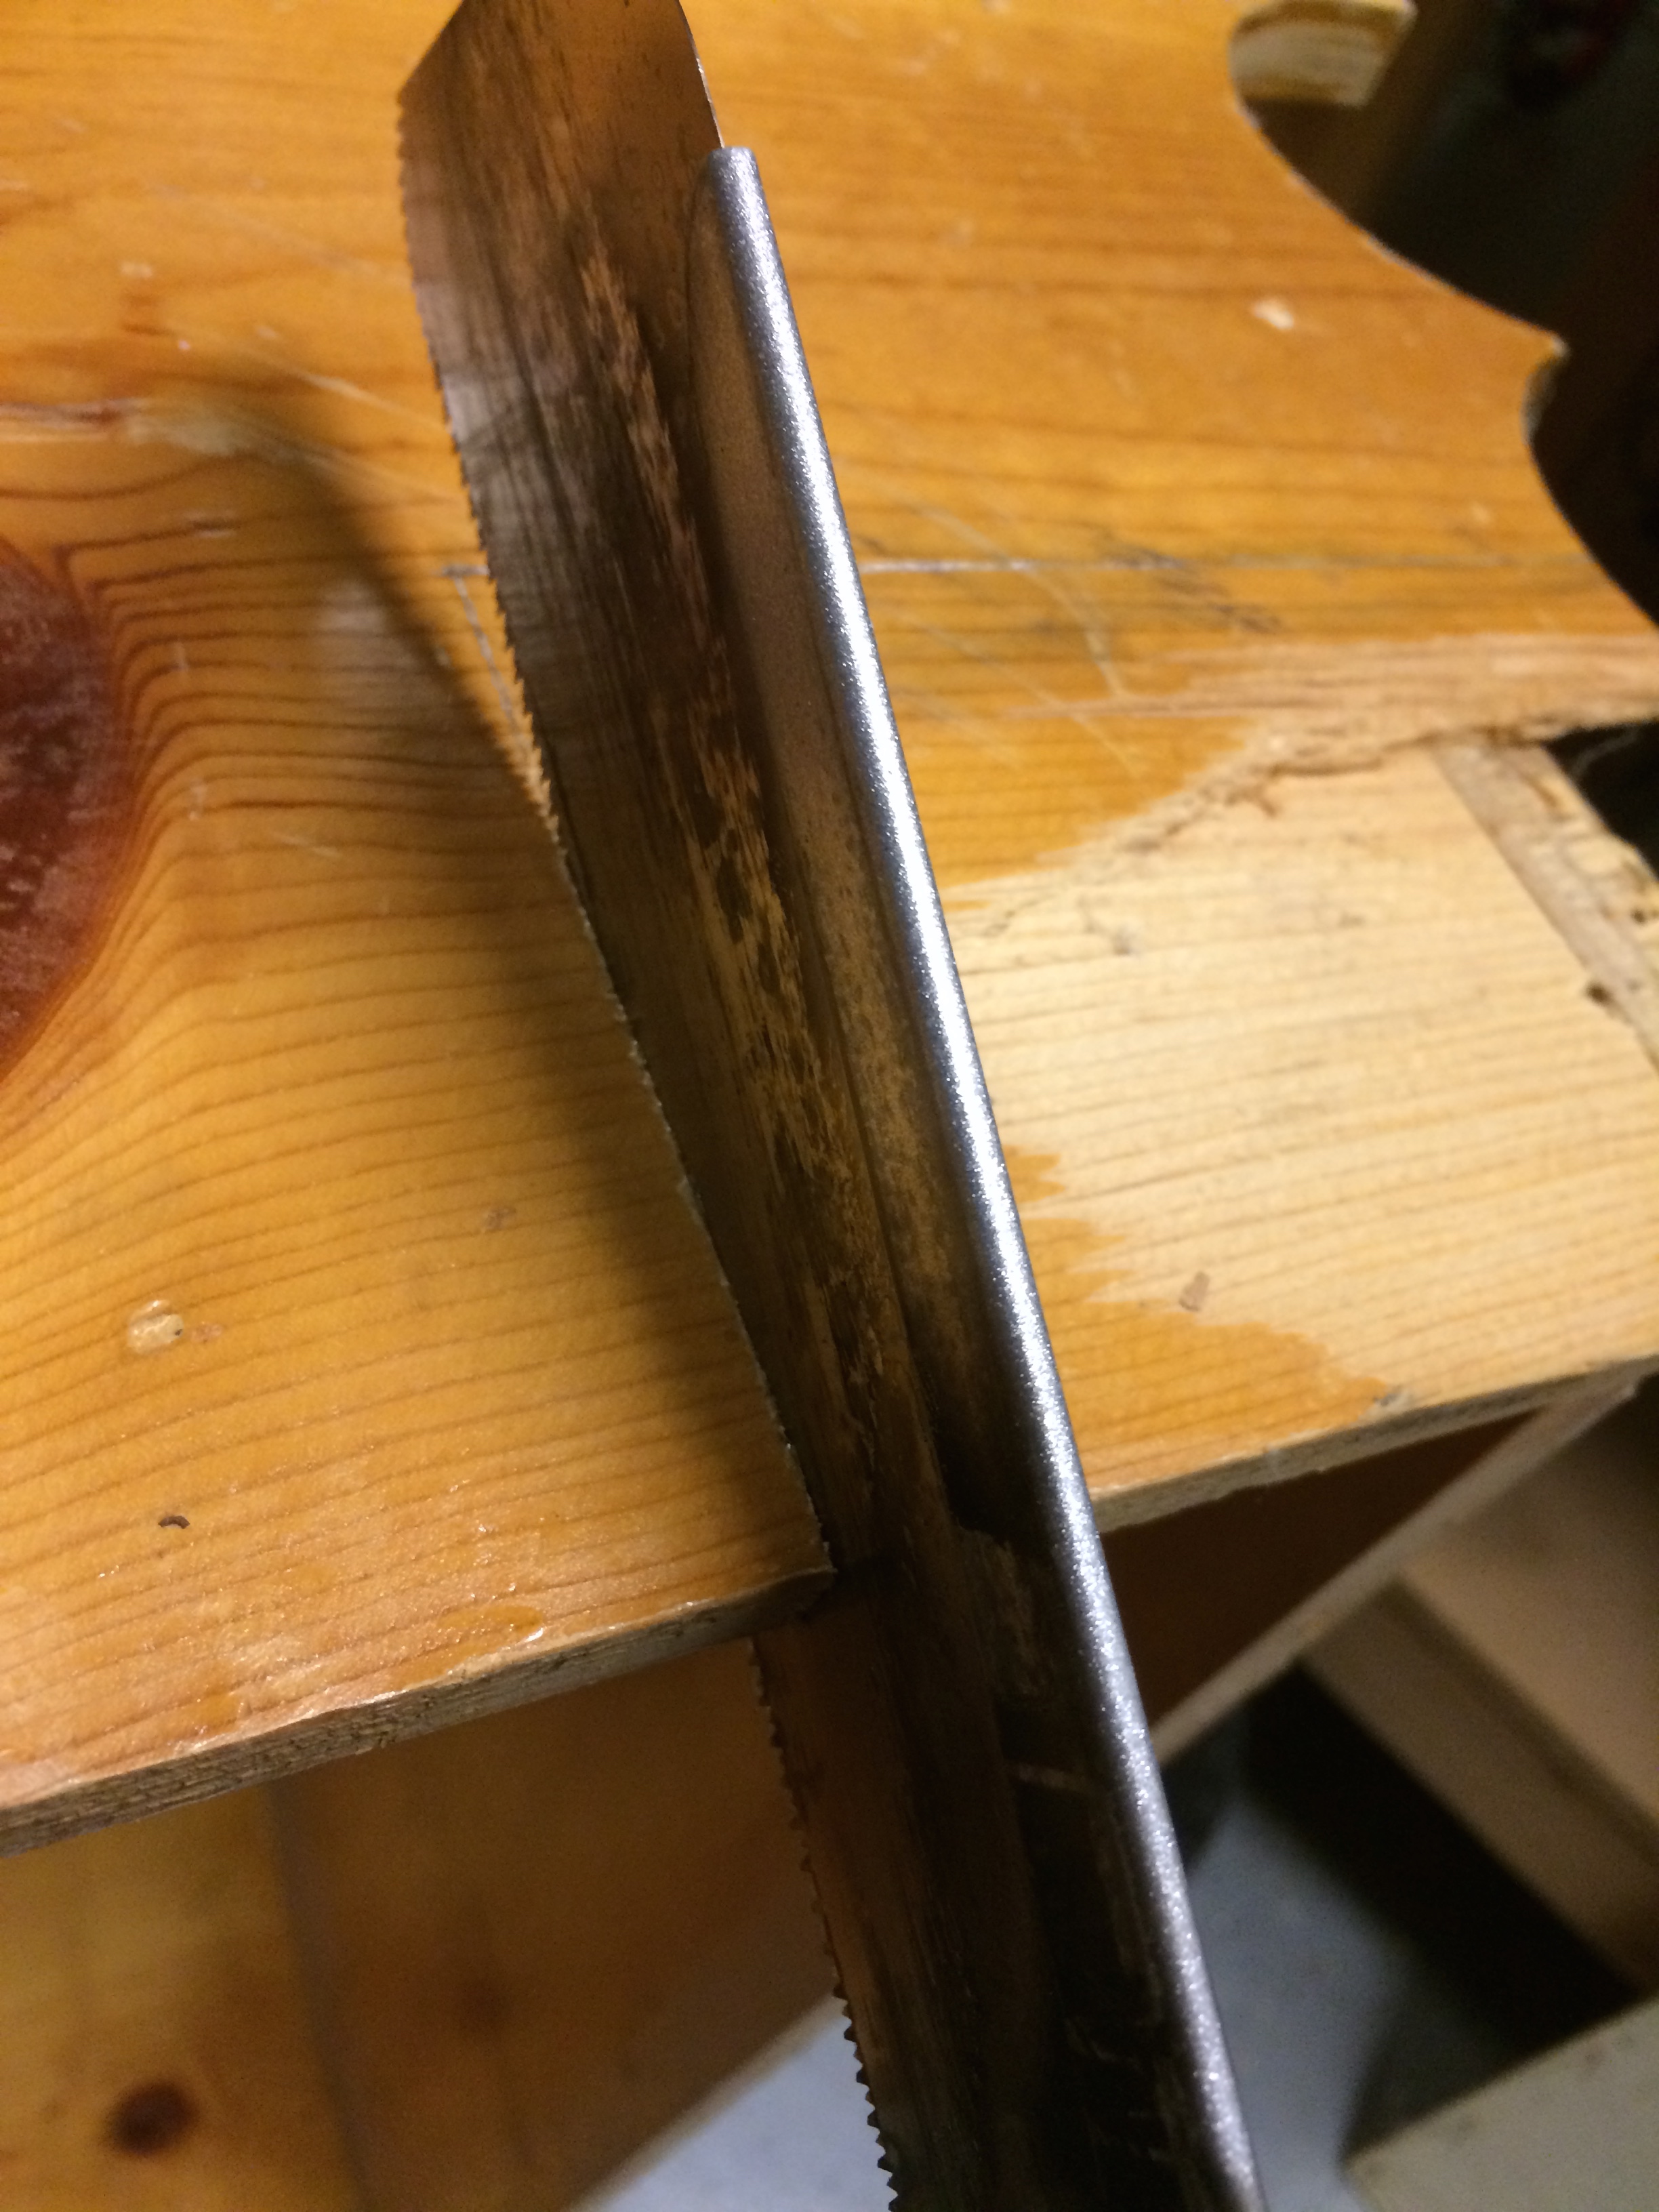
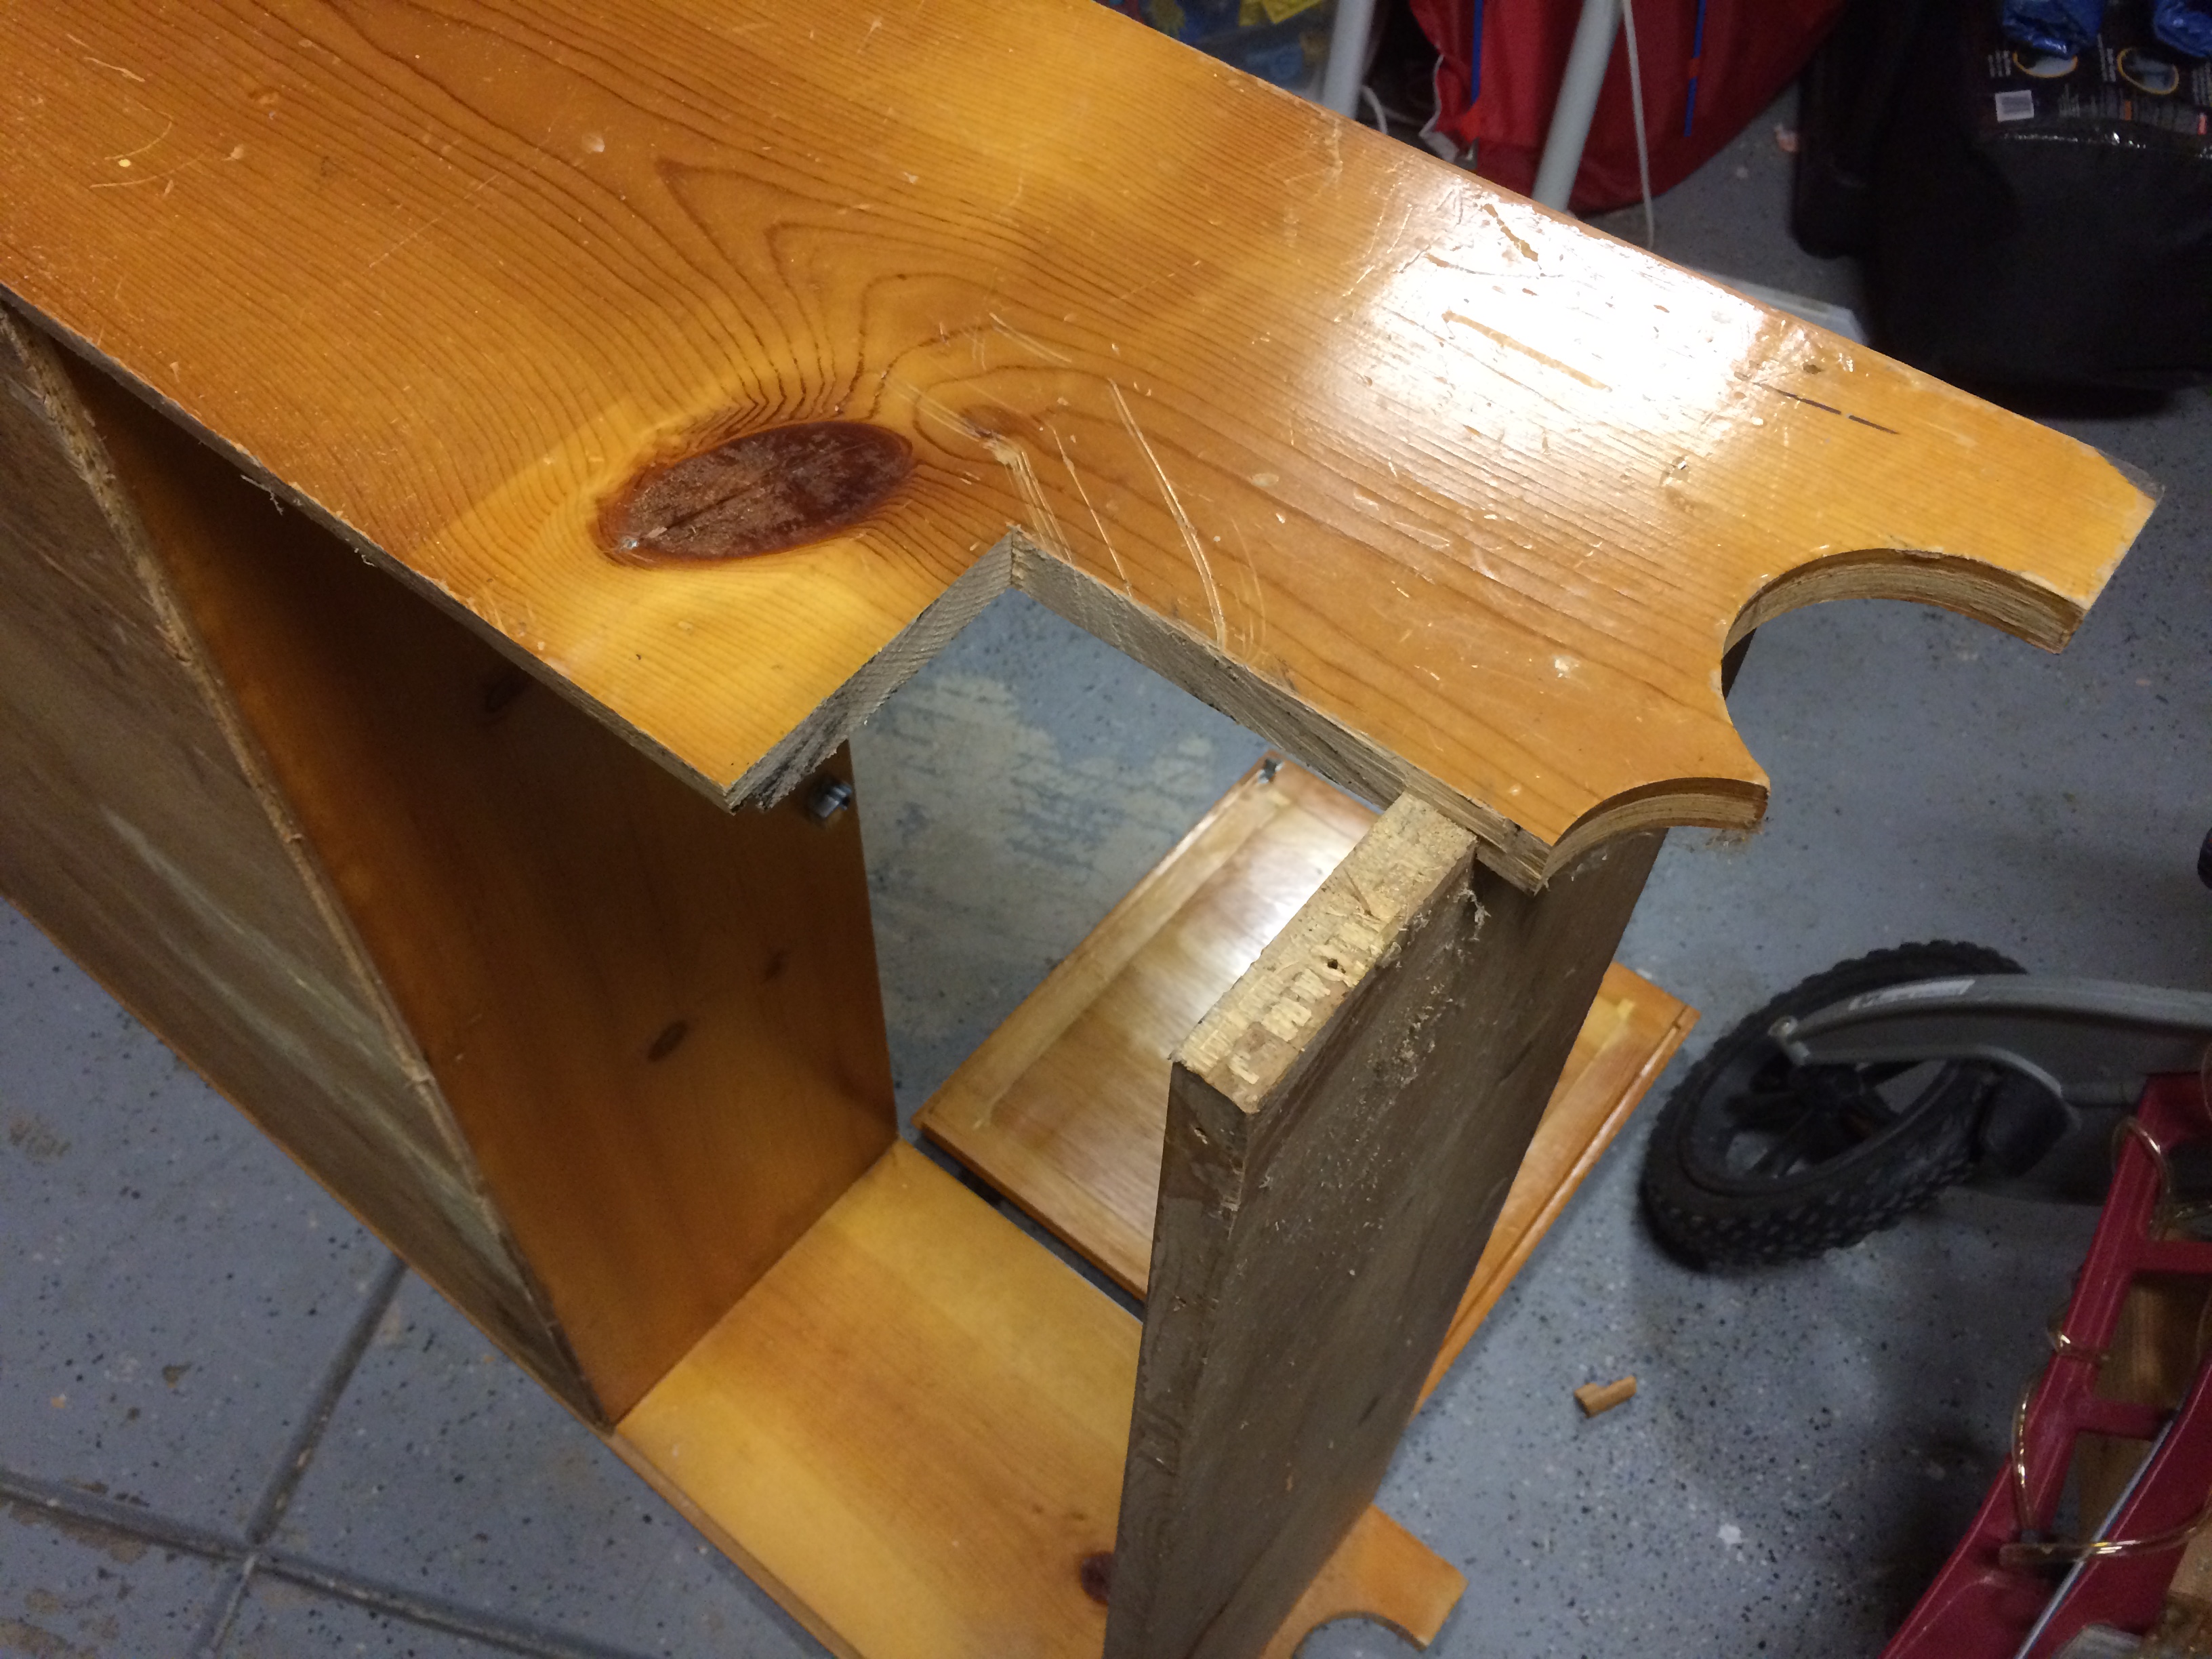
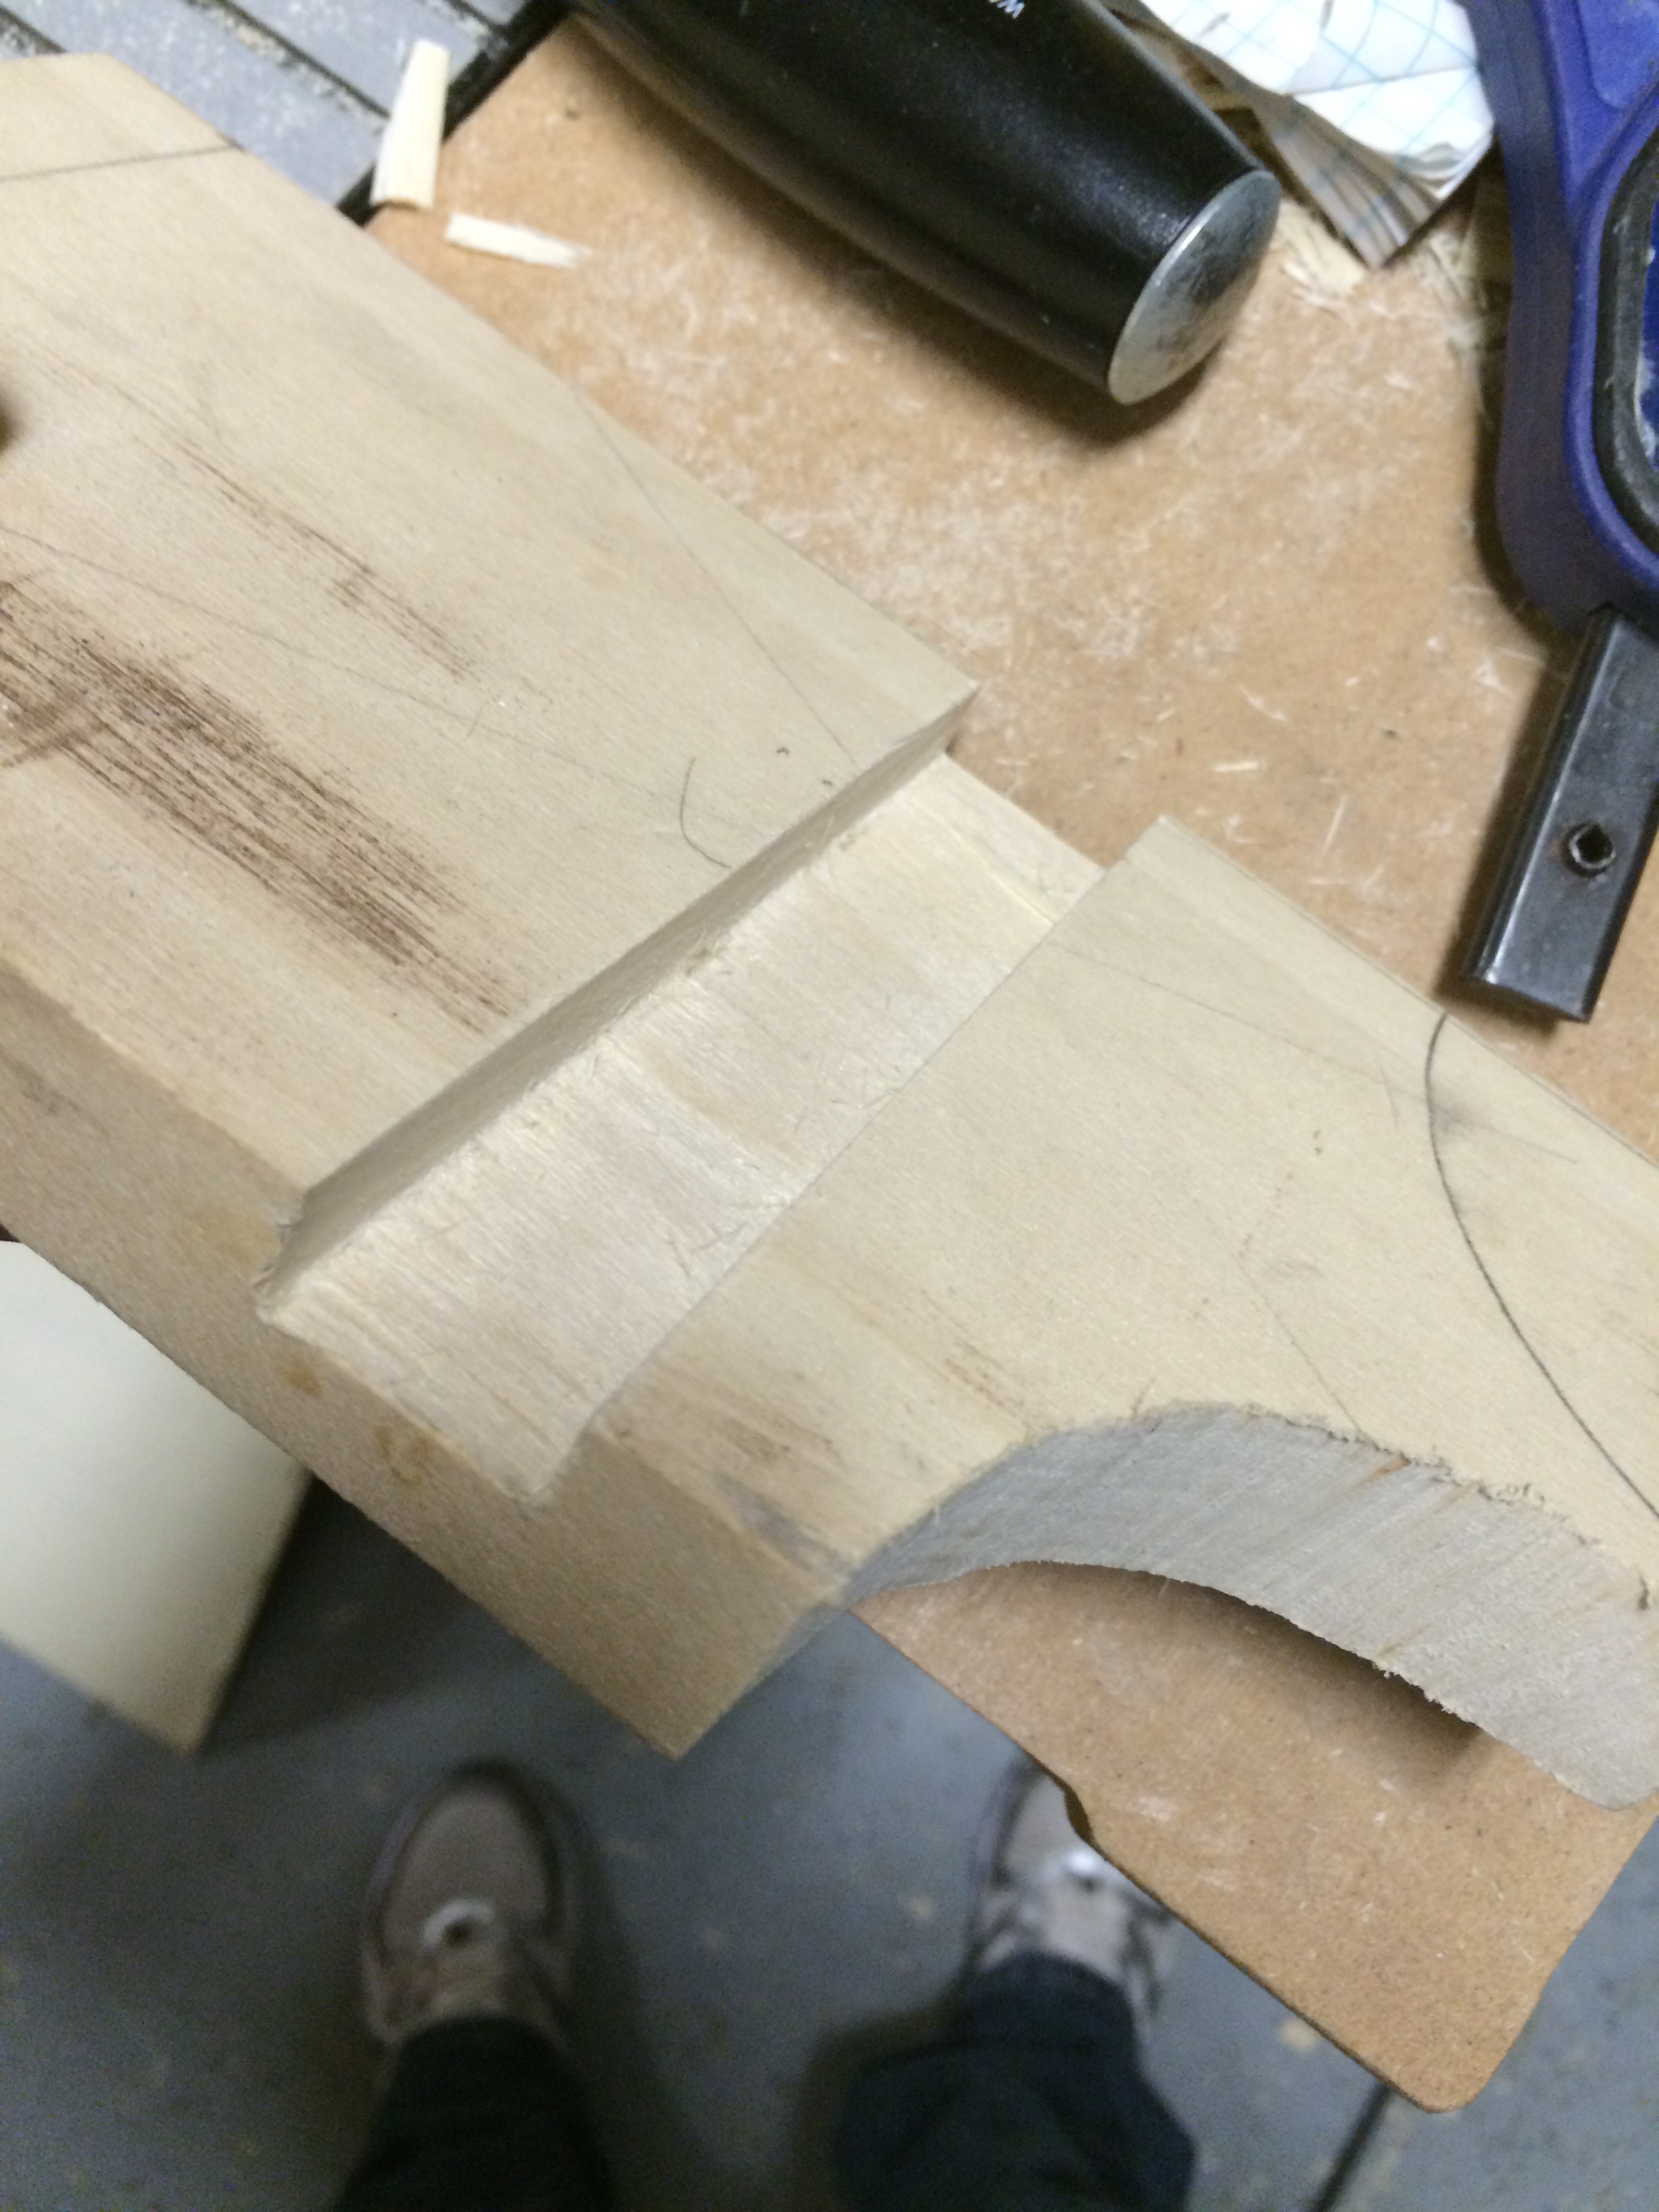
Very carefully, I cut out the broken leg. I believe this is also how a doctor repairs a broken leg.
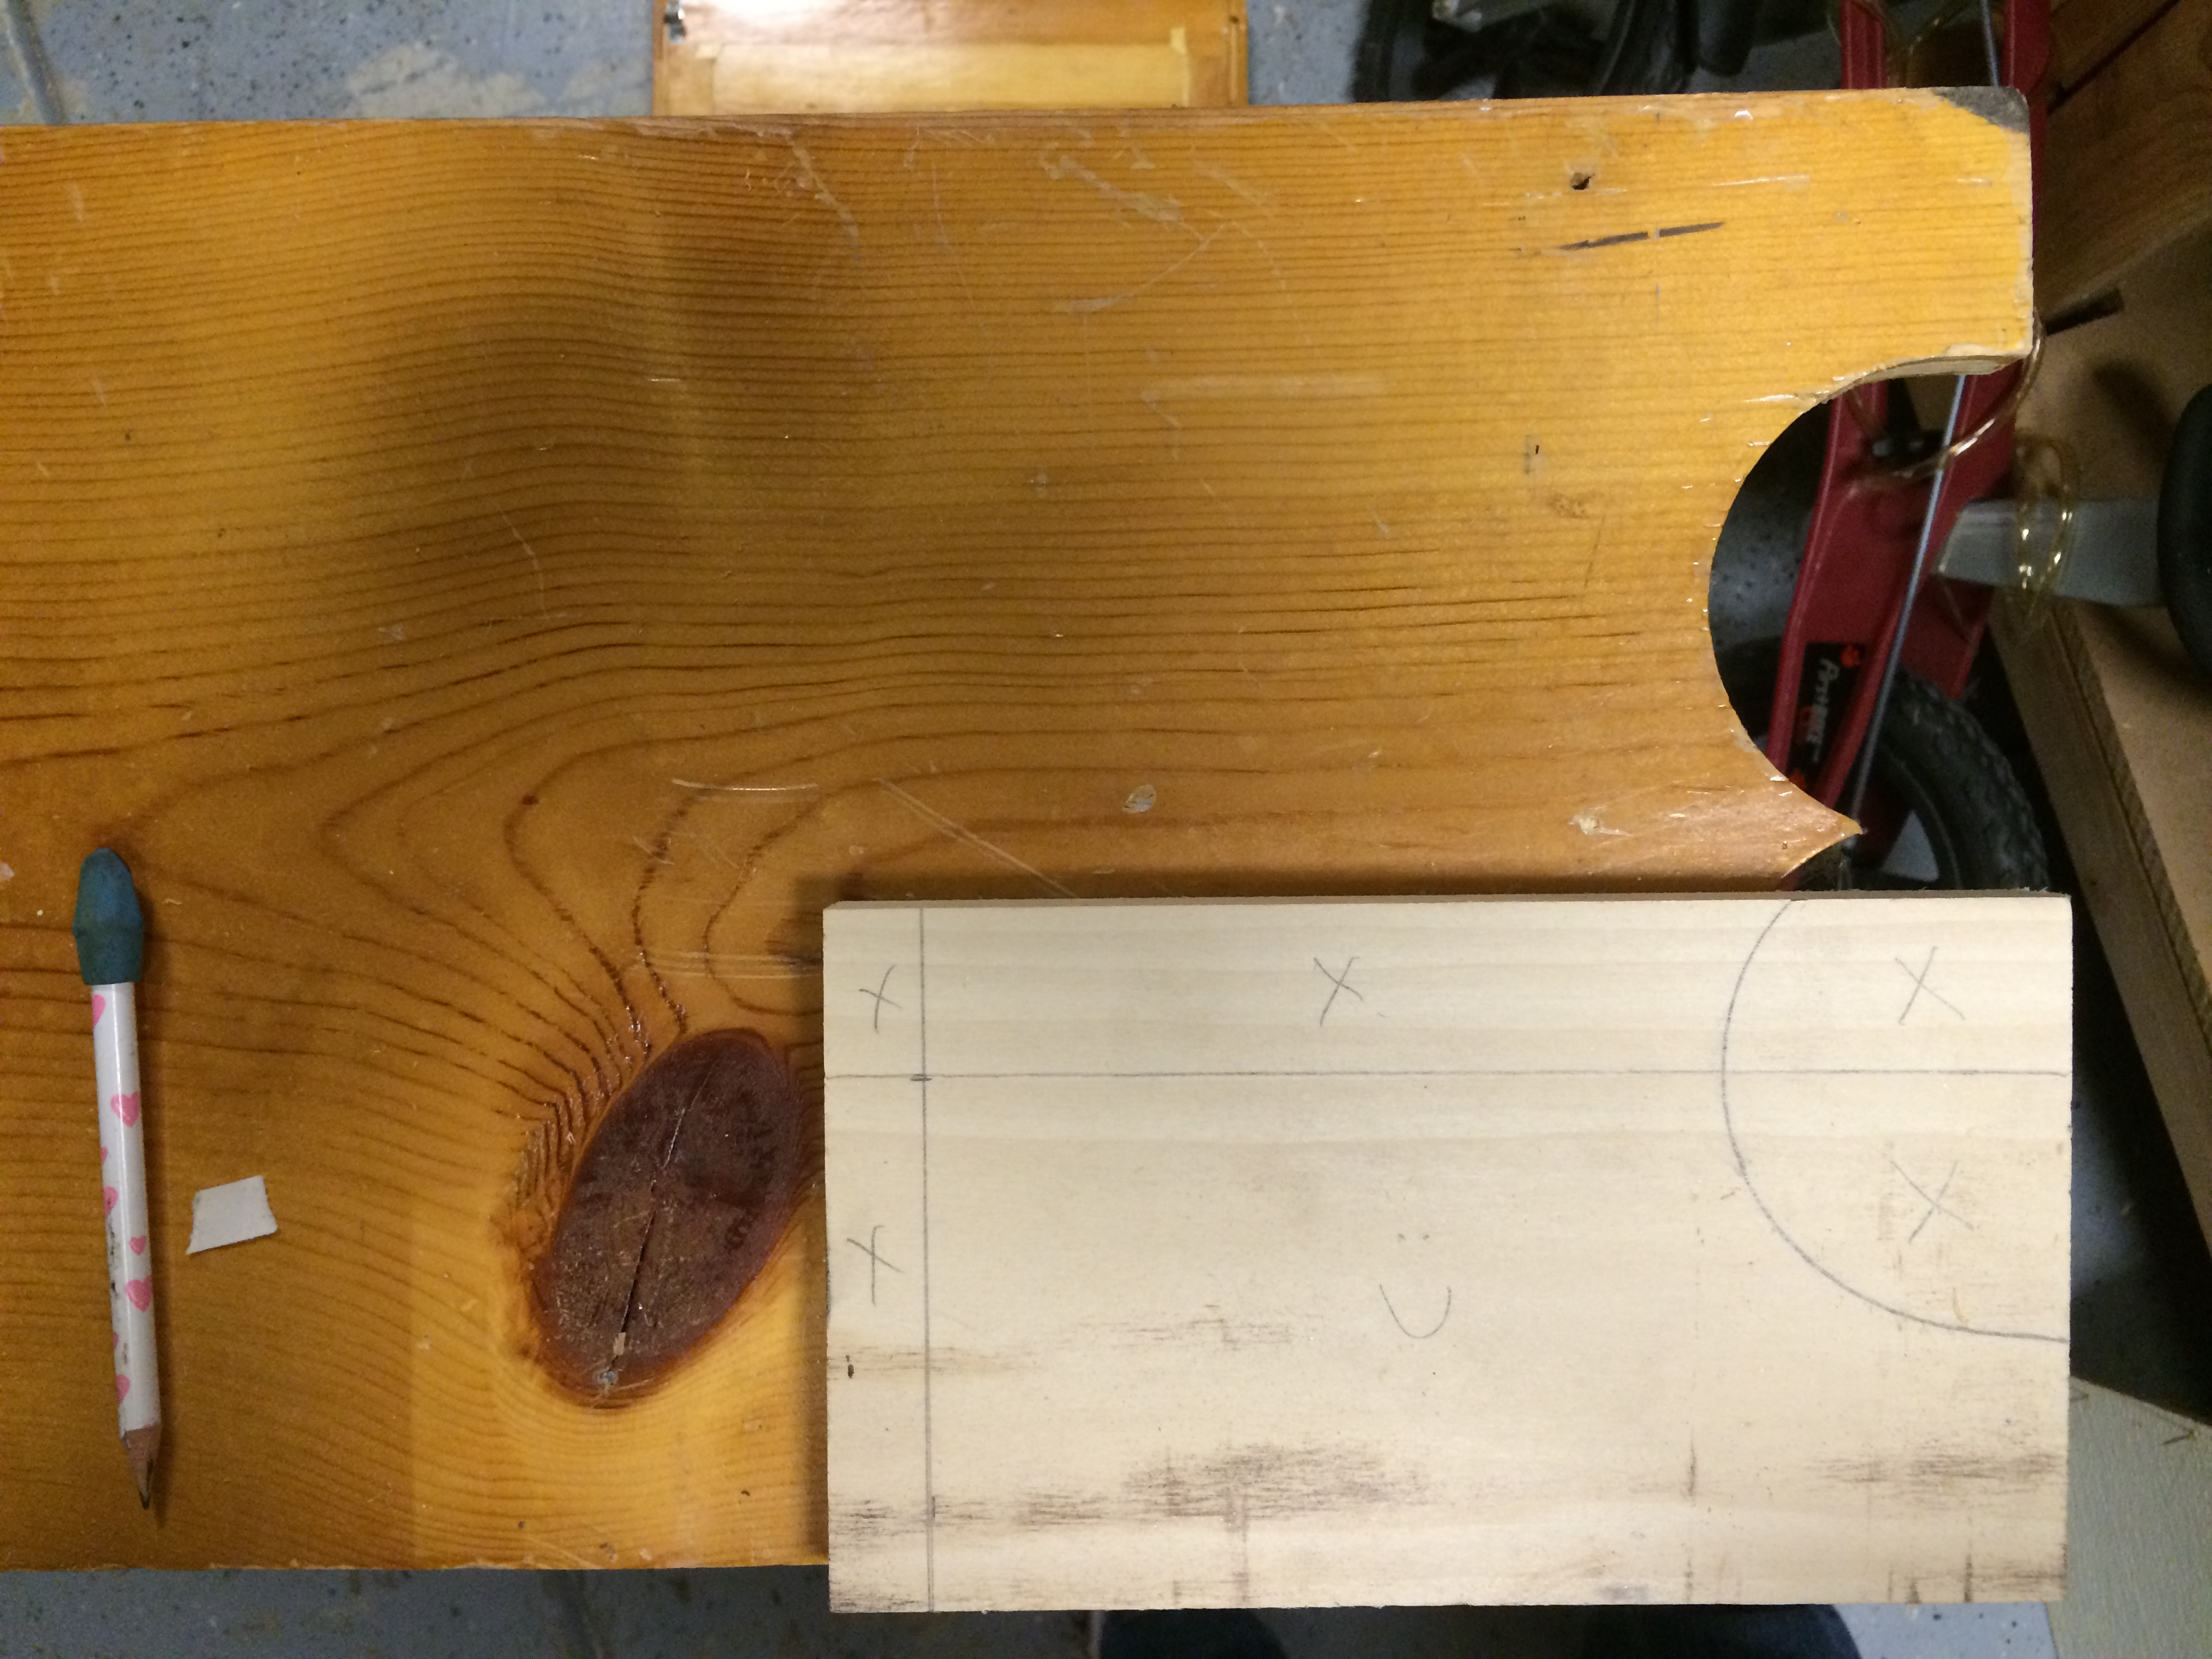
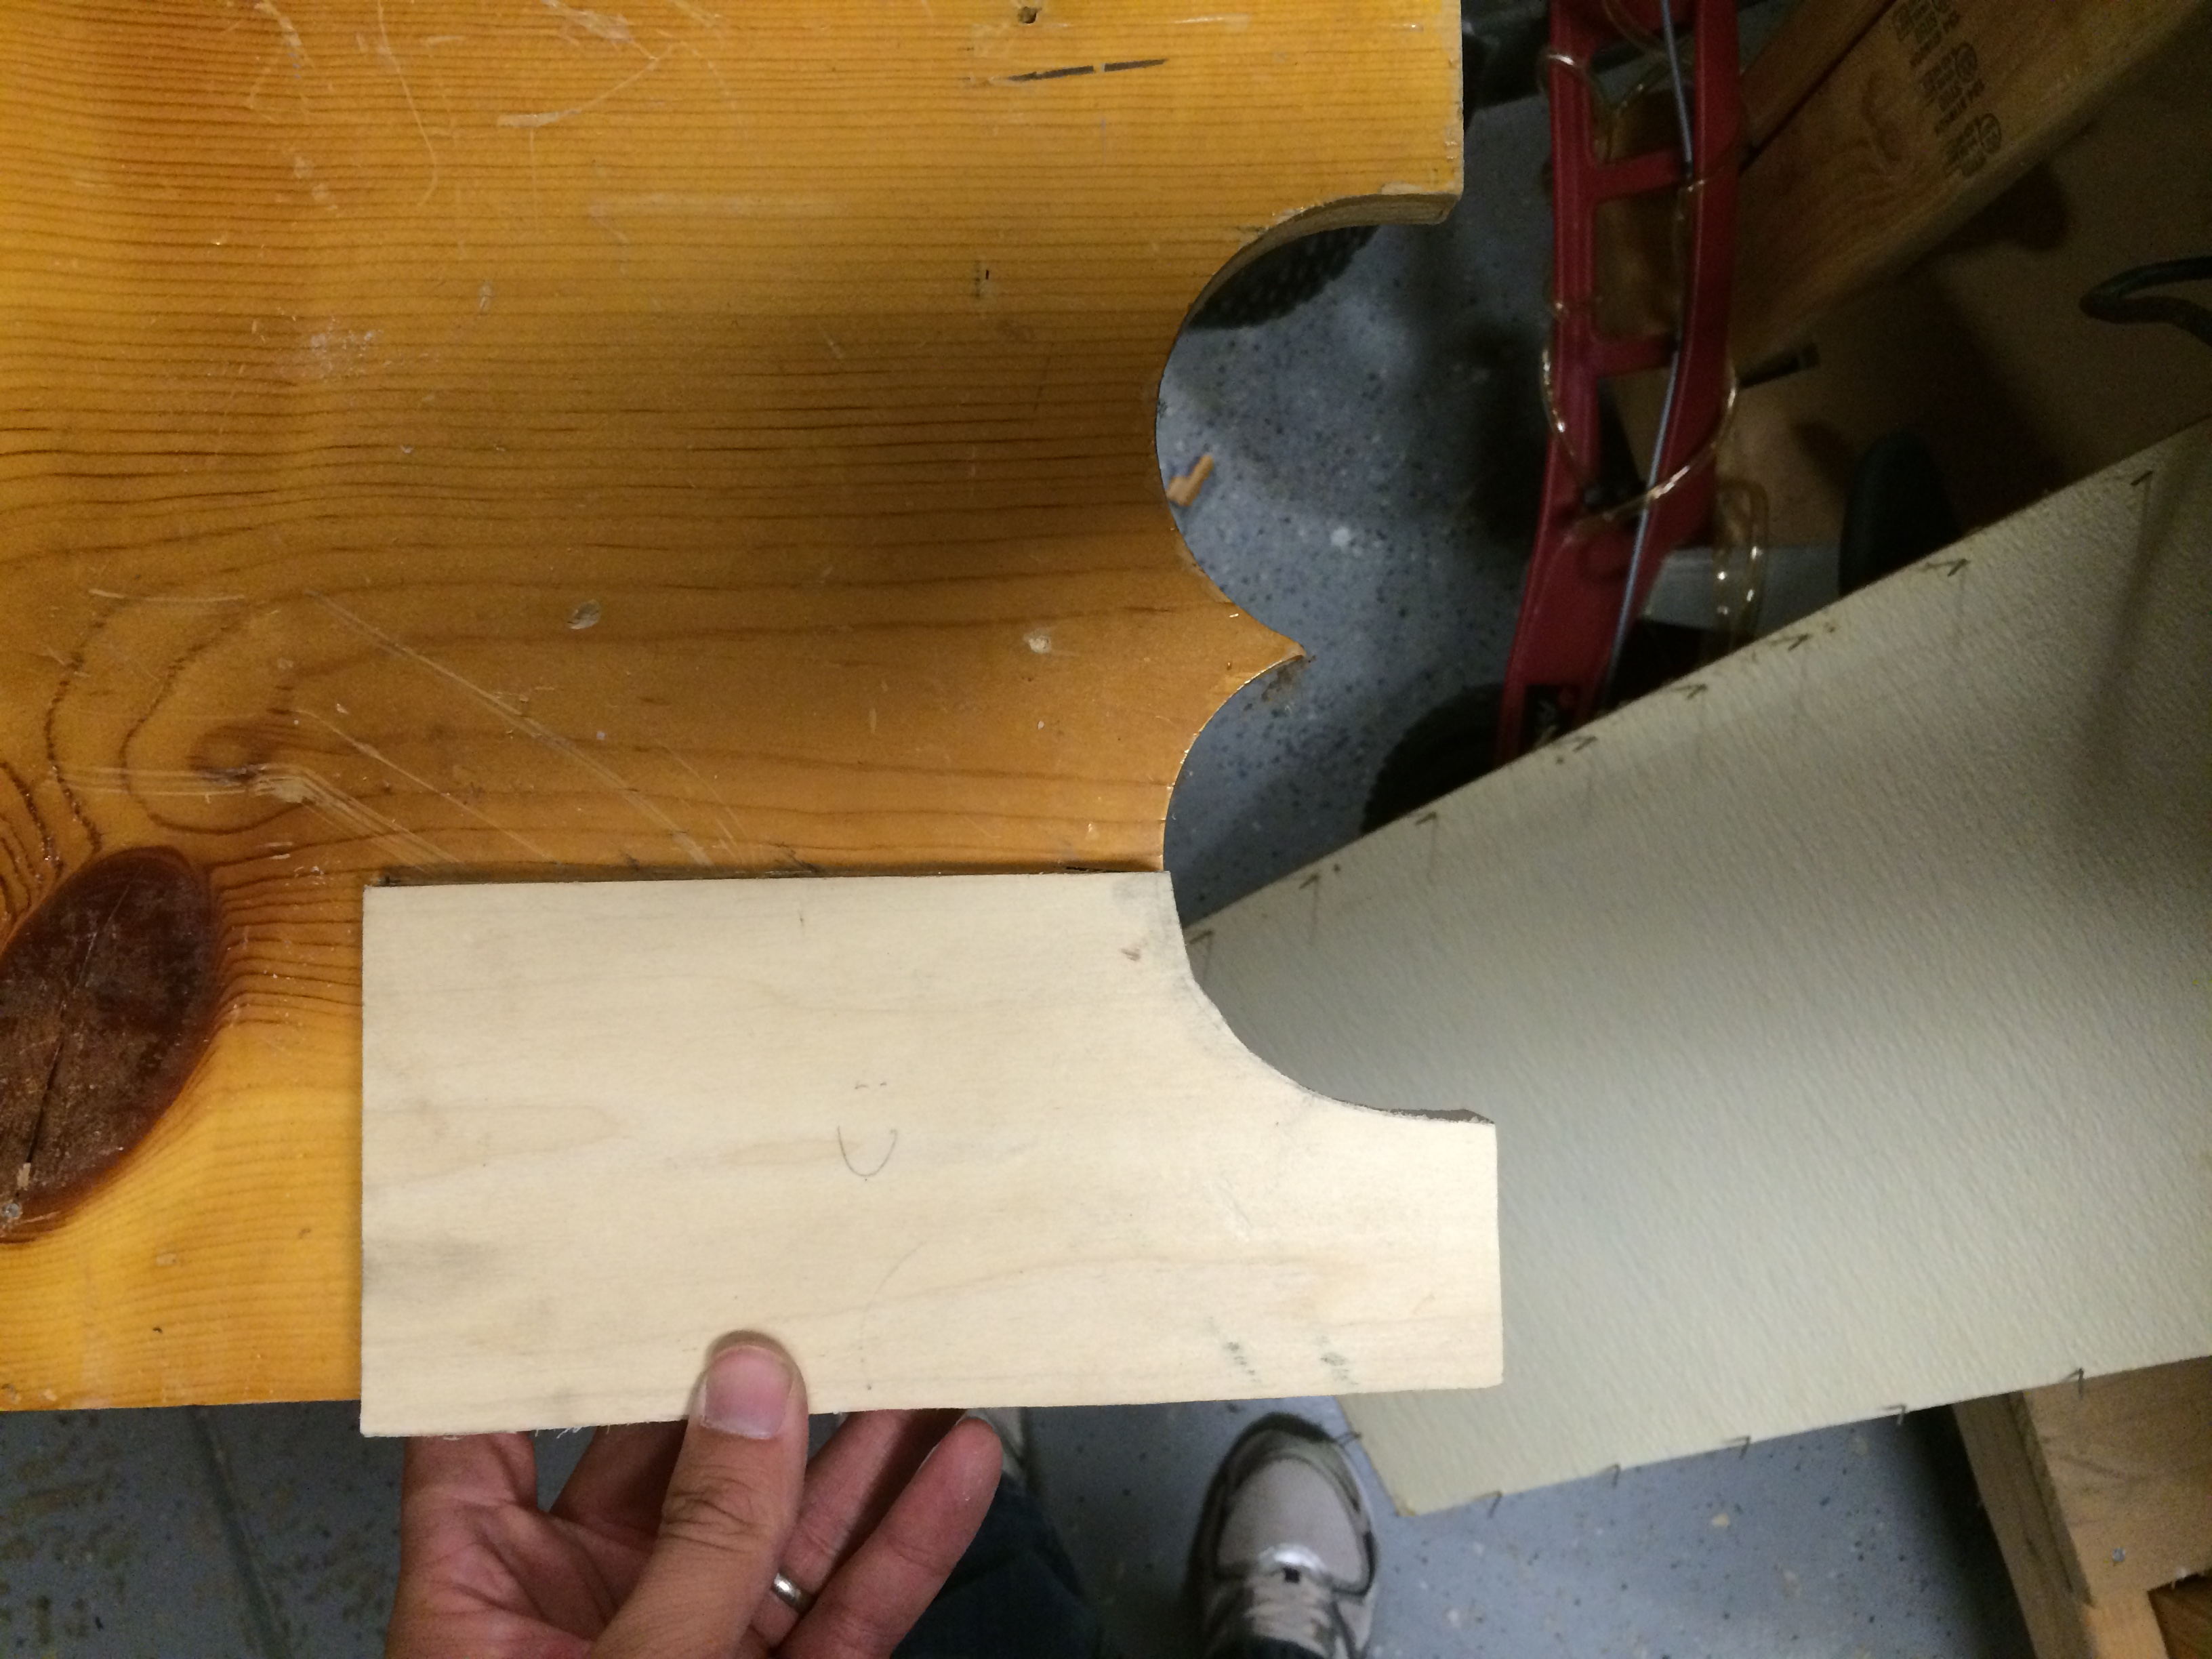
I used the leg on the other side to trace a template onto the new wood.

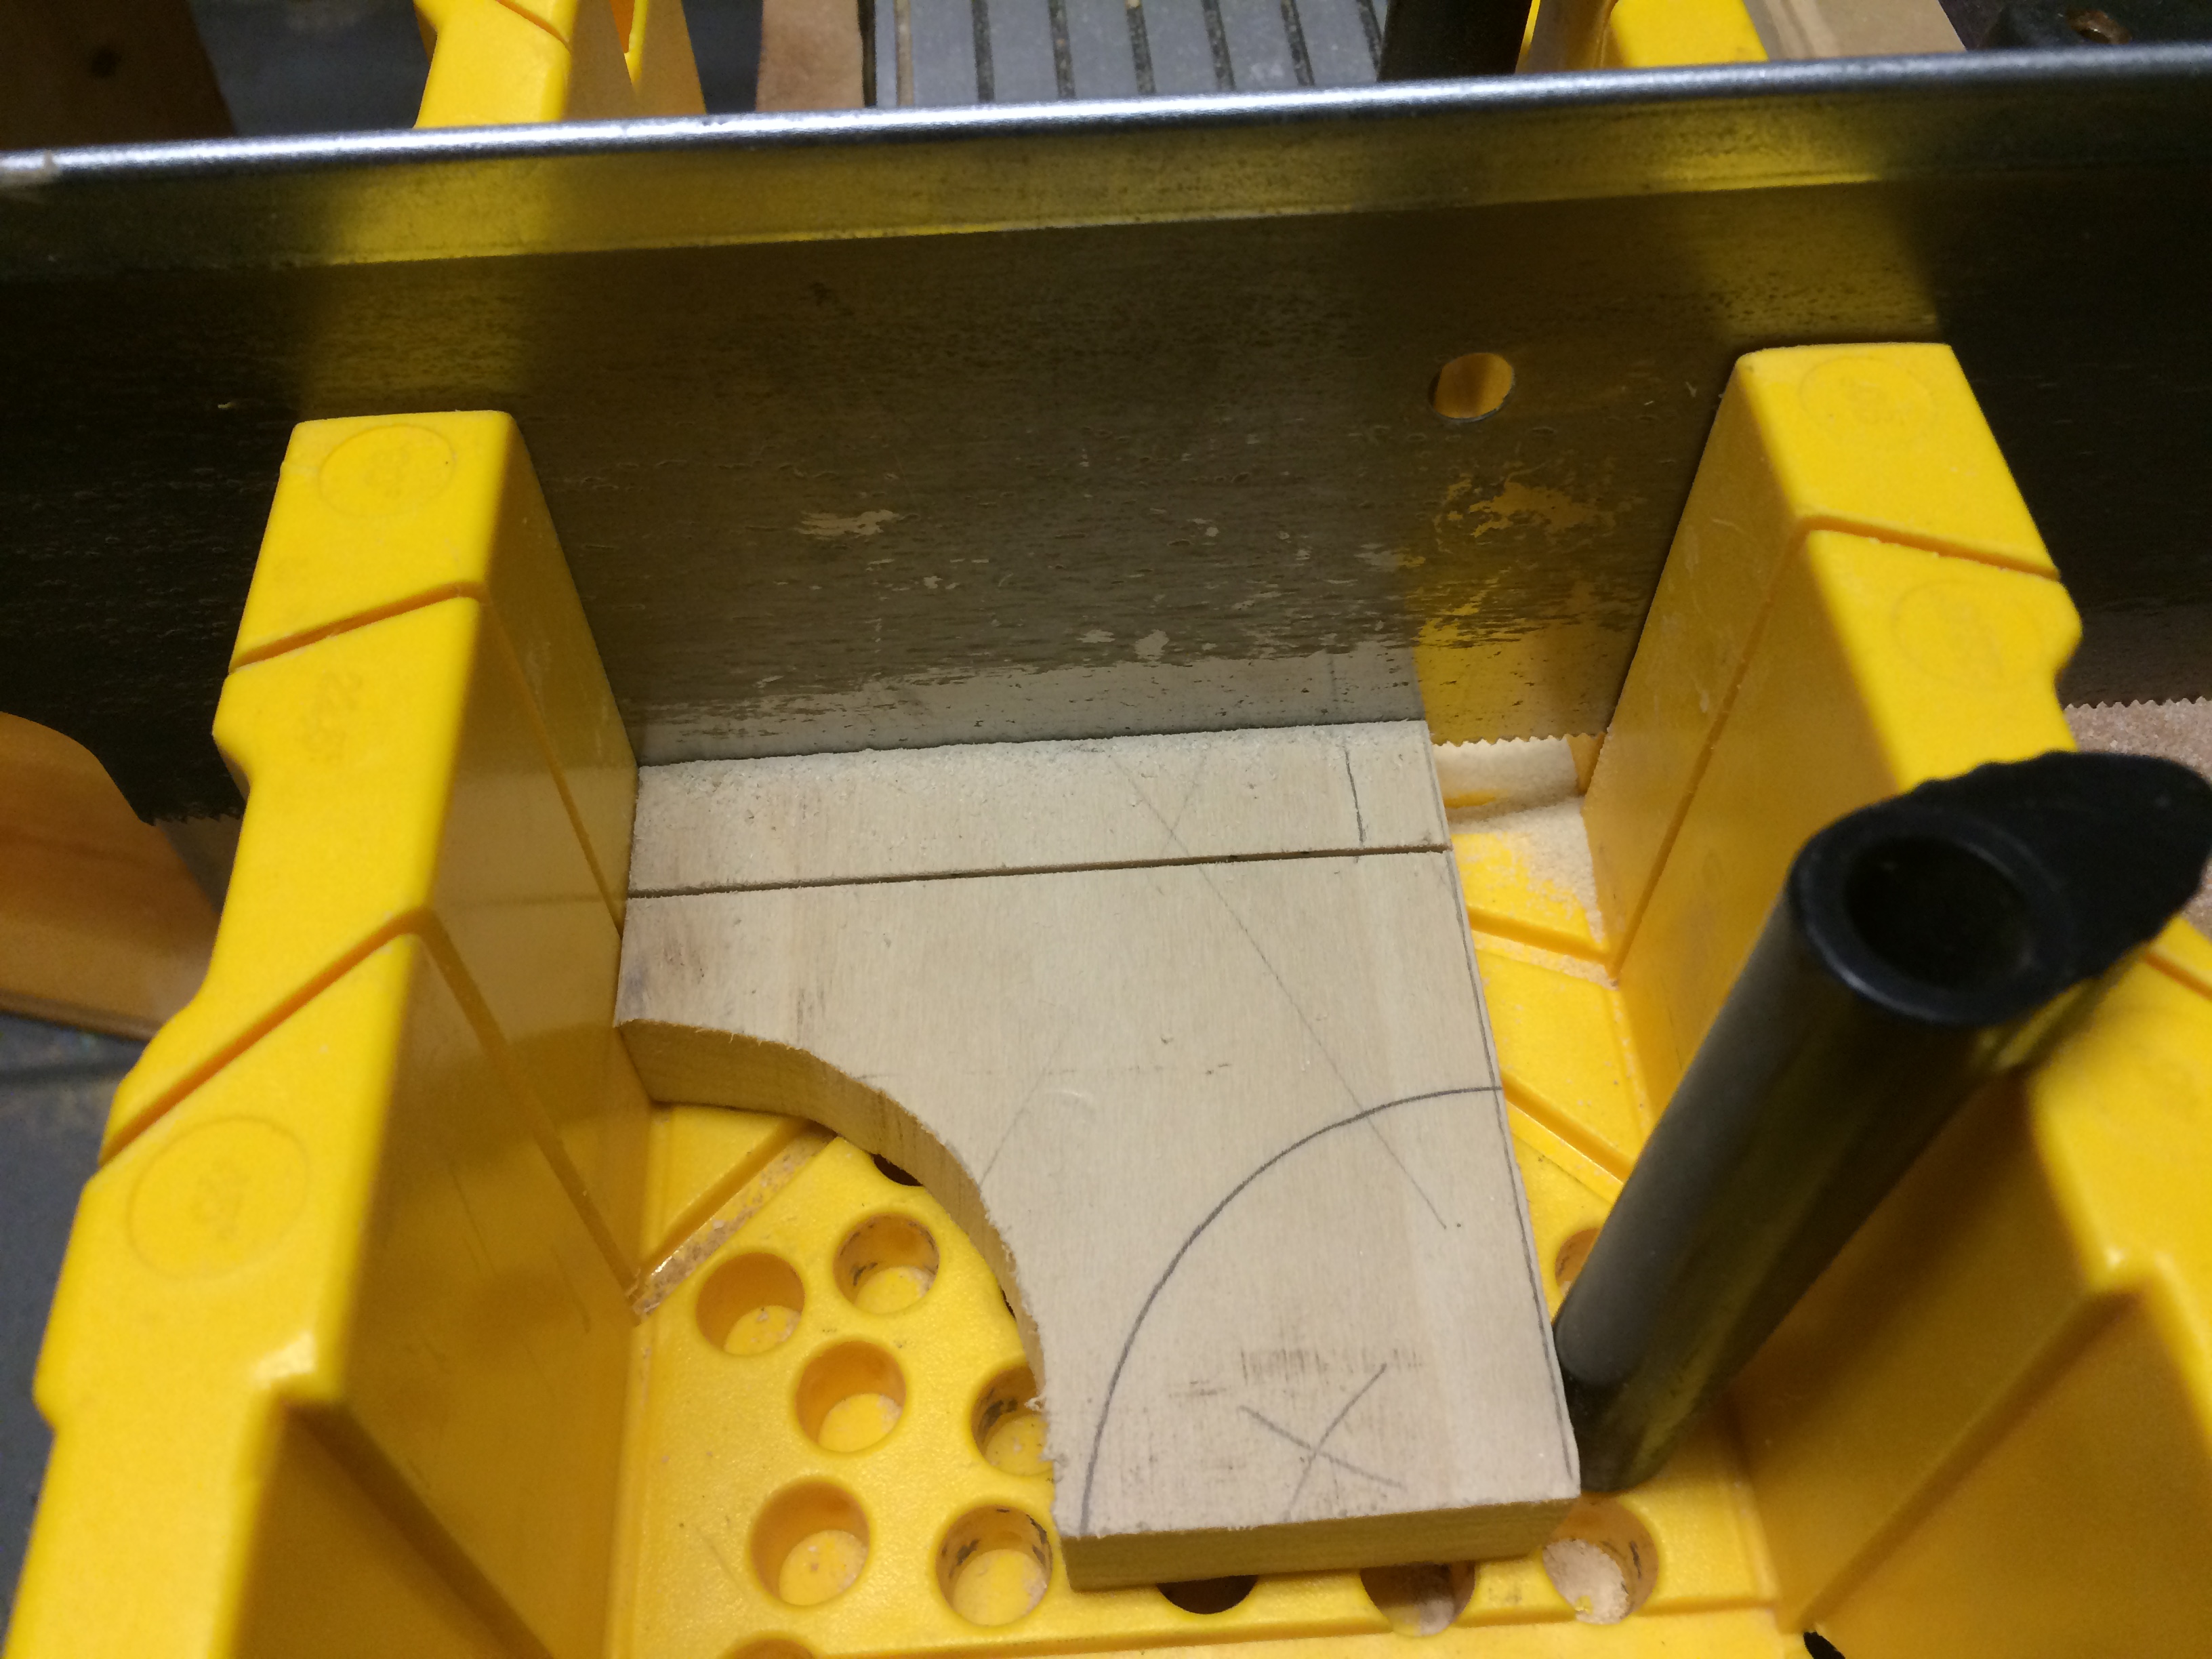
A handsaw and a coping saw took care of the cuts.
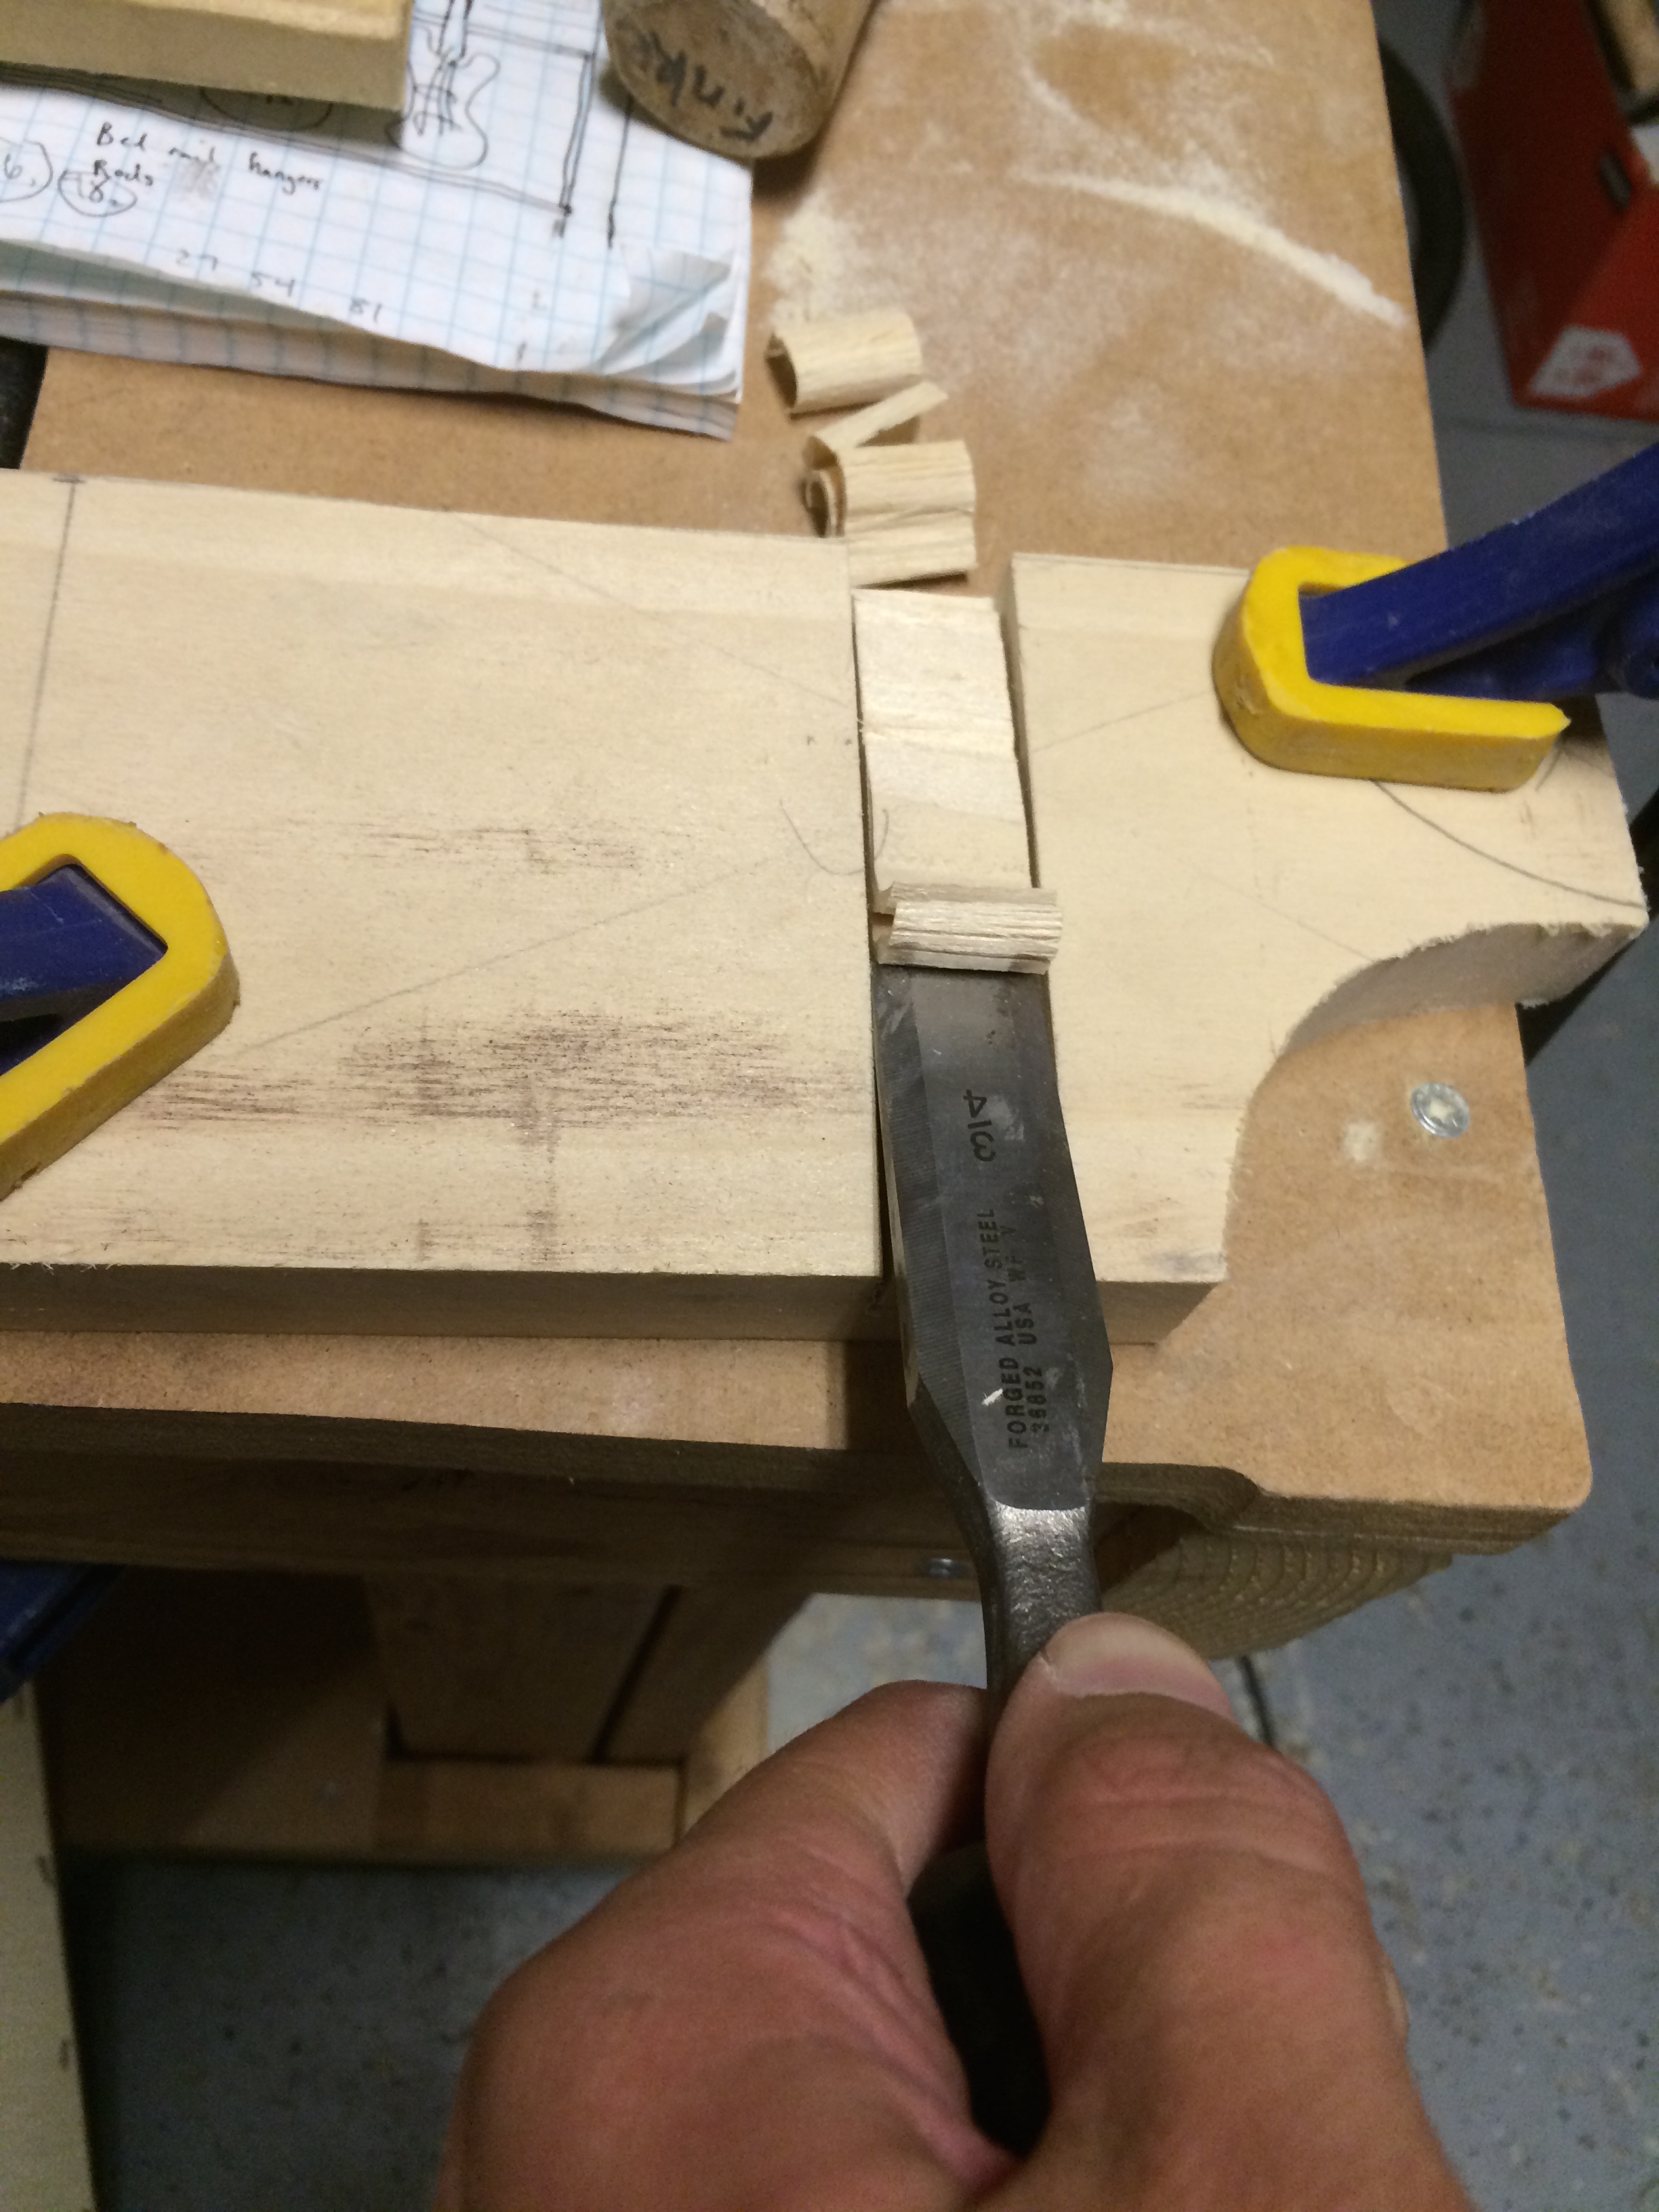
The bottom shelf sits inside a dado, so I had to add that to the new piece.
I hand-cut the dado because my table saw was covered in boxes, since I was reorganizing the garage during this project.

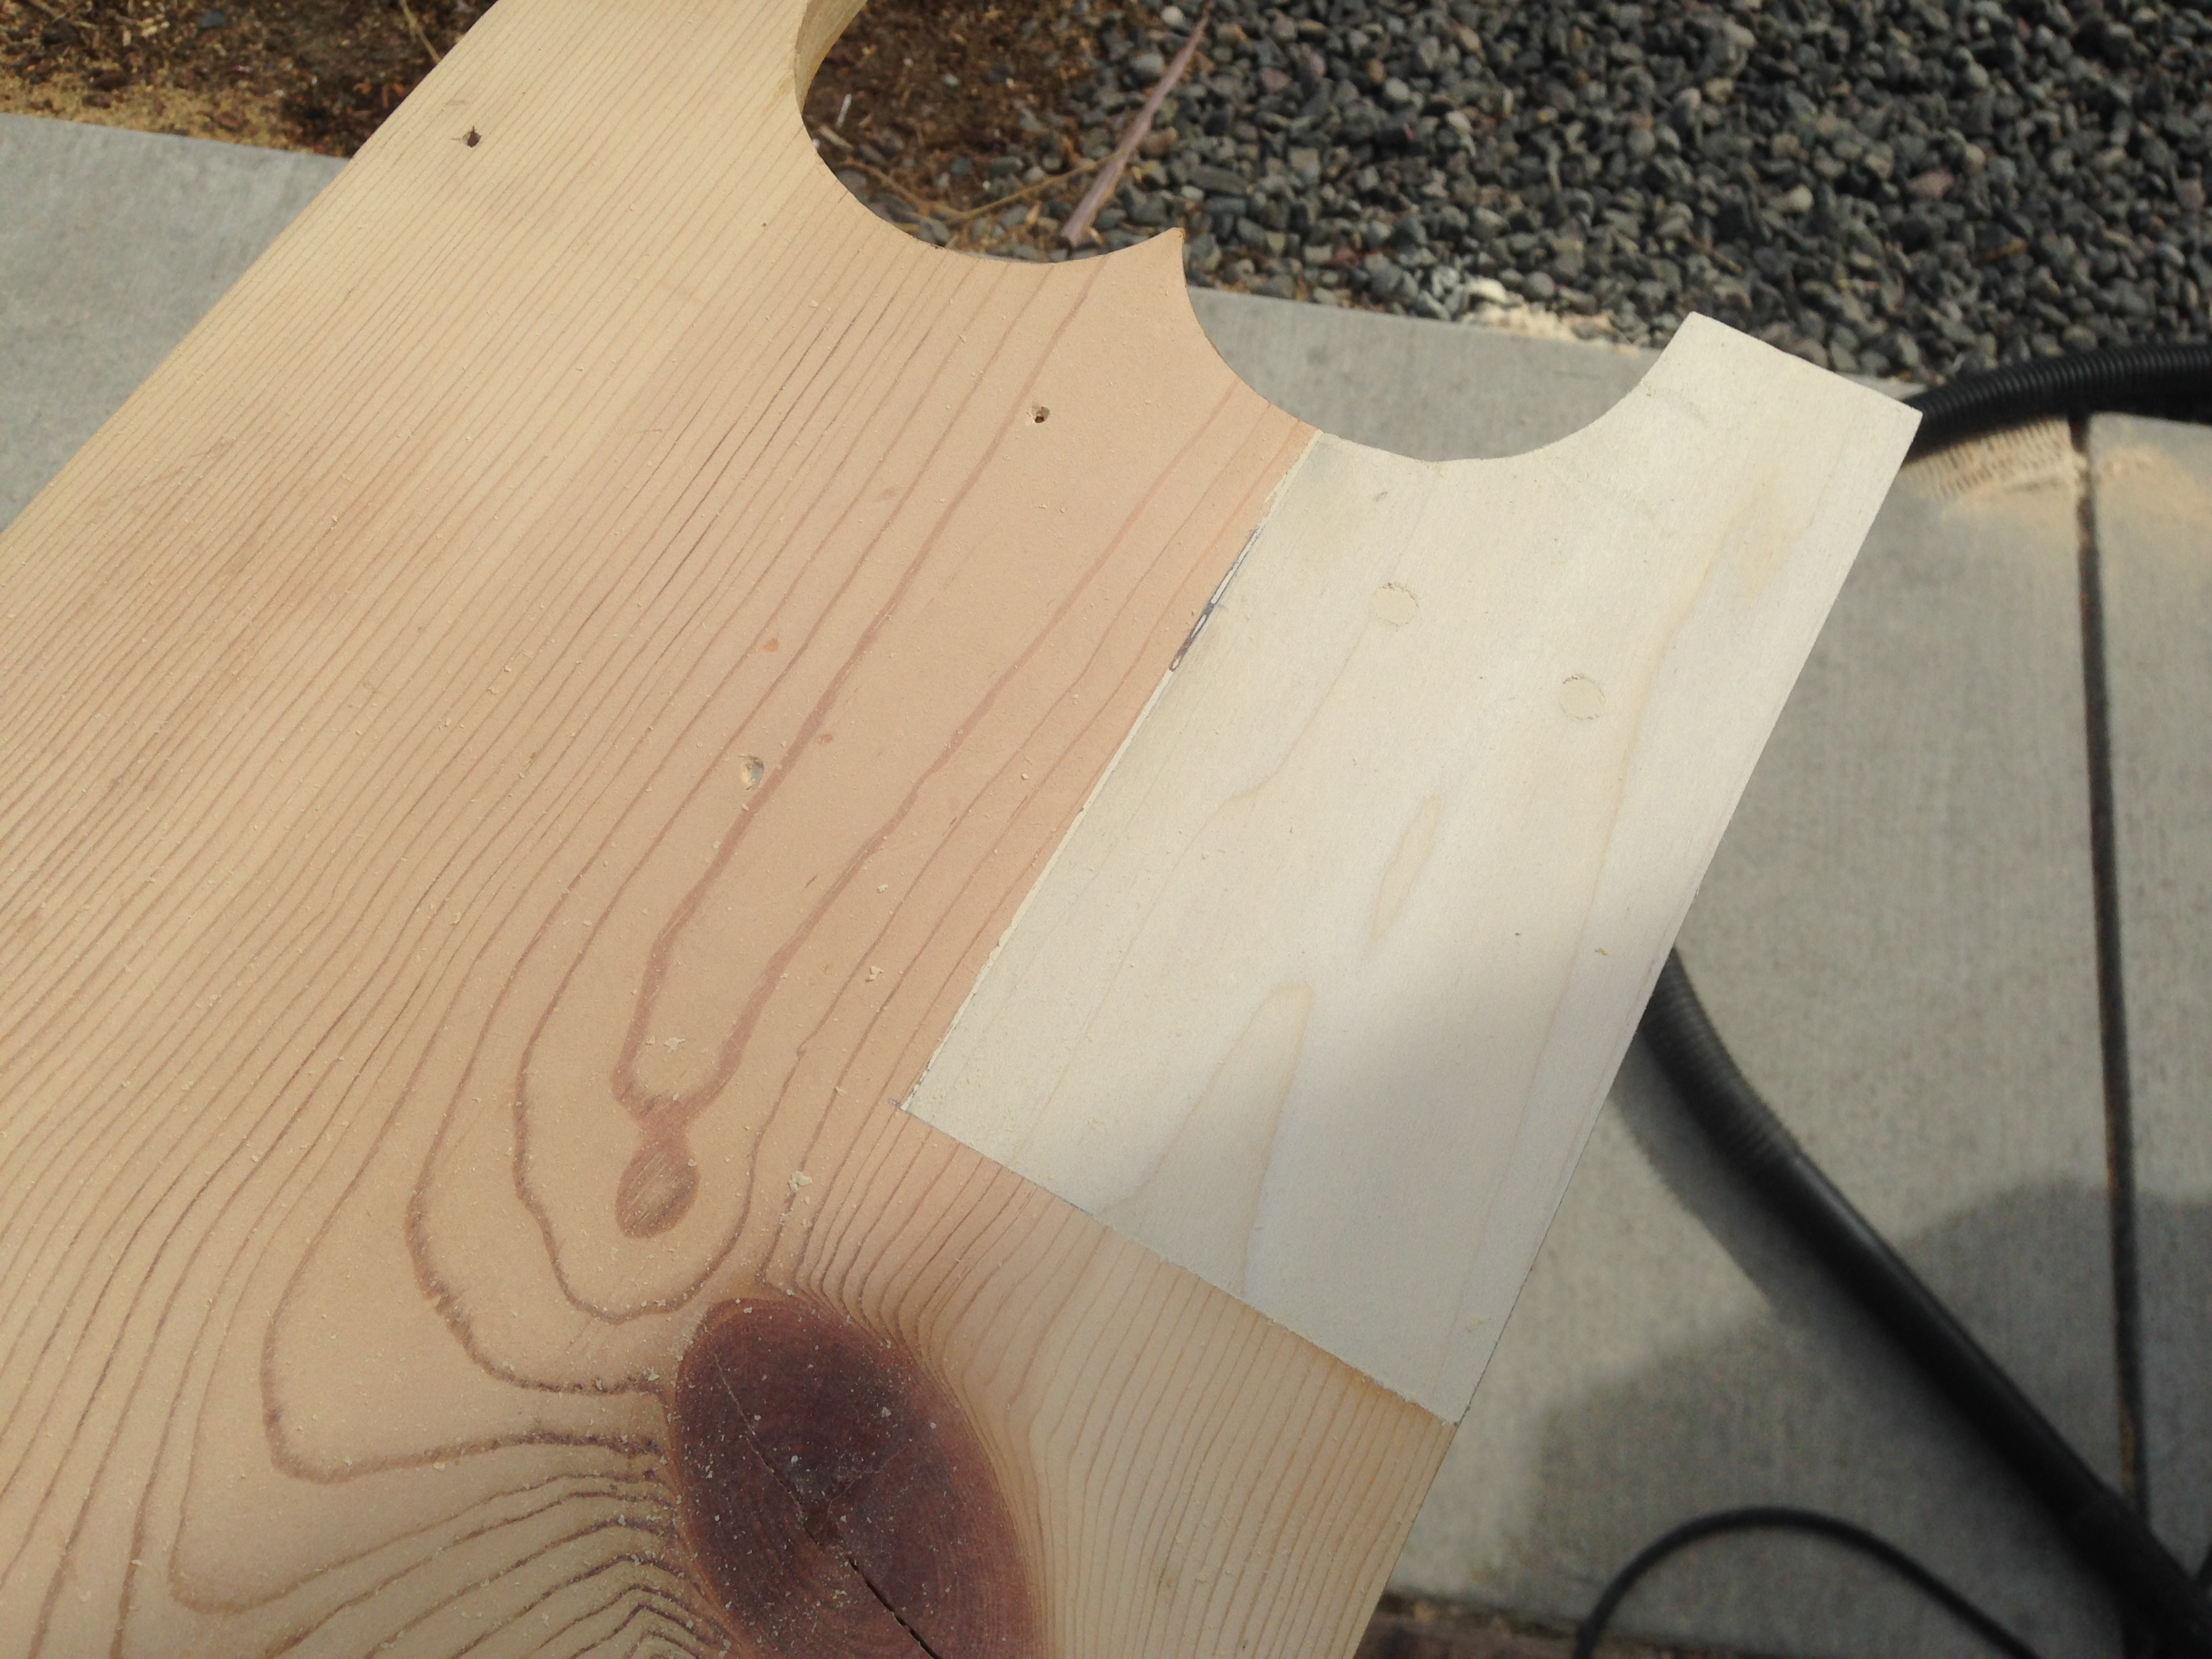
You can hardly tell where the new wood starts and the old wood ends!
Copious amounts of wood filler took care of the screw holes and the gaps between the two pieces.
After sanding, it was all smooth and continuous.
I took the top panel off of the back too because it was water-damaged, and since I was going to replace the bottom panel, I could just replace them both with a single sheet of plywood.
I sanded the entire hutch until the finish was gone. This is my least favorite part of any refinishing project.
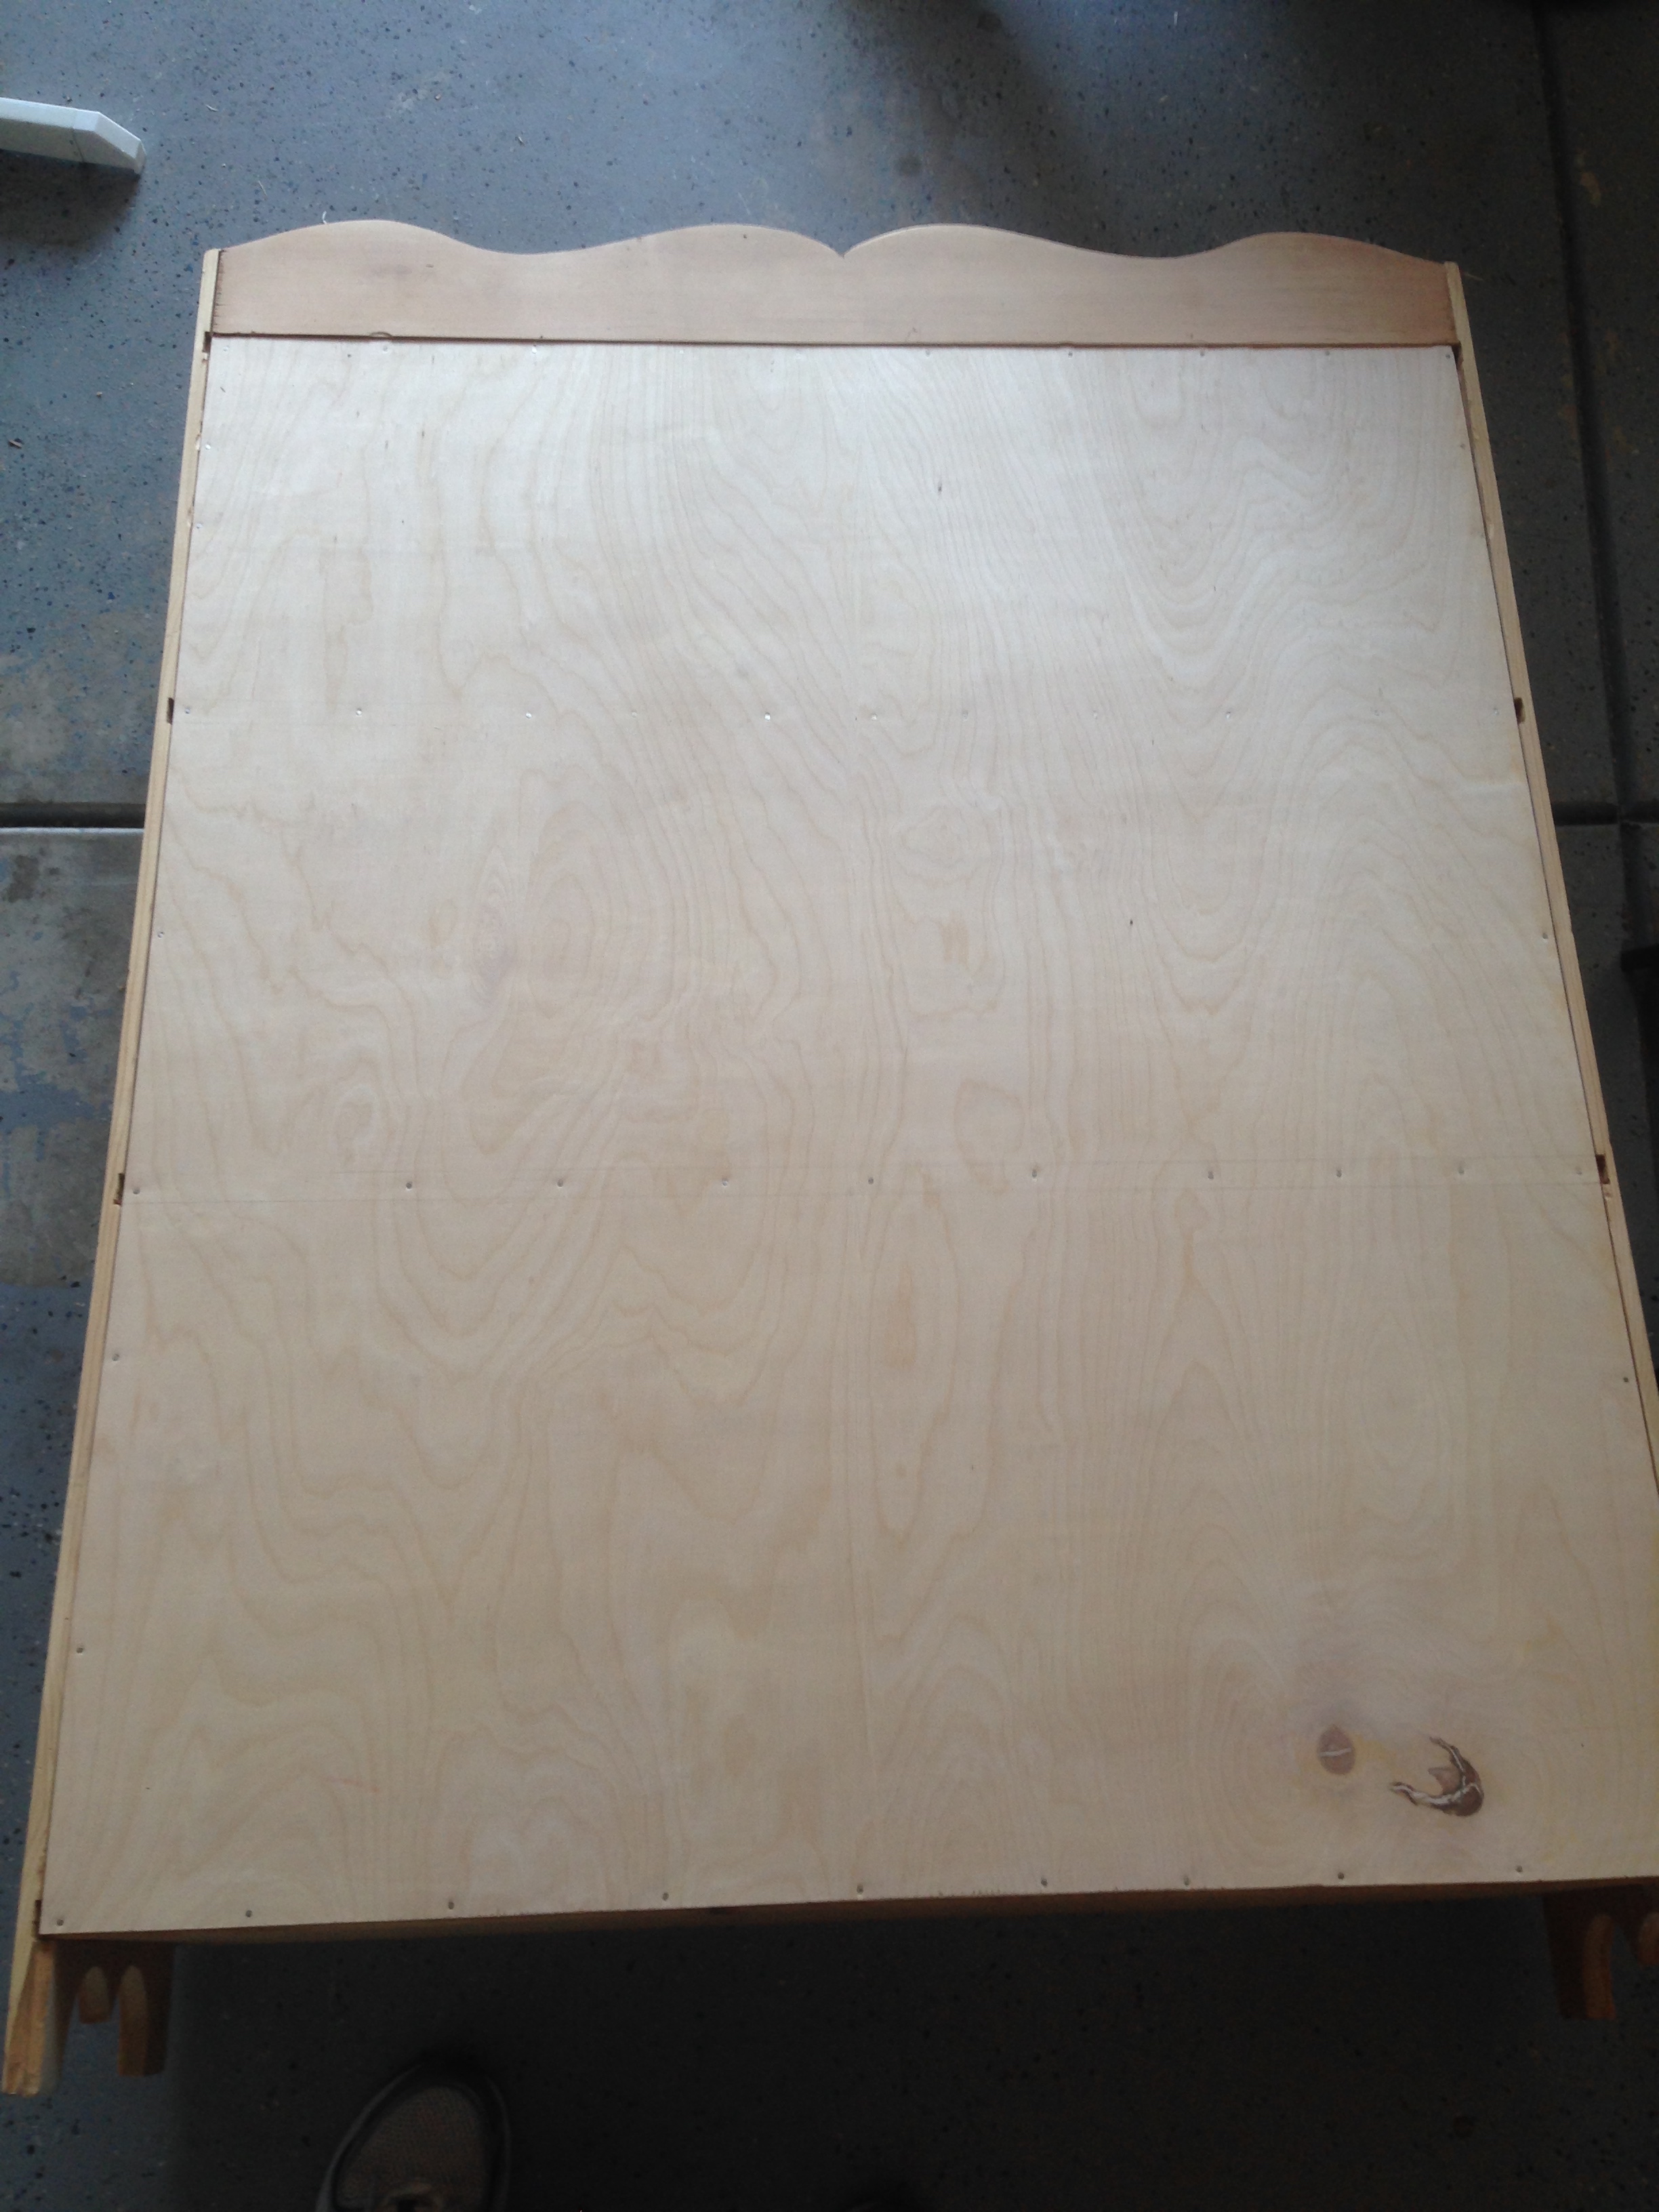
The new birch plywood back panel.
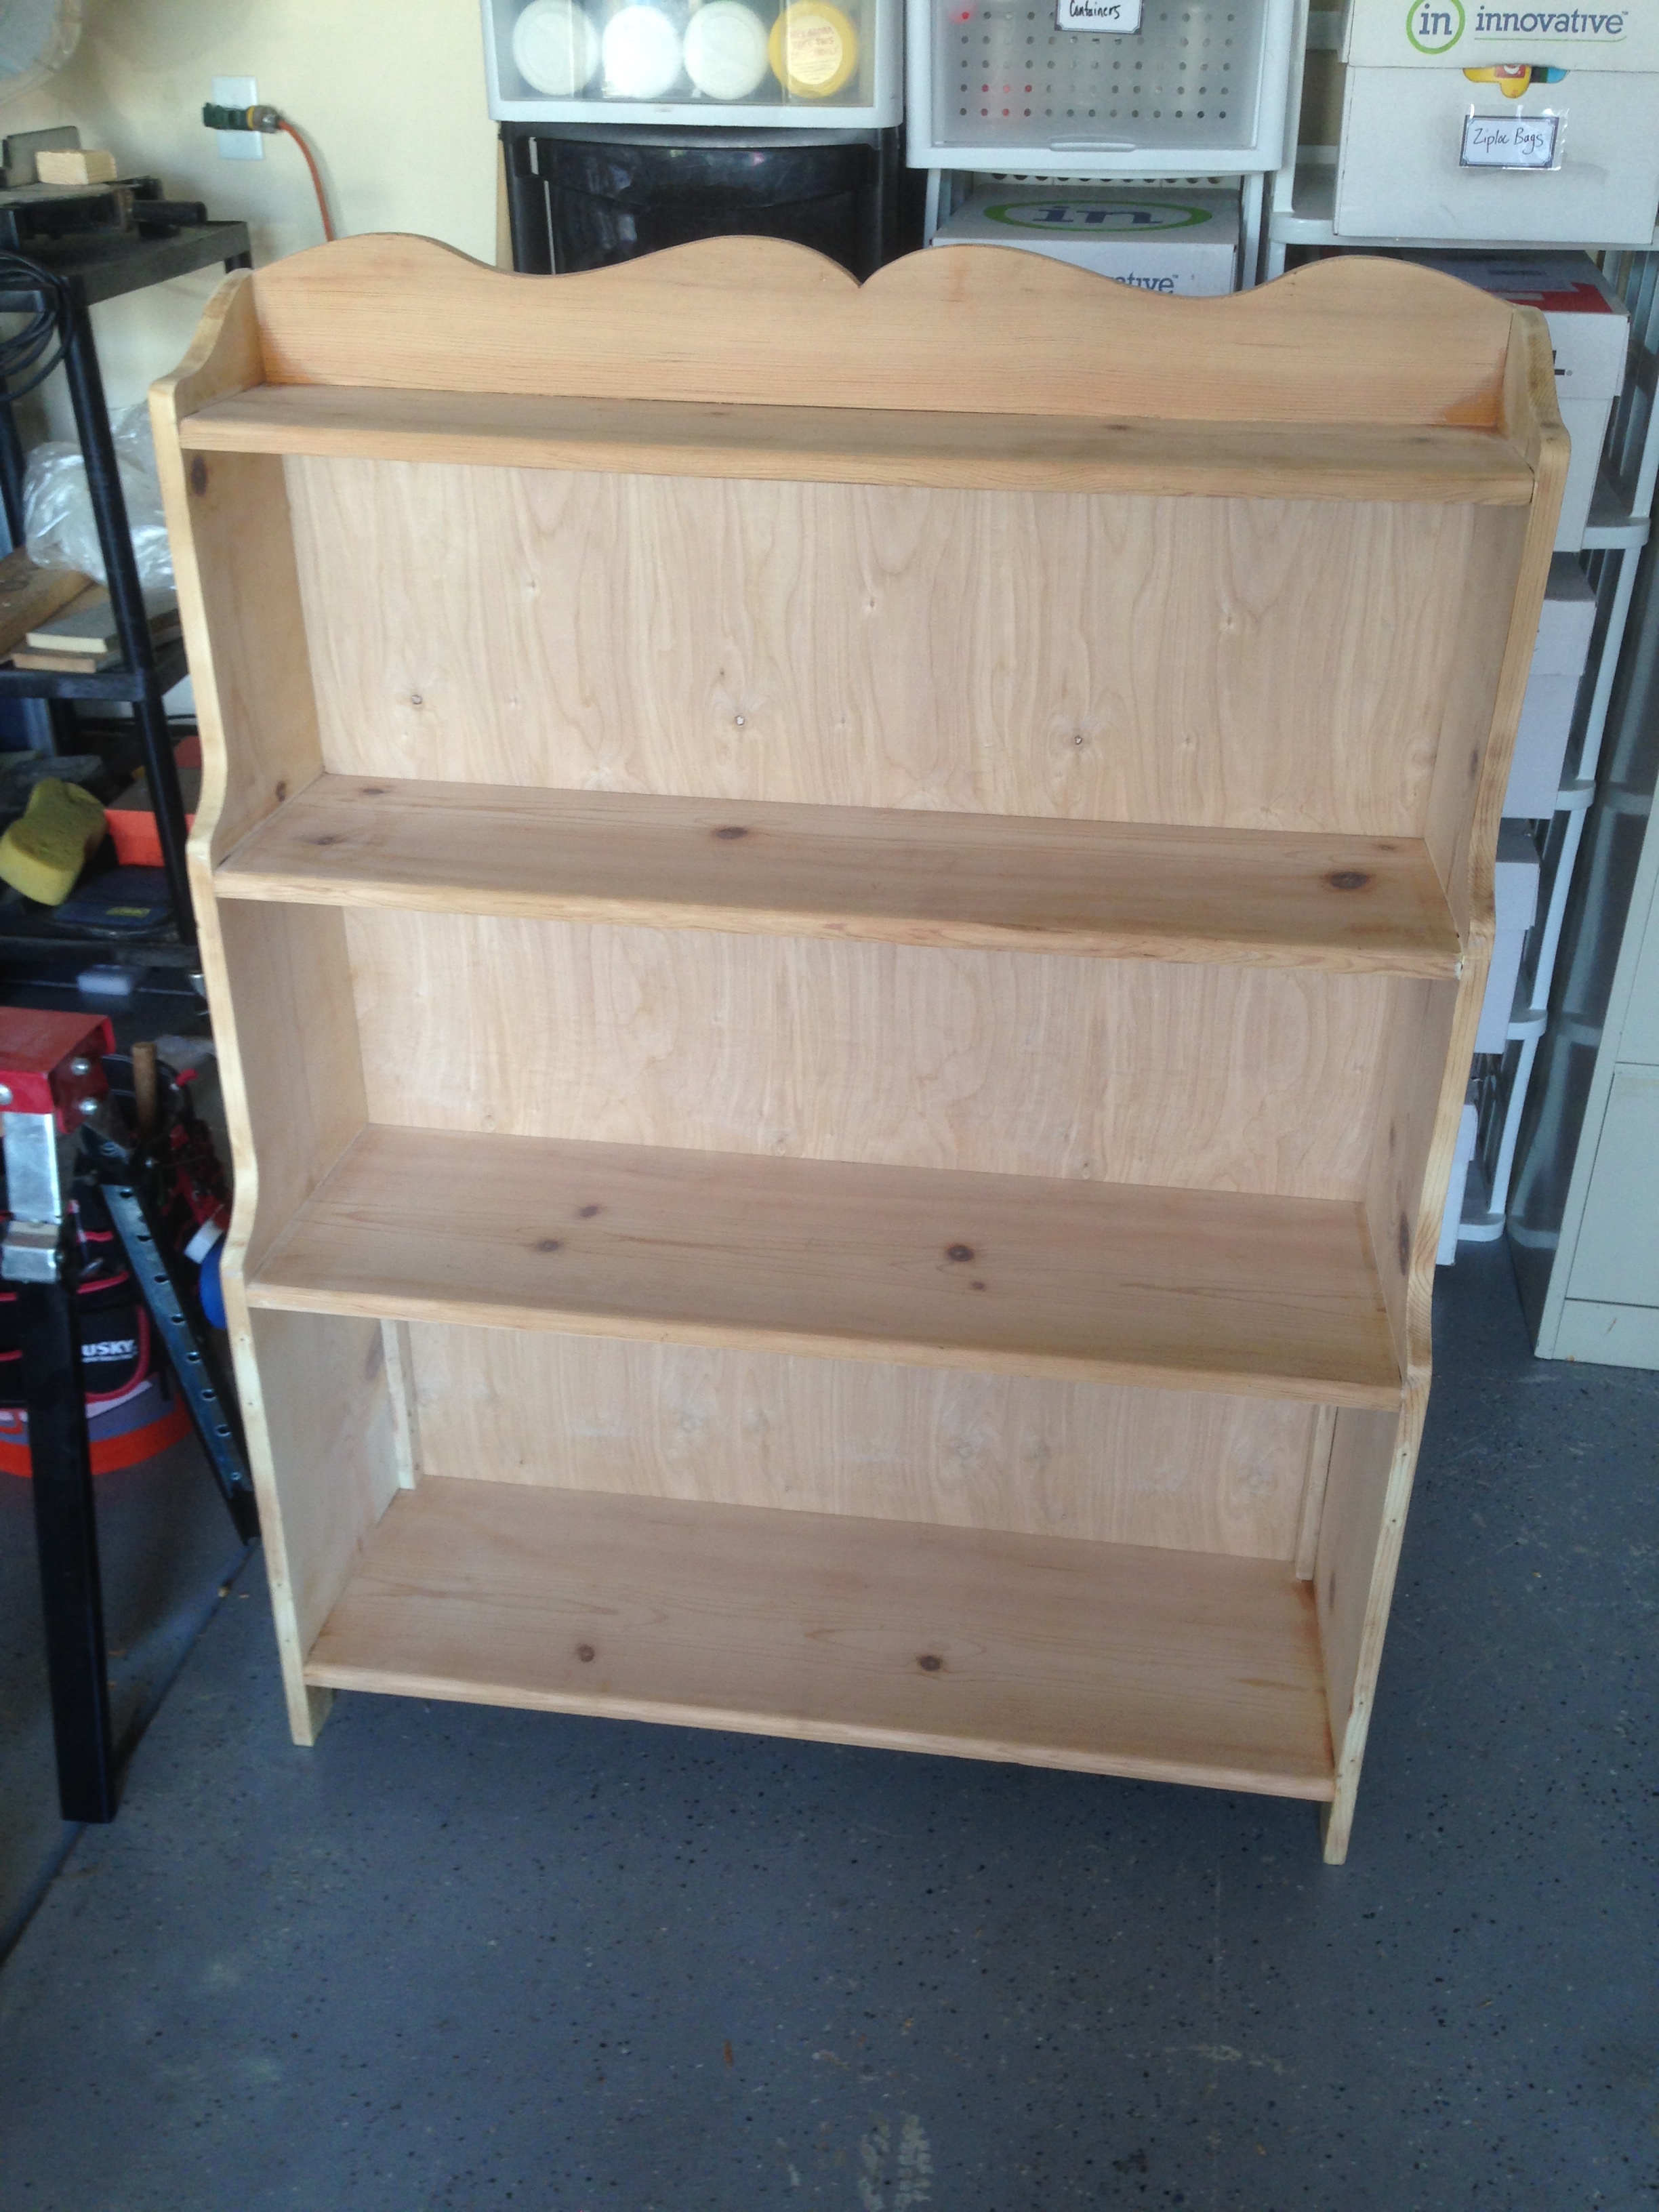
Ready for paint. Oh no, paint? Yes paint. I wouldn’t have used non-matching wood plus wood filler if it wasn’t going to be painted anyway.
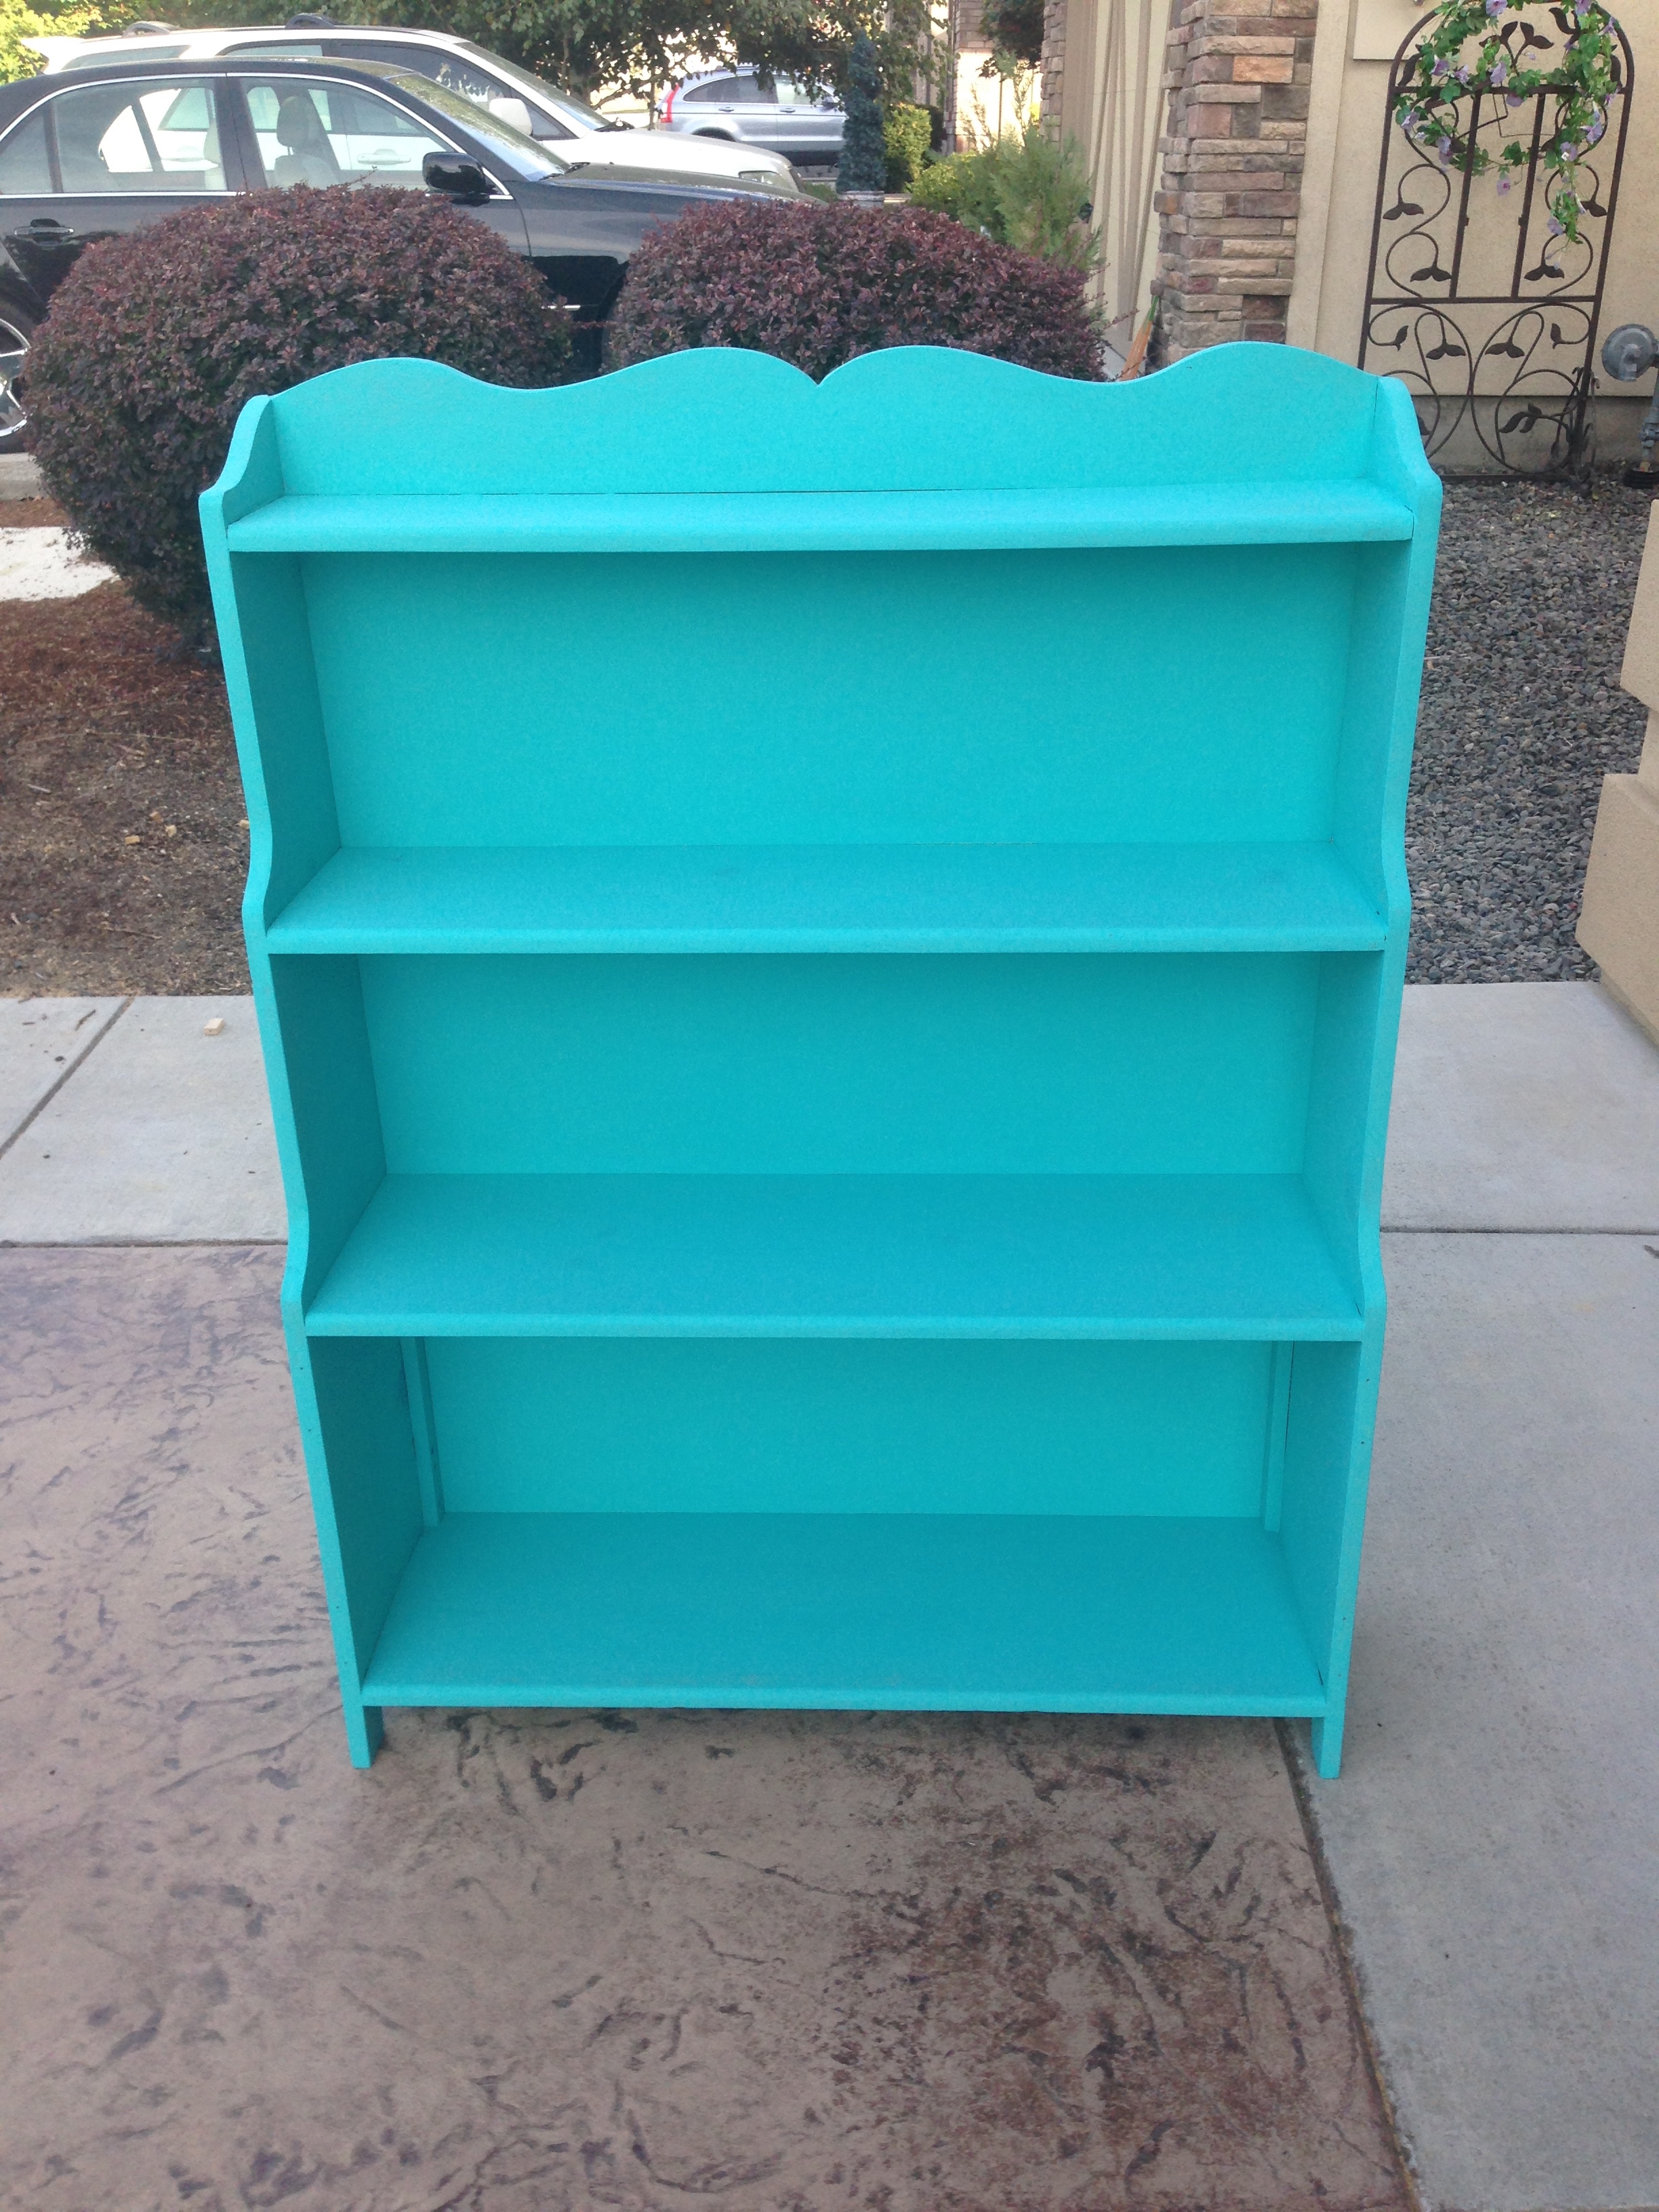
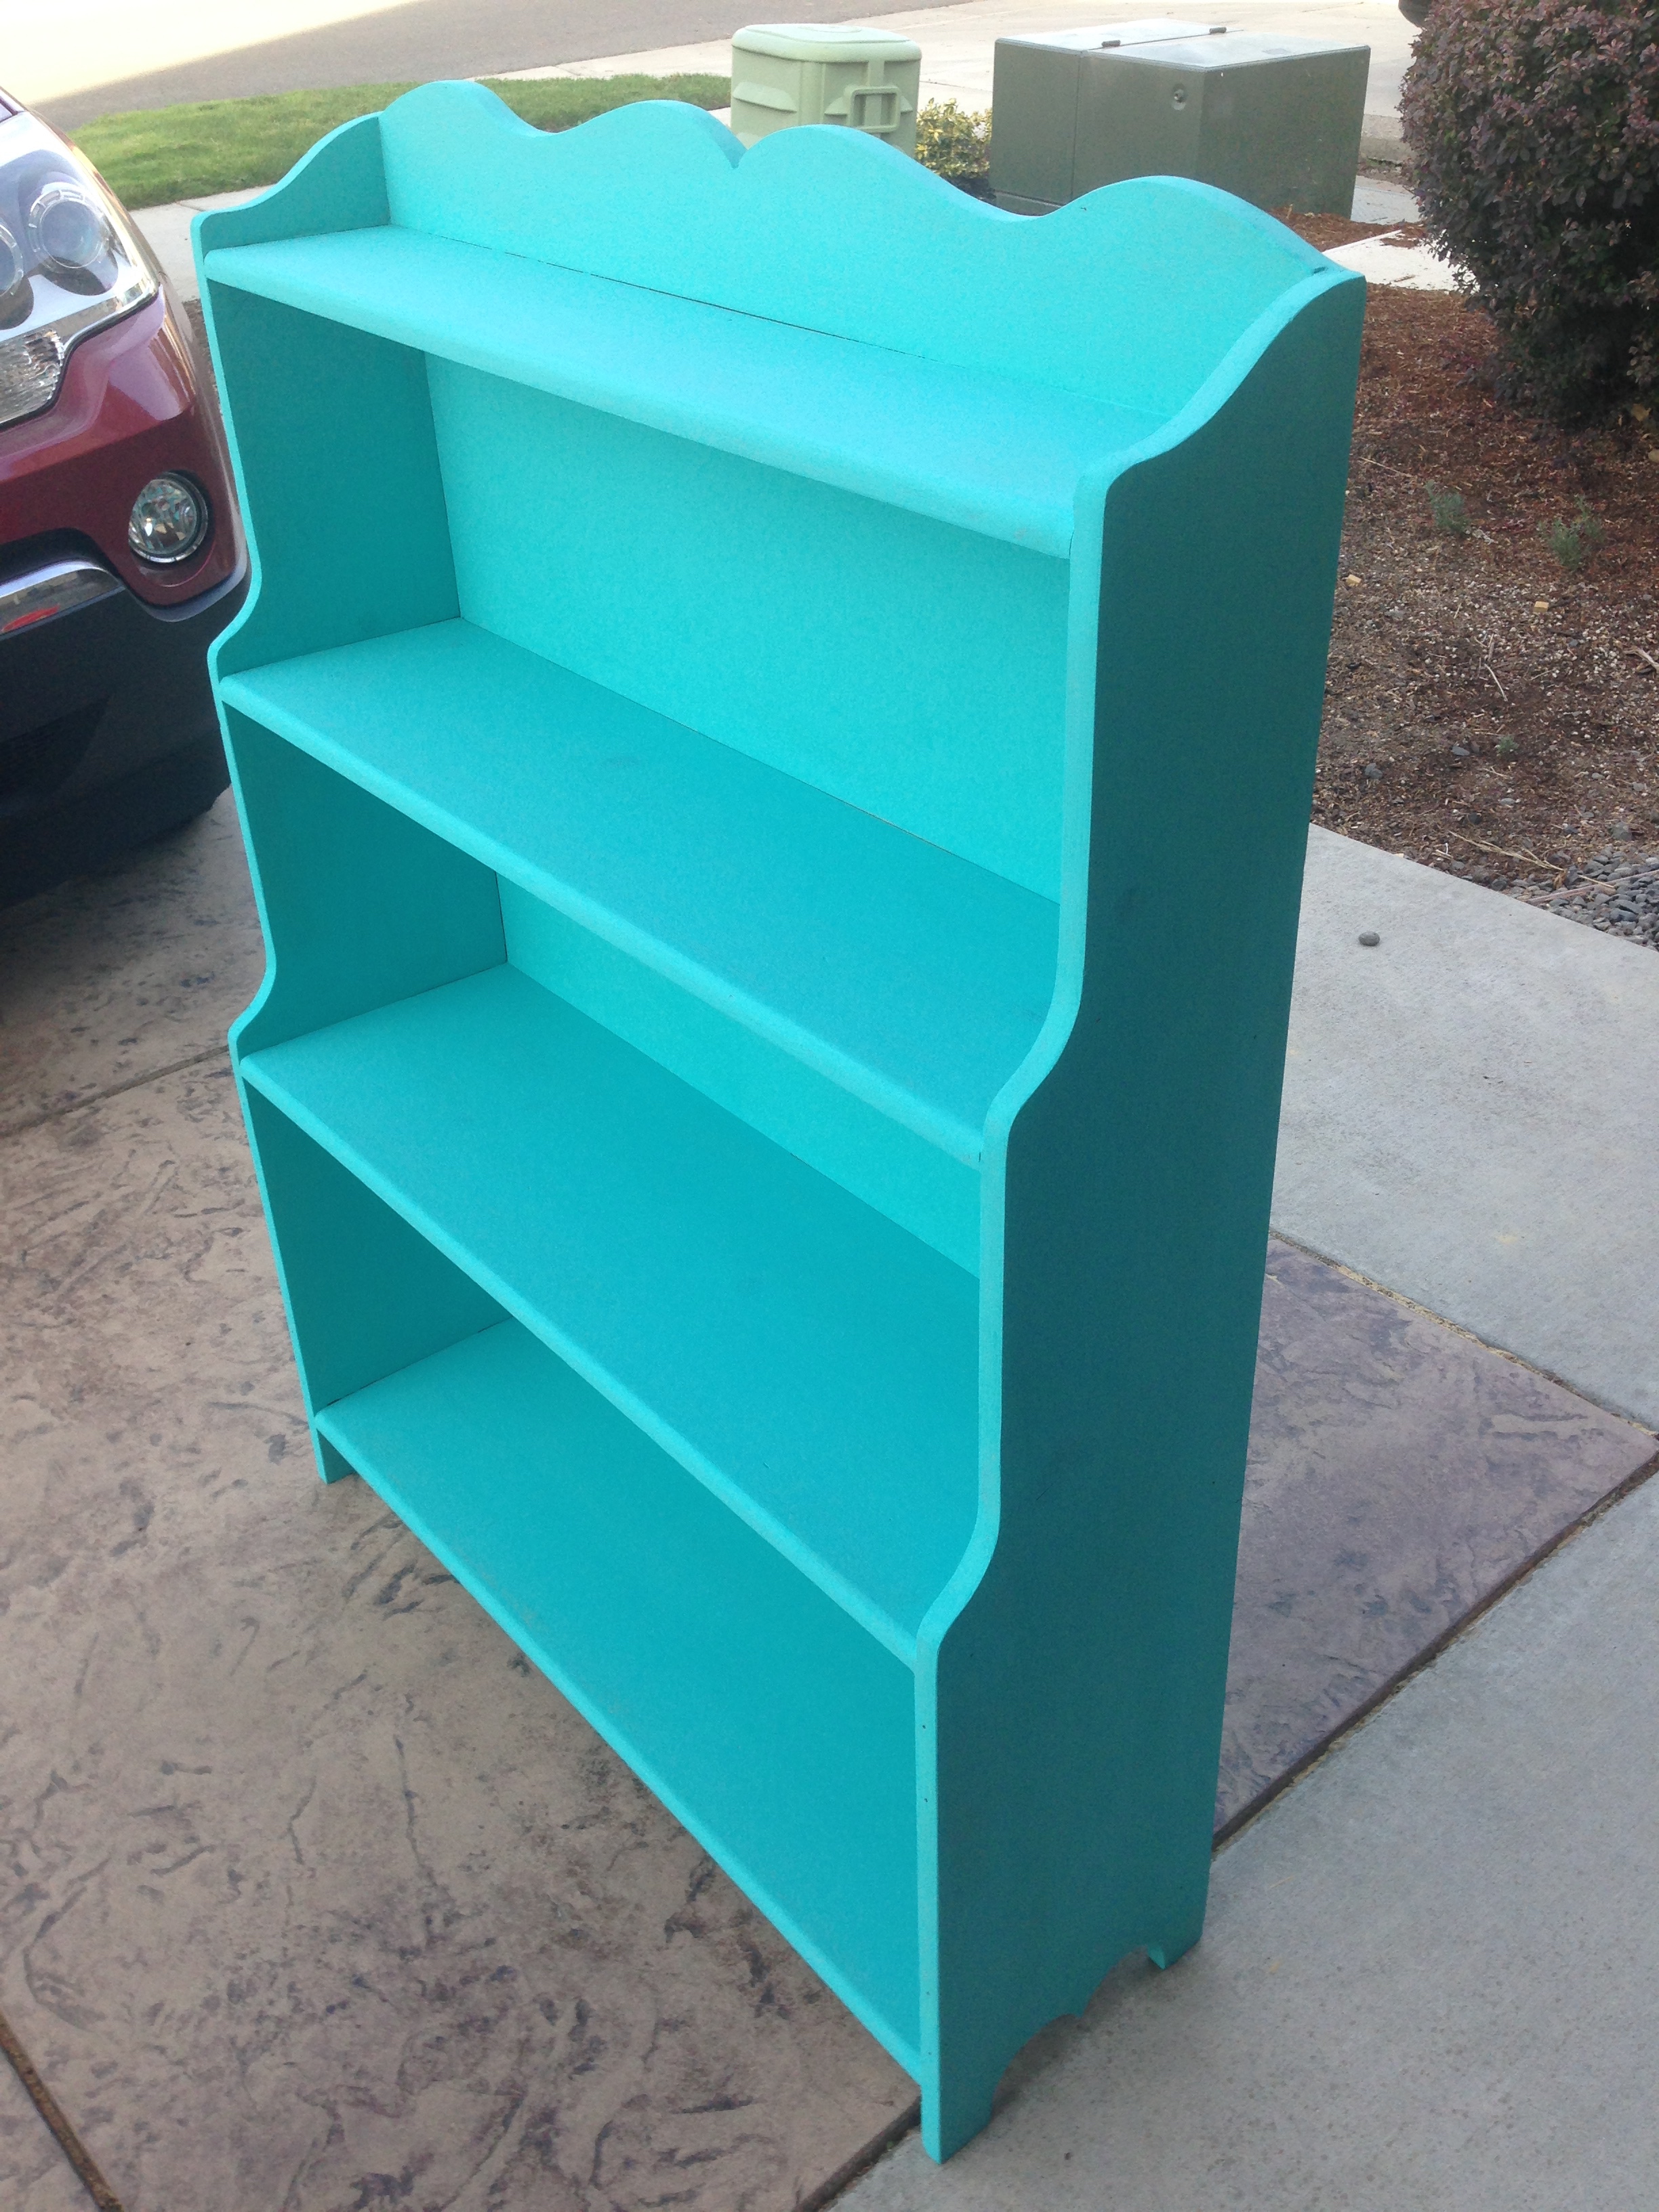
My wife says this color is popular right now. (I believe its official name is “57 Chevy Bel Air Seafoam.”) She asked that I use chalk paint to get the “old” look; this paint should wear more easily than regular paint and begin to look even more distressed as we use the hutch.
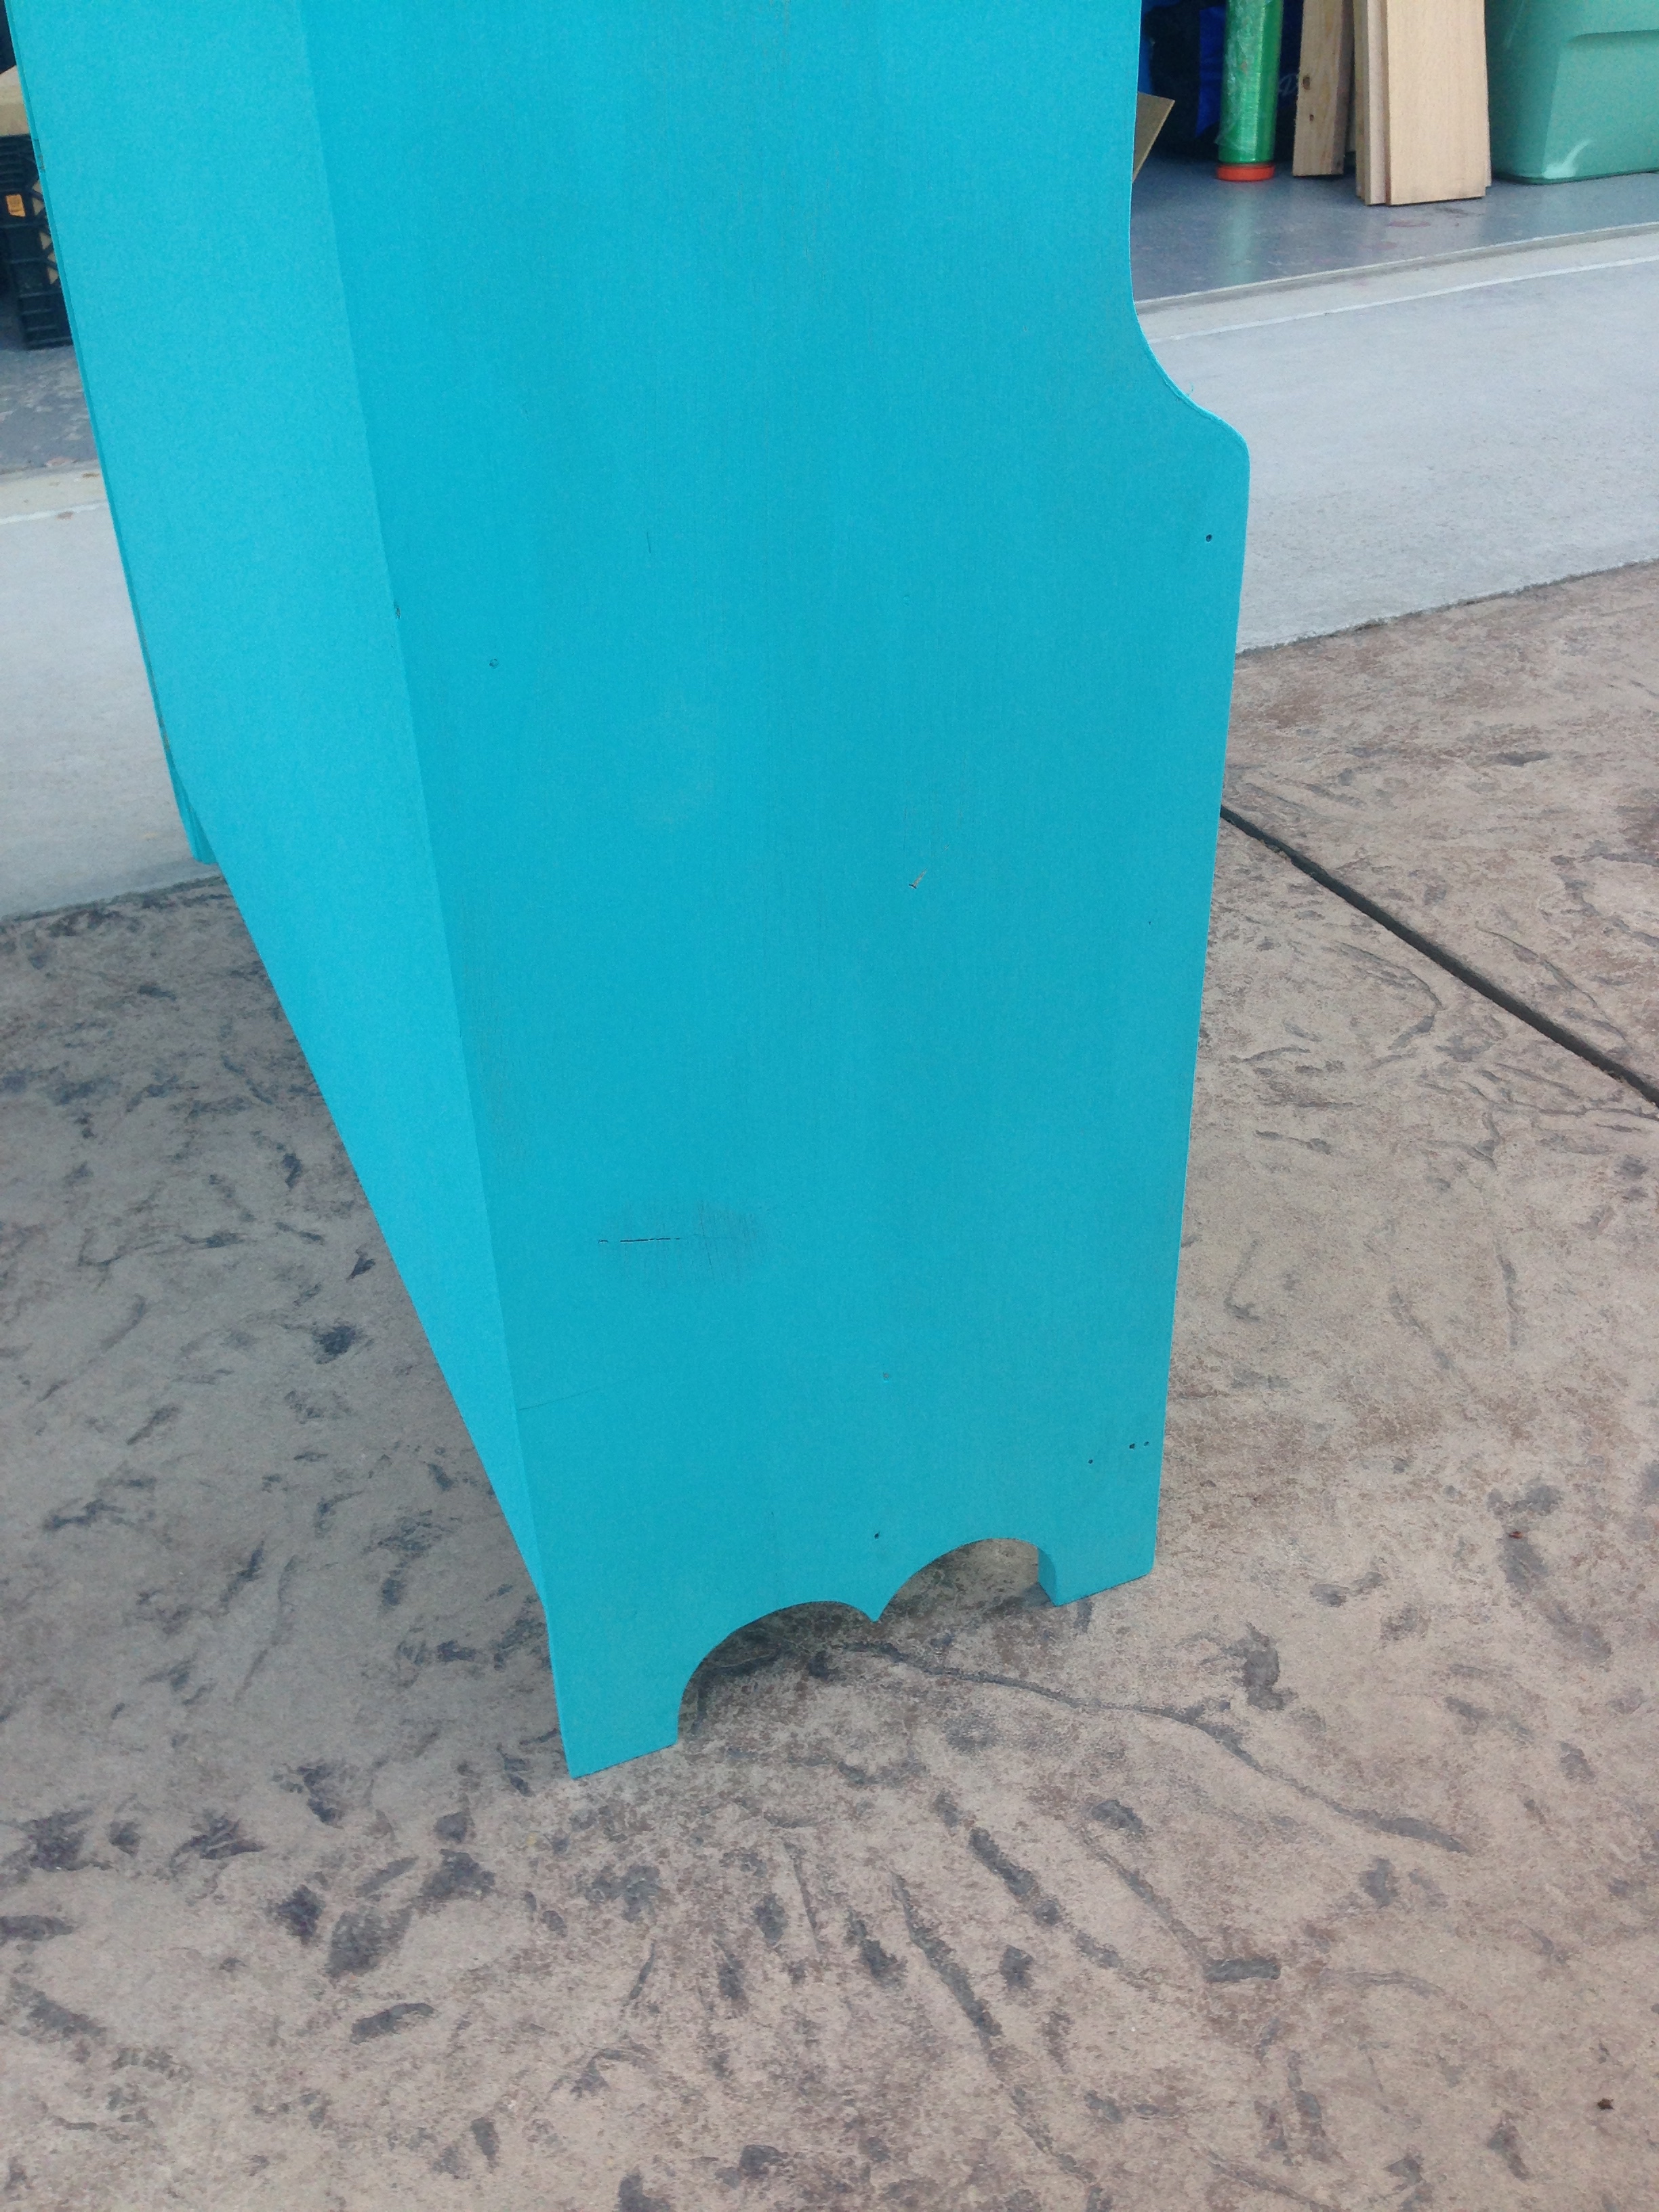
The repaired corner. Imperceptible. Undetectable.
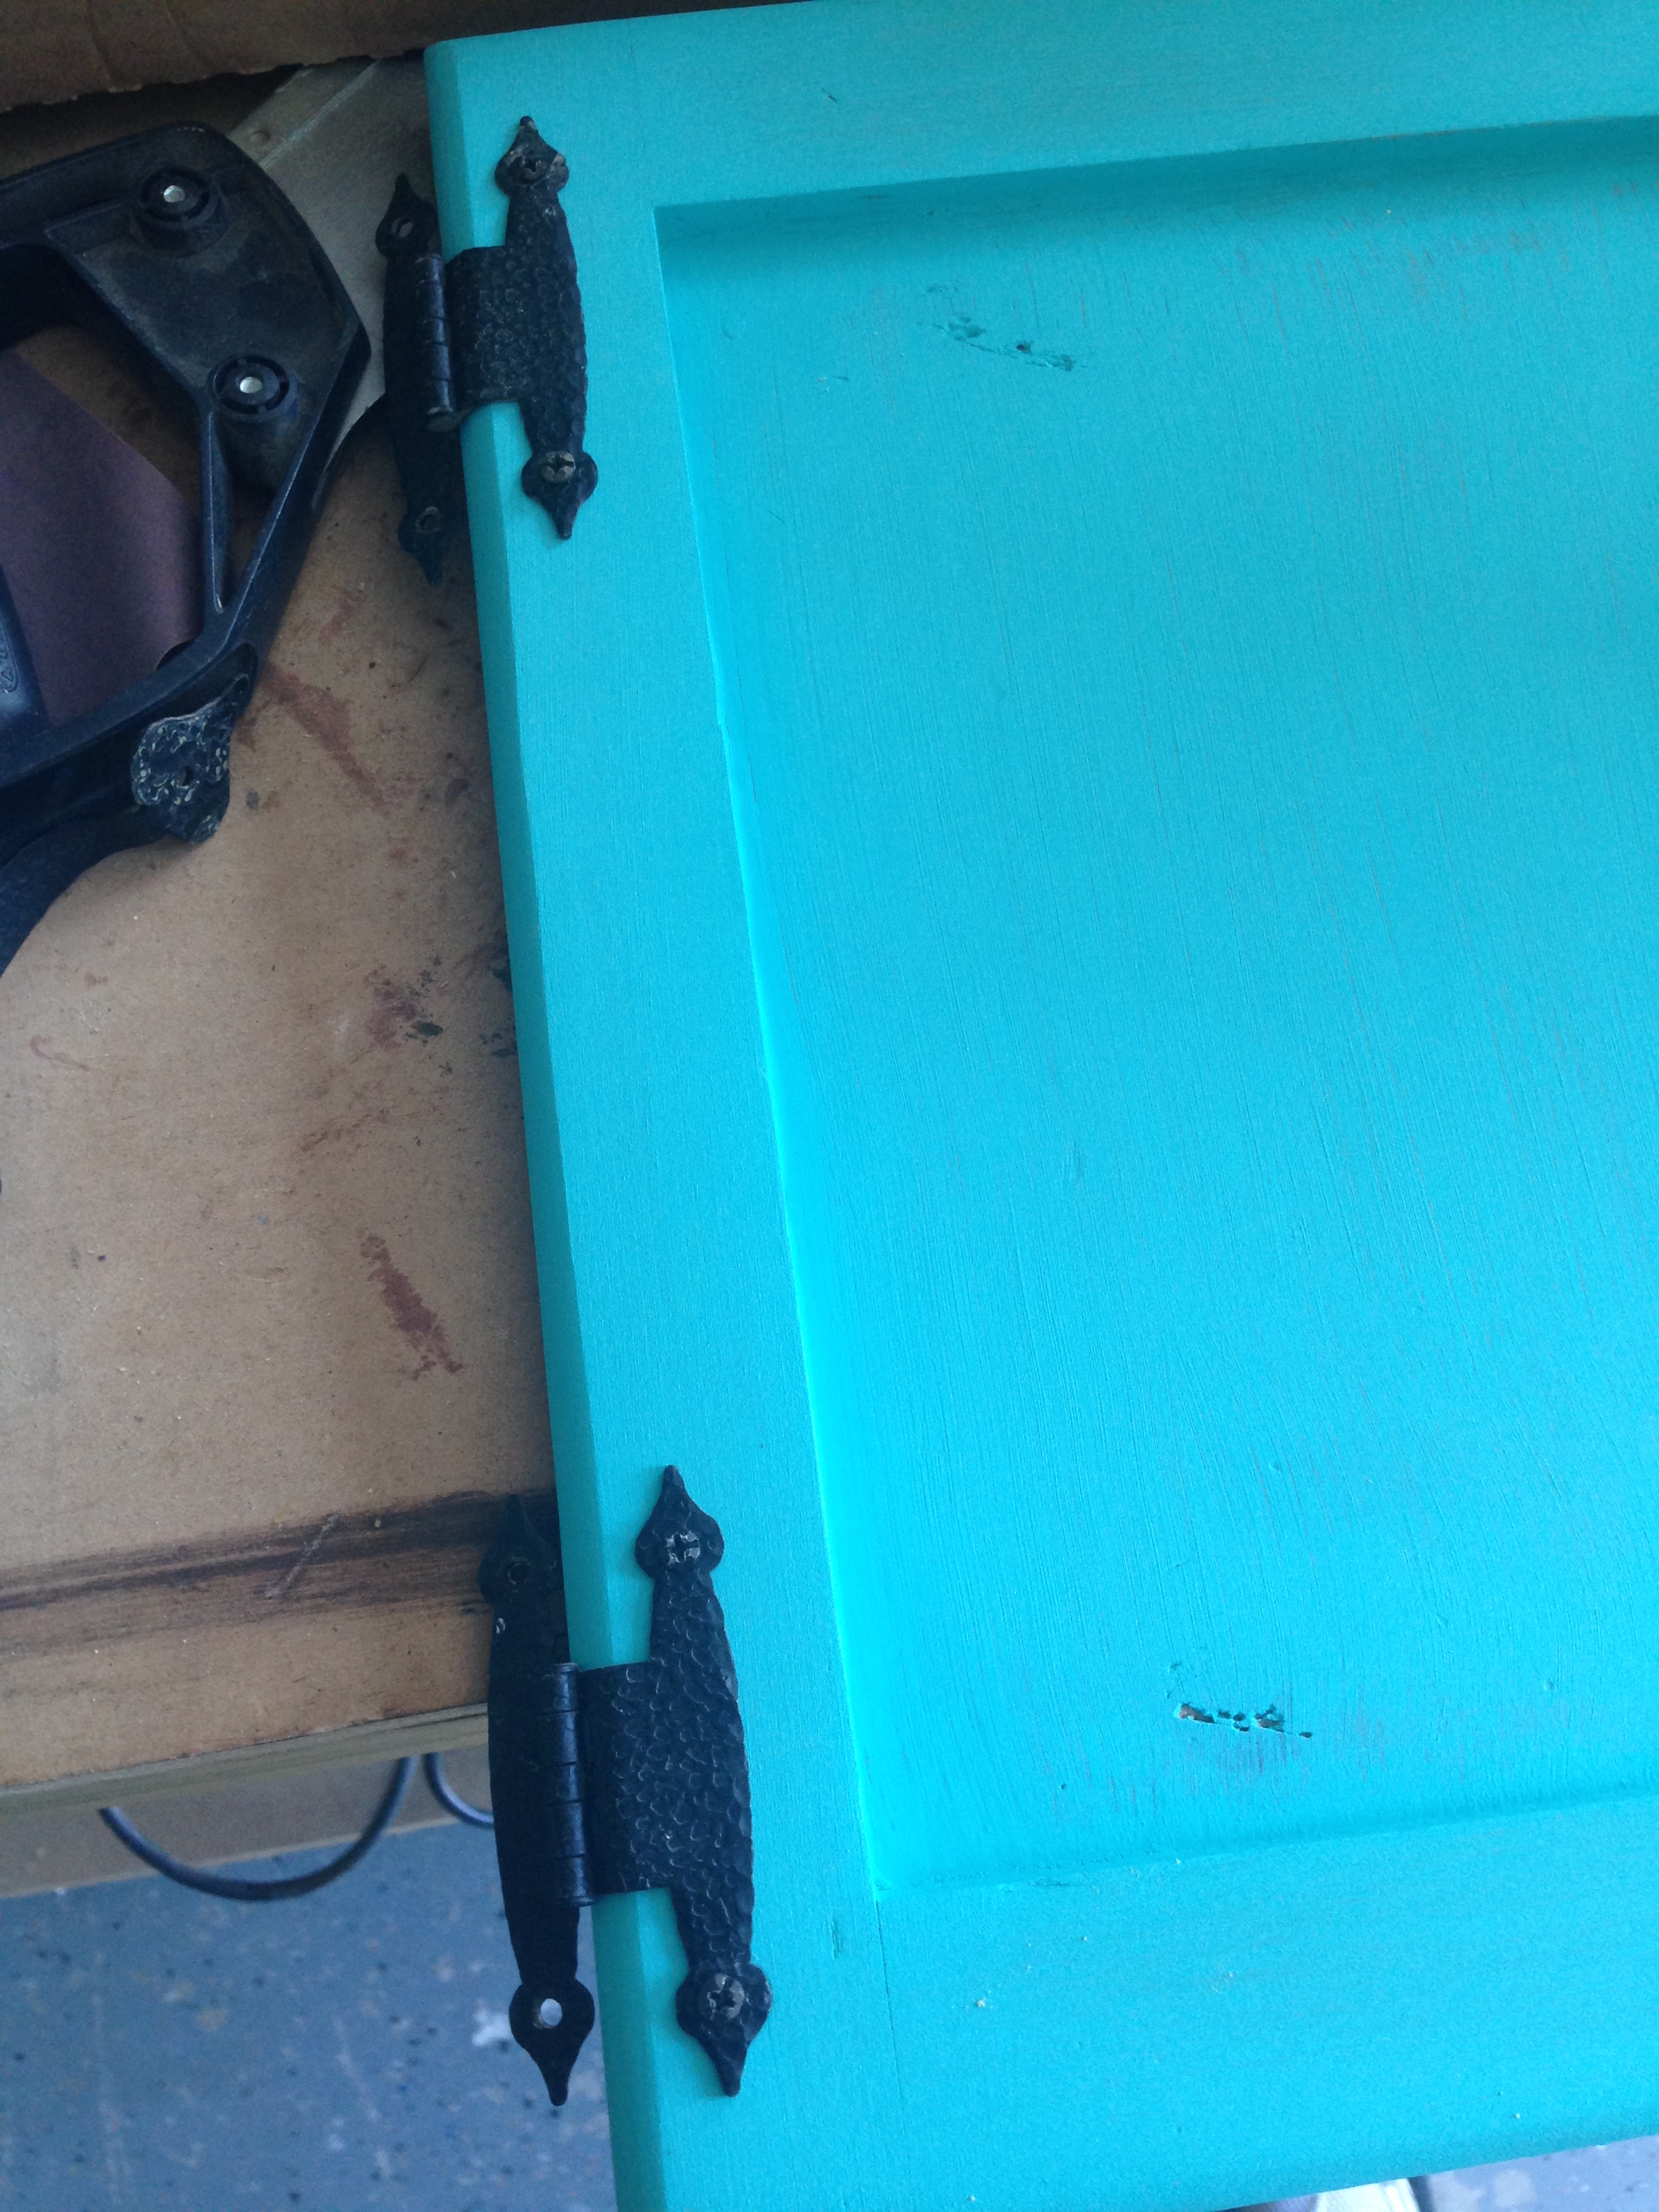
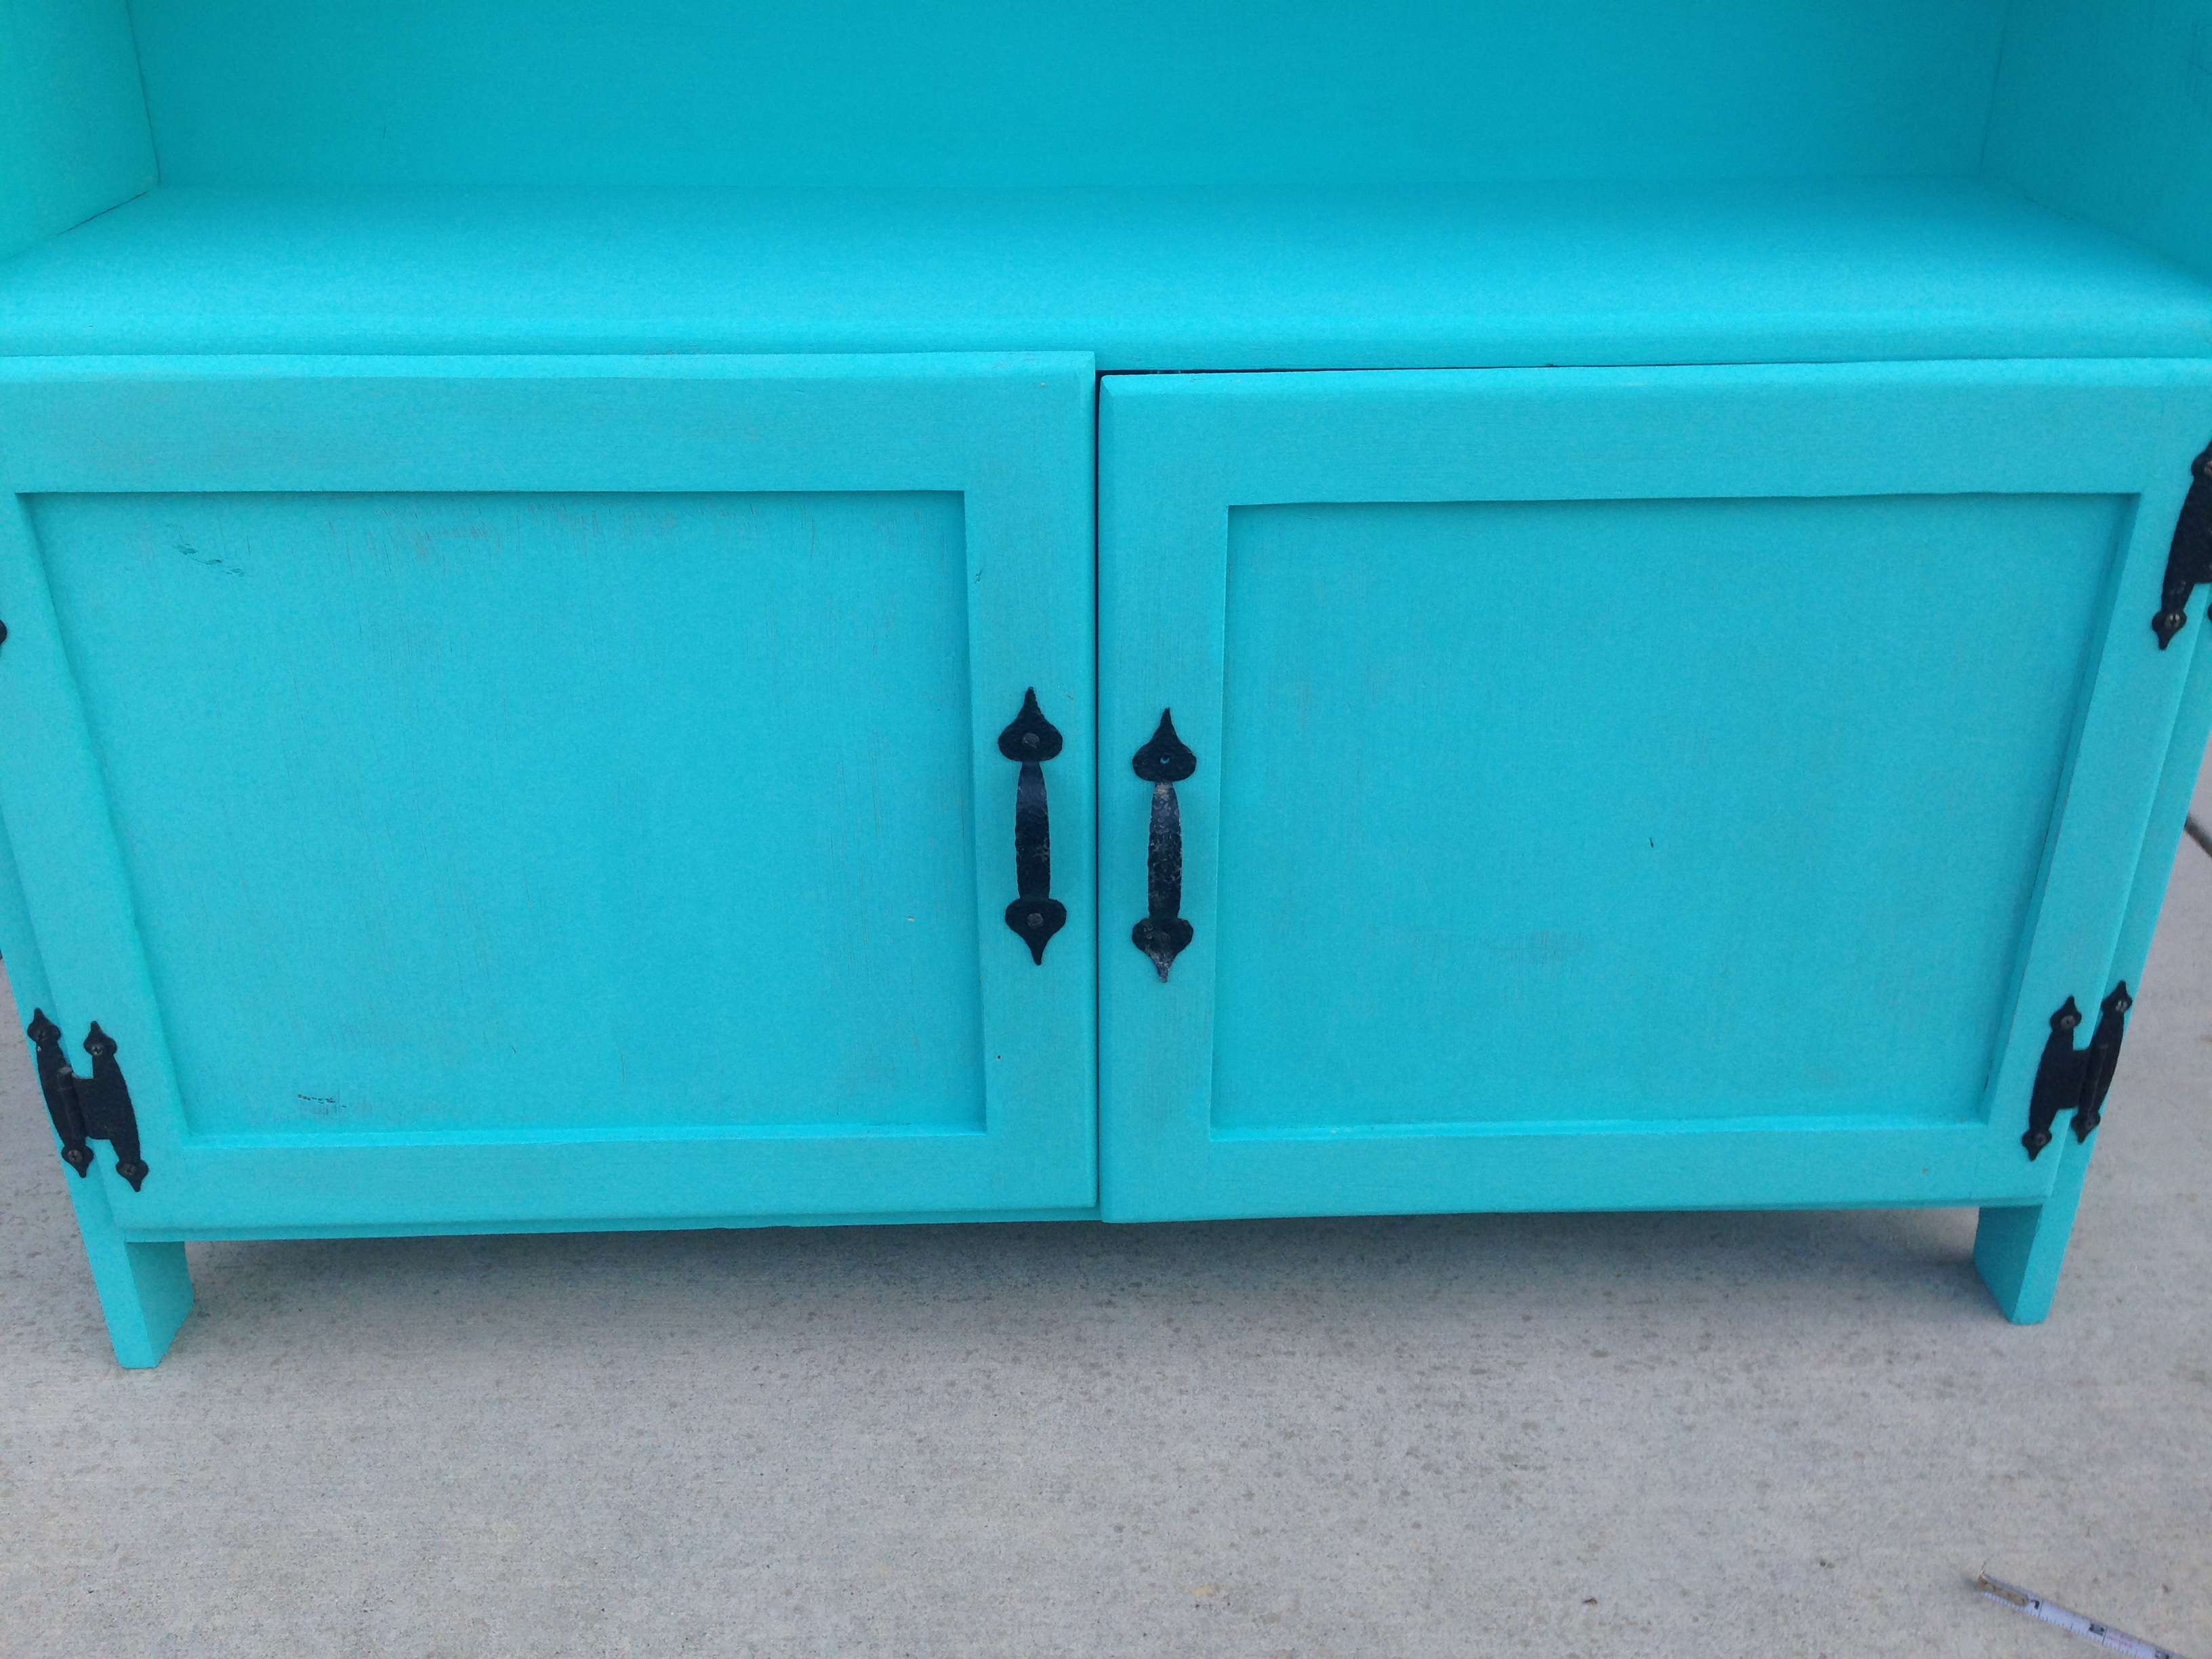
I reused the old hardware, since we were going for an old look anyway.
Oops. I probably should have checked that the doors lined up before screwing them back on. Maybe that’s why one had been taken off. I ended up filling the screw holes for one set of hinges and rehanging the door 1/8″ higher.
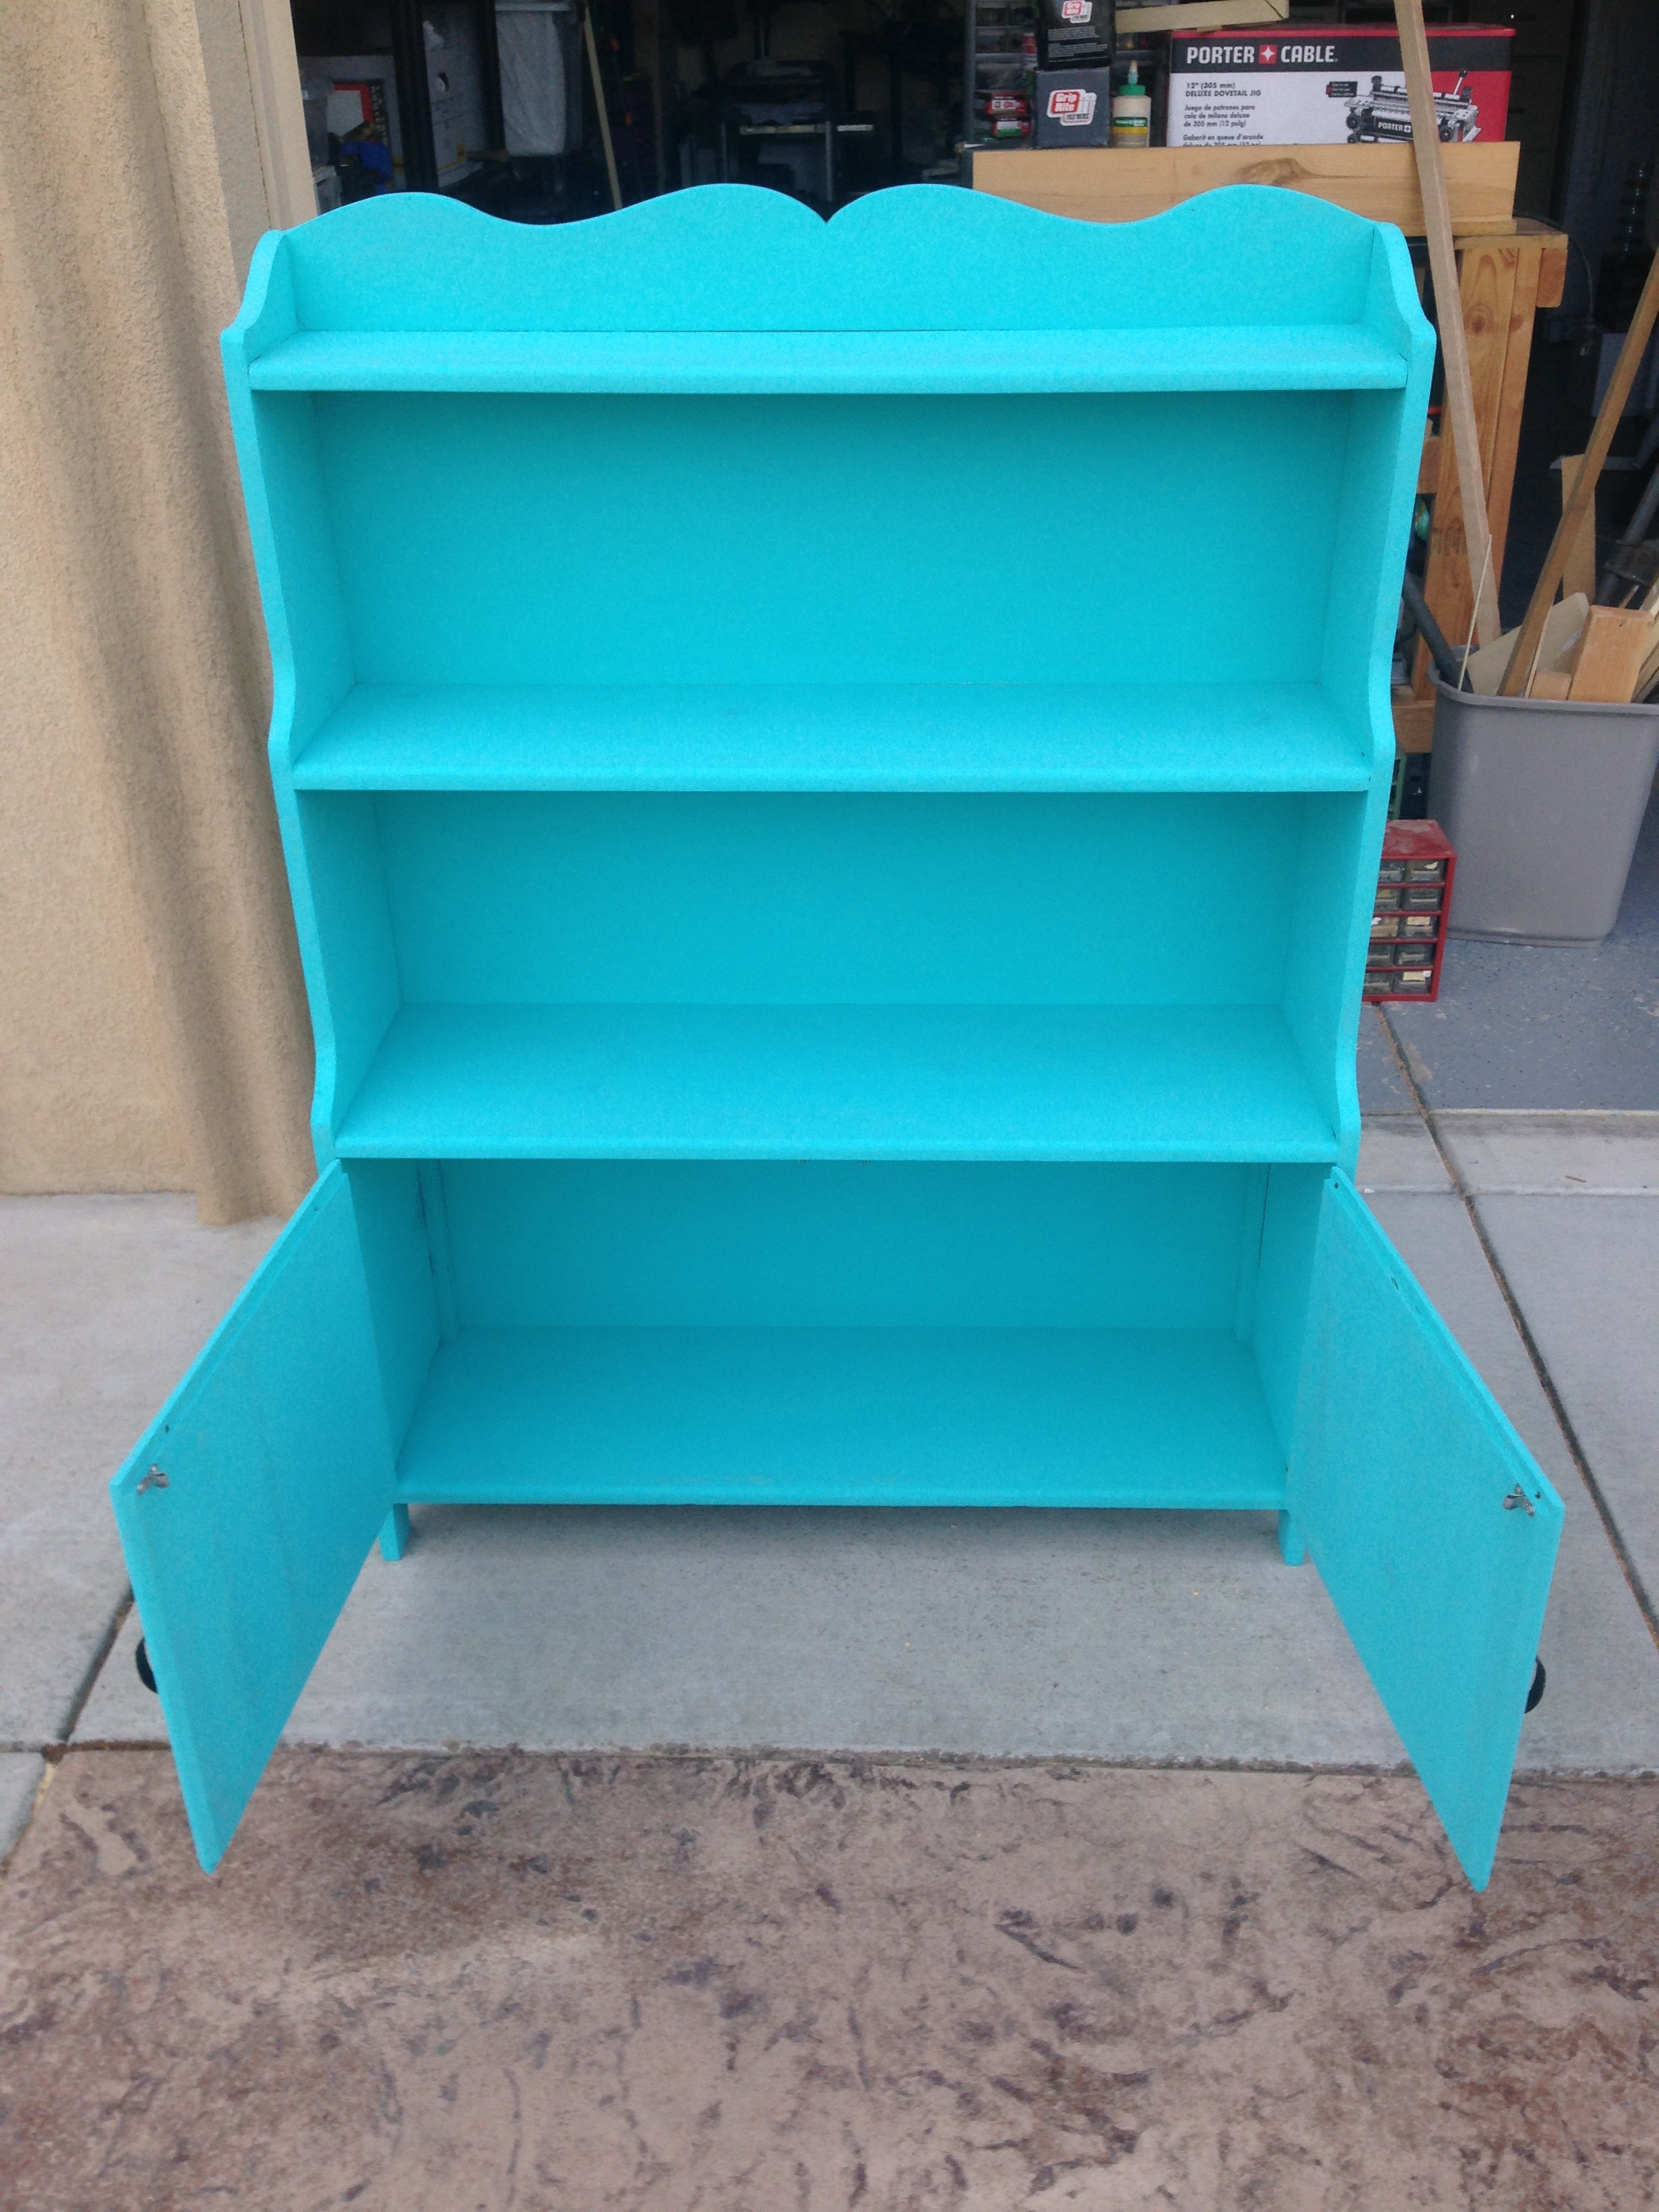
With arms wide open.
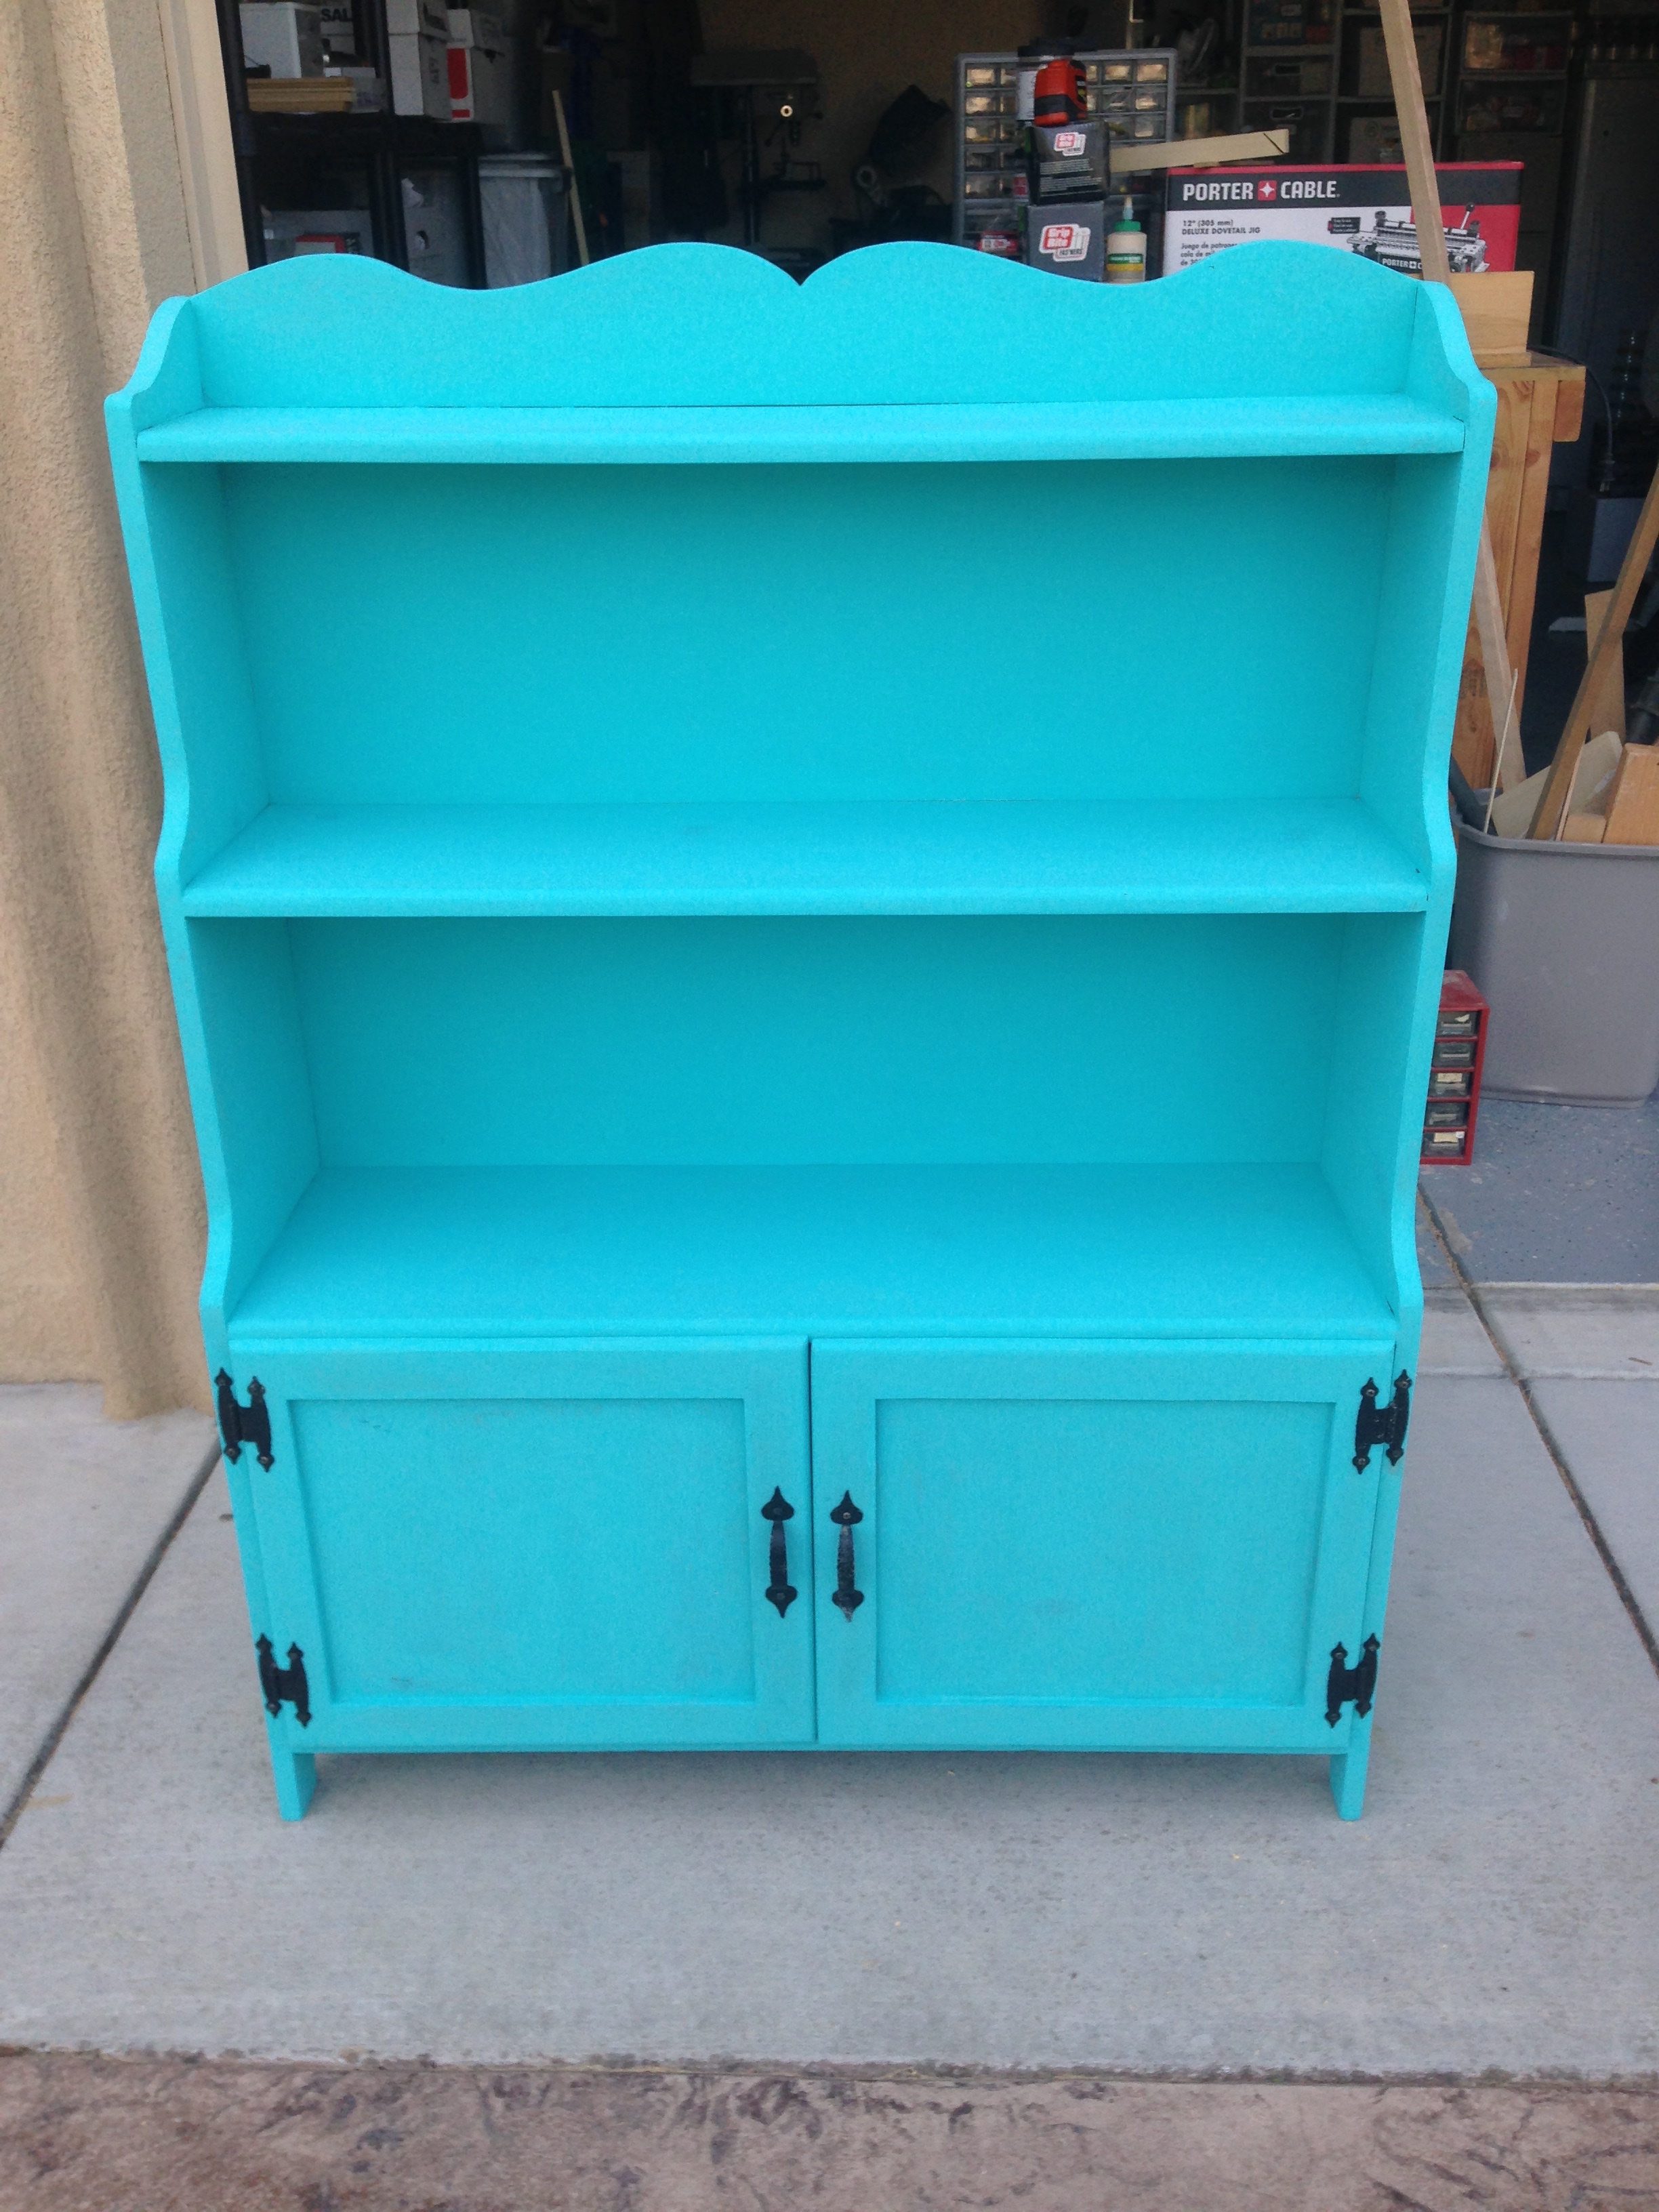
The finished product. I have a “huntch” that this hutch is ready for another thirty years of use.
Wonderful job.
Pressboard ok, but I always find such colors like a rape of real wood. The beautiful wooden texture: all gone.
If you don’t mind, I’d have two questions:
Why did you saw the curve with a handsaw and not an electrical one?
How did you do the sanding: by hand? Used grain sizes?
My handsaw was easier to get, and by the time I would have plugged in a jigsaw and gotten set up with it, I would have already finished the cut with the coping saw.
Random orbital sander with 80-grit and 120-grit sanding discs. Sanding sponges for any of the places the sander couldn’t reach.
Thanks.