
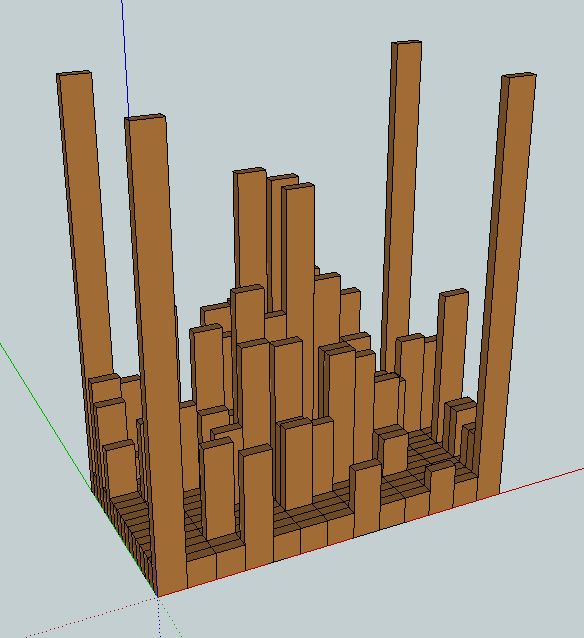
Earlier this year, I had an idea to build a table that is an inverted 3-D model of a metropolitan downtown. Take a bunch of 1×2 boards, cut them to scale lengths of the buildings in downtown Minneapolis, glue them together, and you’d have something like this:
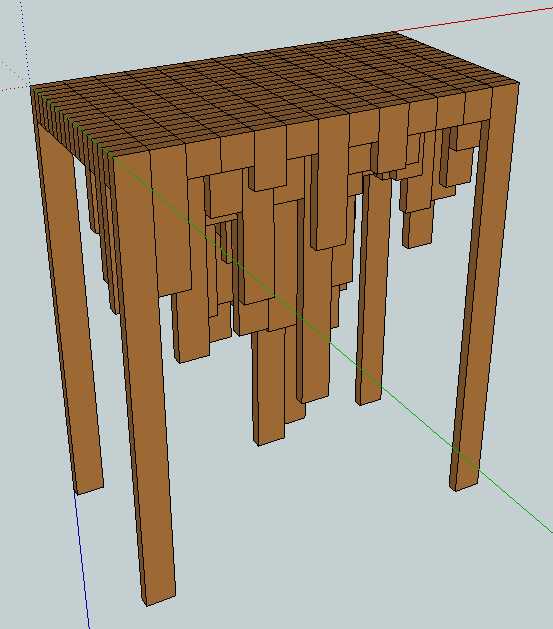
Invert it, and you can see the city a little more clearly:
Each piece of wood represents half a city block between Hennepin and Portland Avenues. (The three tall ones in the middle are the IDS, Wells Fargo Center, and the Capella Tower.)
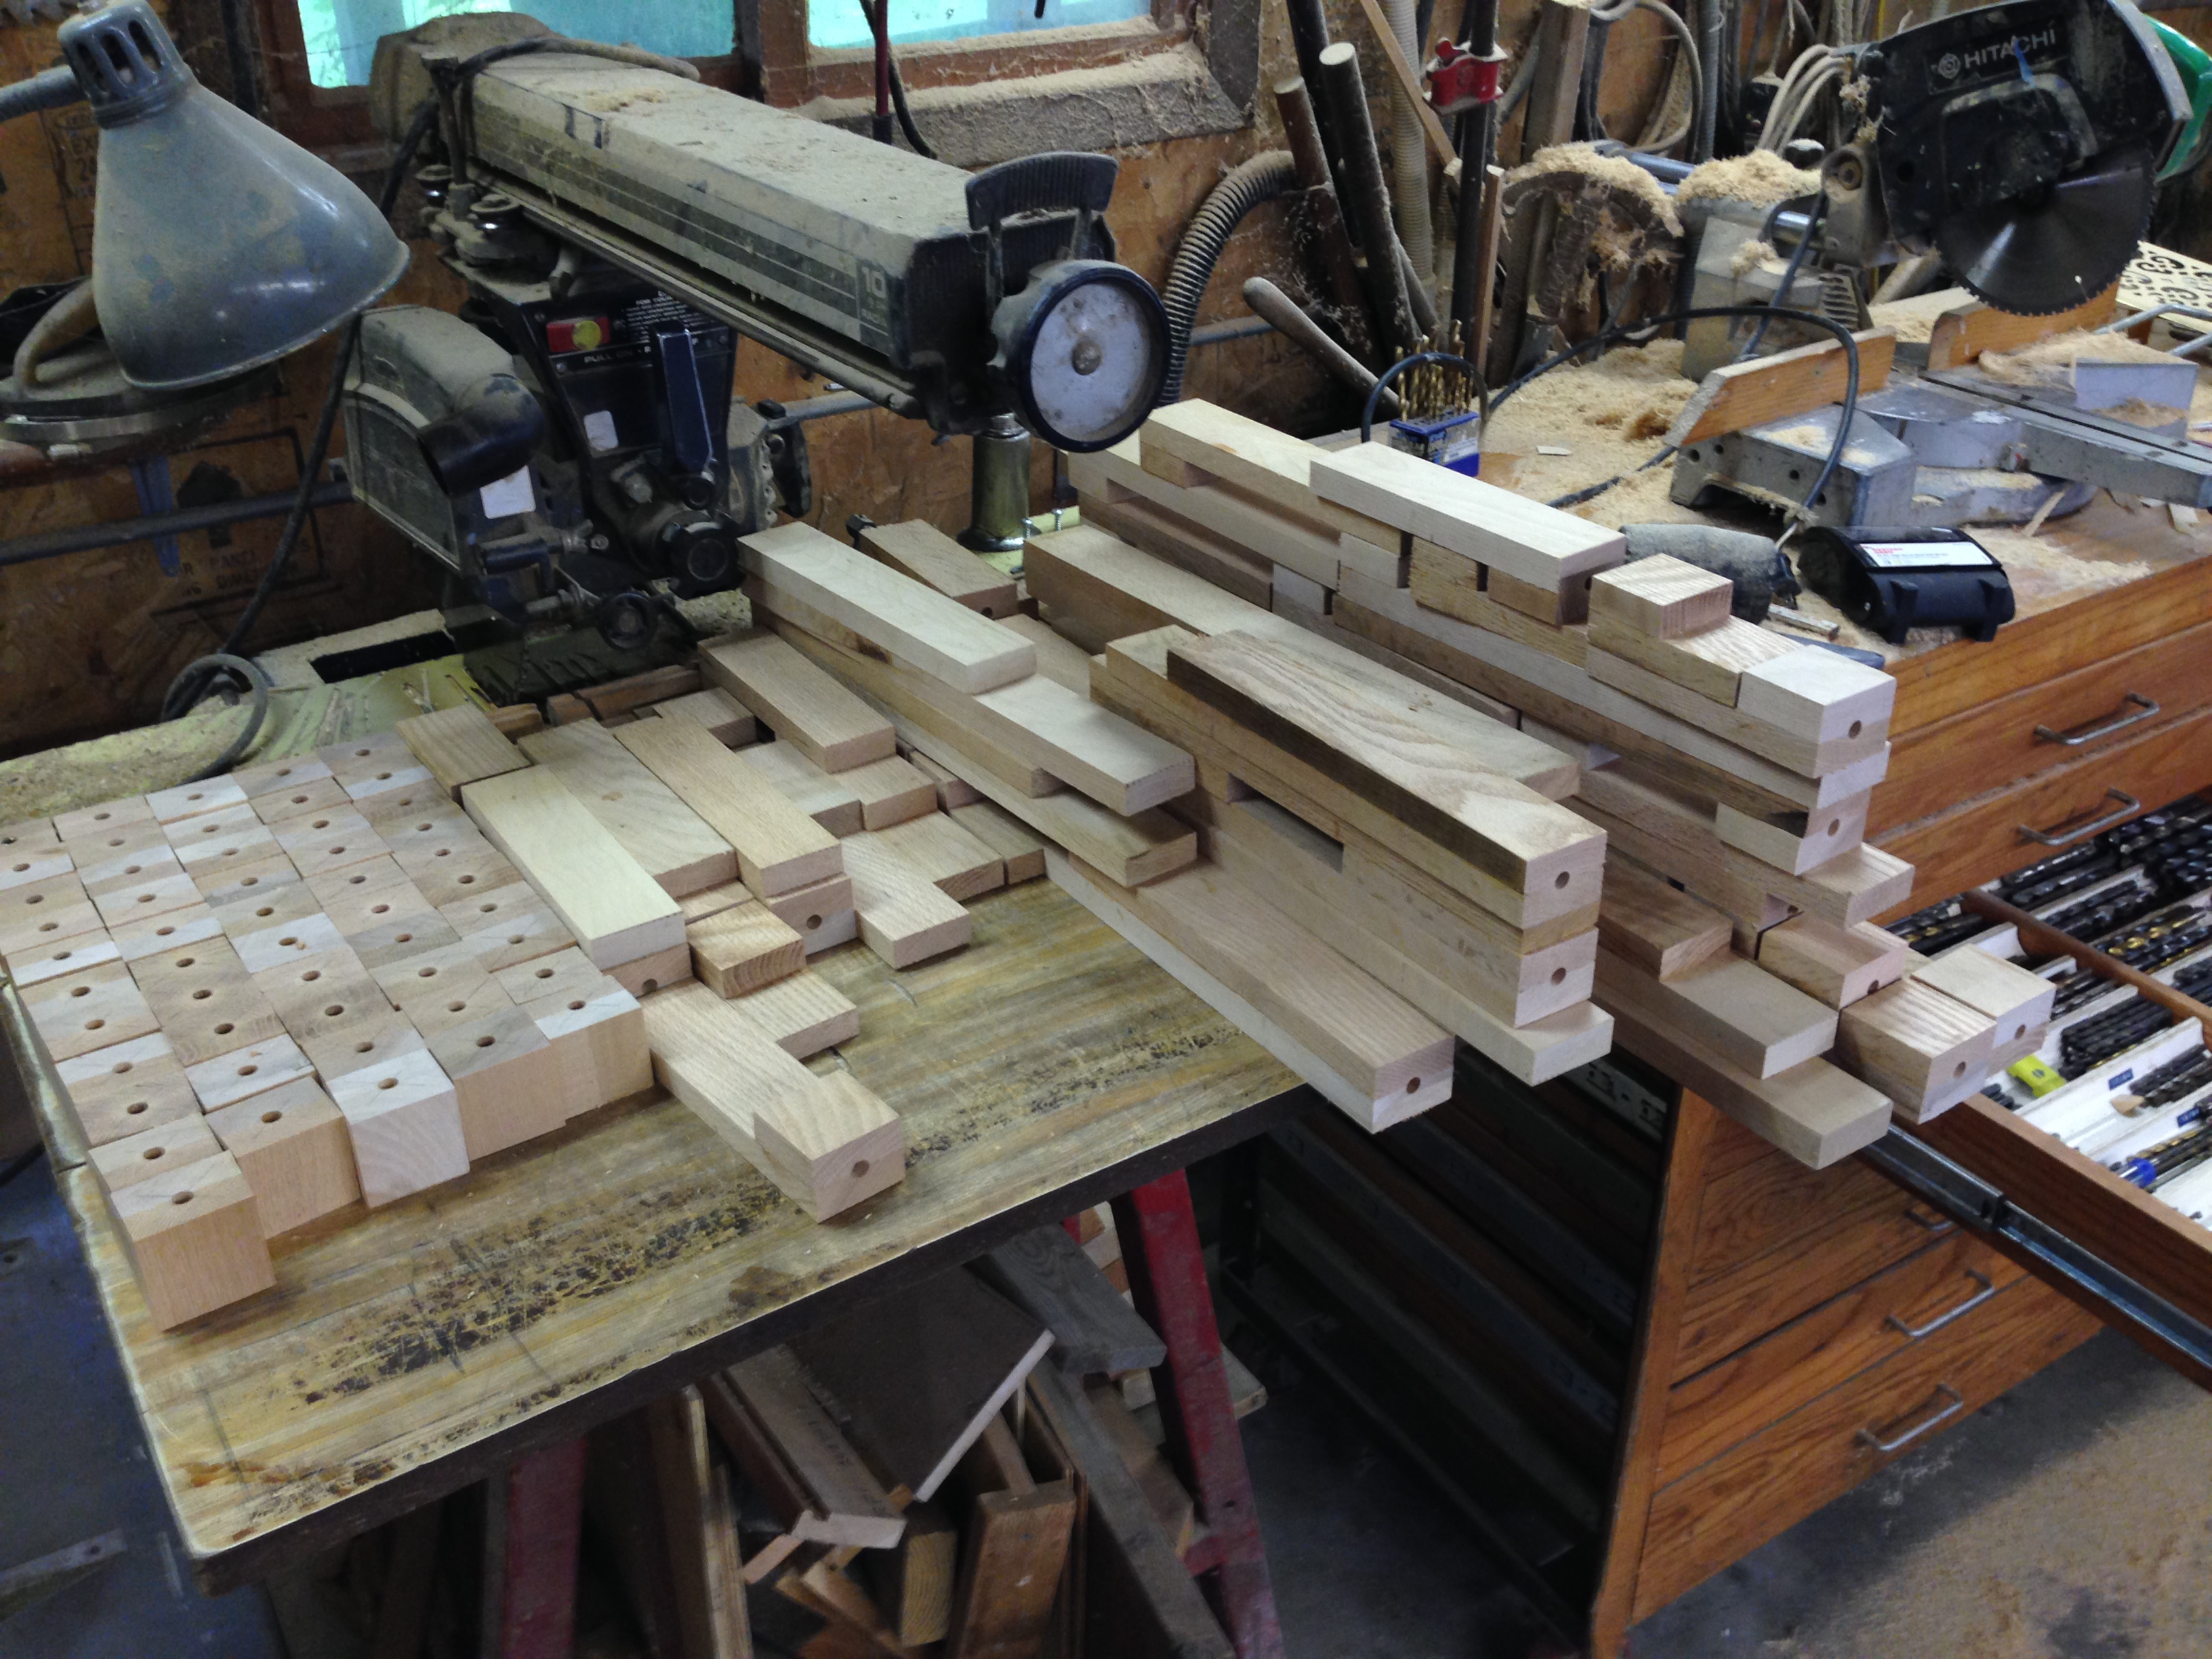
To get started, I cut a bunch of 3/4″ x 2″ stock I had laying around to the correct lengths and laid them out. (They’re miscellaneous woods, but I think oak, birch, and maple are represented.) Unfortunately, after cutting all 234 pieces of wood, I realized that my miter saw’s blade wasn’t true — it was off by about 1º — so I had to re-trim the ends of all of the blocks with a different saw.
After making those cuts, I glued the adjacent blocks together. I only have about a dozen clamps, so this took about ten gluing sessions.
The next step was to drill a hole in each block pair that would accept a threaded insert.
The original plan was to just glue all of the pieces to each other, but it’s likely (a.k.a. probable) that the table would fall apart as the wood moved due to humidity. I decided to bolt each piece to the bottom of a separate piece of wood, allowing all of the wood pieces to grow and shrink without colliding with each other. The threaded inserts allowed me to disassemble and reassemble the table as many times as I needed without tearing out any screw holes.
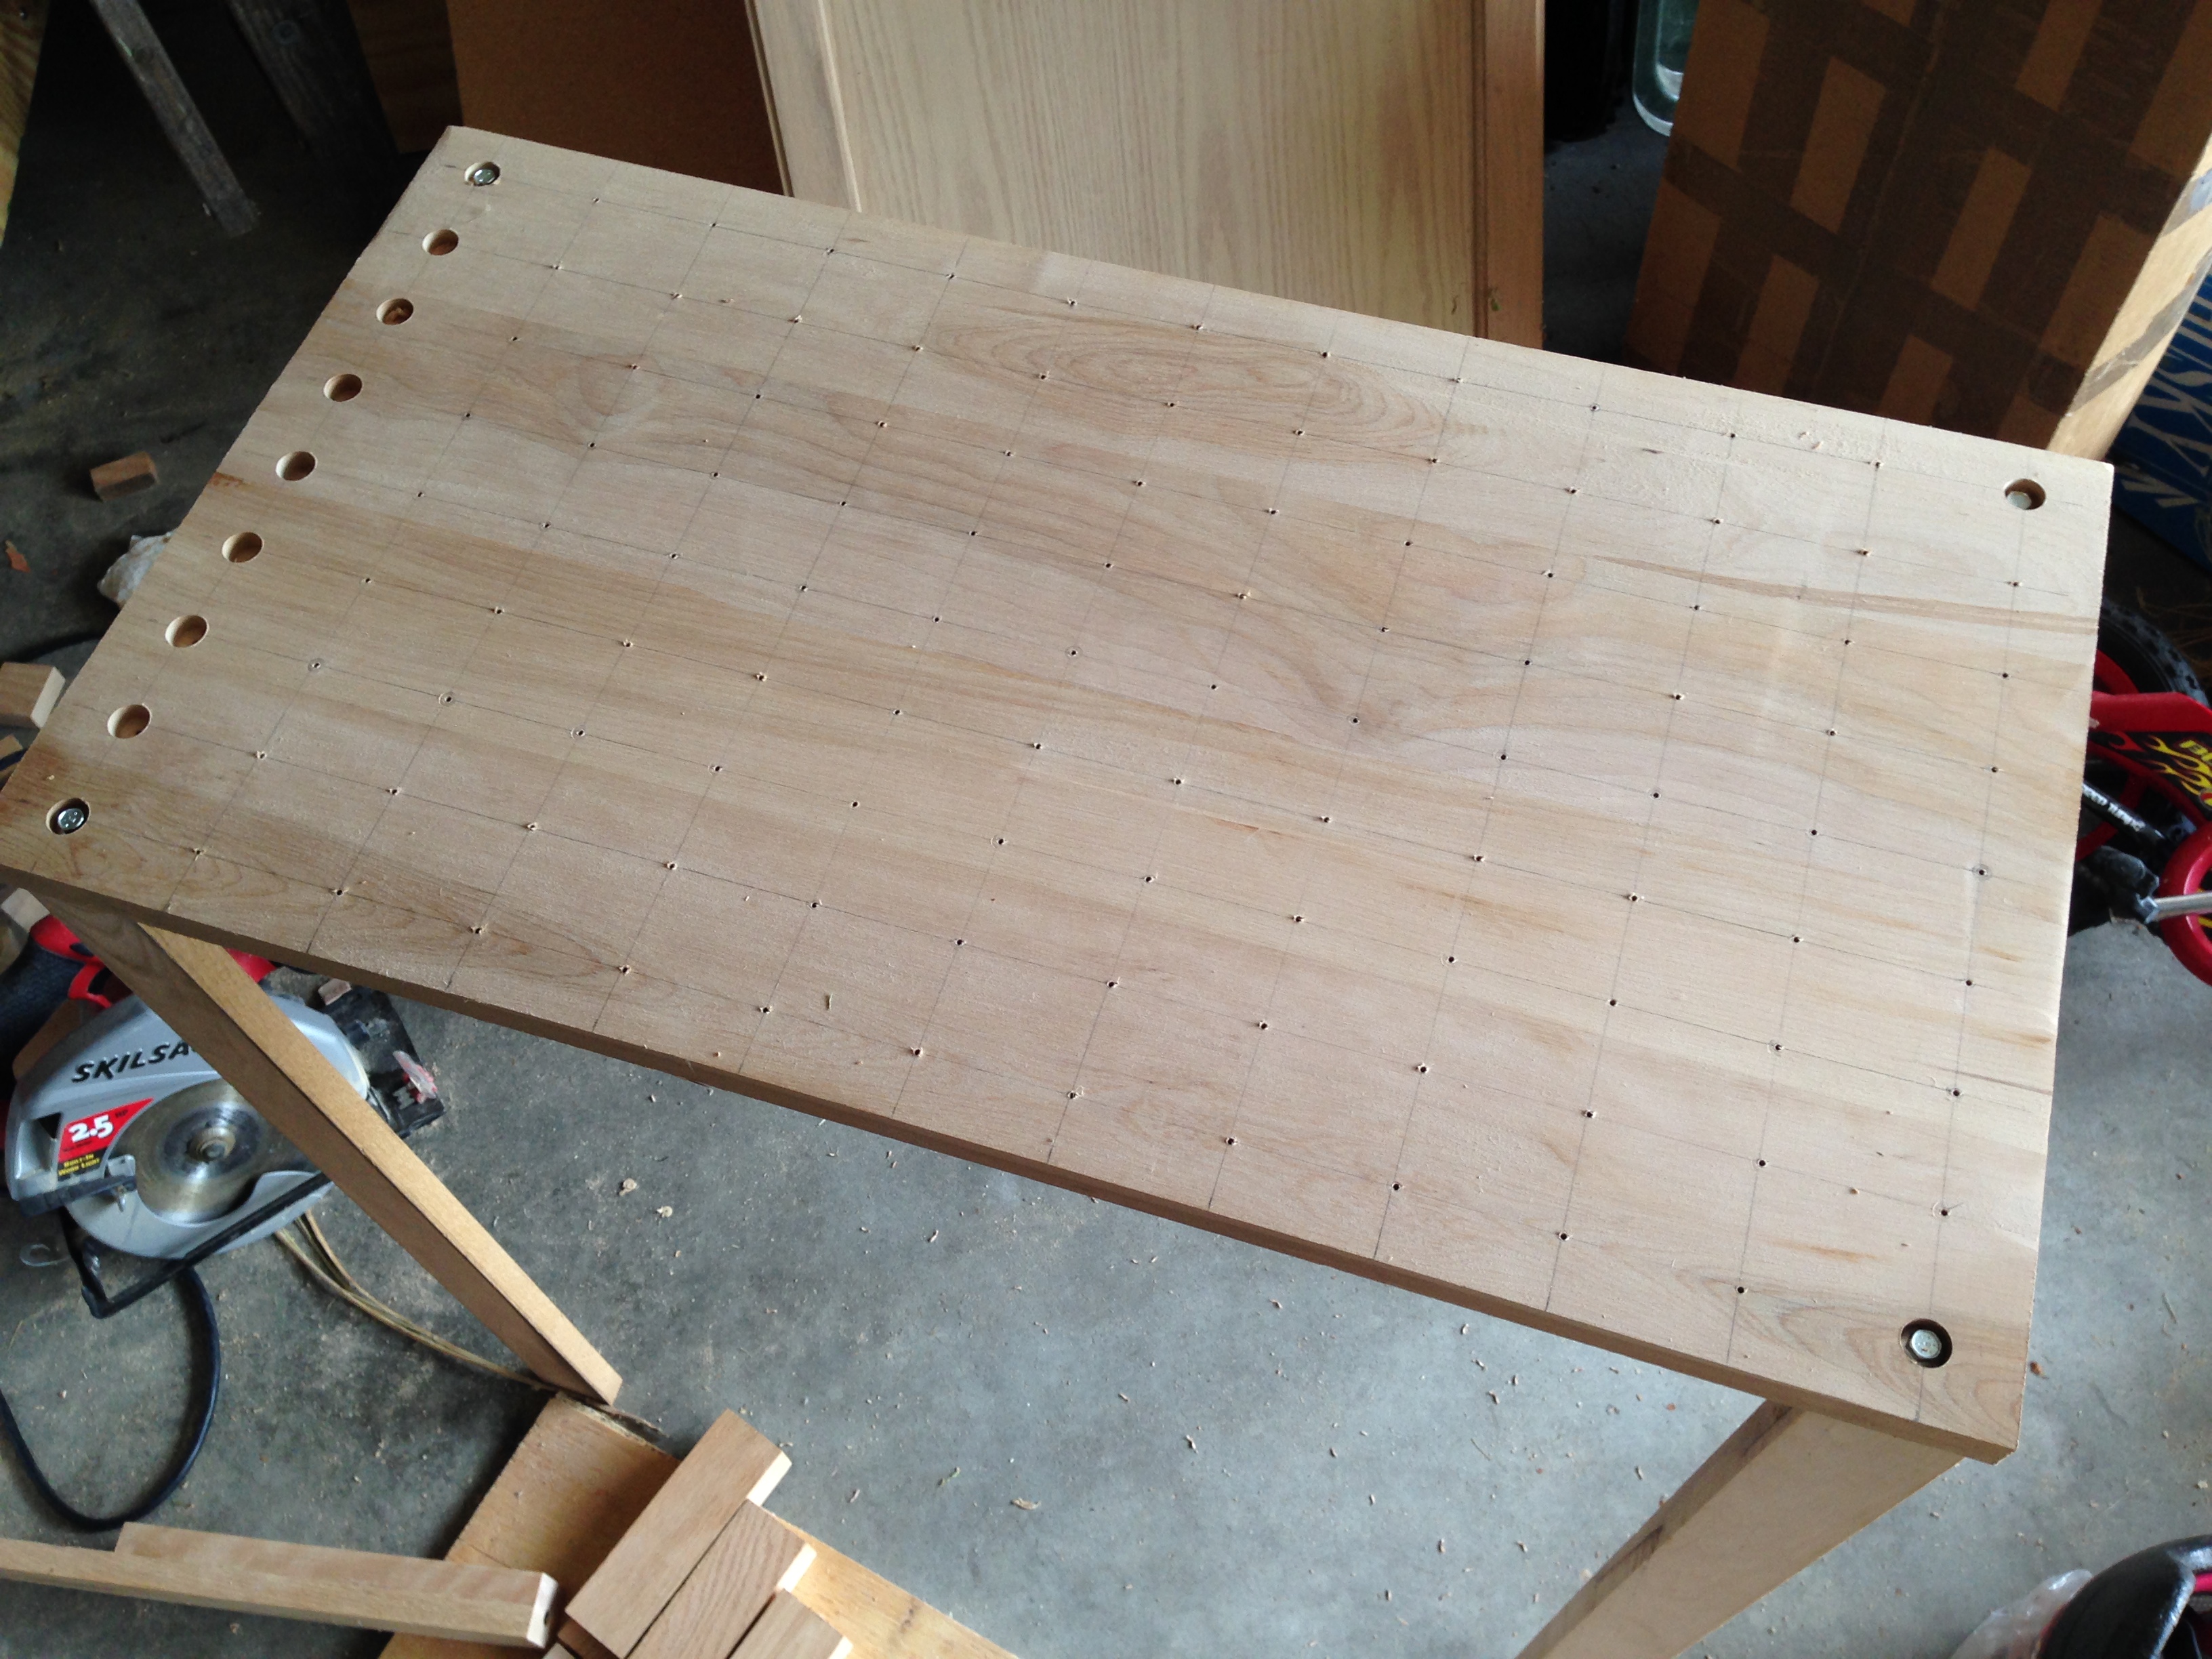
Here’s the top with the bolt holes mapped out; for each bolt, I drilled three holes: 1 pilot hole, one countersink to hide the head, and one for the shank of the bolt to pass through. In the picture below, I’ve attached the legs, drilled all of the pilot holes, and started drilling the countersink holes. (The big board is a glue-up of five maple boards.)
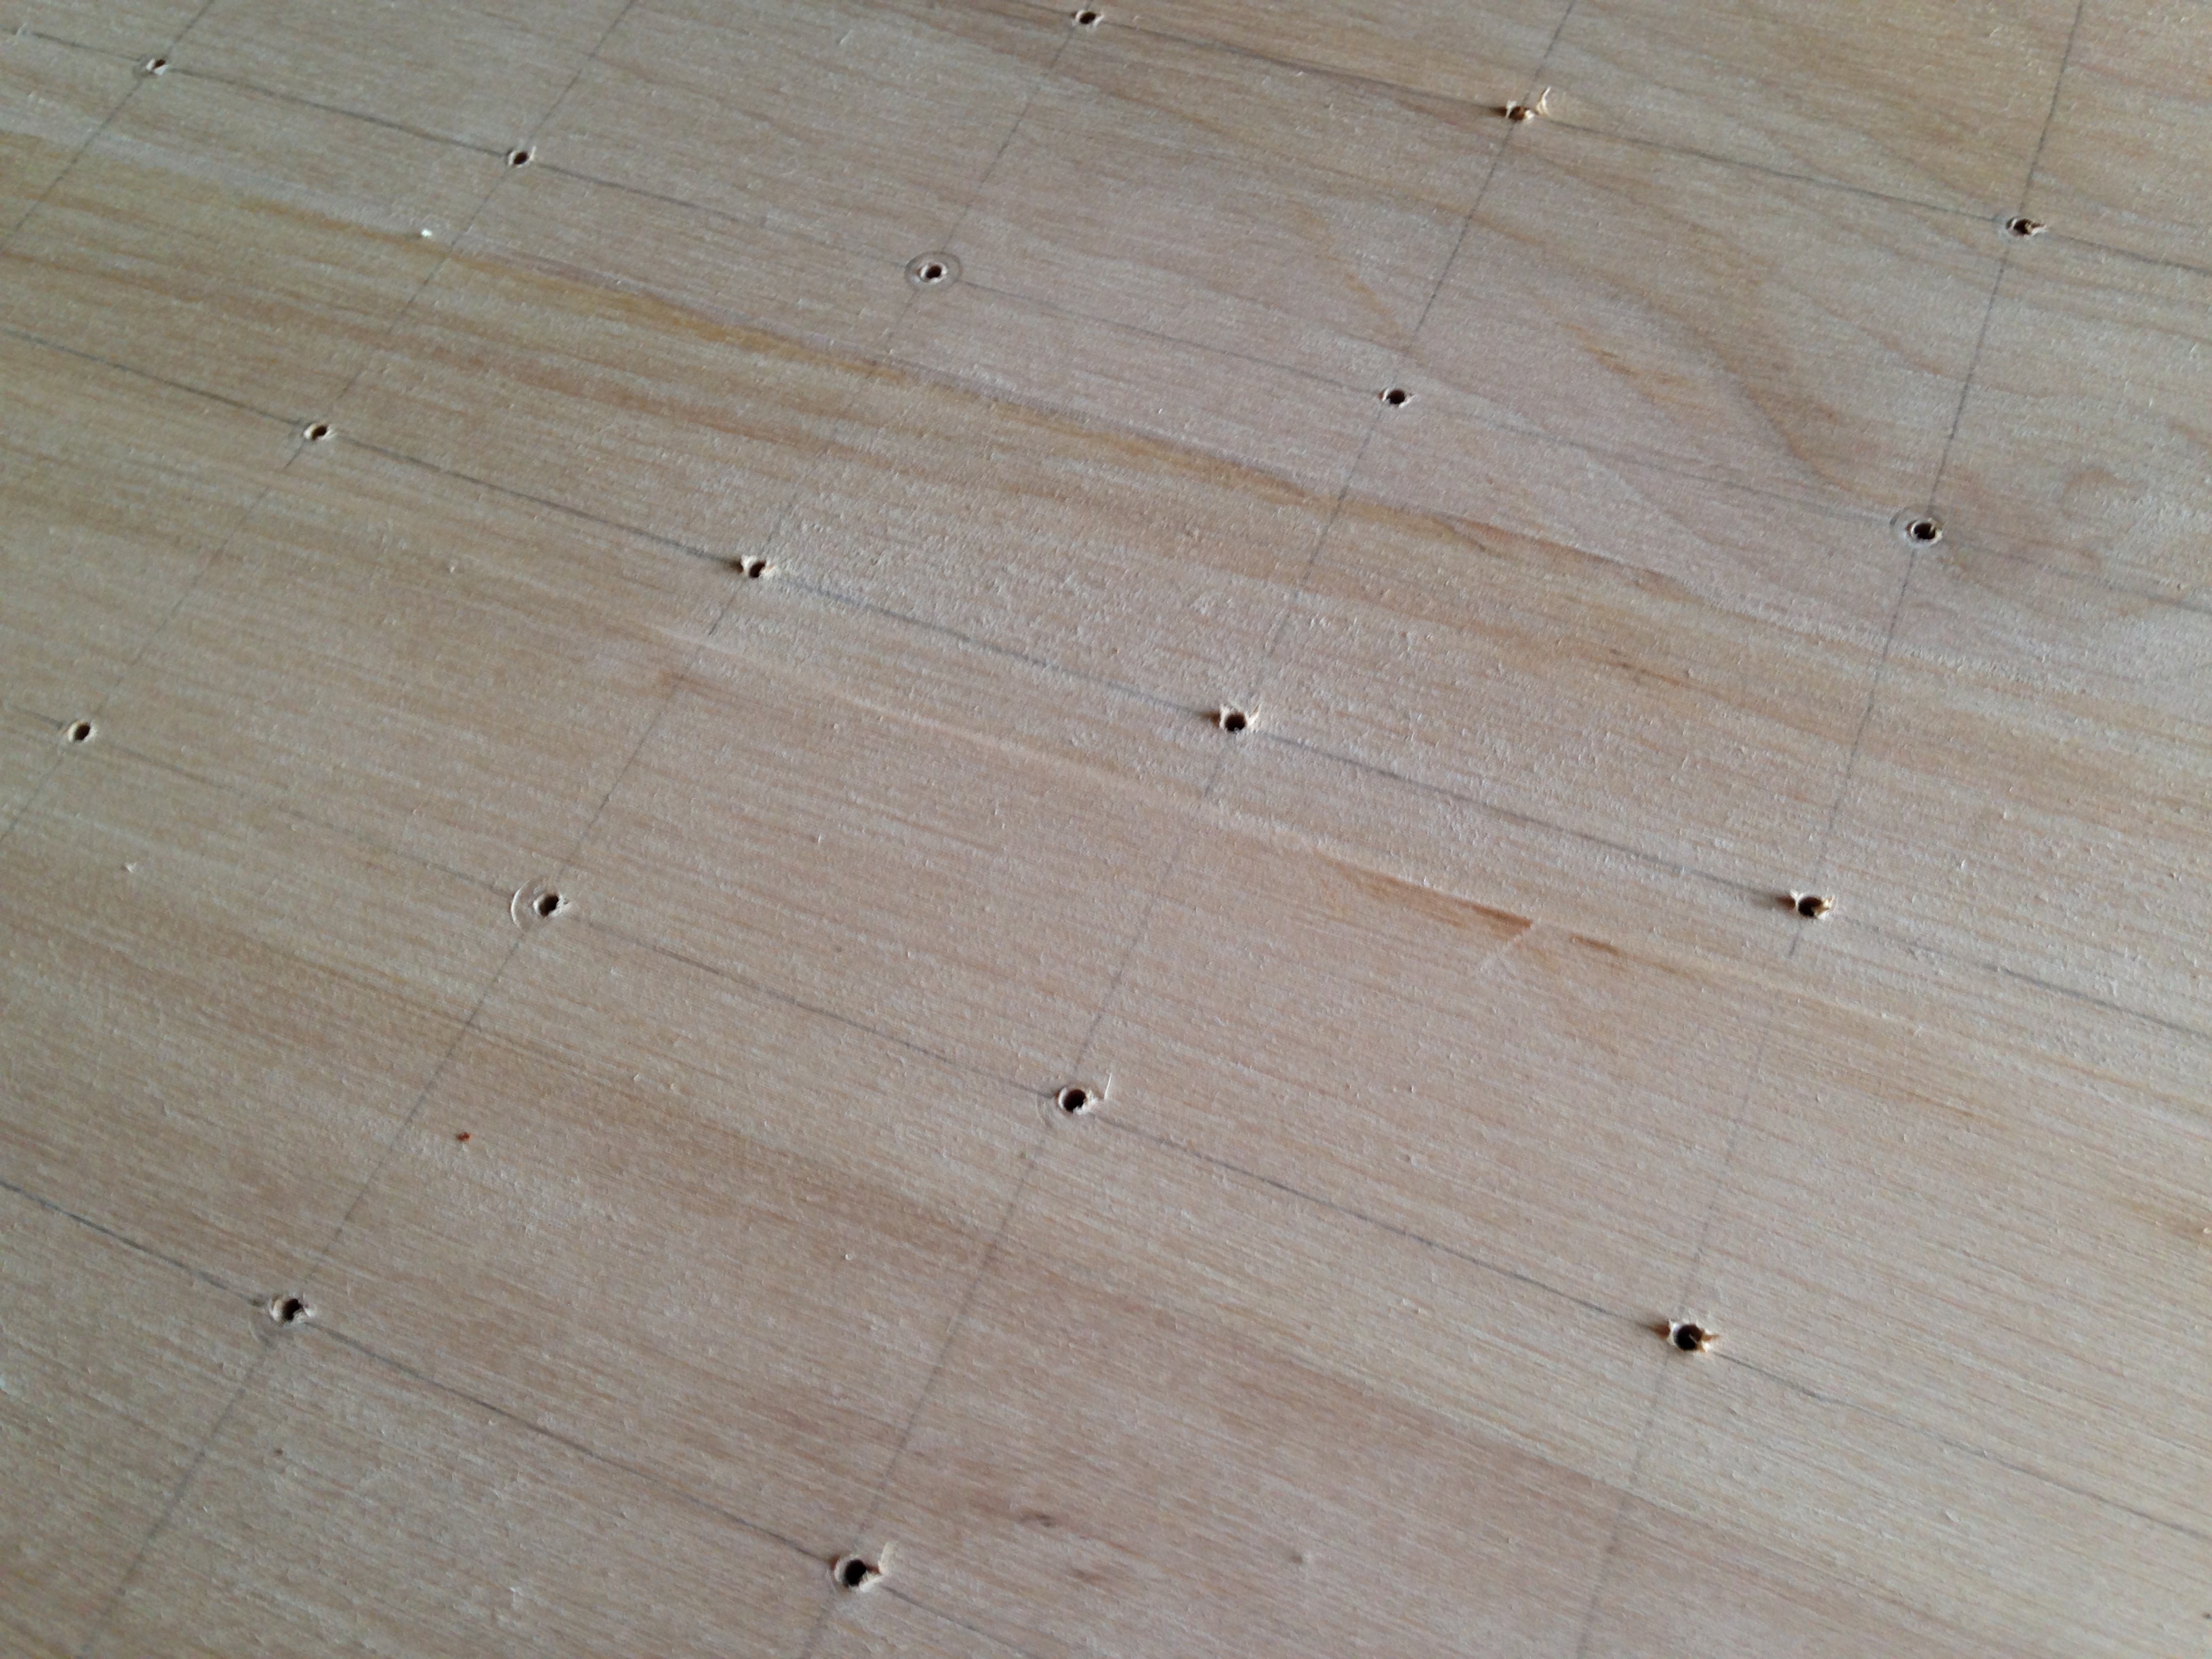
Here’s a closeup of the pilot holes.
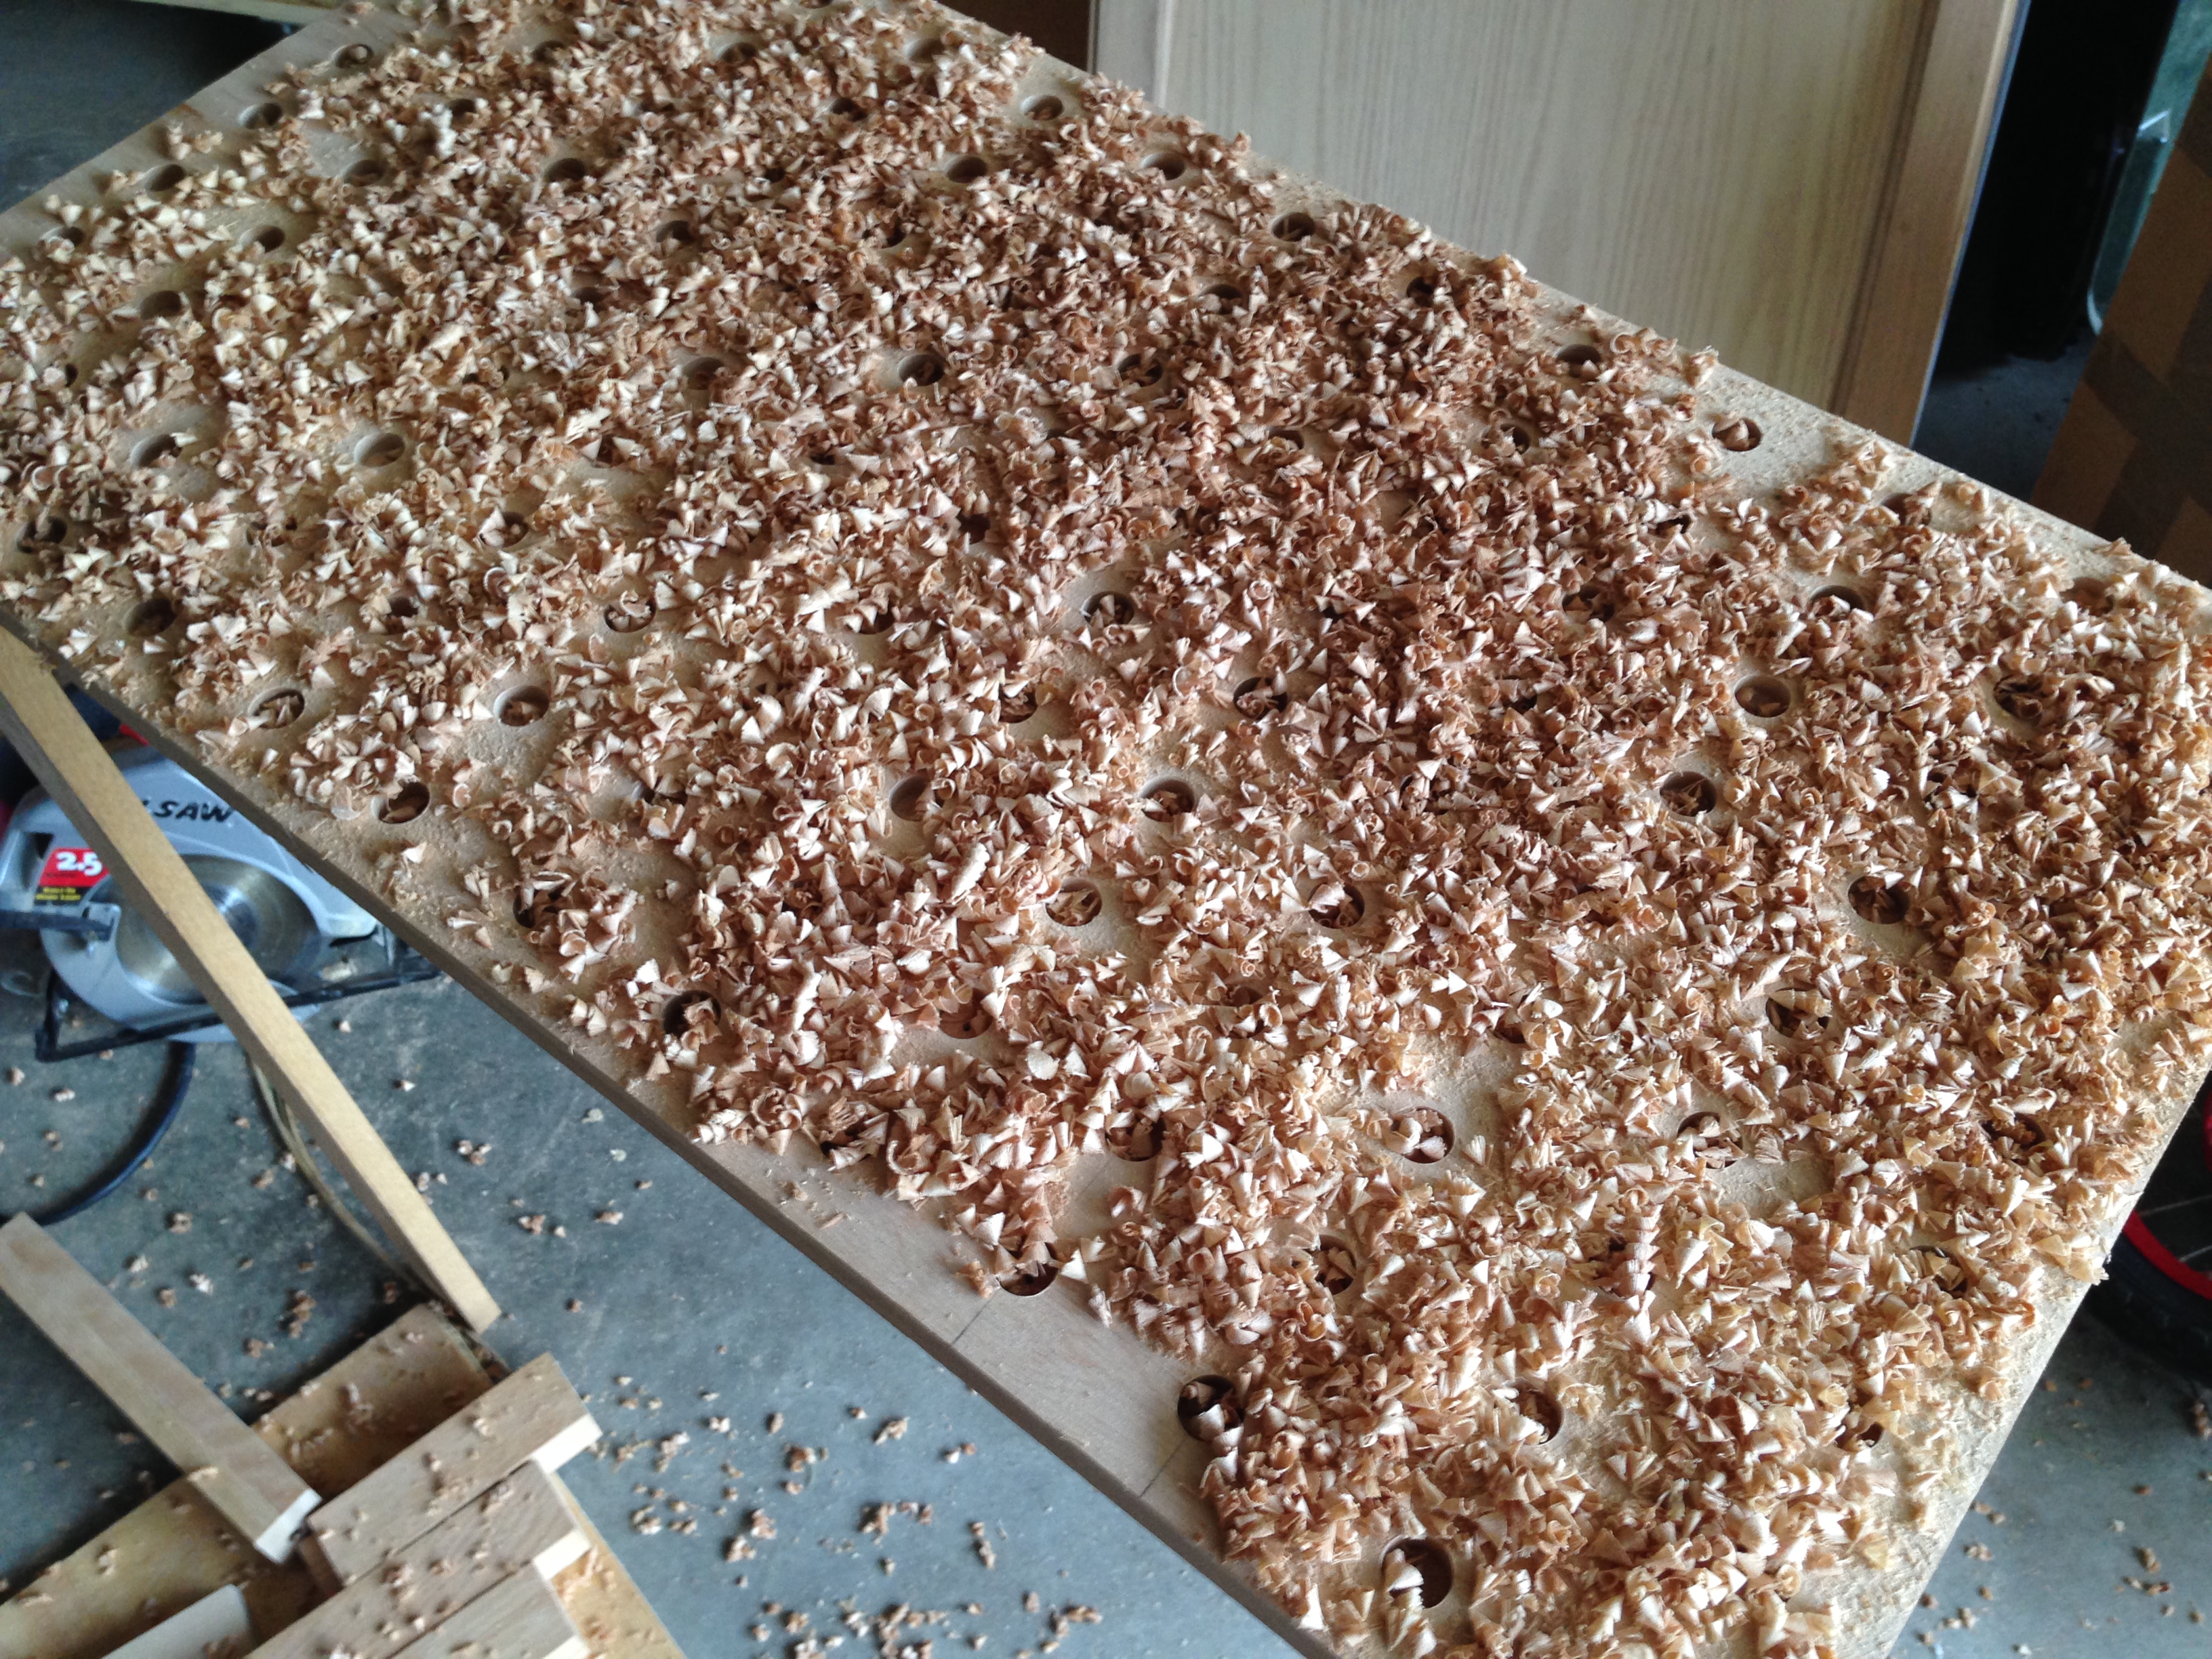
Drilling the countersink holes generated a lot of shavings.
Same step, but without the shavings.

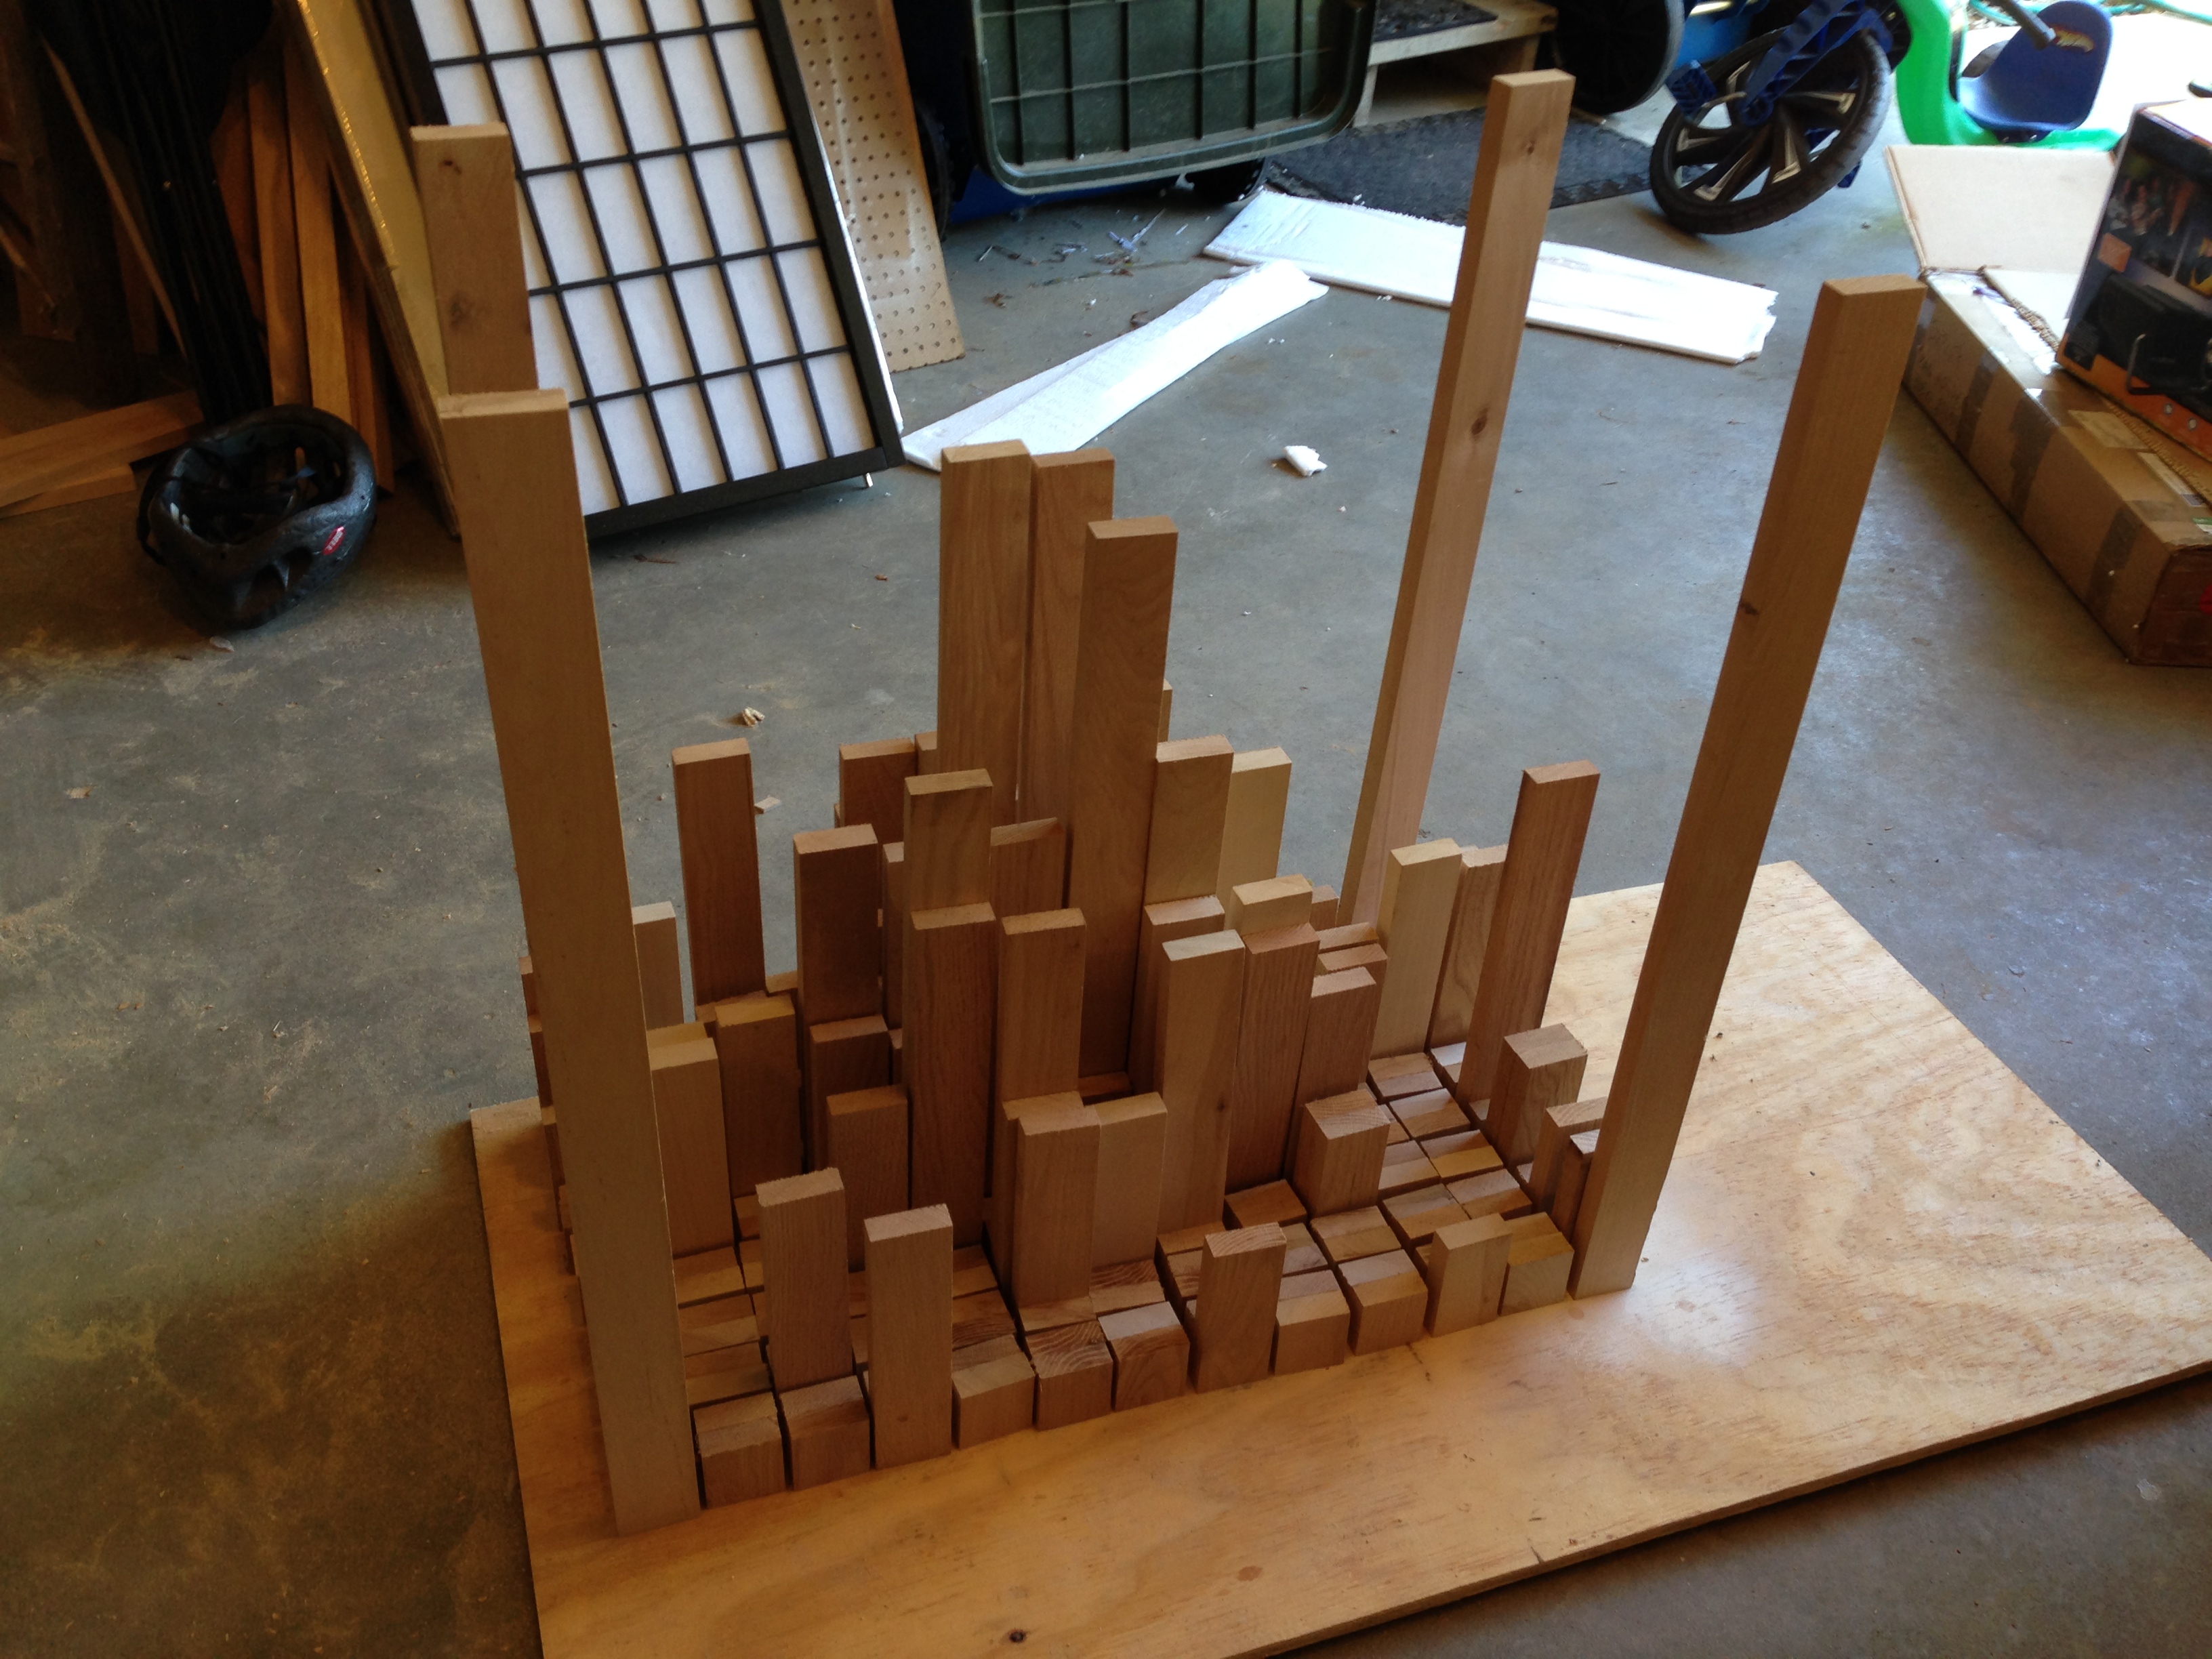
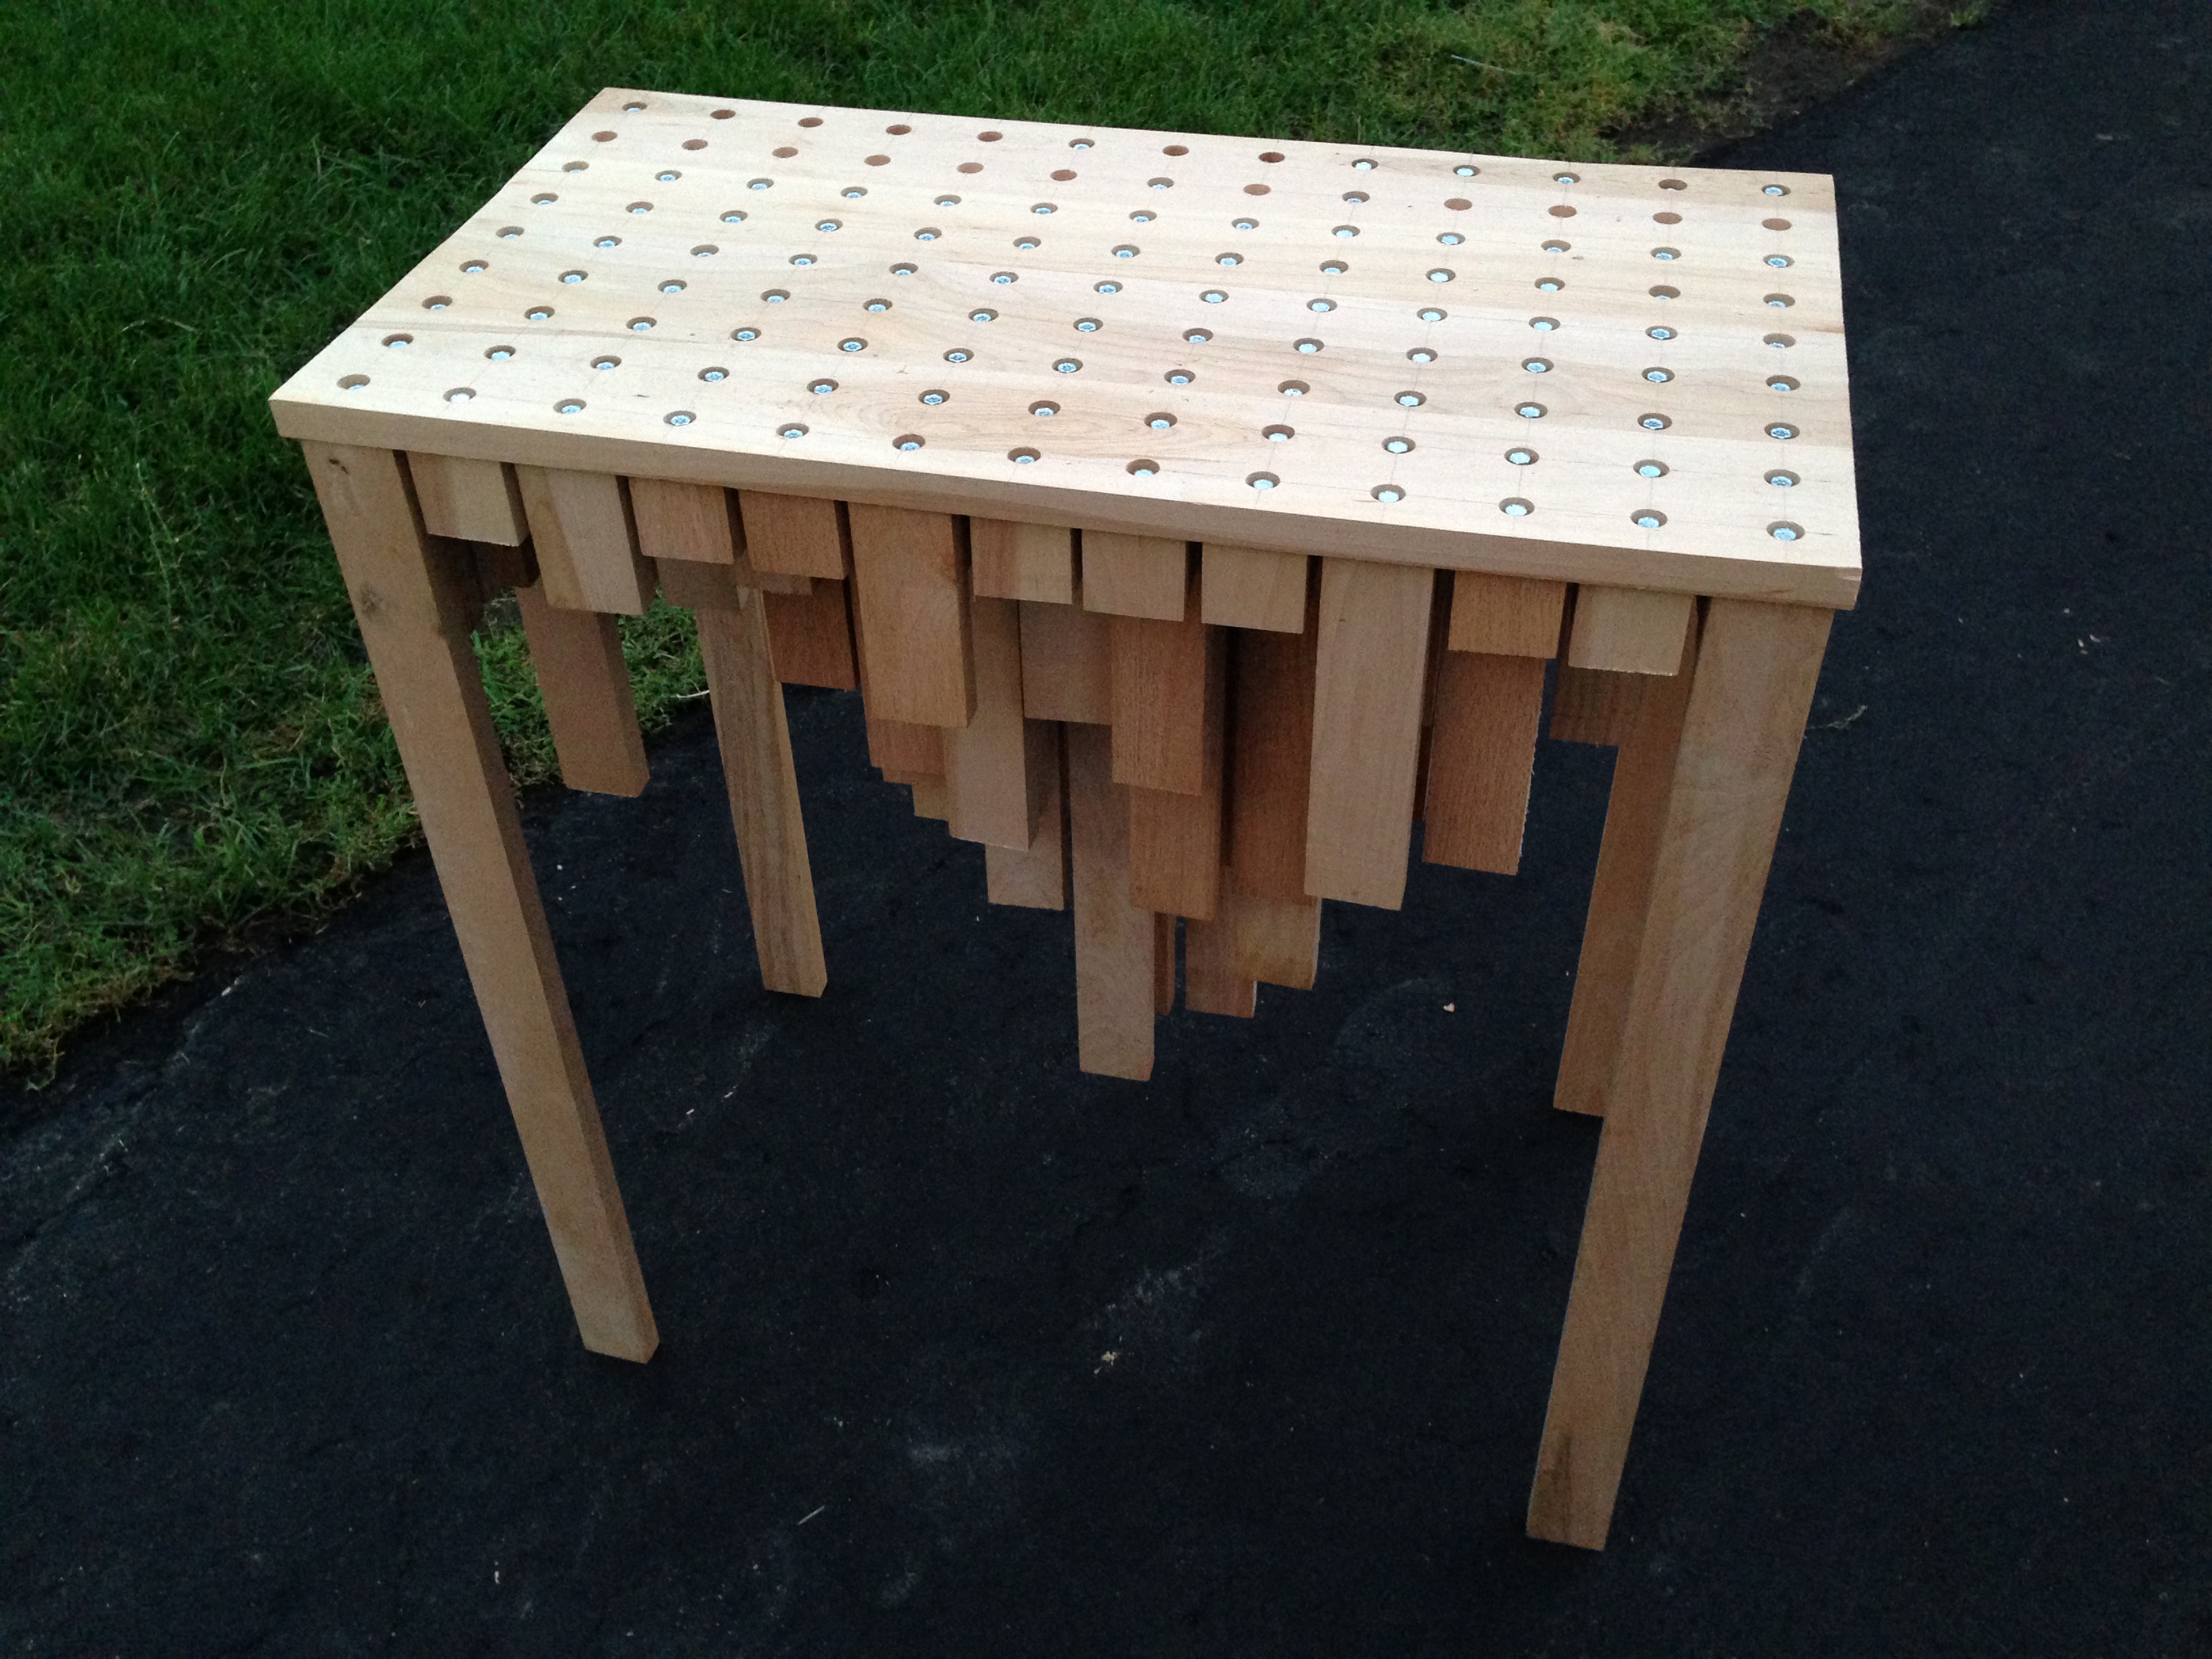
Here was the first dry-fit. How much would you guess that this table weighs?
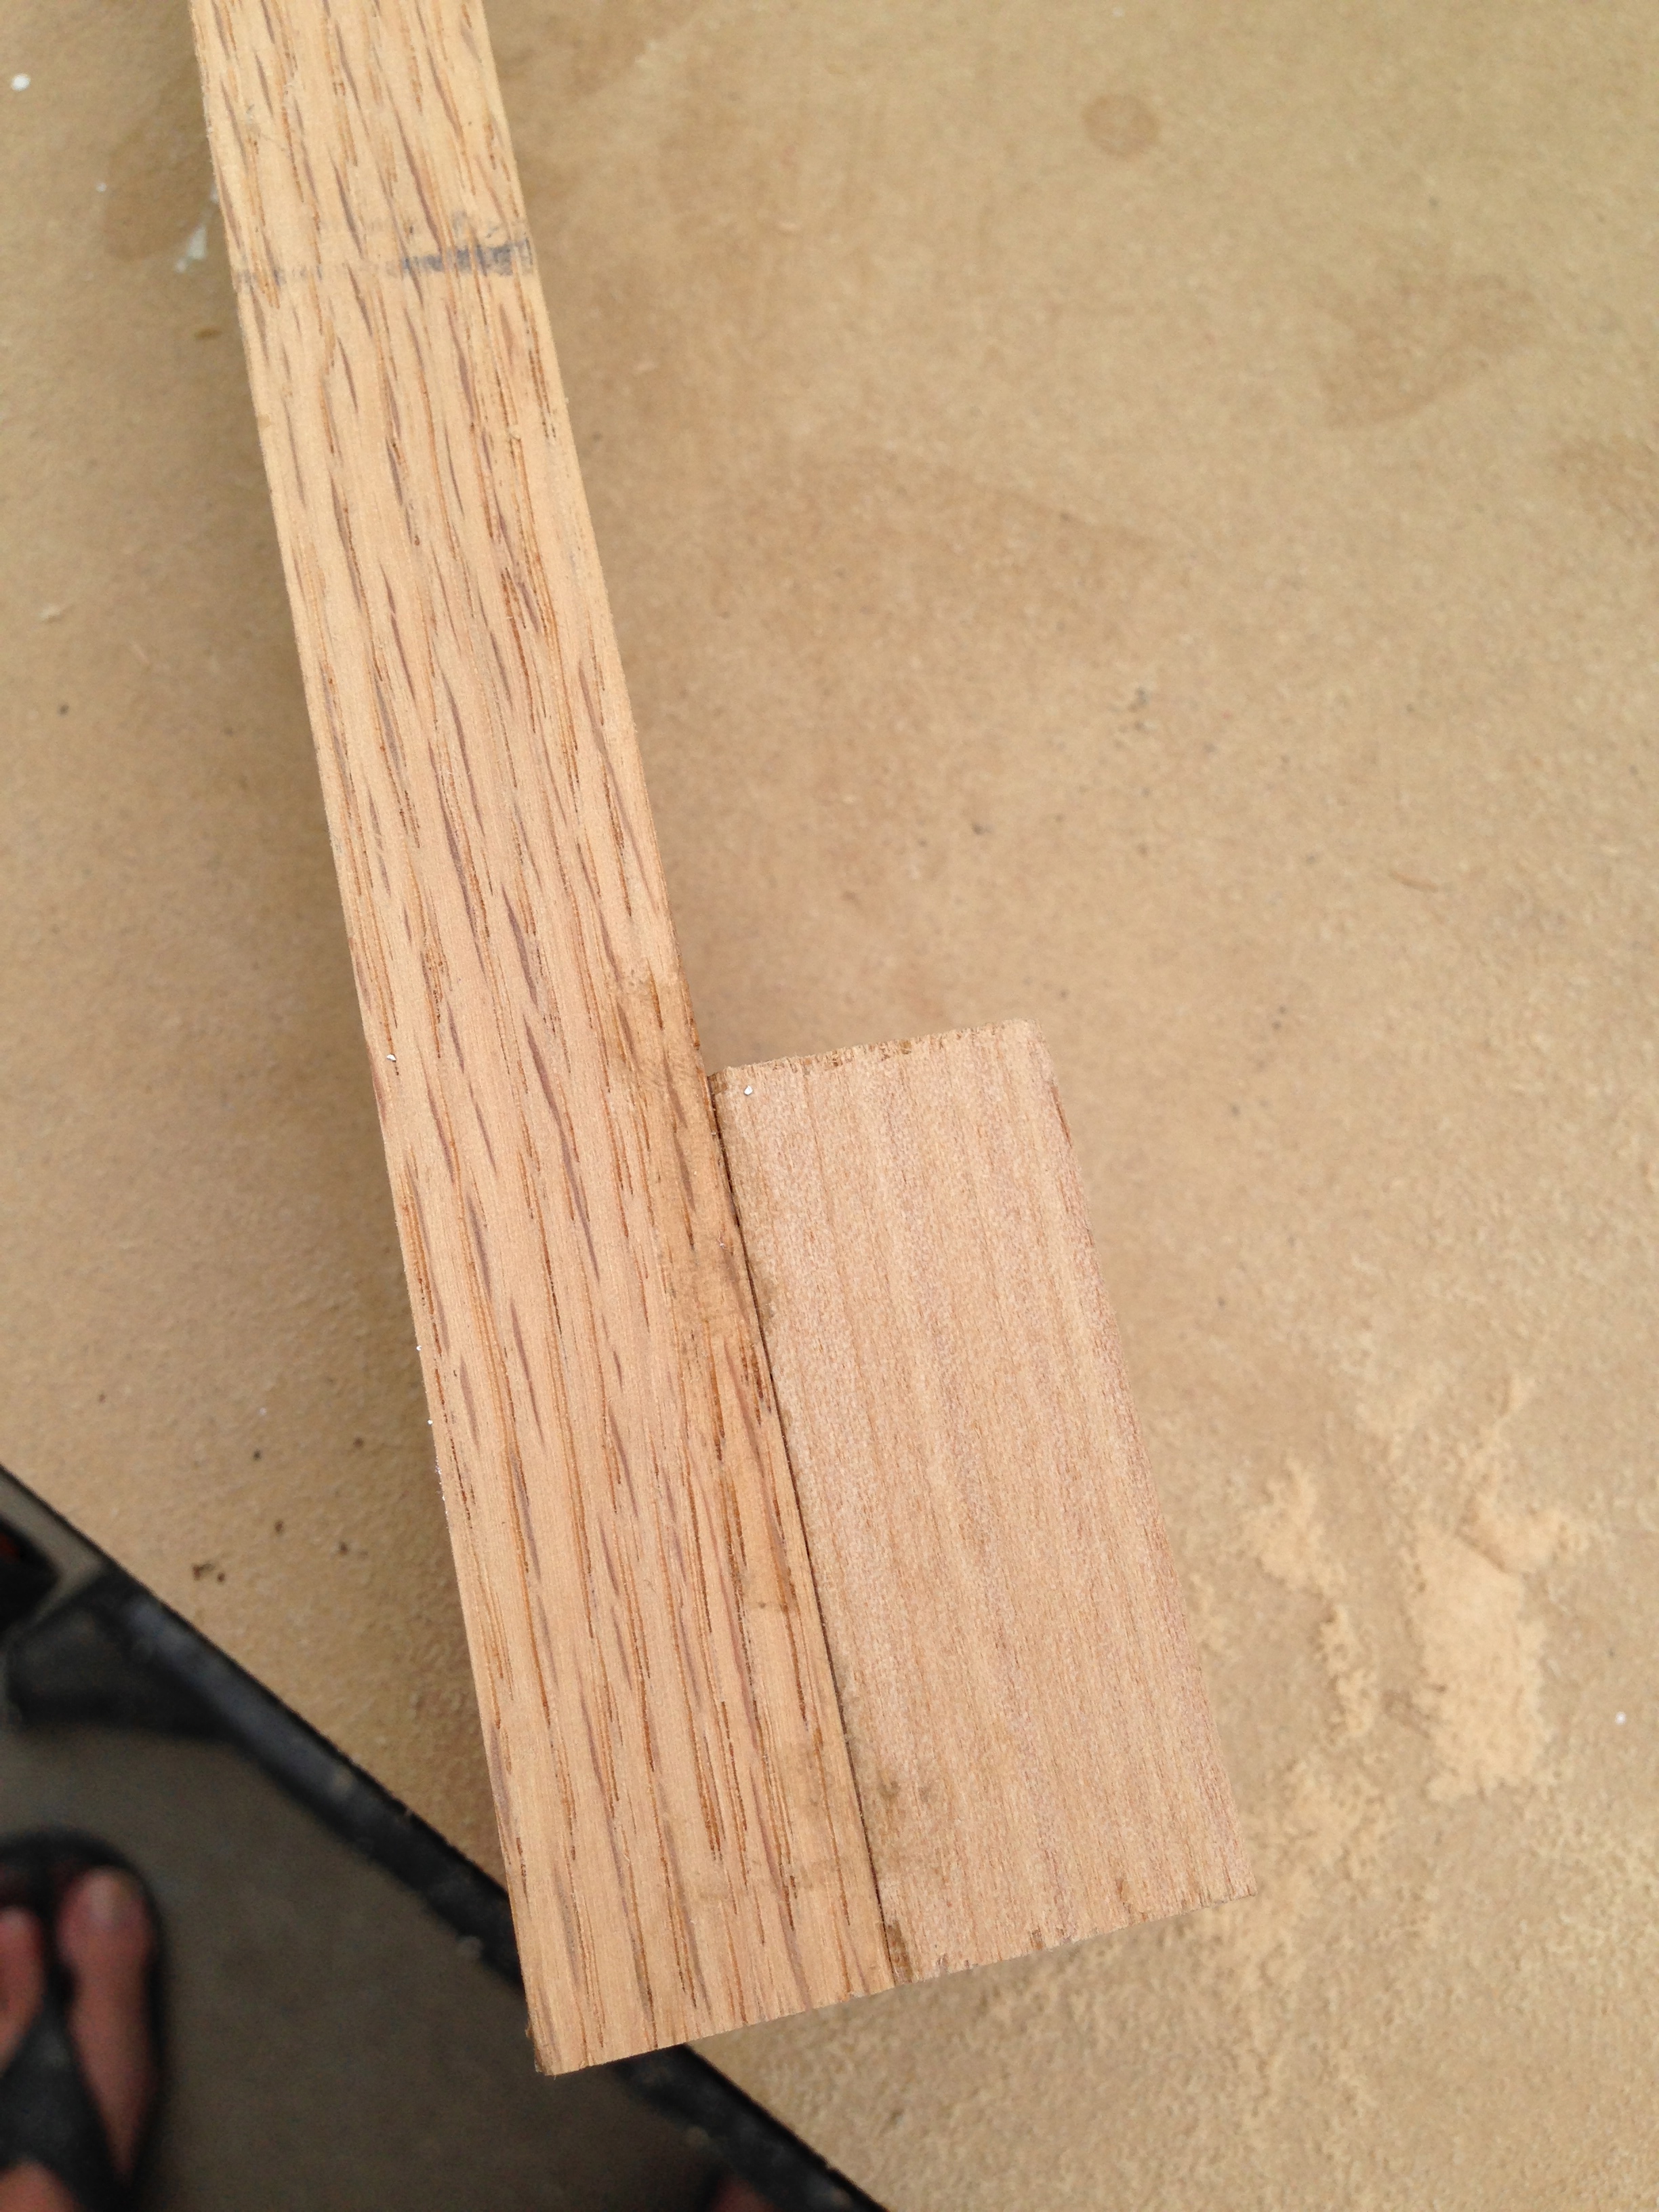
I procured my first belt sander in order to clean up the edges of all of those pieces. Here’s an example of a pair before: there’s some glue leakage, and the two pieces of wood aren’t exactly the same width, so they don’t line up perfectly. Also pictured: my toe.
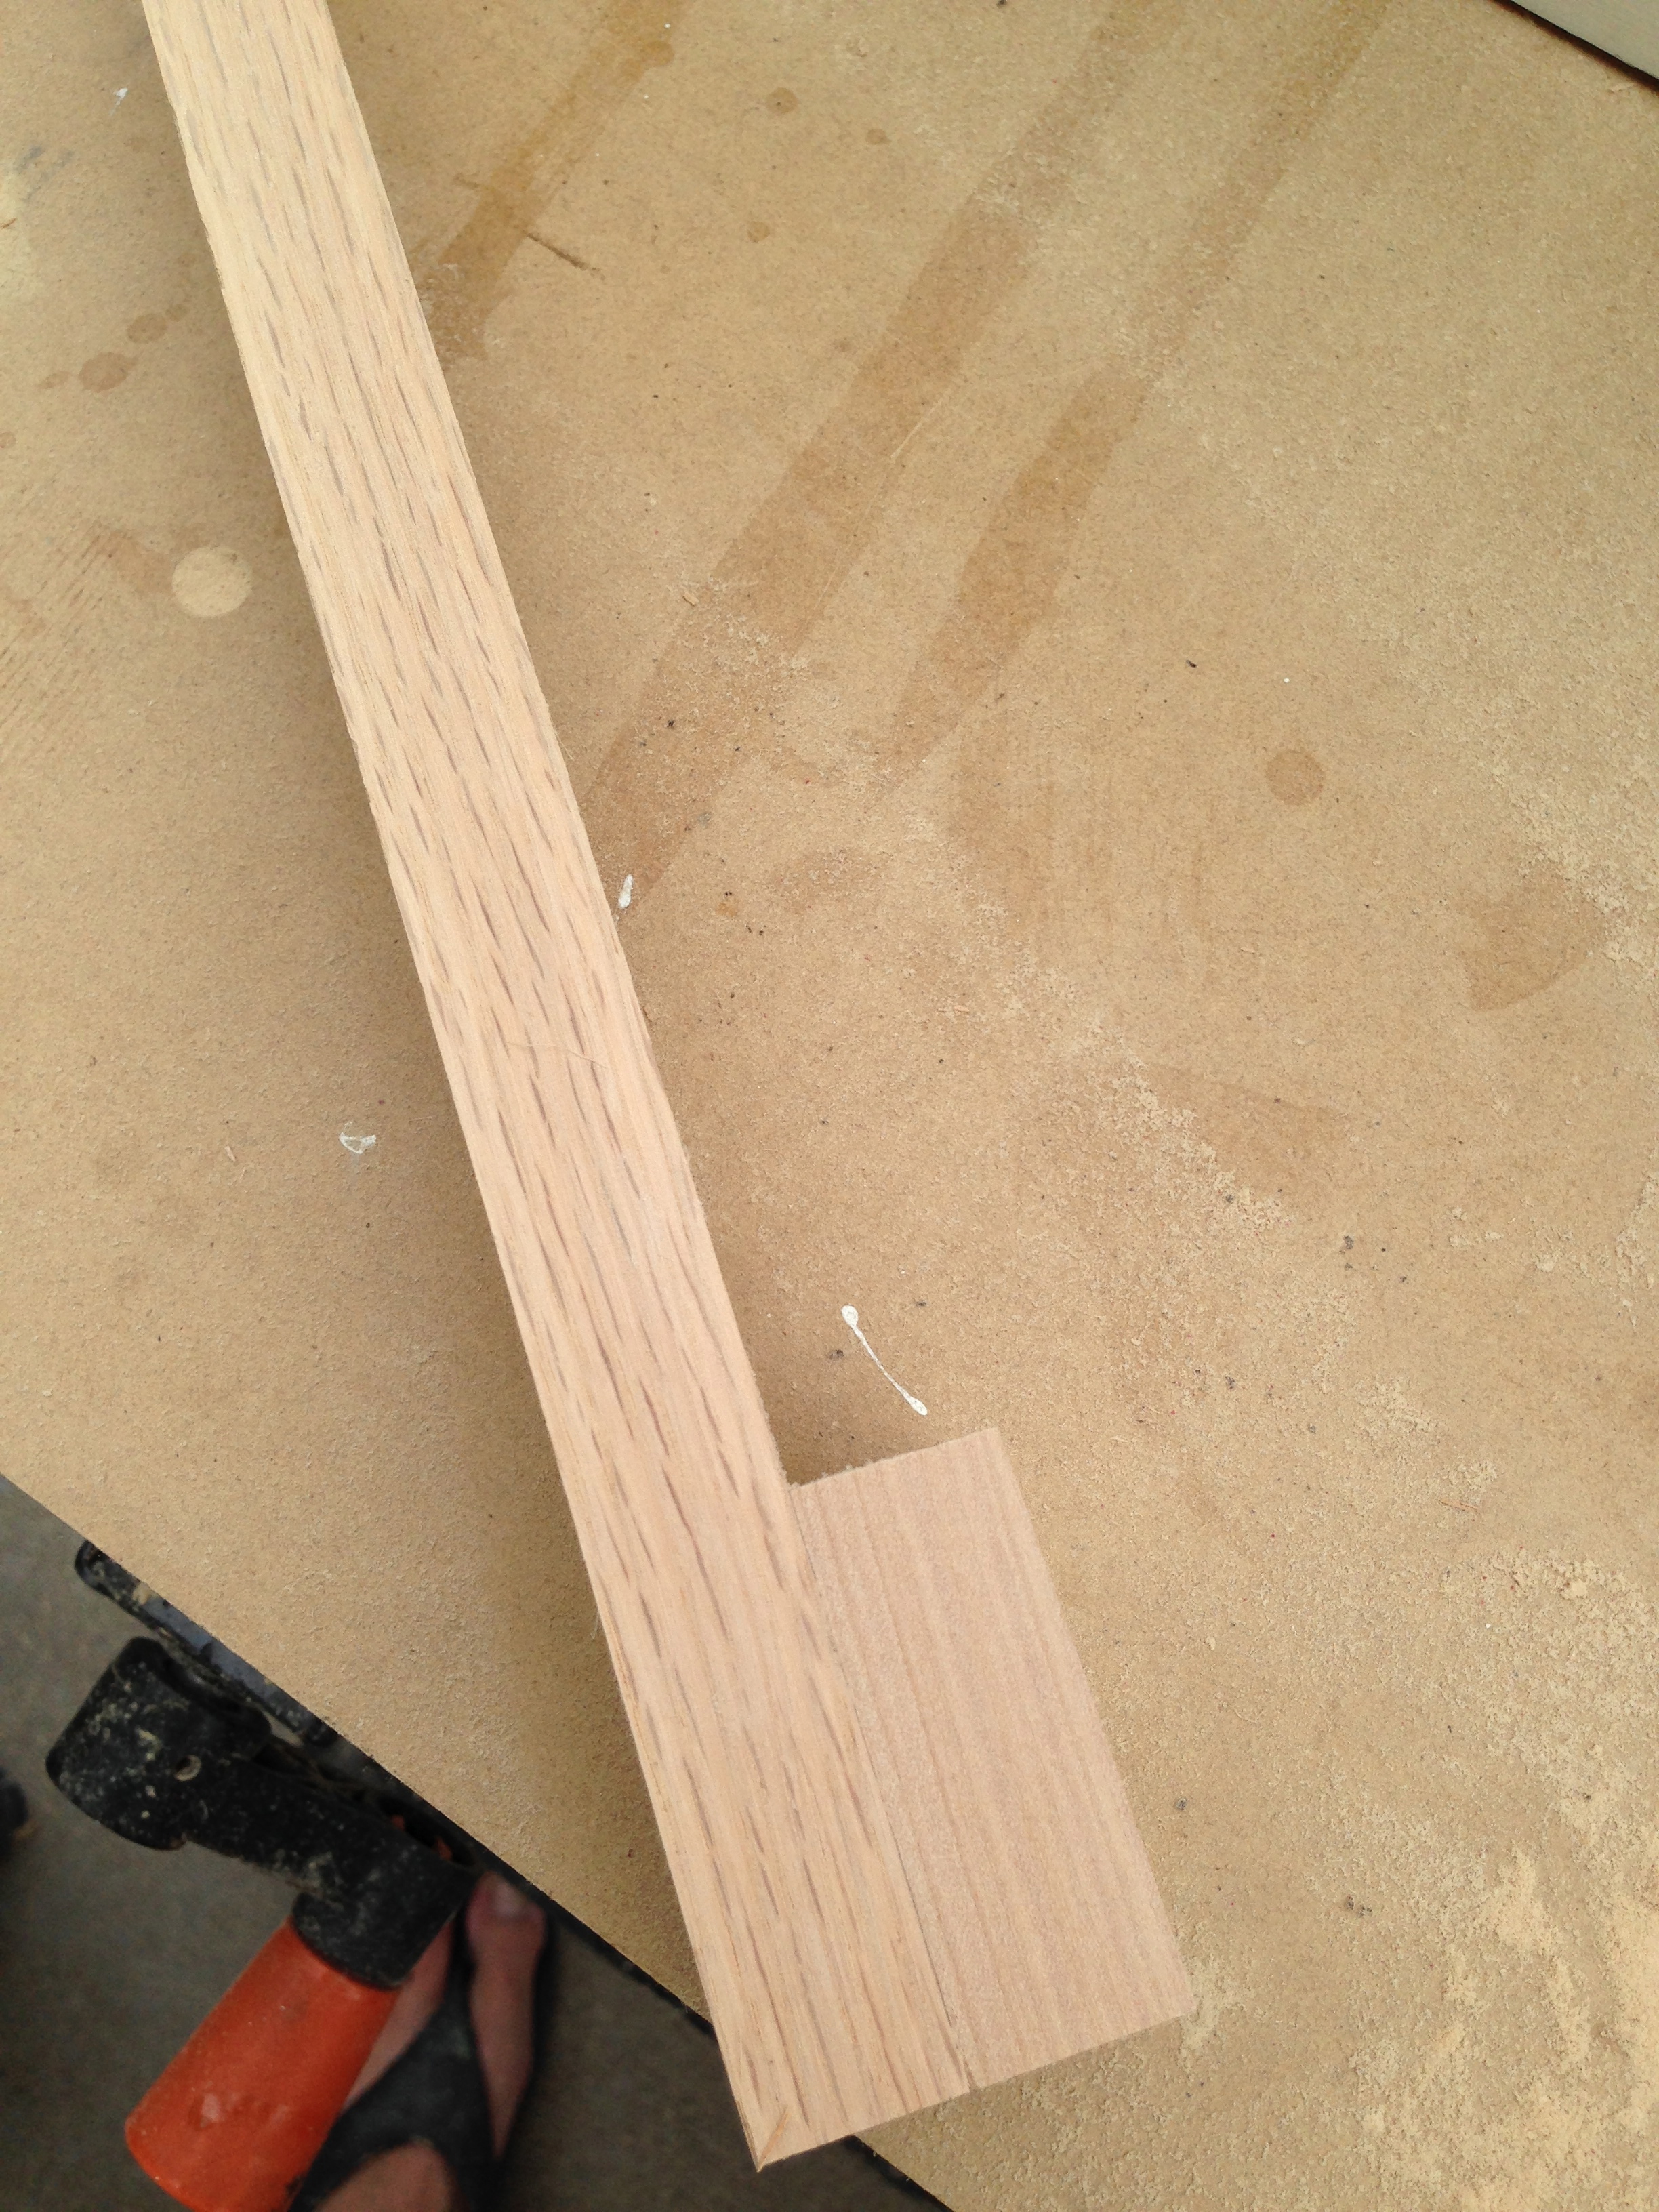
And here’s the same piece after belt sanding. I love belt sanding.
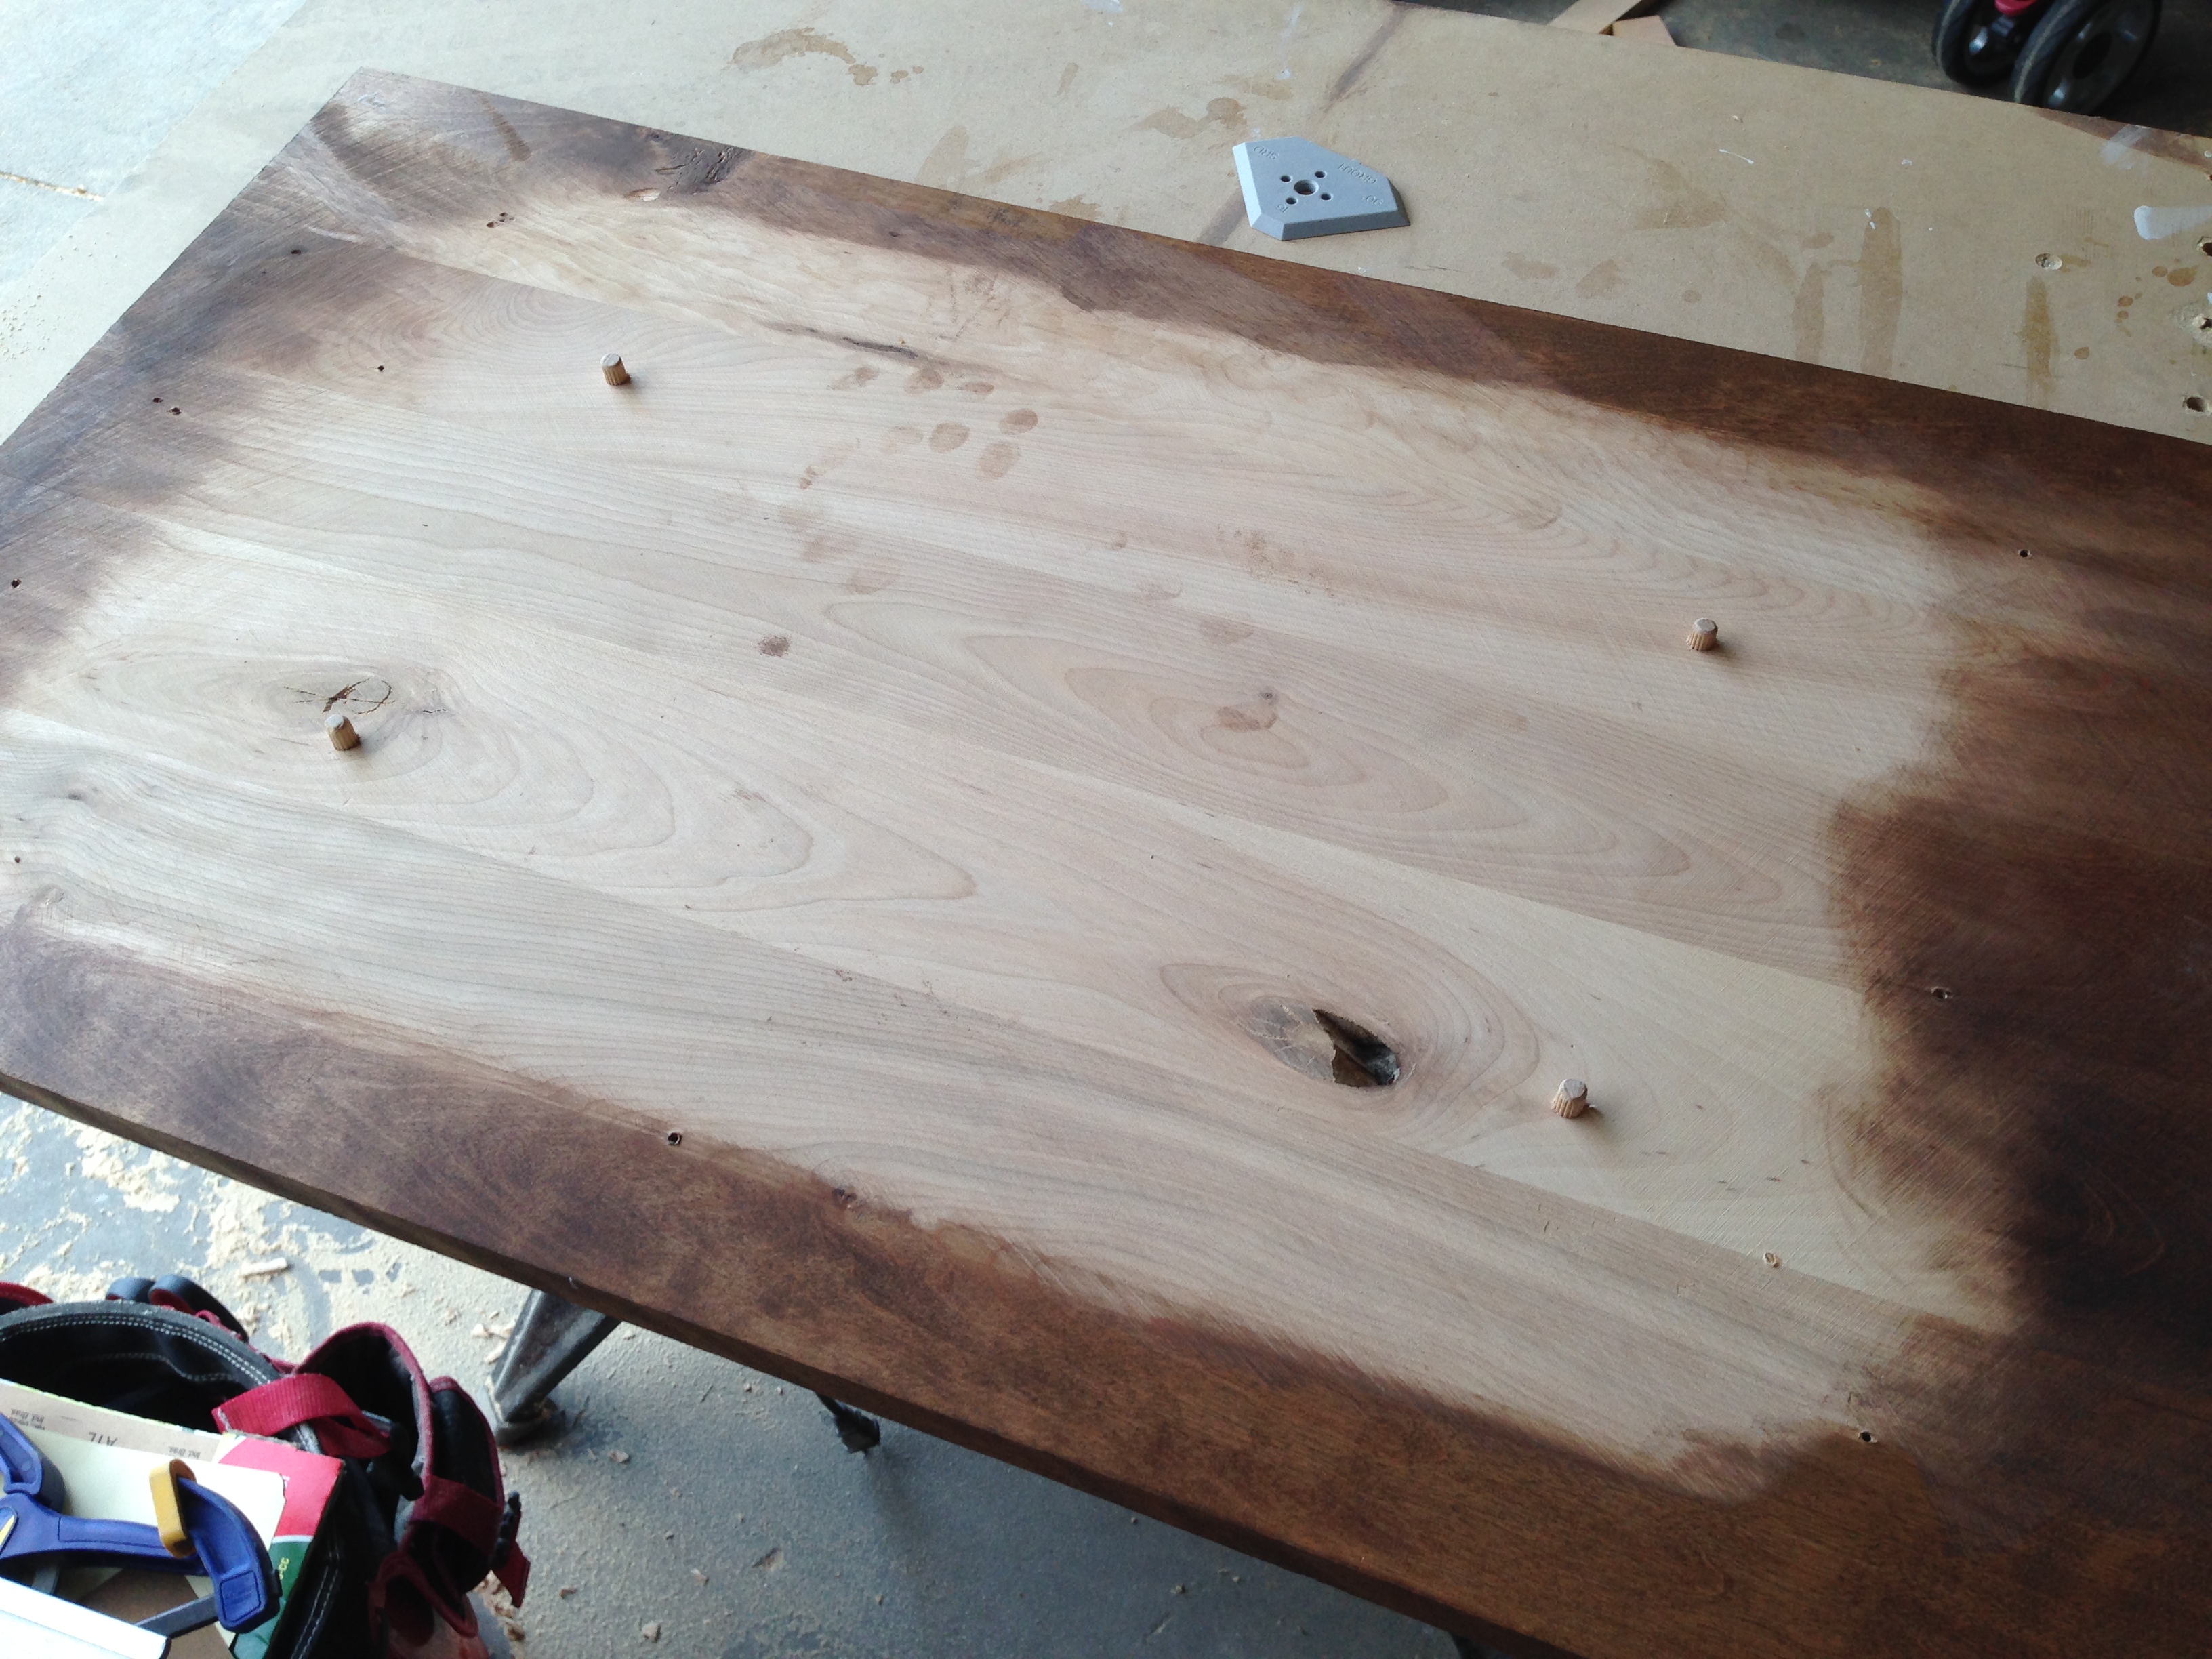
The tabletop is attached to the base with dowels and glue. Here’s the underside of the tabletop:
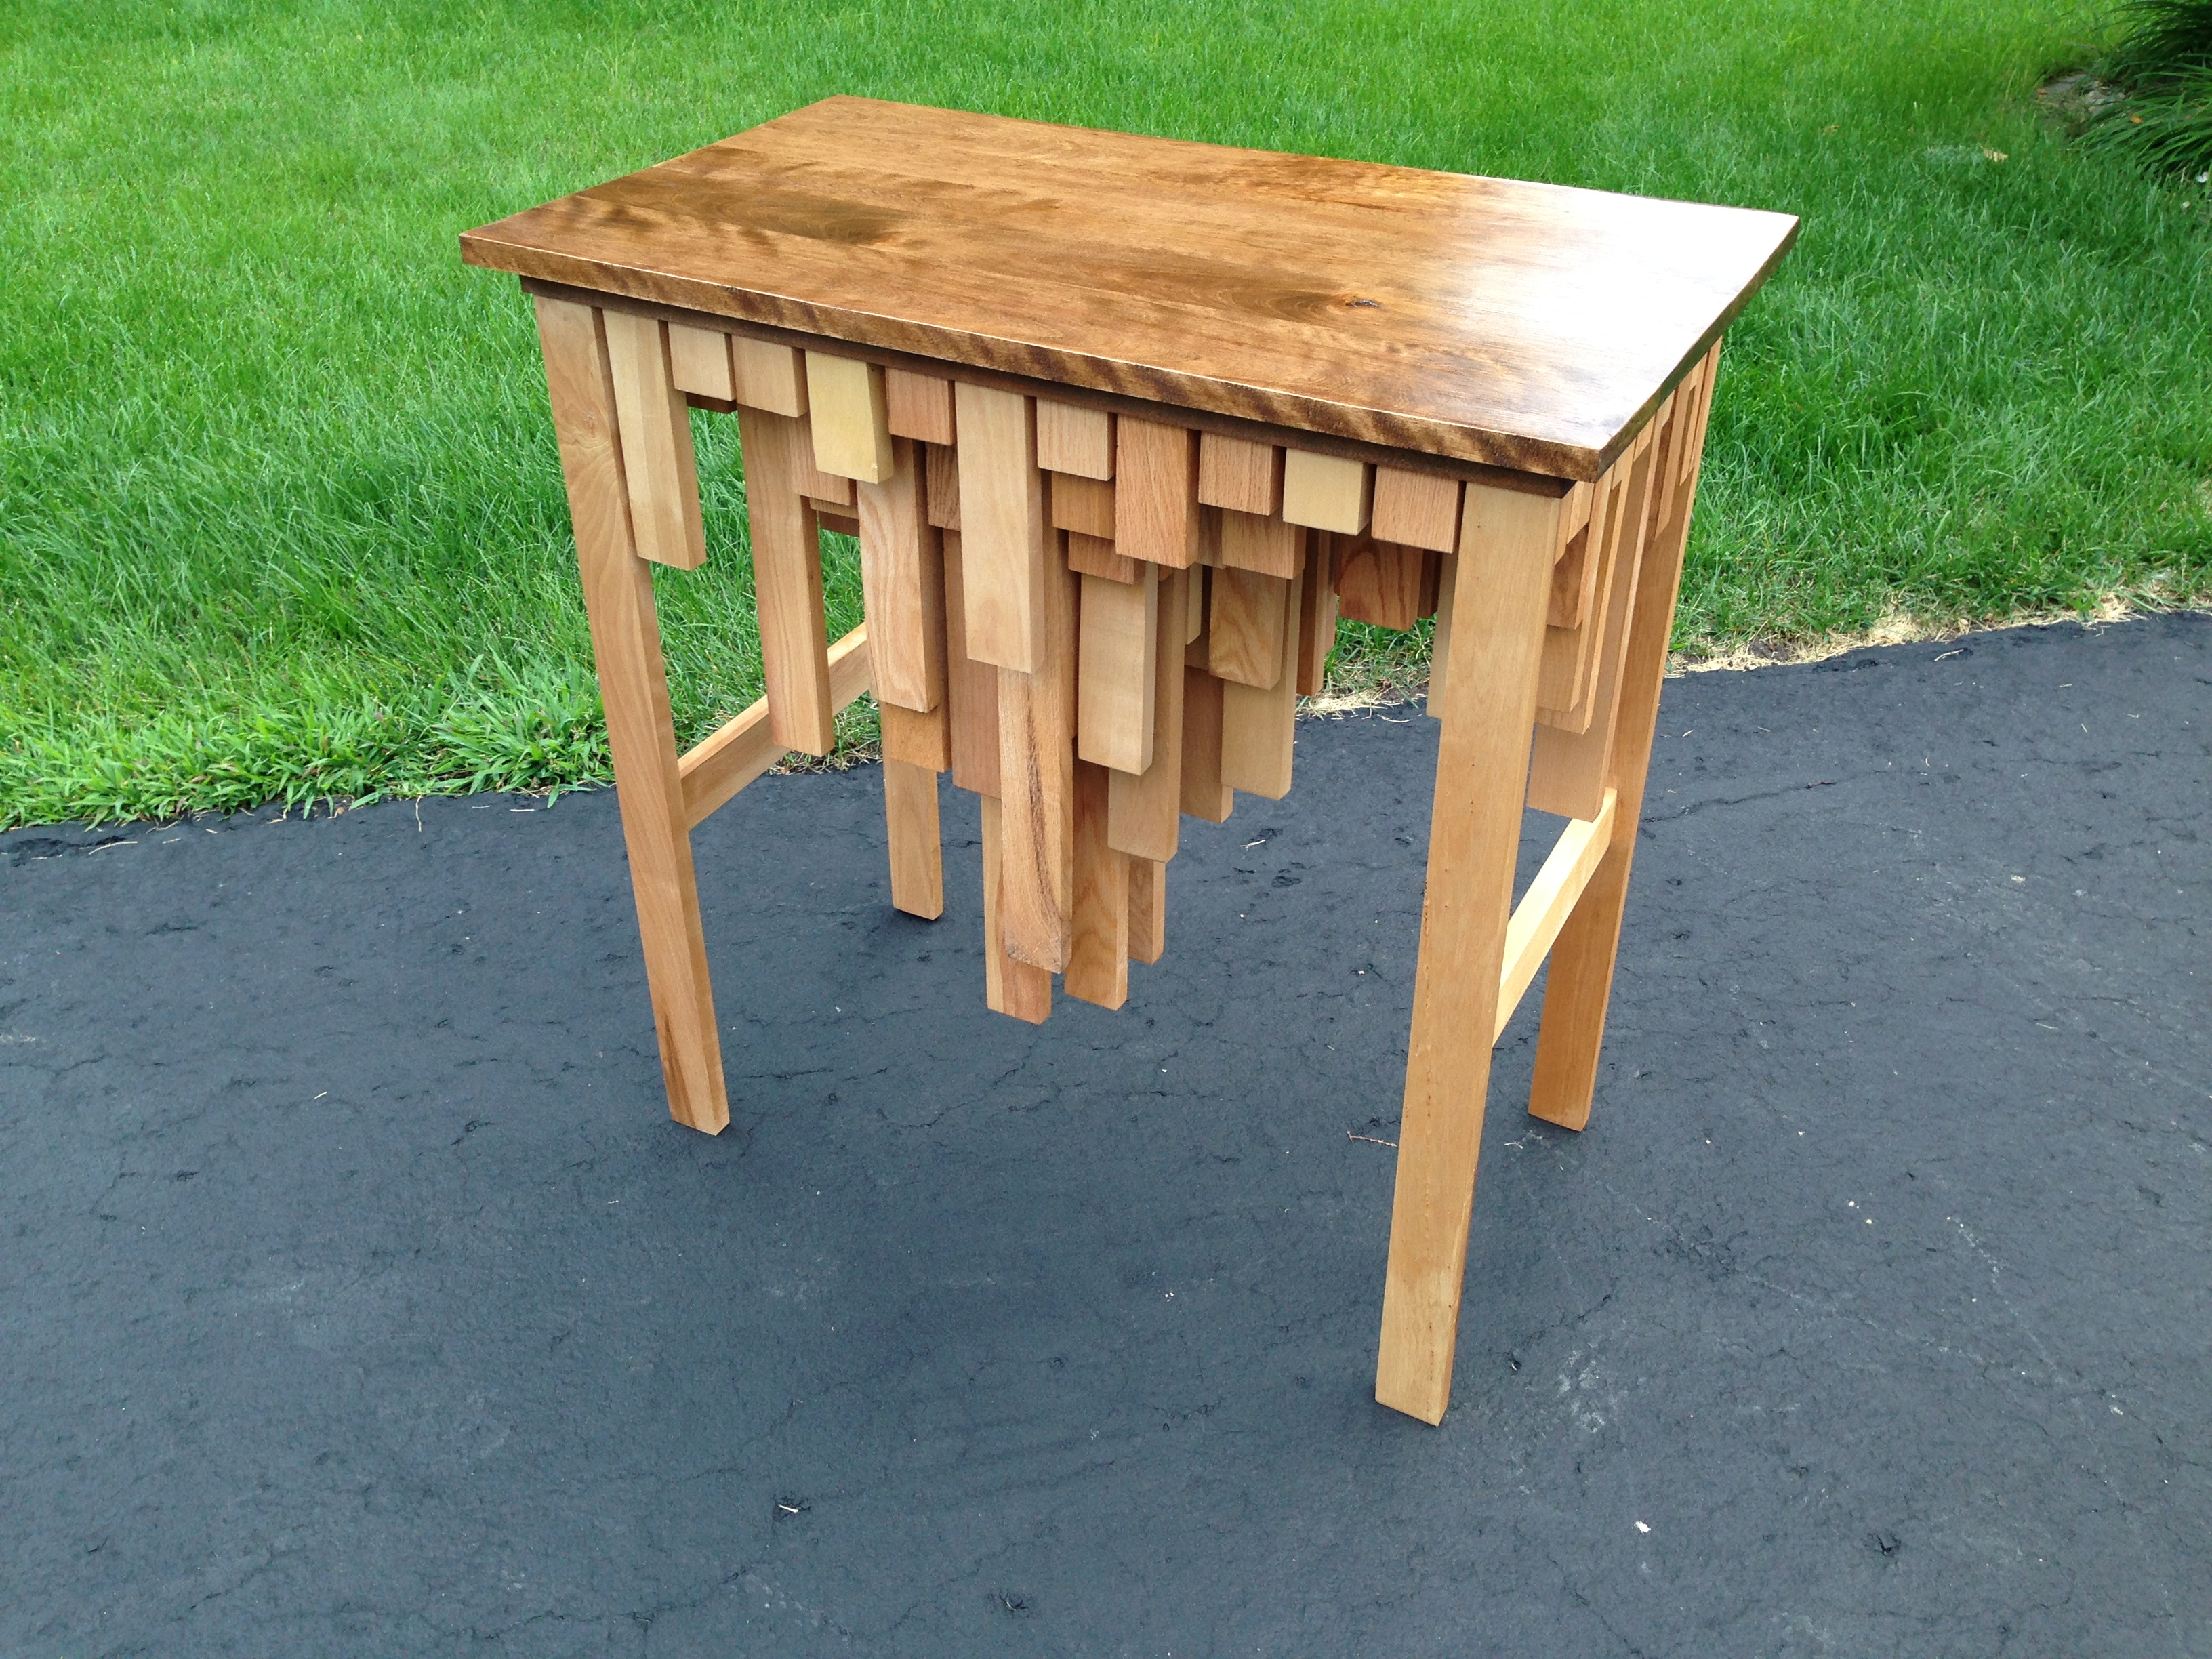
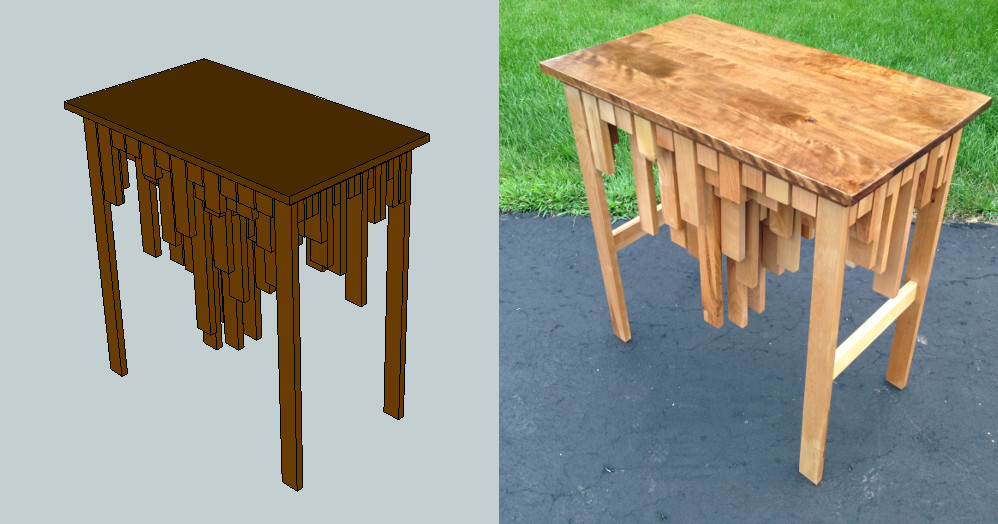
After staining both top pieces, reattaching all of the “buildings” underneath, making sure they were all square to each other, gluing on the top, and adding eight coats of shellac, this is the finished product.
A comparison between an updated render and the final product. Looks like I got all of the buildings in the right place!
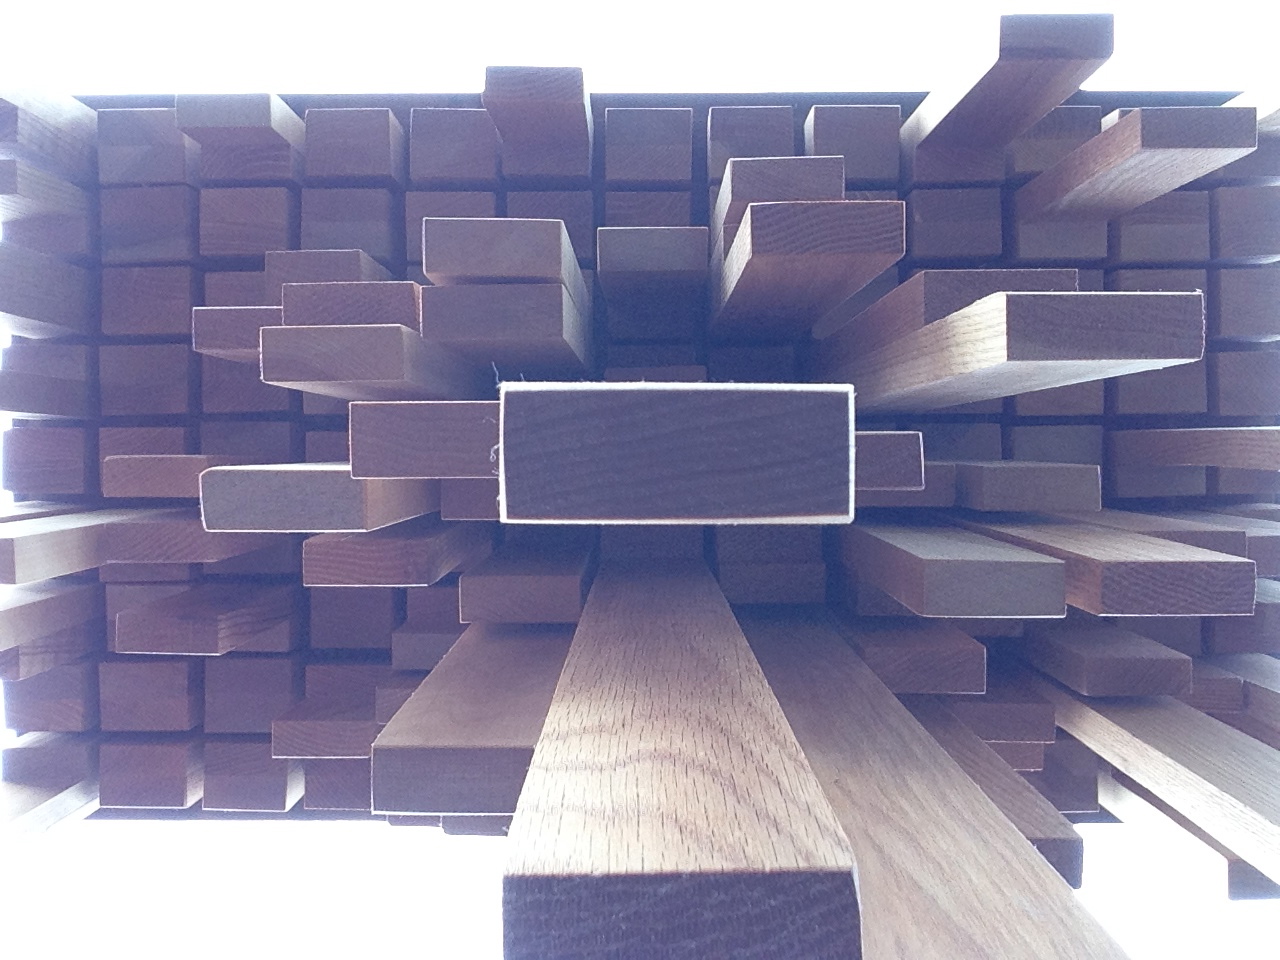
The view from underneath. I thought this looked neat.
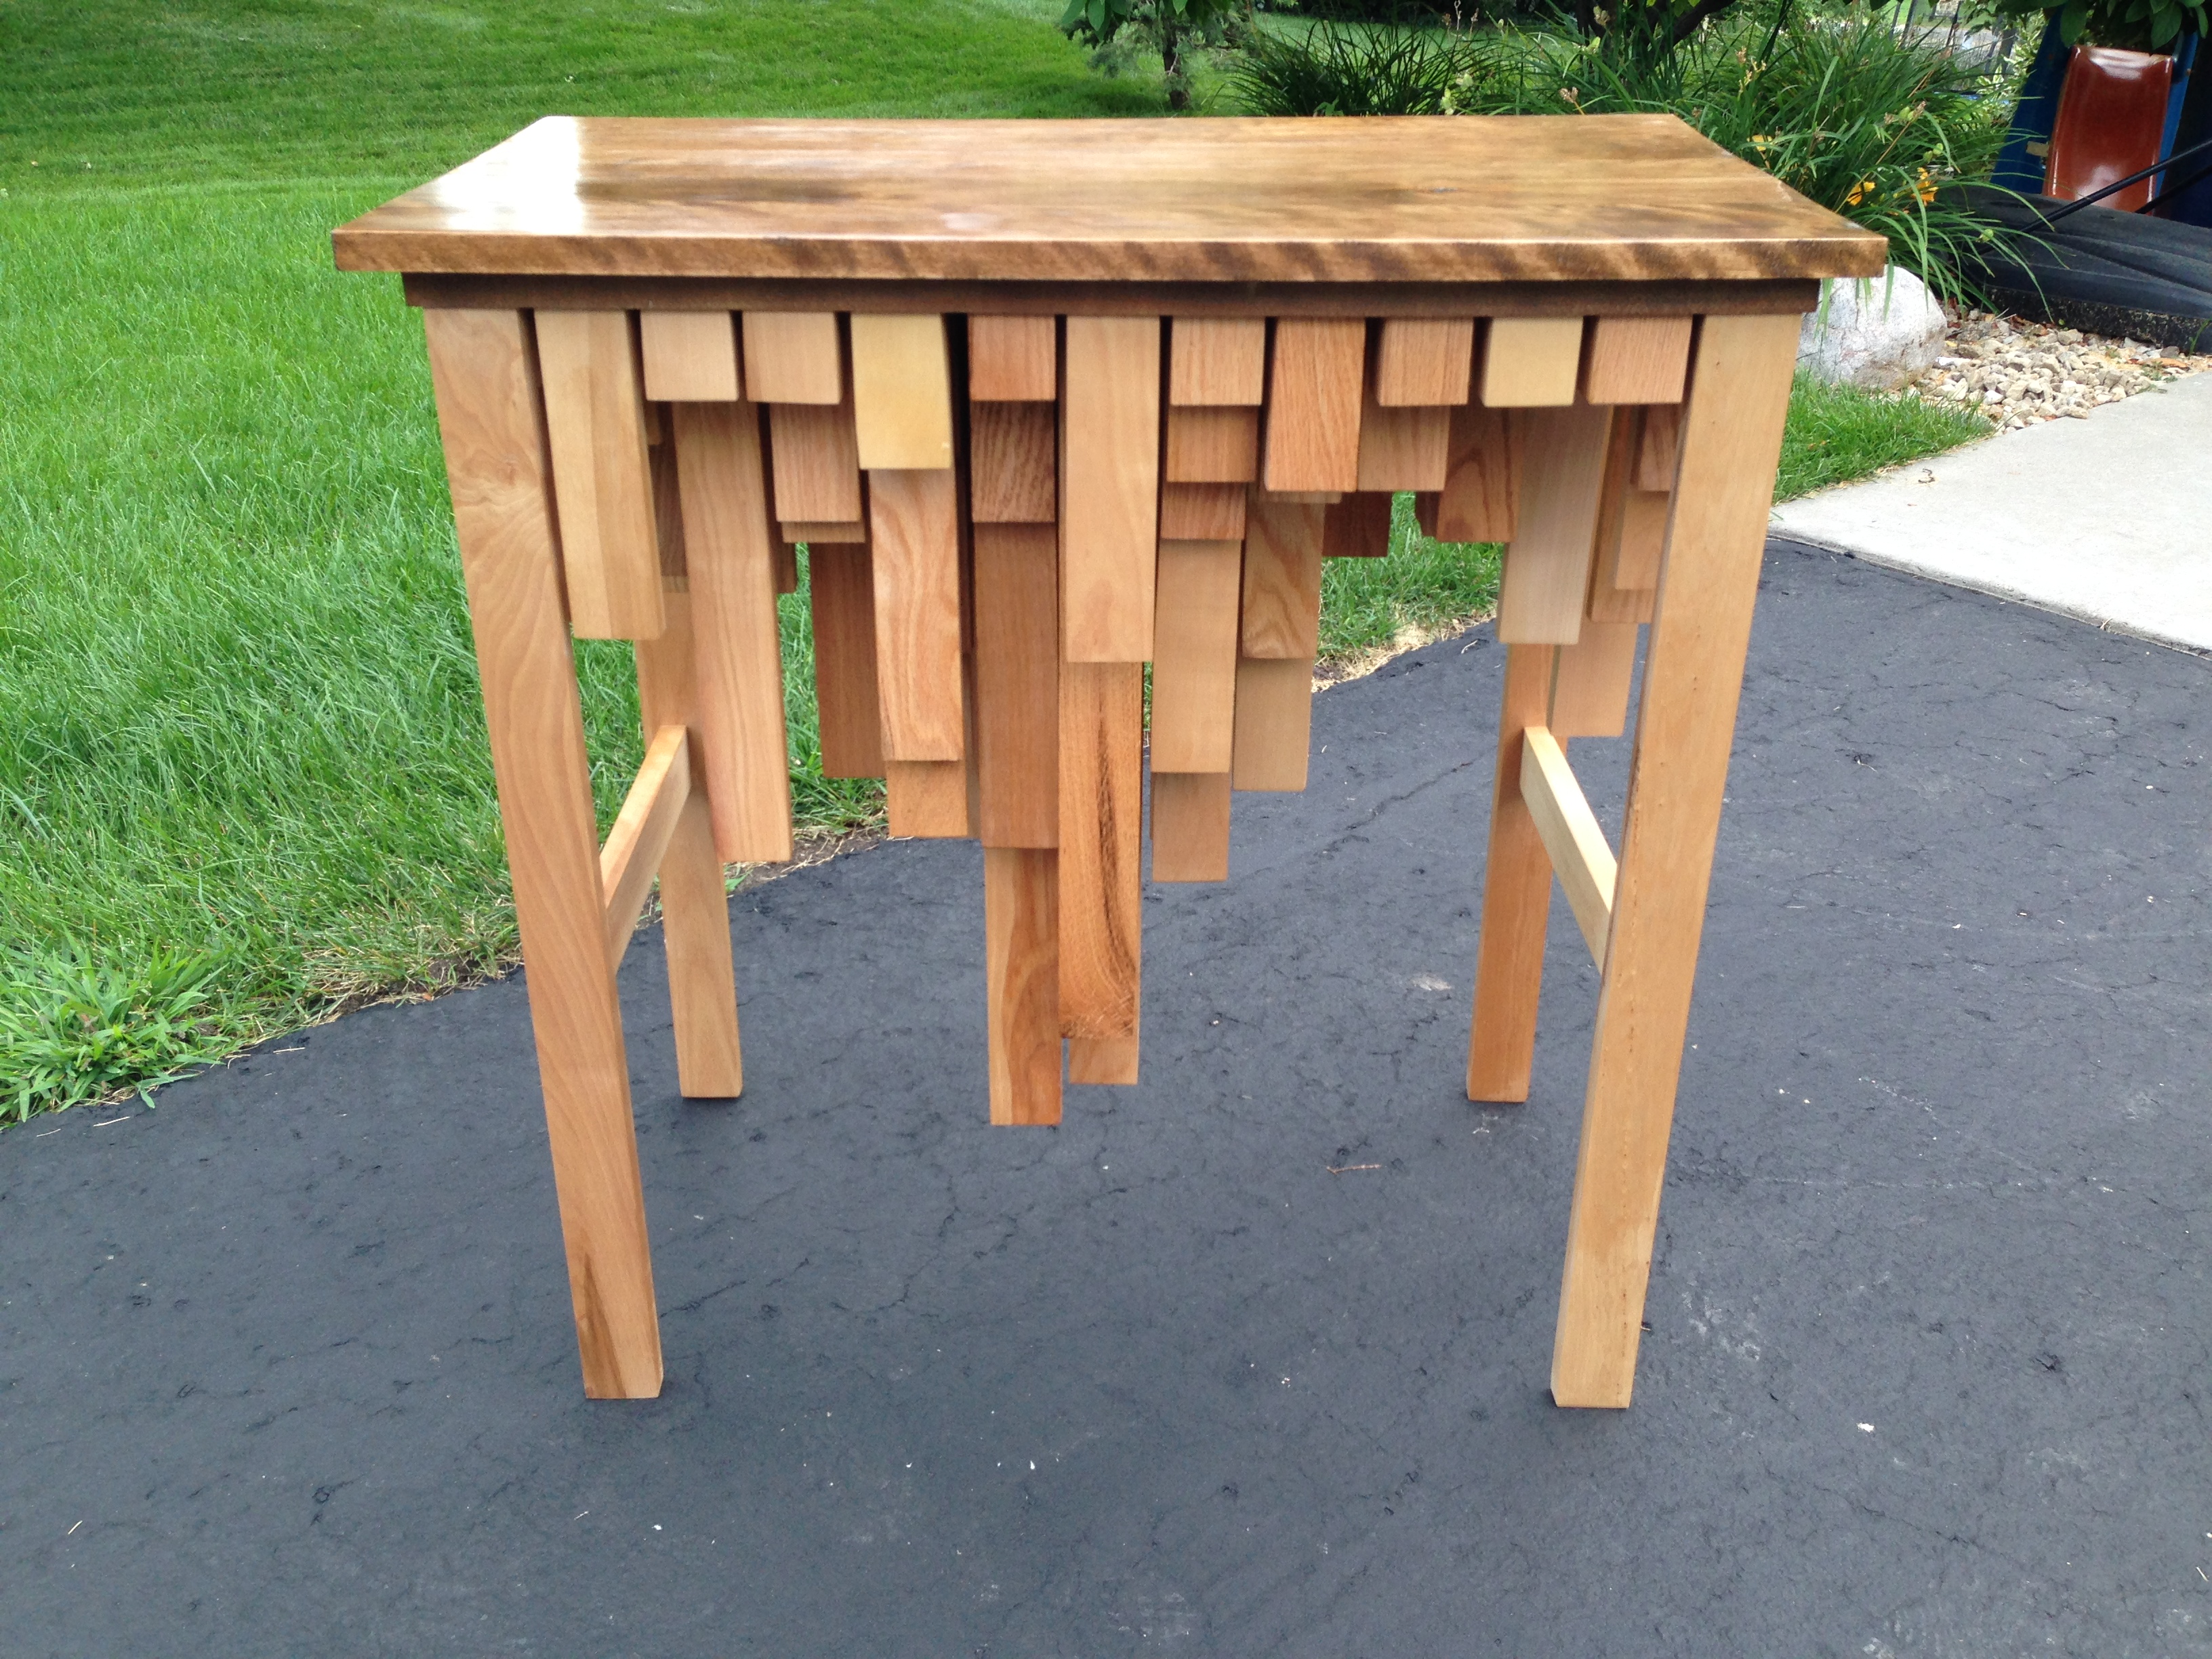
And from the front.
From the first cut to the last shellac coat, it took me about 25 hours over a month of nights and weekends, and I’m very pleased with it — I really enjoy having a one-of-a-kind piece of furniture.
I hope you don’t plan on sitting by it much, as I don’t really see a way to fit your legs underneath. But as a working or dispay table I guess it’d be fine.
Also you never told us how much it weighs.
Its size makes it more suitable as an endtable, so no concerns about space underneath for legs.
And you never guessed!
Amazing. Well-done. Well-crafted. Did you put those little silver buttons (sliders) on the legs?
No, but I plan to.
That is pretty neat! I gues… 50lbs!
Are they for sale?
For the right price, I could definitely build another. :-)
That’s very cool! I feel like you should stencil a map on top that matches up with the buildings on the bottom.
That’s a neat idea.
Could you describe how you did the scale and map for the buildings?
Sure! I printed out a Google map of downtown Minneapolis, and then, block by block, I marked each major building with its height, using data from here: http://skyscraperpage.com/cities/maps/?cityID=255 I made a spreadsheet of the heights, decided on a scale (about 1 inch of wood for every 10 meters of building height), and for any building that wasn’t tall enough to merit an entry on the map, I set at a minimum of two inches.
Wow, a programmer and craftsman!
Weighs around 40 lbs?
What is the right price for such a piece?
:-) It weighs 68 pounds.
There’s no price on this table, since it’s now in use at the Minneapolis Institute of Arts: http://www.chrisfinke.com/2014/09/15/my-minneapolis-table-has-found-a-forever-home/
Yeah, I saw that. In fact, I came to this article from the one you mention.
What if someone commissions you to make another such piece? First of all, would you do it? If yes, then what would be your price?
After thinking about it some more, probably not. I have a lot of projects on my mental todo list that I’d rather dedicate my time to, so unless someone had a really compelling reason, I don’t think I’d make another table like this.