
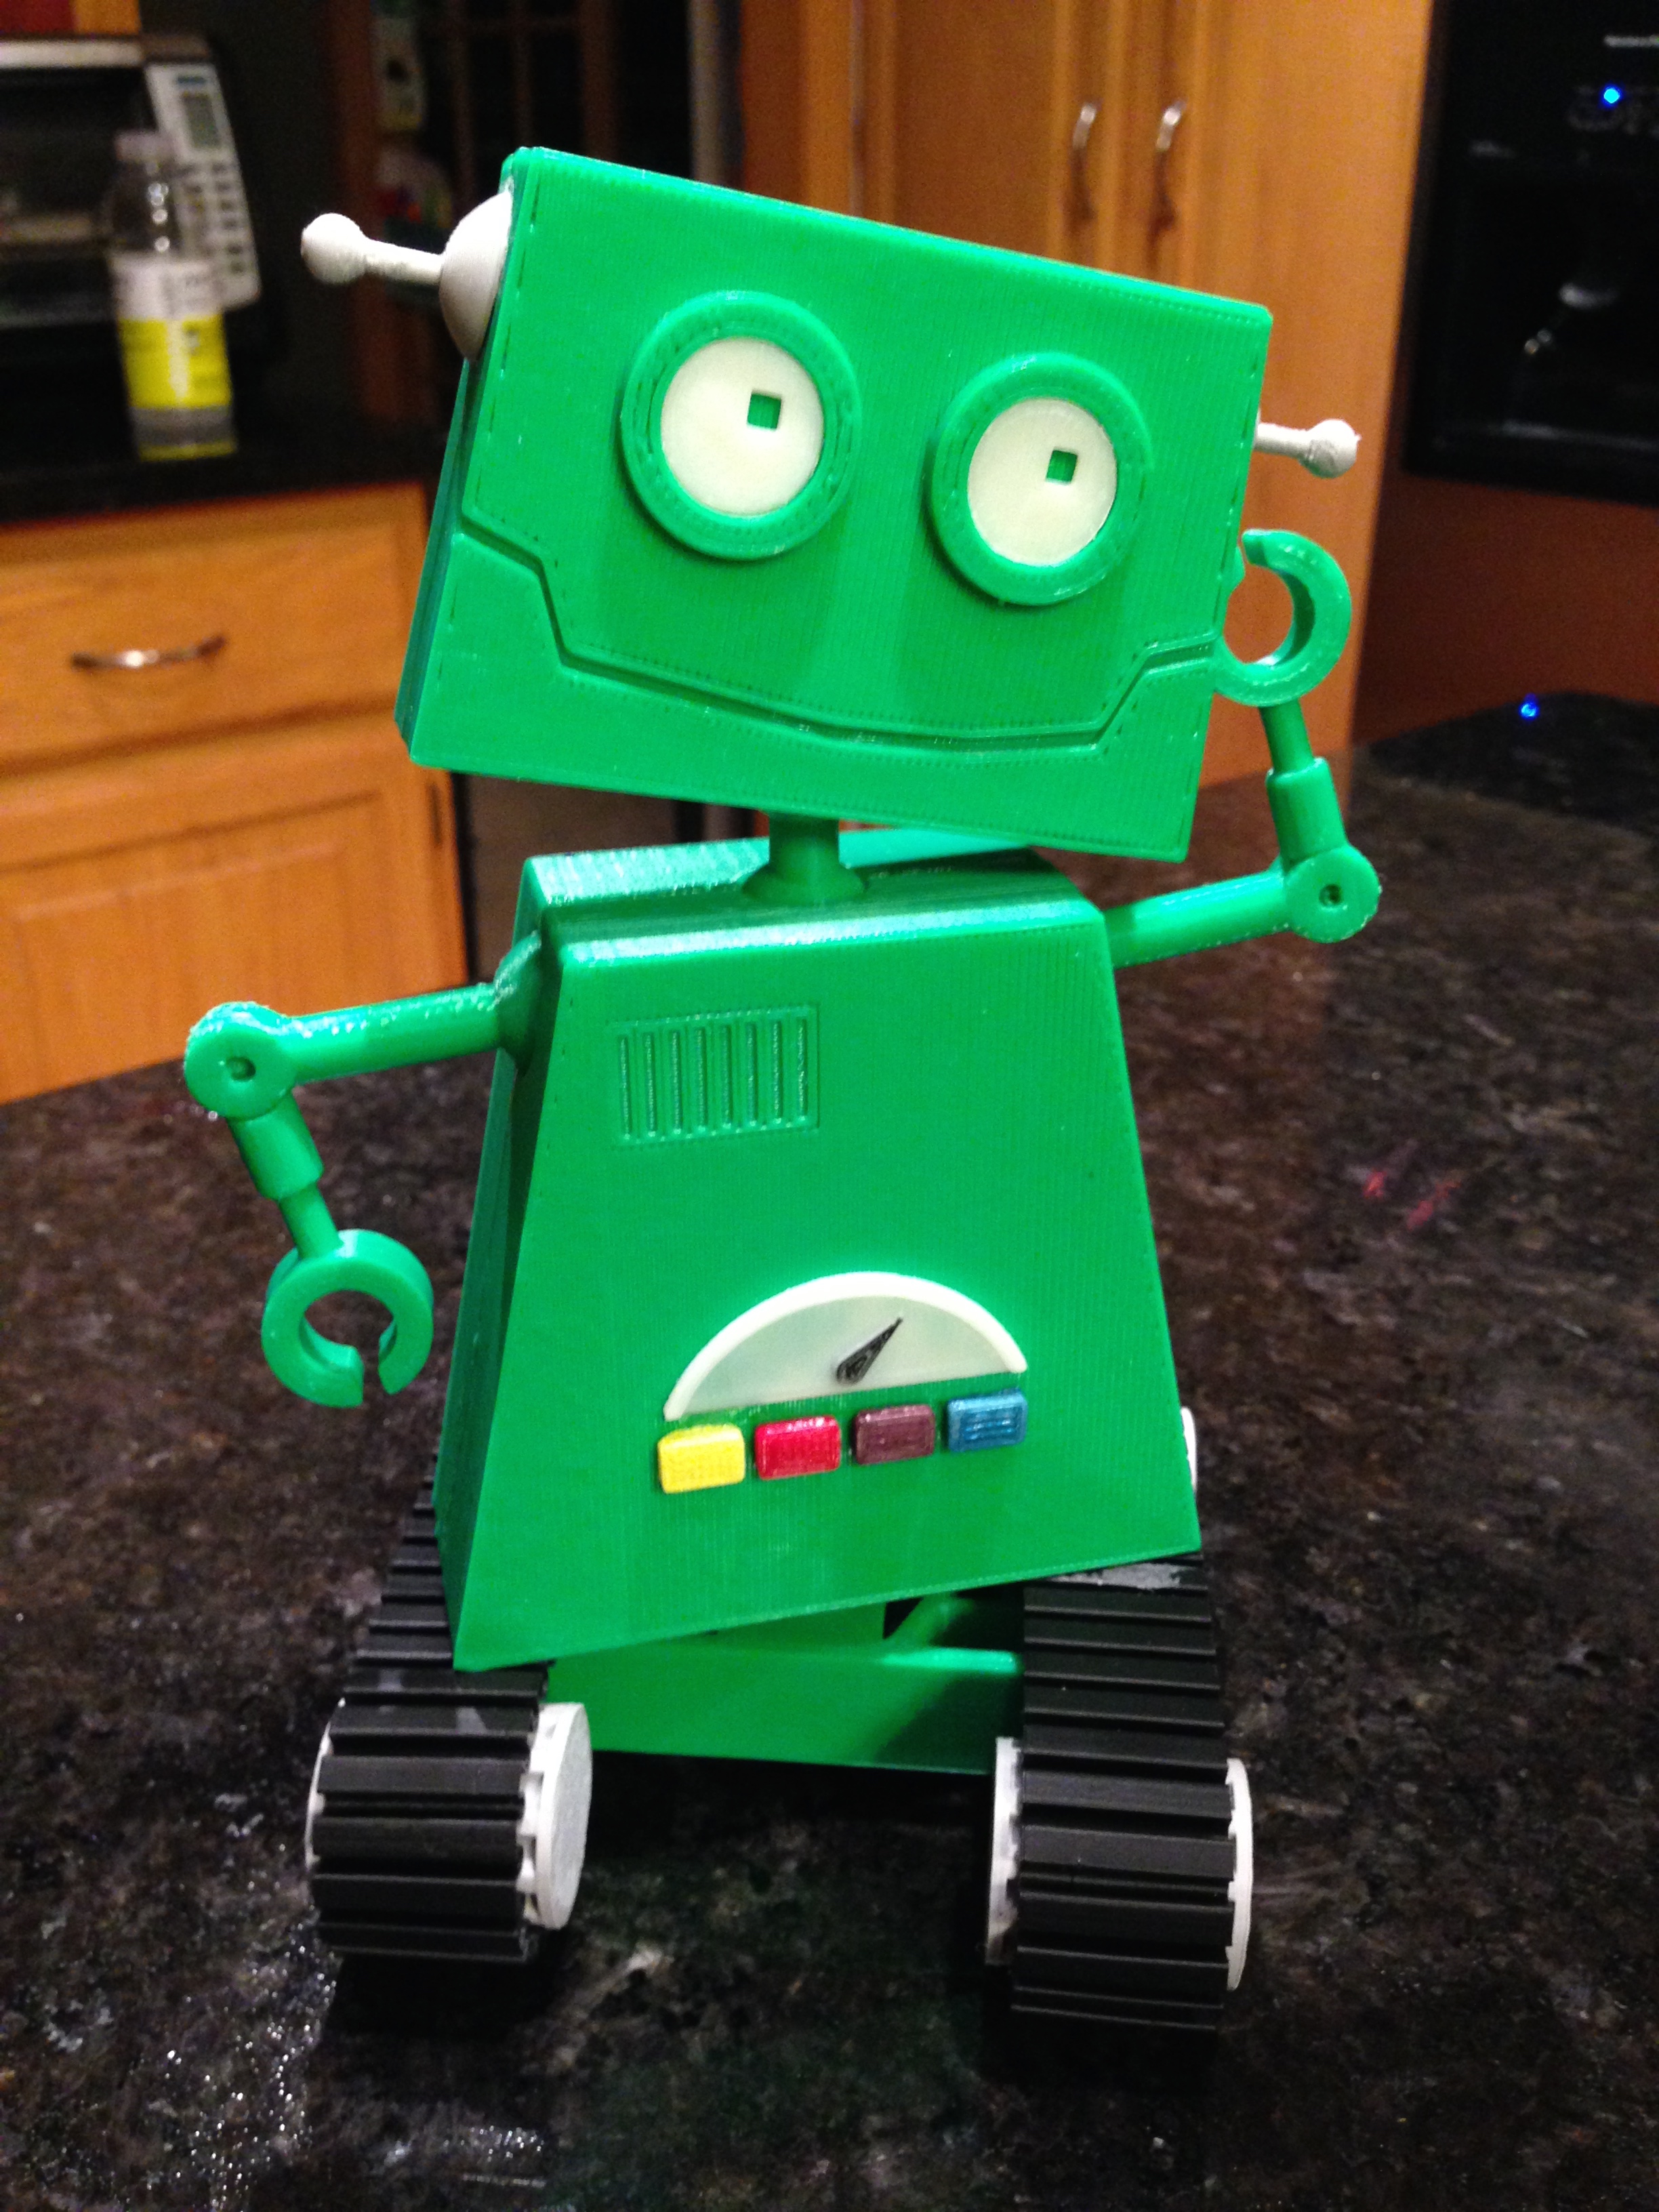
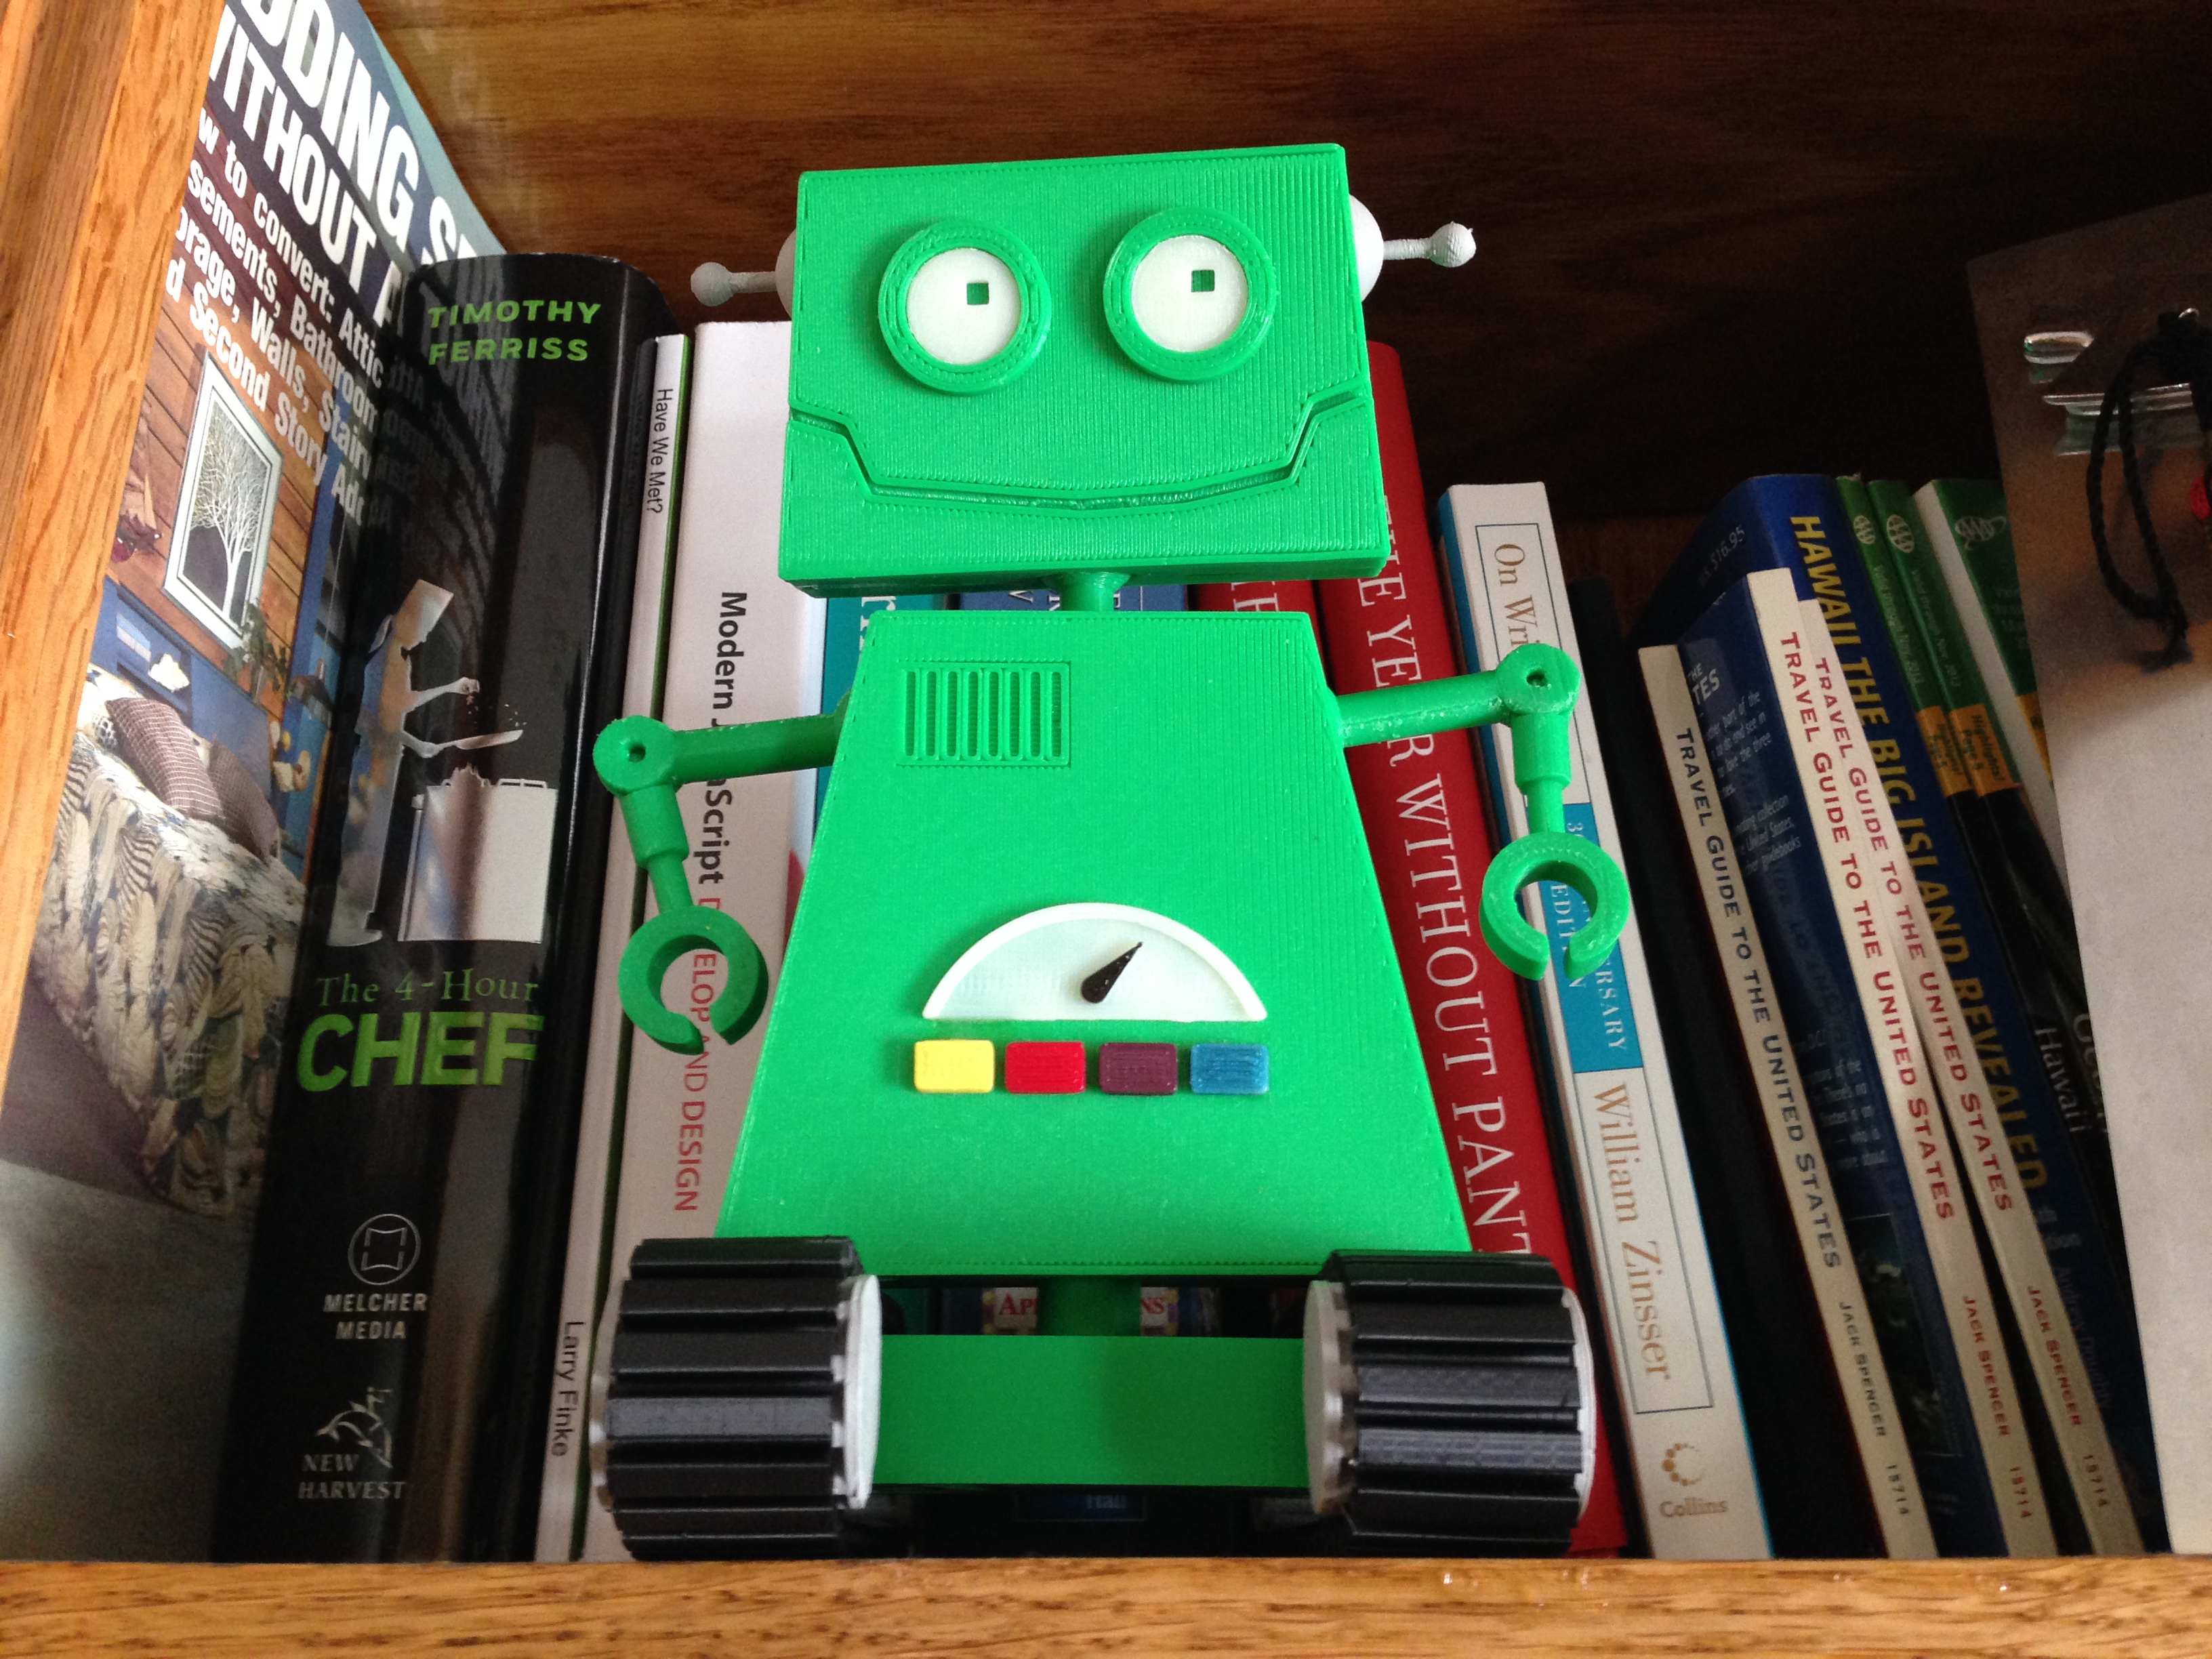
Akisbot is the Akismet mascot; he was originally designed by Dan Hauk, but this 3D version was modeled and printed by yours truly.
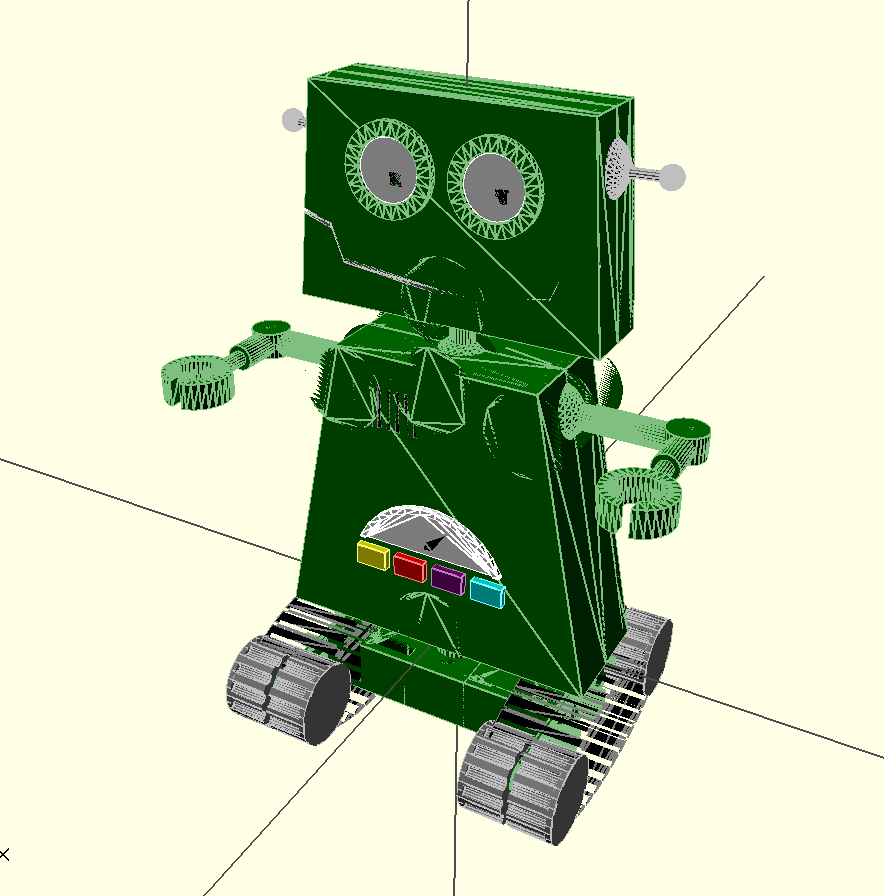
Here’s Dan’s design that I used as a reference during fabrication:

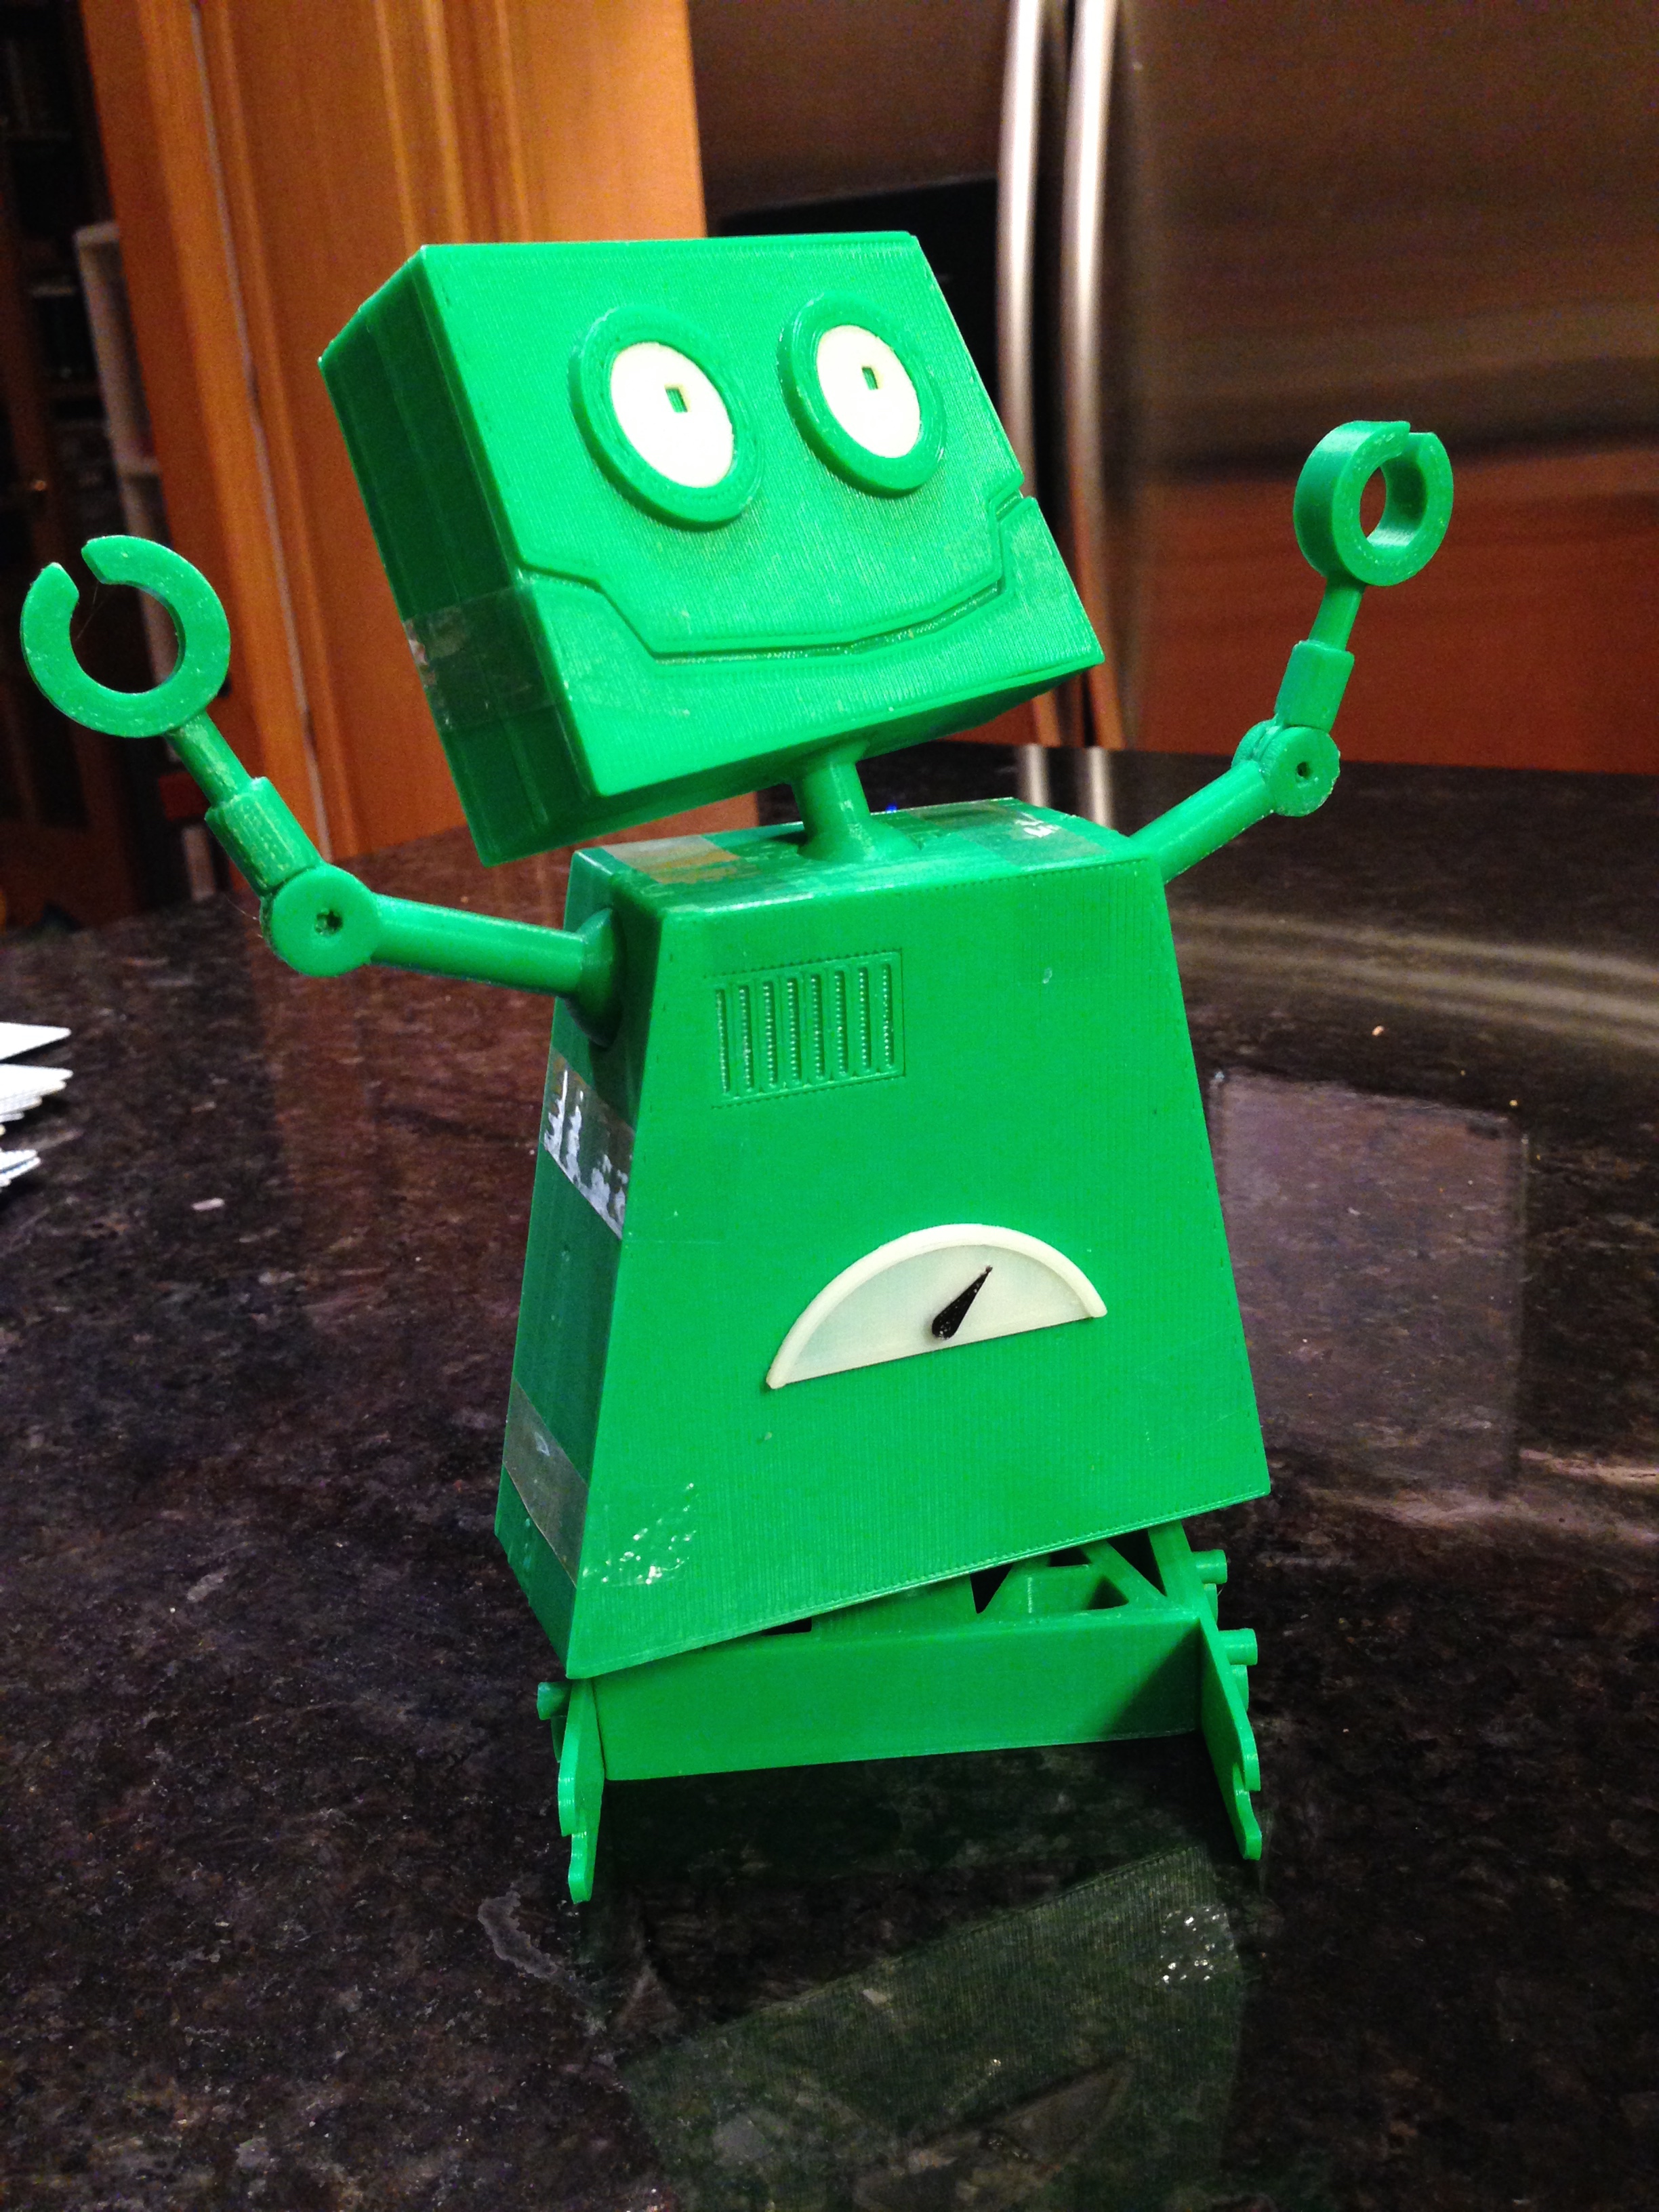
I designed the entire thing in OpenSCAD, and I’ve published all of the source files on GitHub, so you can print your very own Akisbot. The bot in these pictures was printed at 40% scale and is eight inches tall.
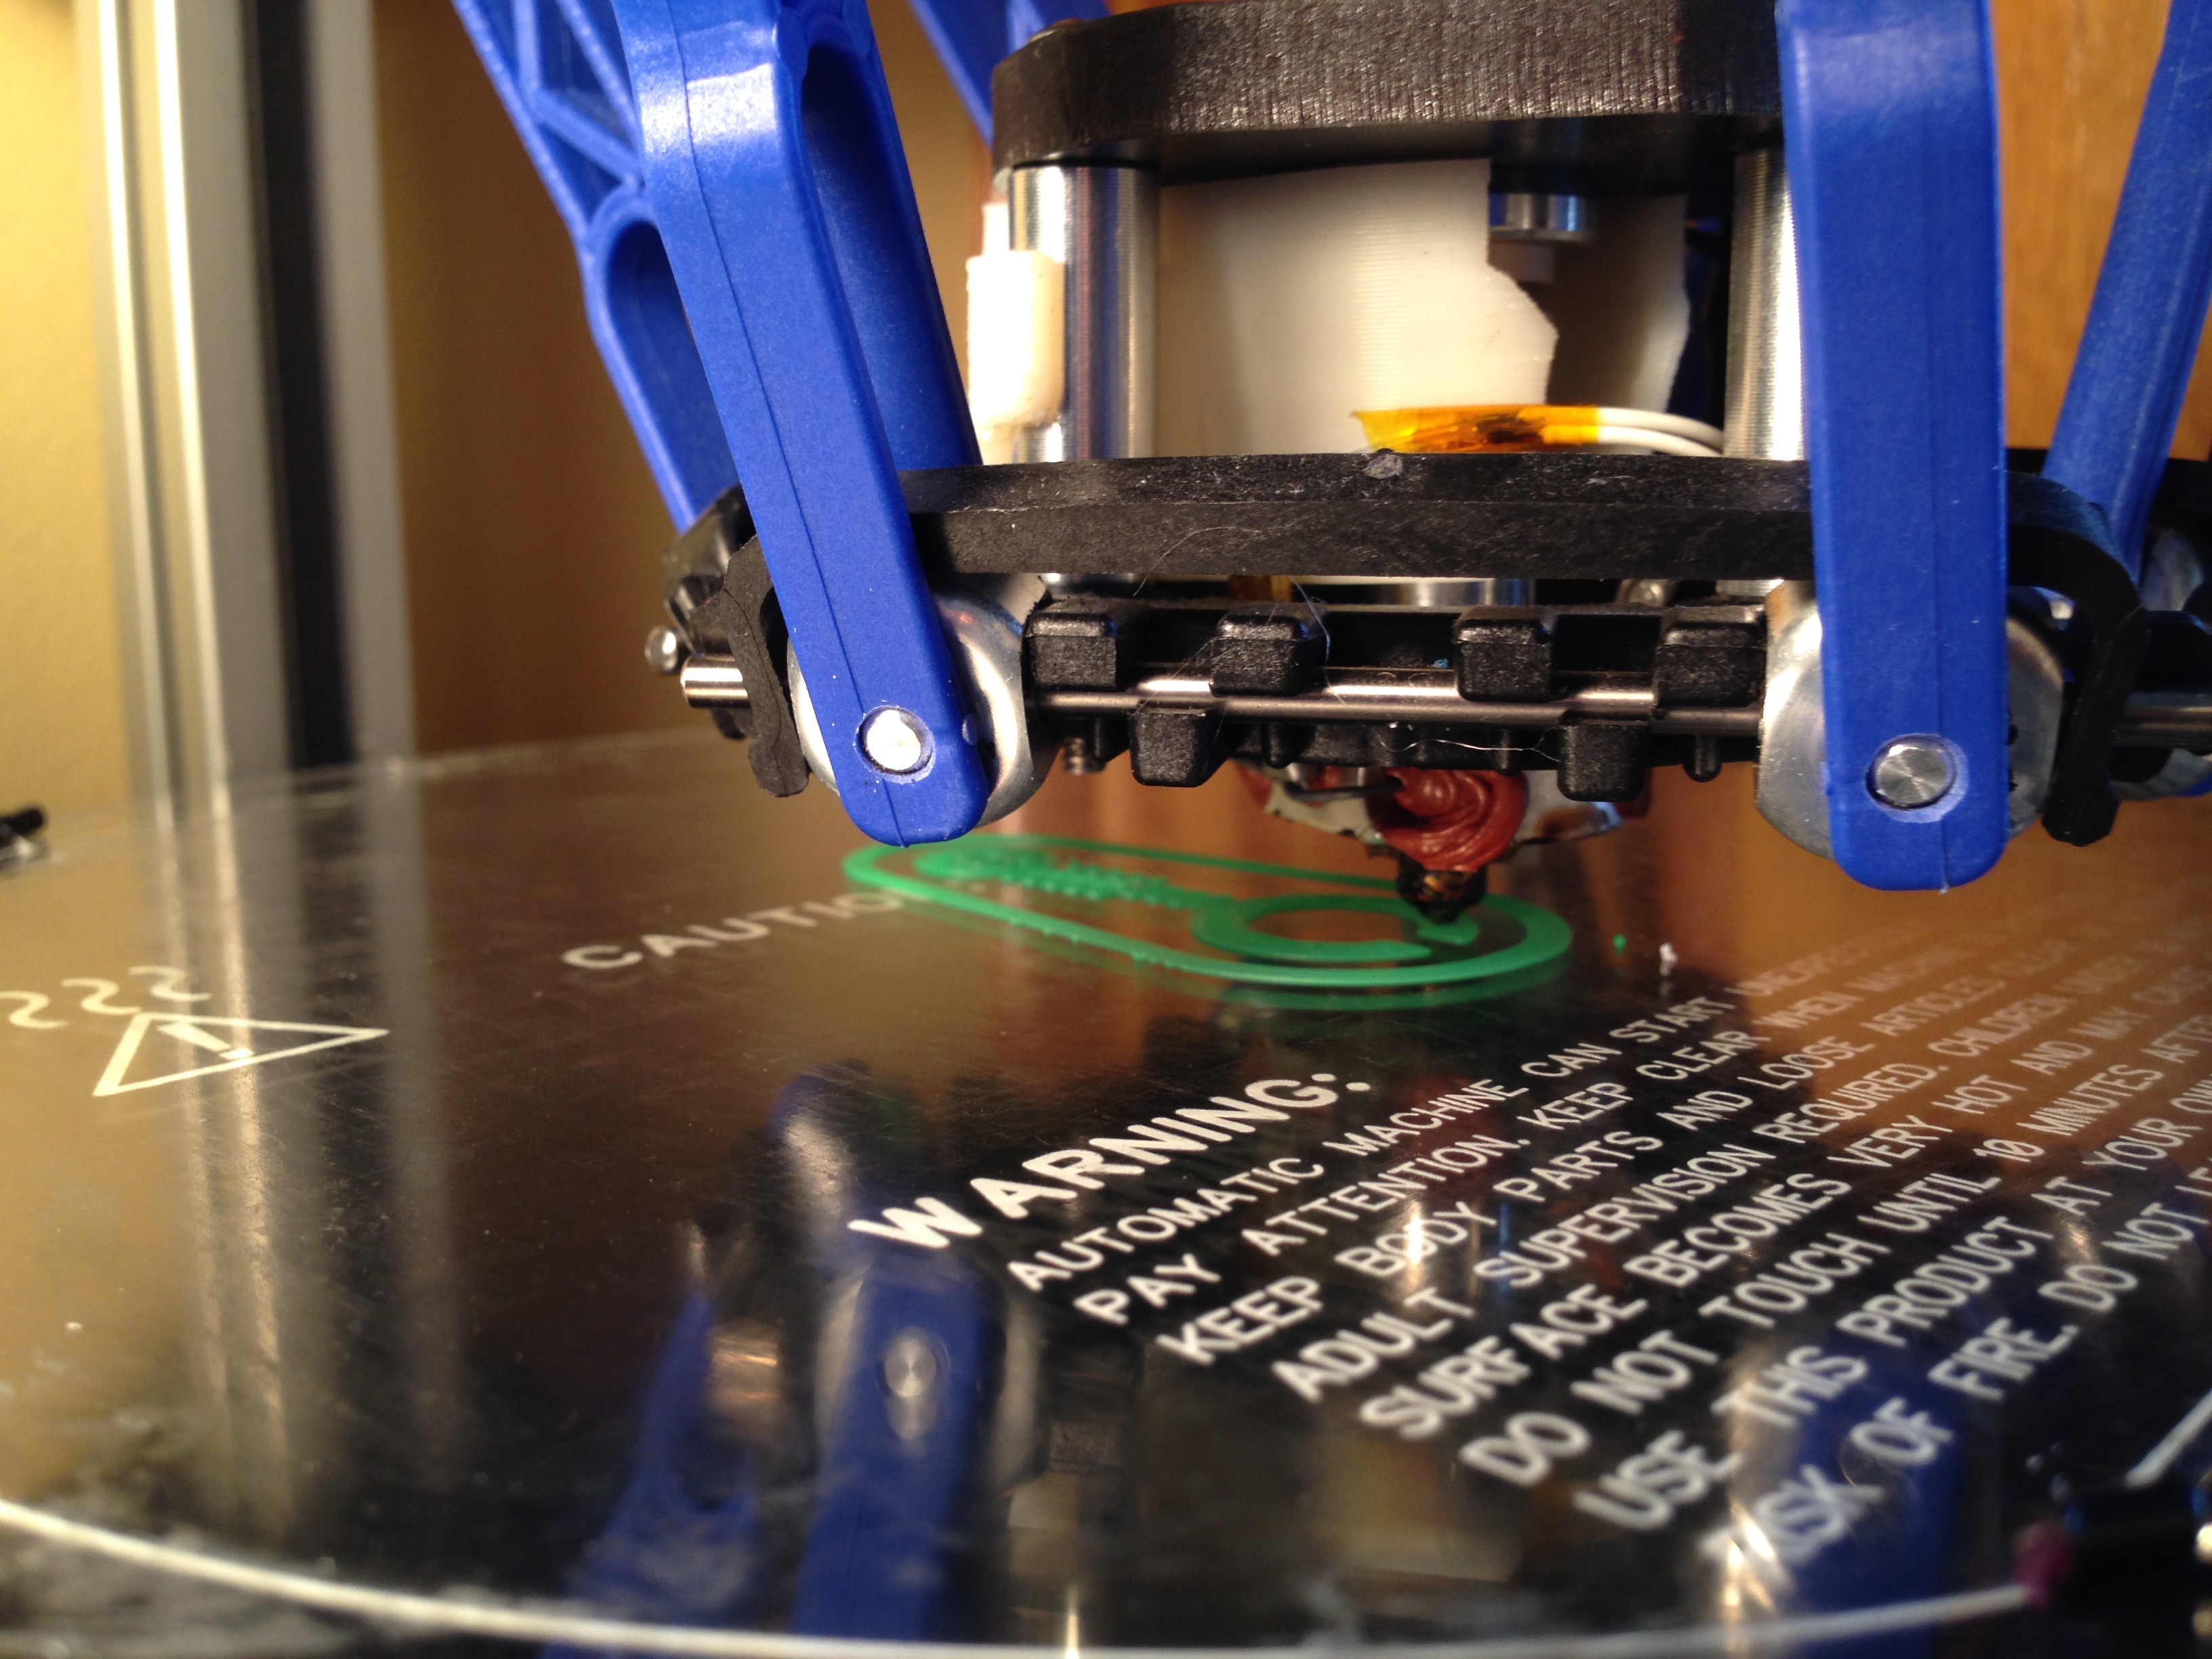
I wanted all of the joints in the robot to be movable, and in order to test that my design would work, I started by printing the arms, which should have been the quickest and easiest joint to print and test. (All of Akisbot’s parts were printed on an Orion Delta 3D with ABS plastic.)
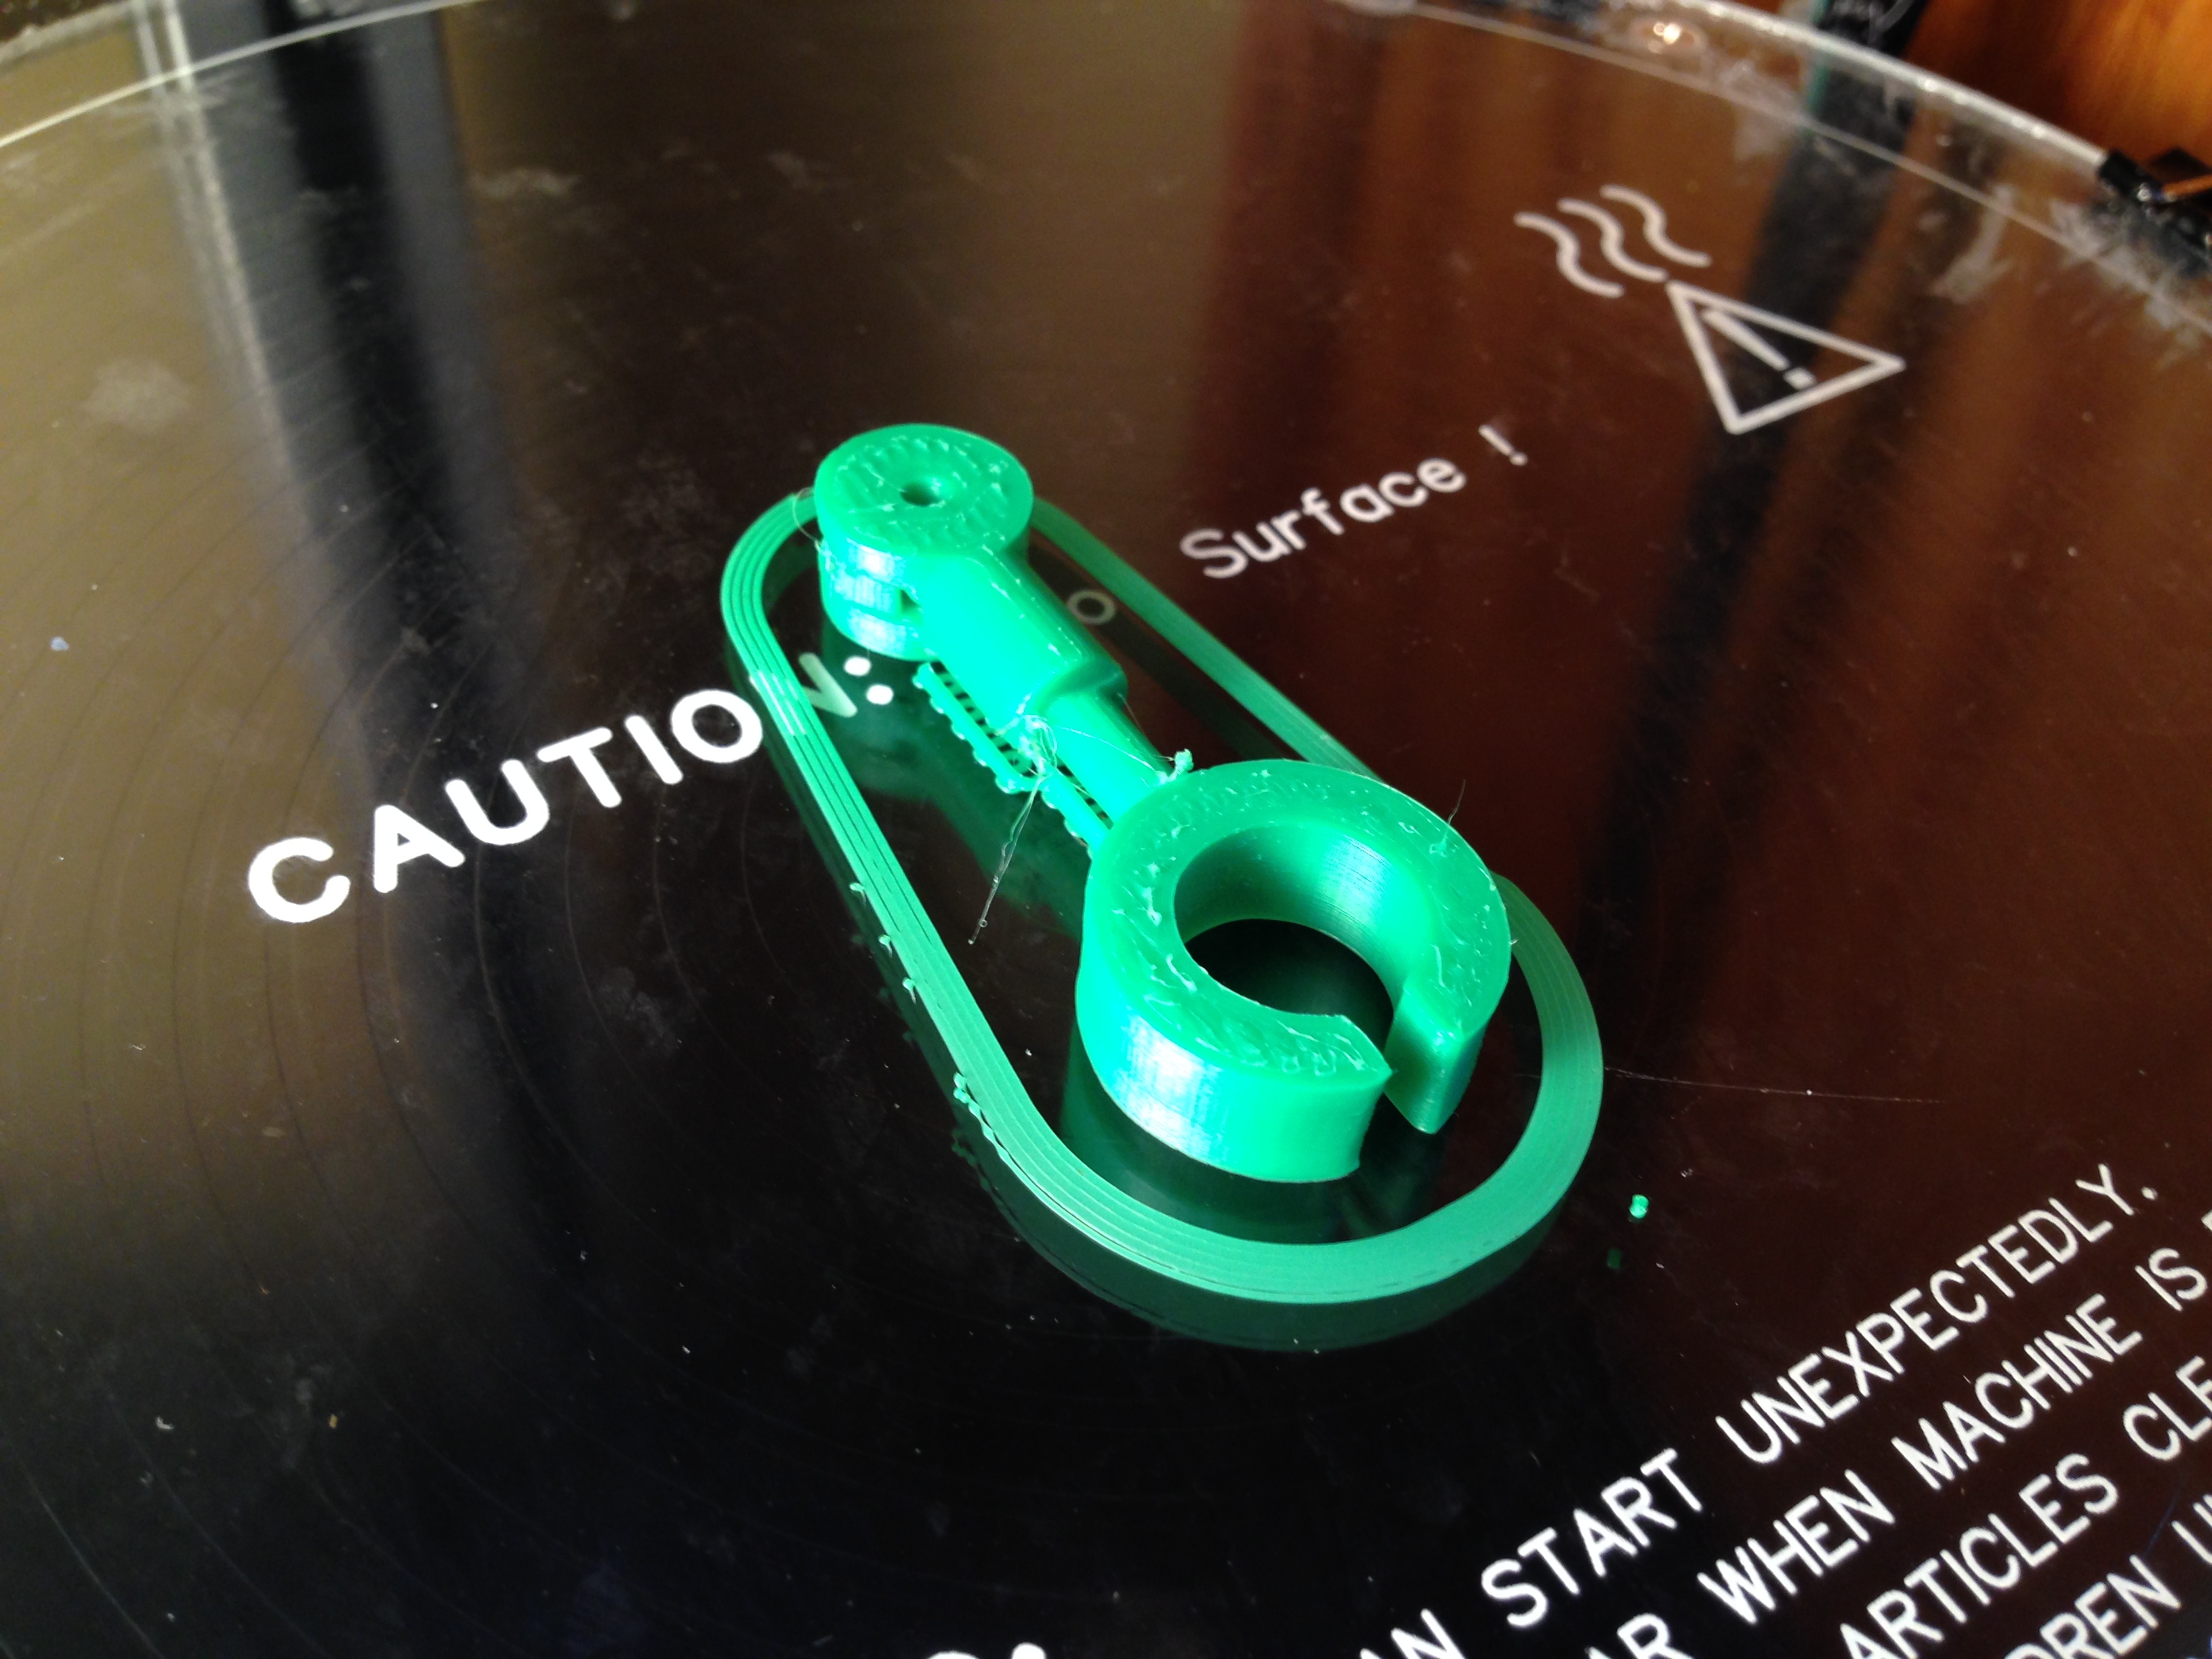
Their small size actually caused them to take a very long time to print, since they would sometimes break loose from the print bed, and I had to slow the printer down so that each layer of plastic had the right amount of time to cool.
This forearm printed ok though. Notice the joint on the far end that fits with the joint on the end of the upper arm in the next picture.
Here’s a pair of upper arms. One of these things is not like the other.
The top of this piece fits inside of the joint in the upper arm, allowing it to bend as shown in the next picture.

I eventually got two full arms printed. It’s a shame that I later decided to modify the elbow joint and had to reprint all four of the pieces.
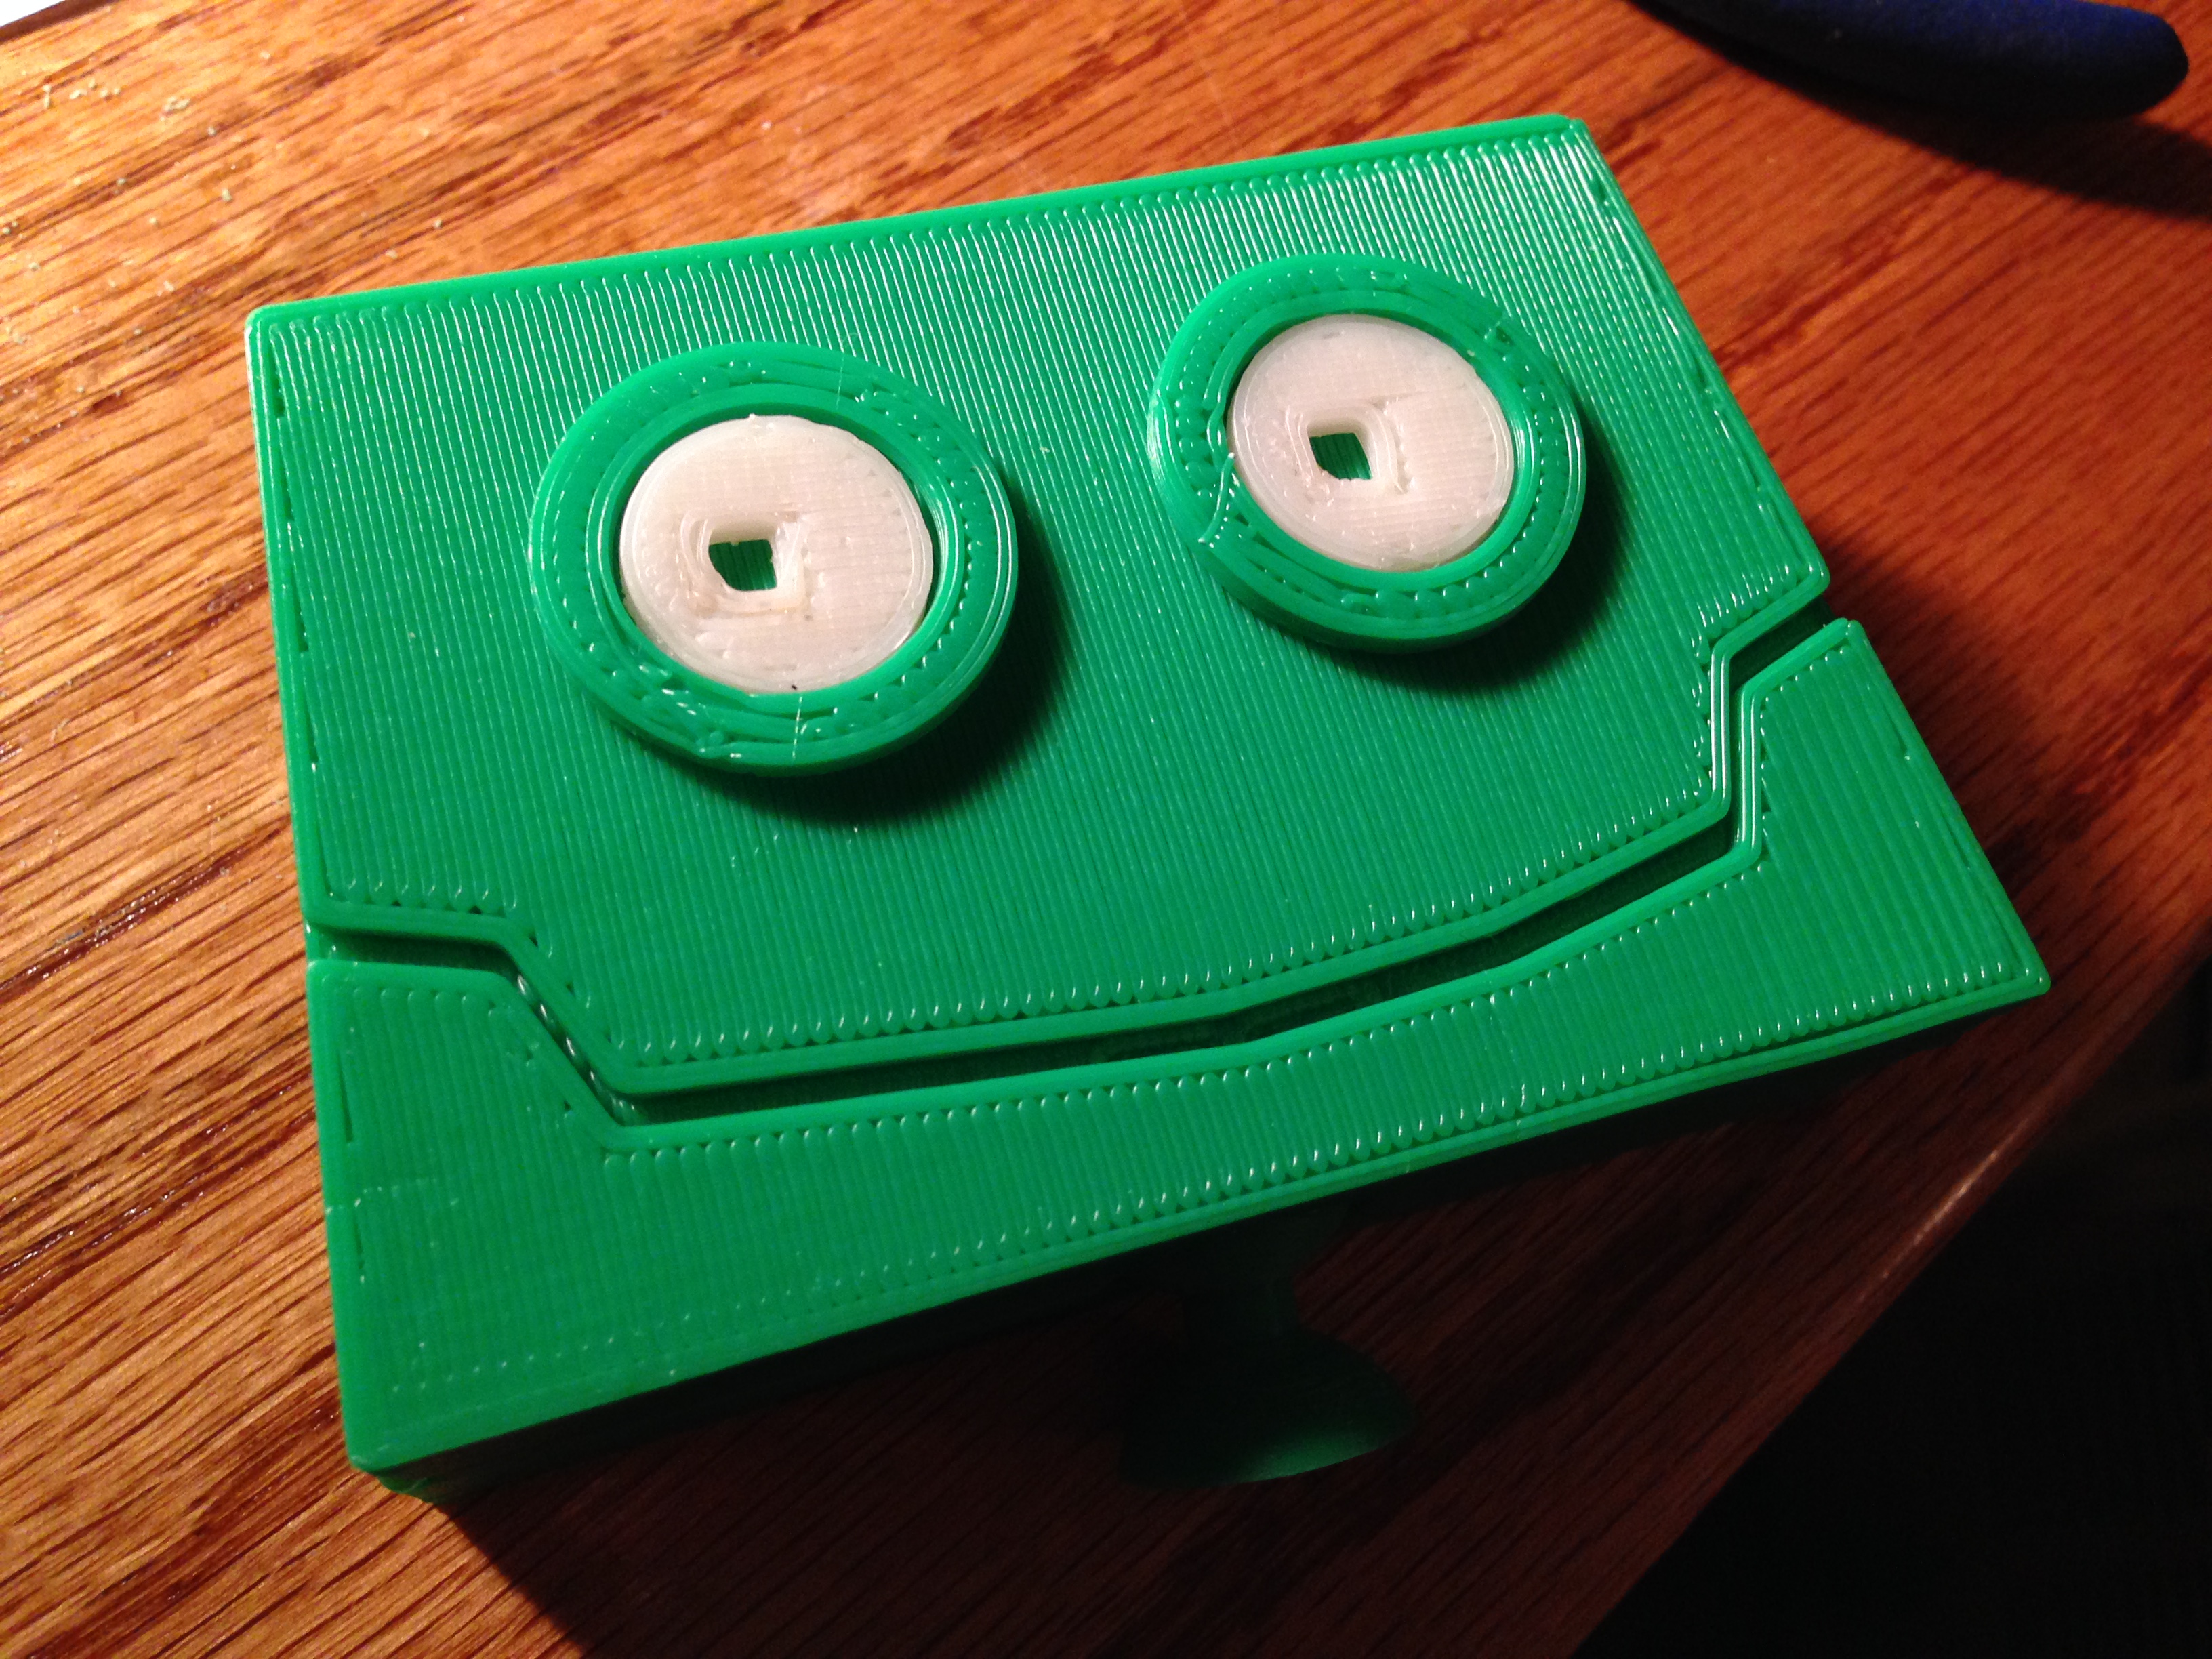
I printed the eye rings and eyeballs separately from the face and welded them in place with acetone later. In this photo, they were just set in place to check that they were the right size. I did re-print the inner eye parts so that they would fit more snugly.
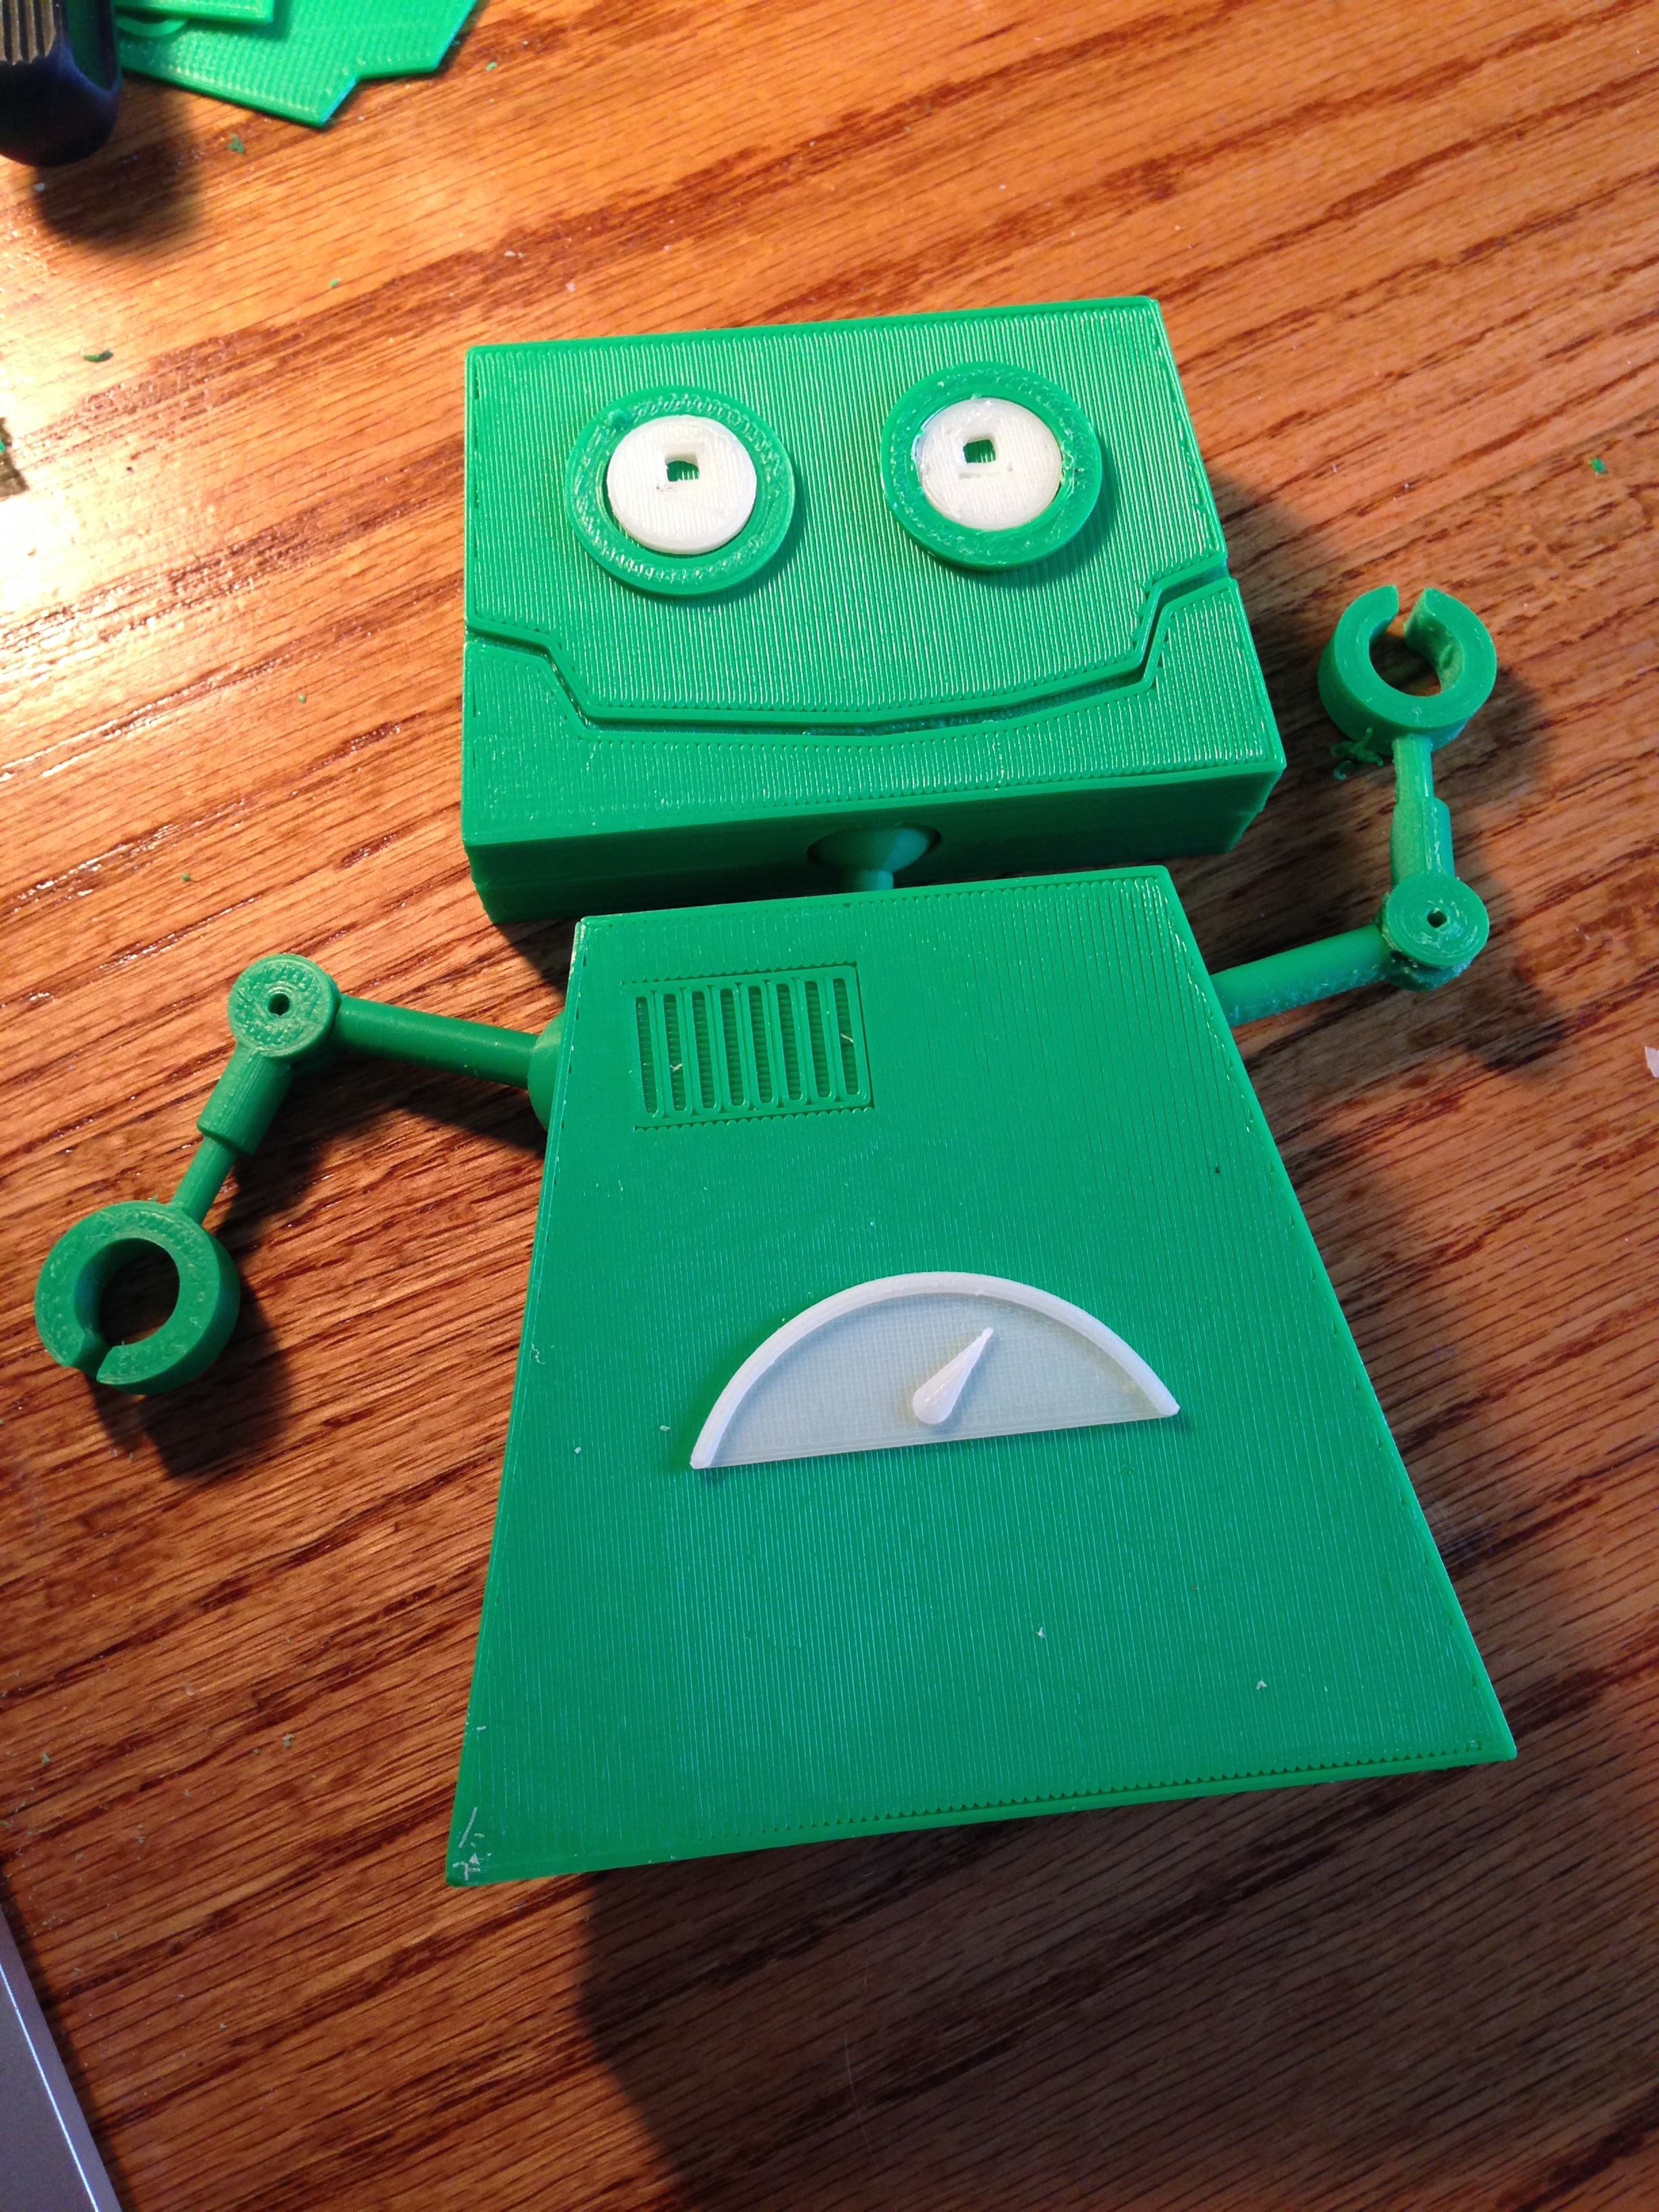
Another dry fit to get a feel for how big the finished robot would be.
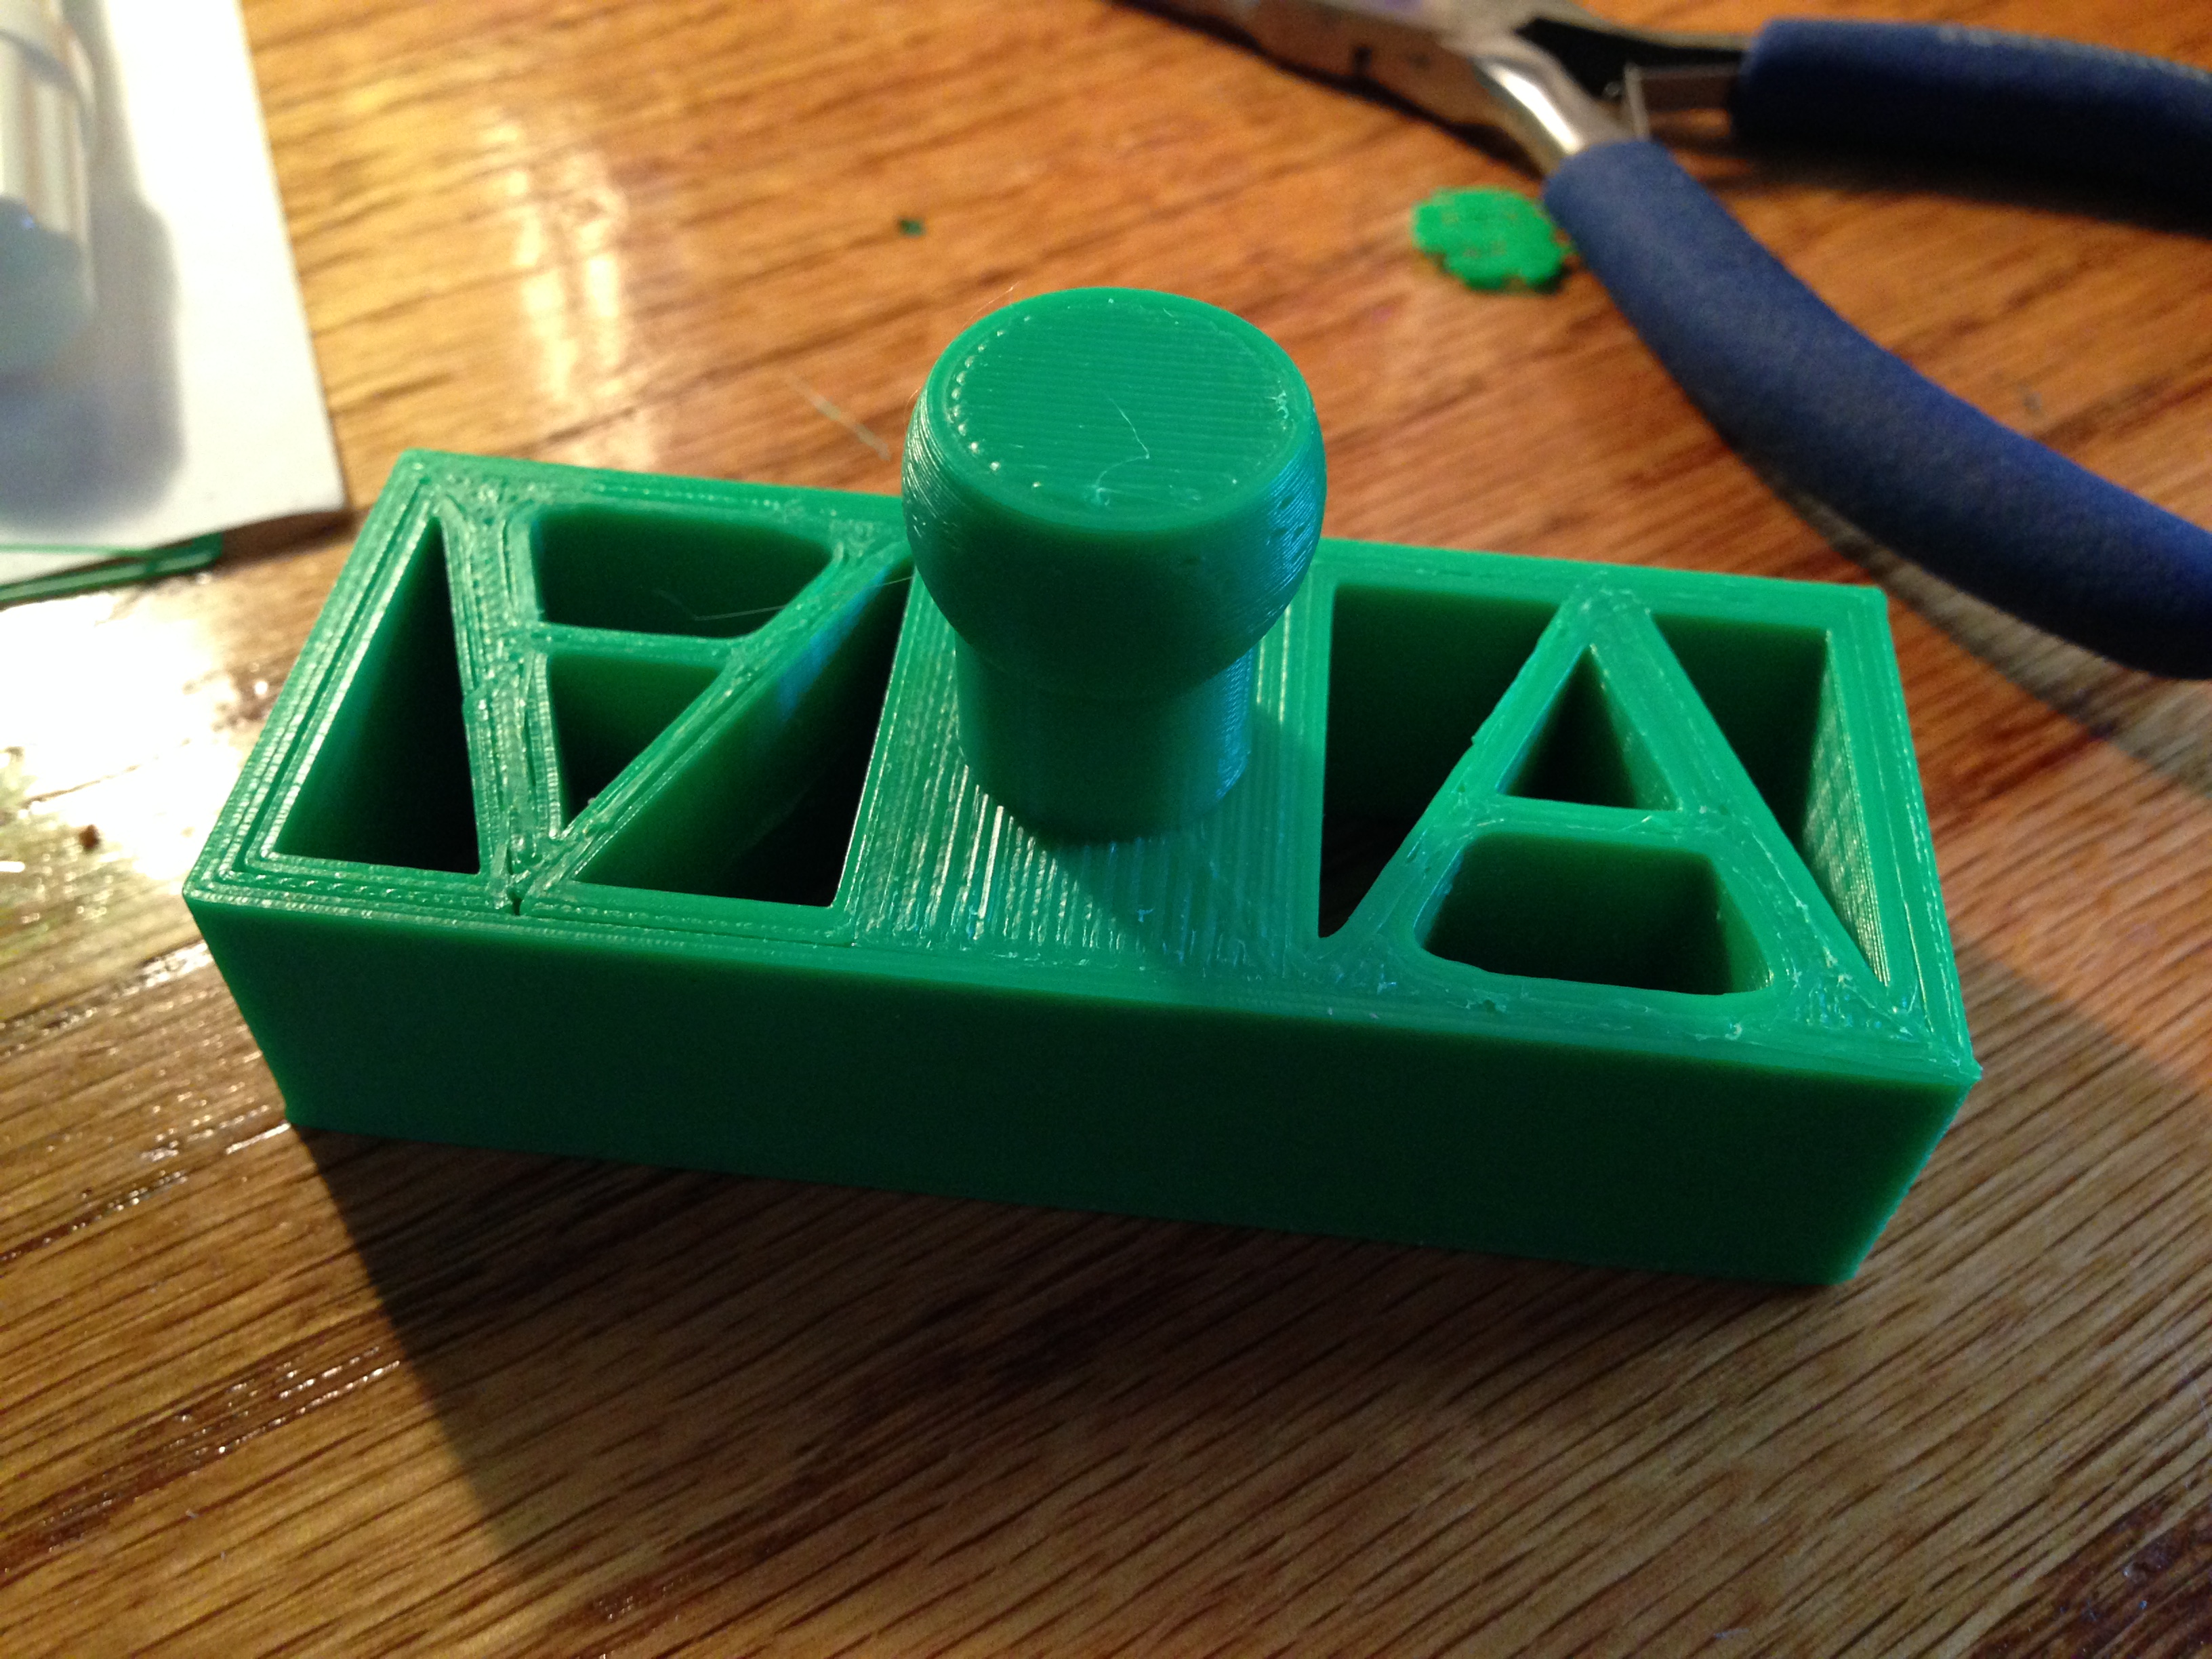
This is the base that connects the body to the wheels and treads. The “A” is the Akismet logo — I initially had printed a solid cube, but I thought this would be more fun.

These braces attach to the sides of the base to hold the wheels and treads in place. If I printed them again, I’d make them thicker; they’re a little flimsy.
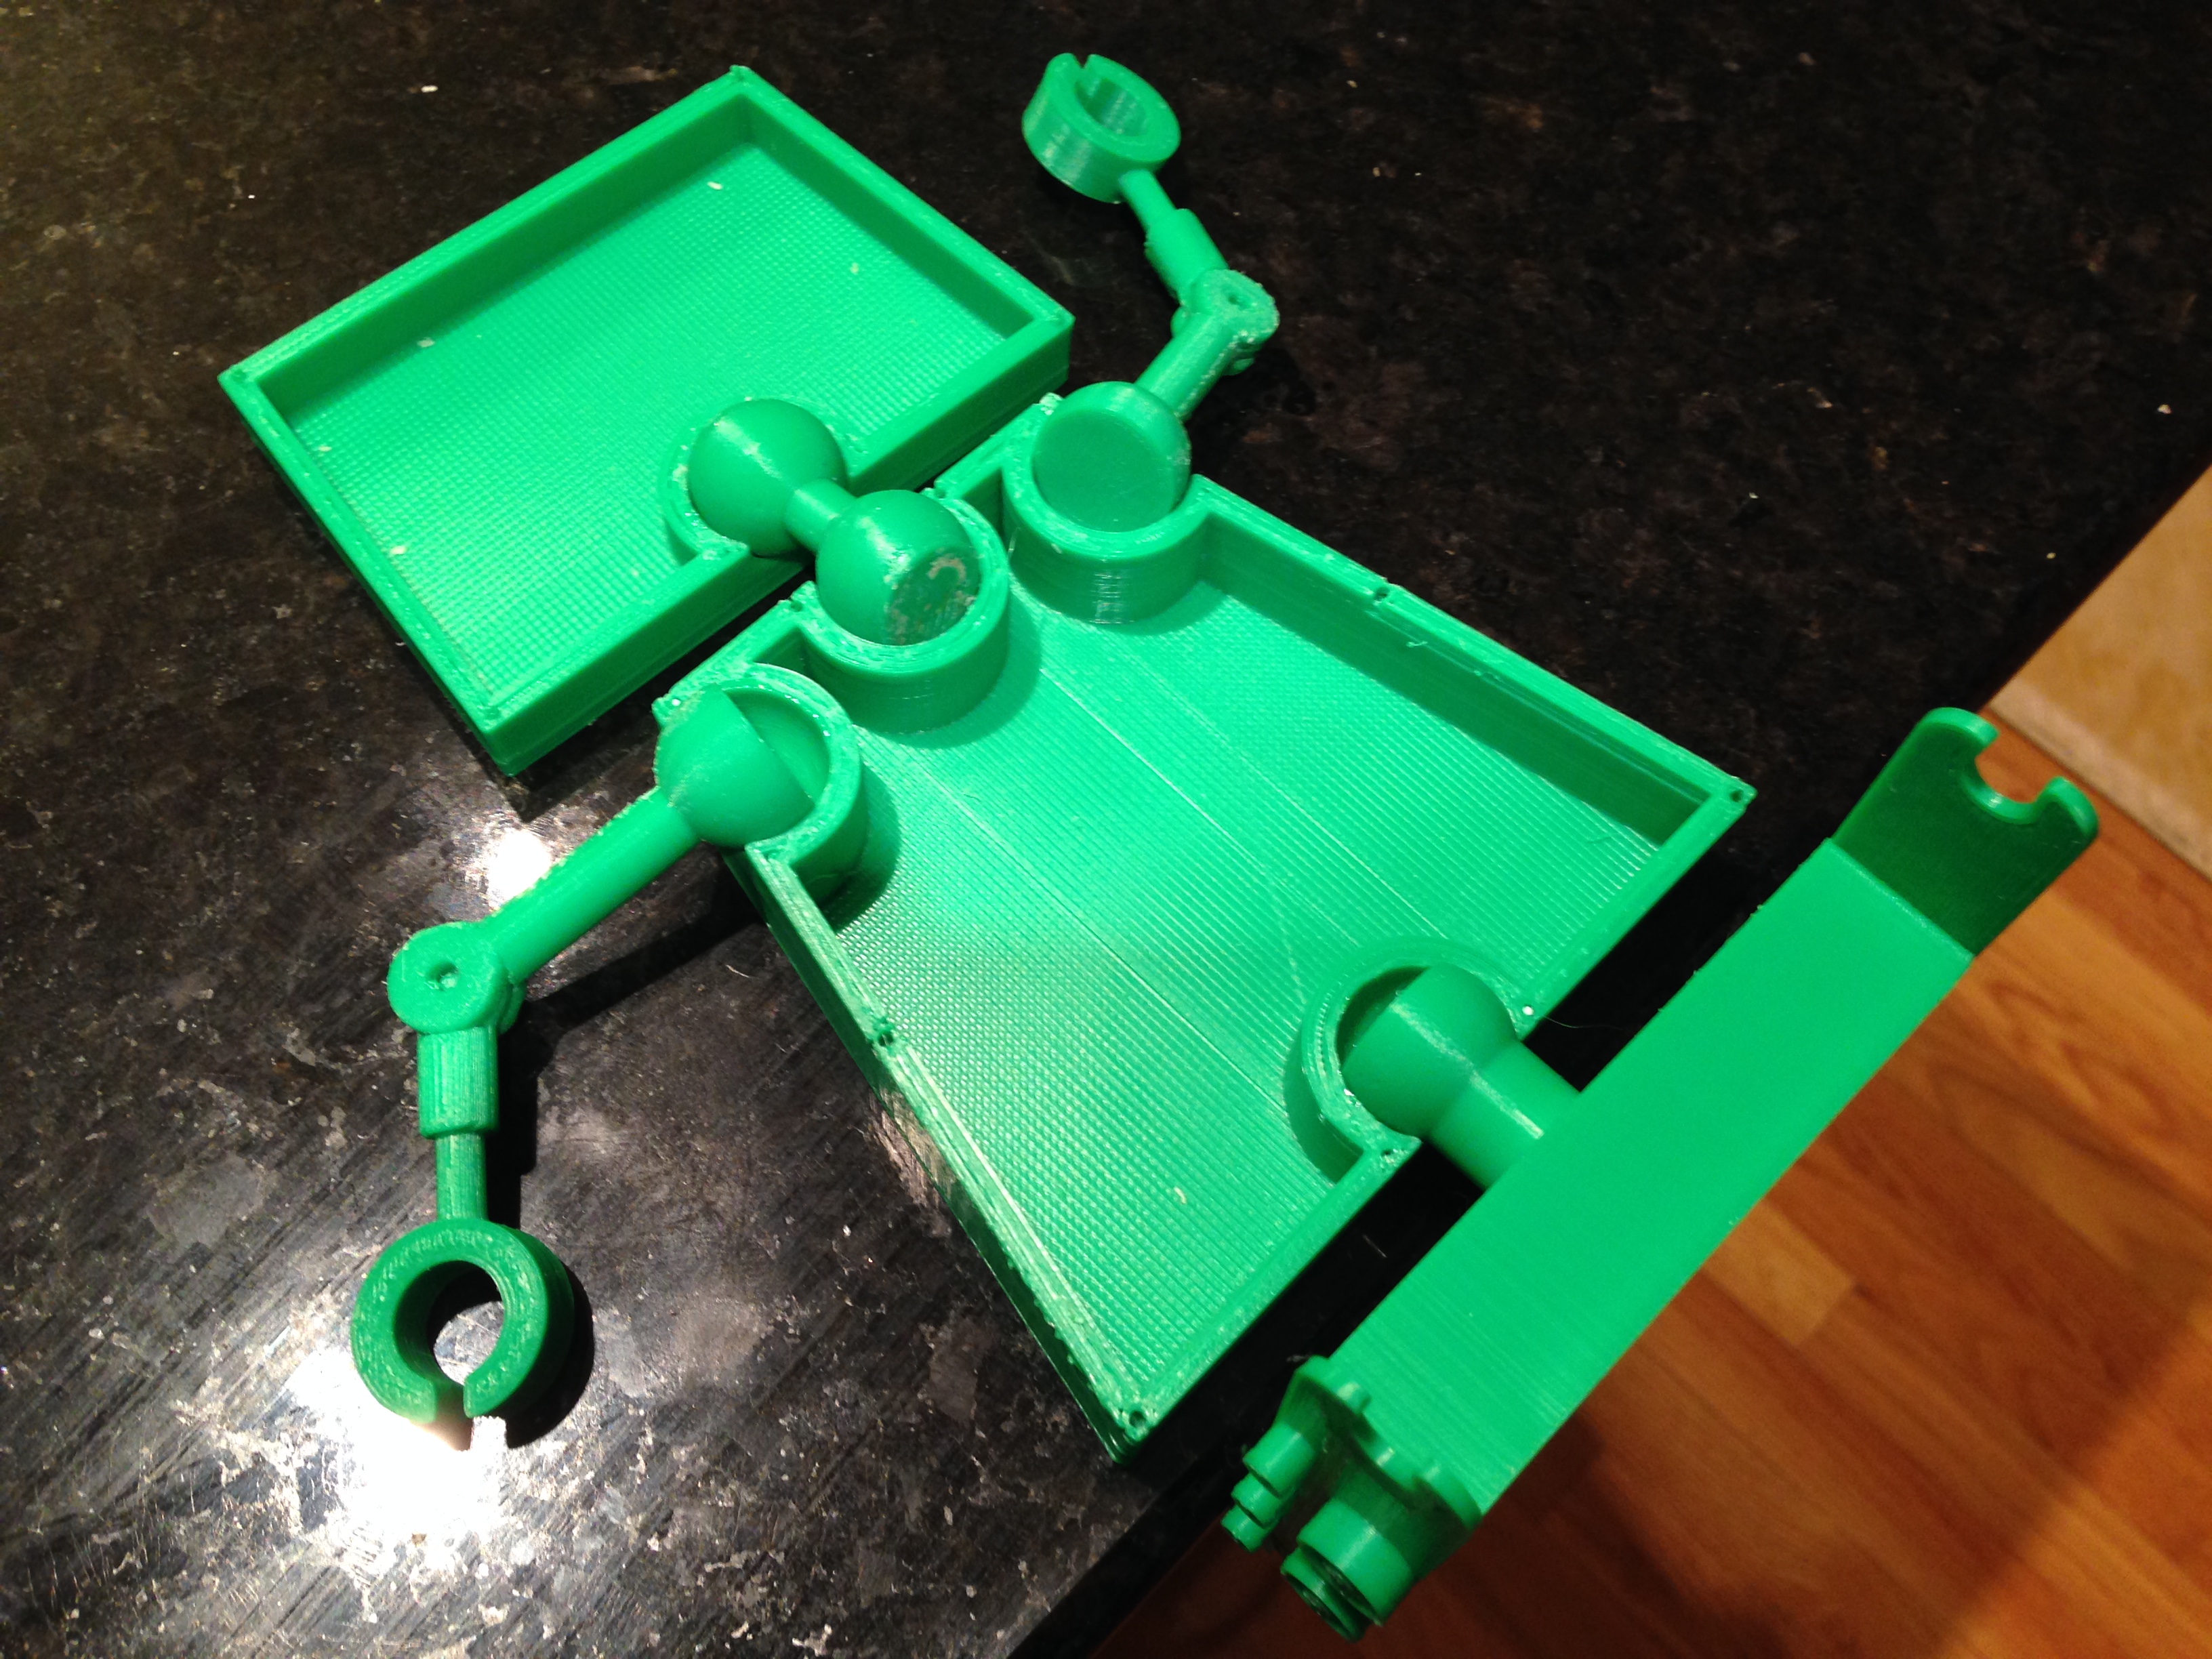
This is the joint/skeleton system for Akisbot. All of the joints are movable and have freedom to move in all directions, but the base joint was made thicker to give it more support and not allow for as much vertical movement, since robots don’t usually bend over at the knees.
It was difficult to get exactly the right fit between the joint pieces so that they’d be loose enough that the arms and neck could move but would still stay in place from the pressure between the front and back of the robot alone. When the print finished, the joint was a little bit loose, so I added coats of clear nail polish to the inner joints until it was just the right tightness.
This was the first time I was able to put all of Akisbot’s parts together. He’s only held together with scotch tape, but it proved that welding his front and back parts together should work fine and confirmed that the joint sizing was correct.
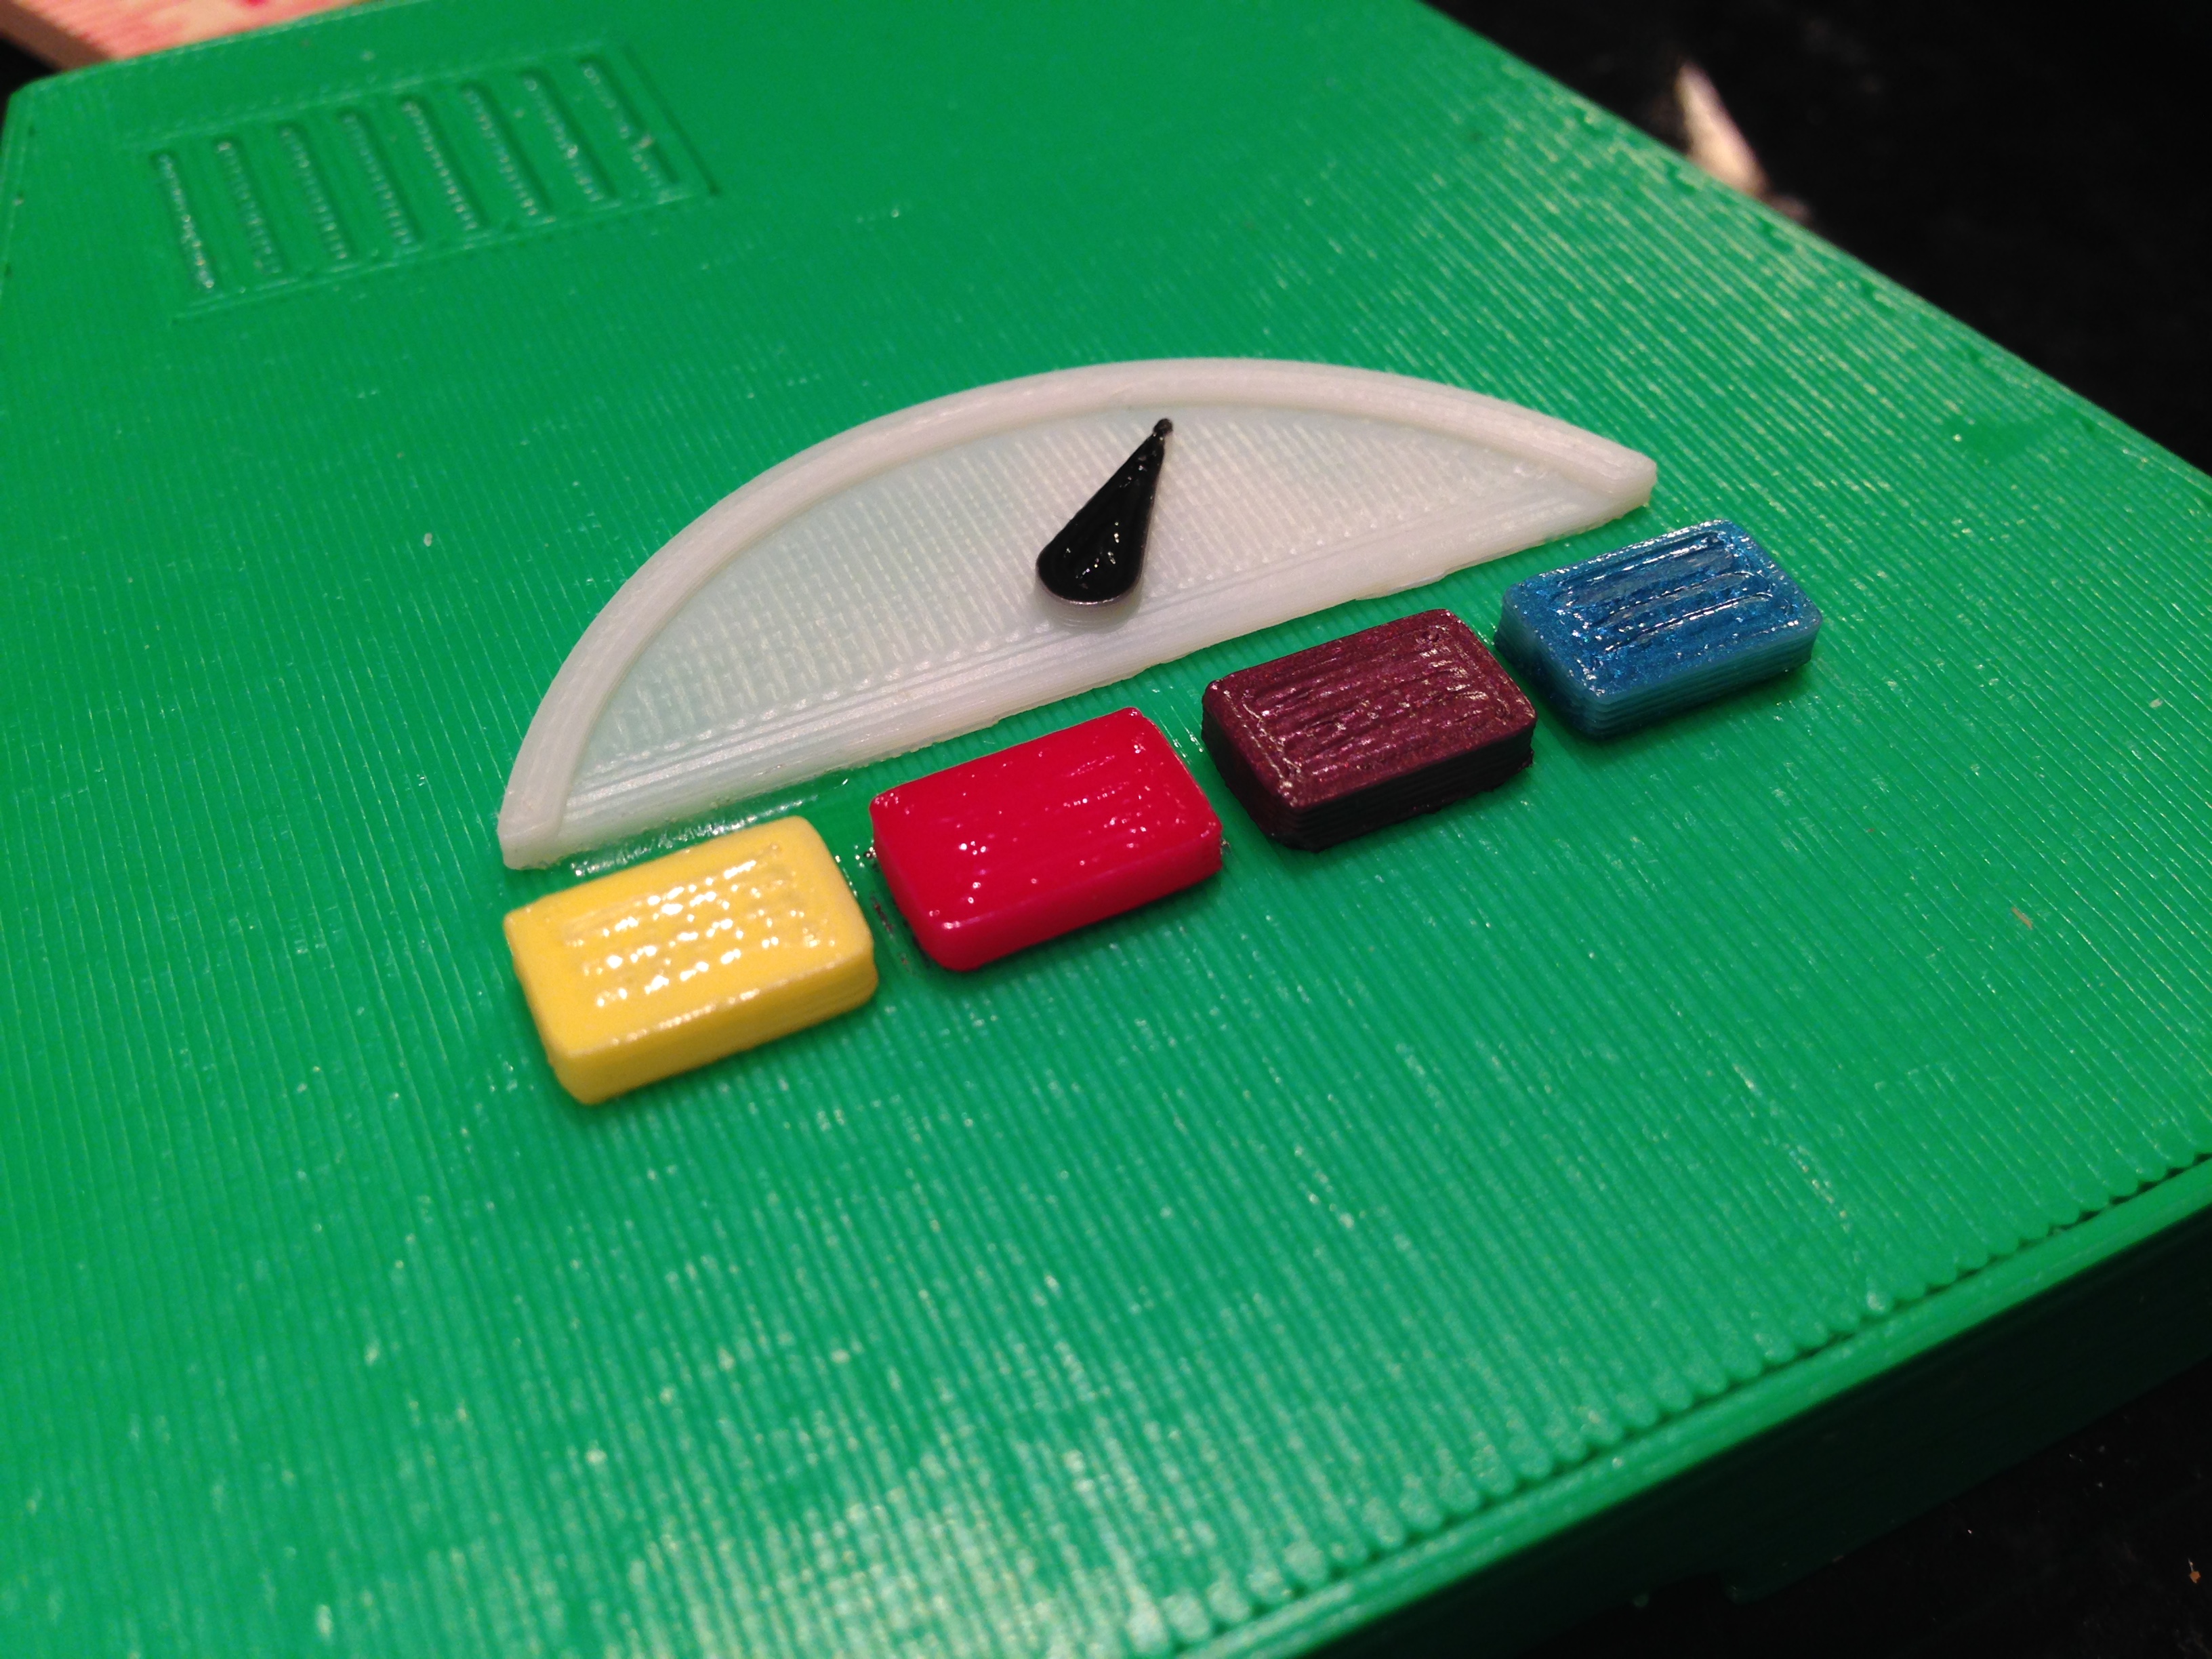
The meter hand and the buttons were all painted with nail polish that my wife Christina already had on hand (no pun intended).
I still need to attach or print his monogrammed “A,” but I haven’t decided yet whether I’m going to print a stamp, paint it freehand, or stencil it in.
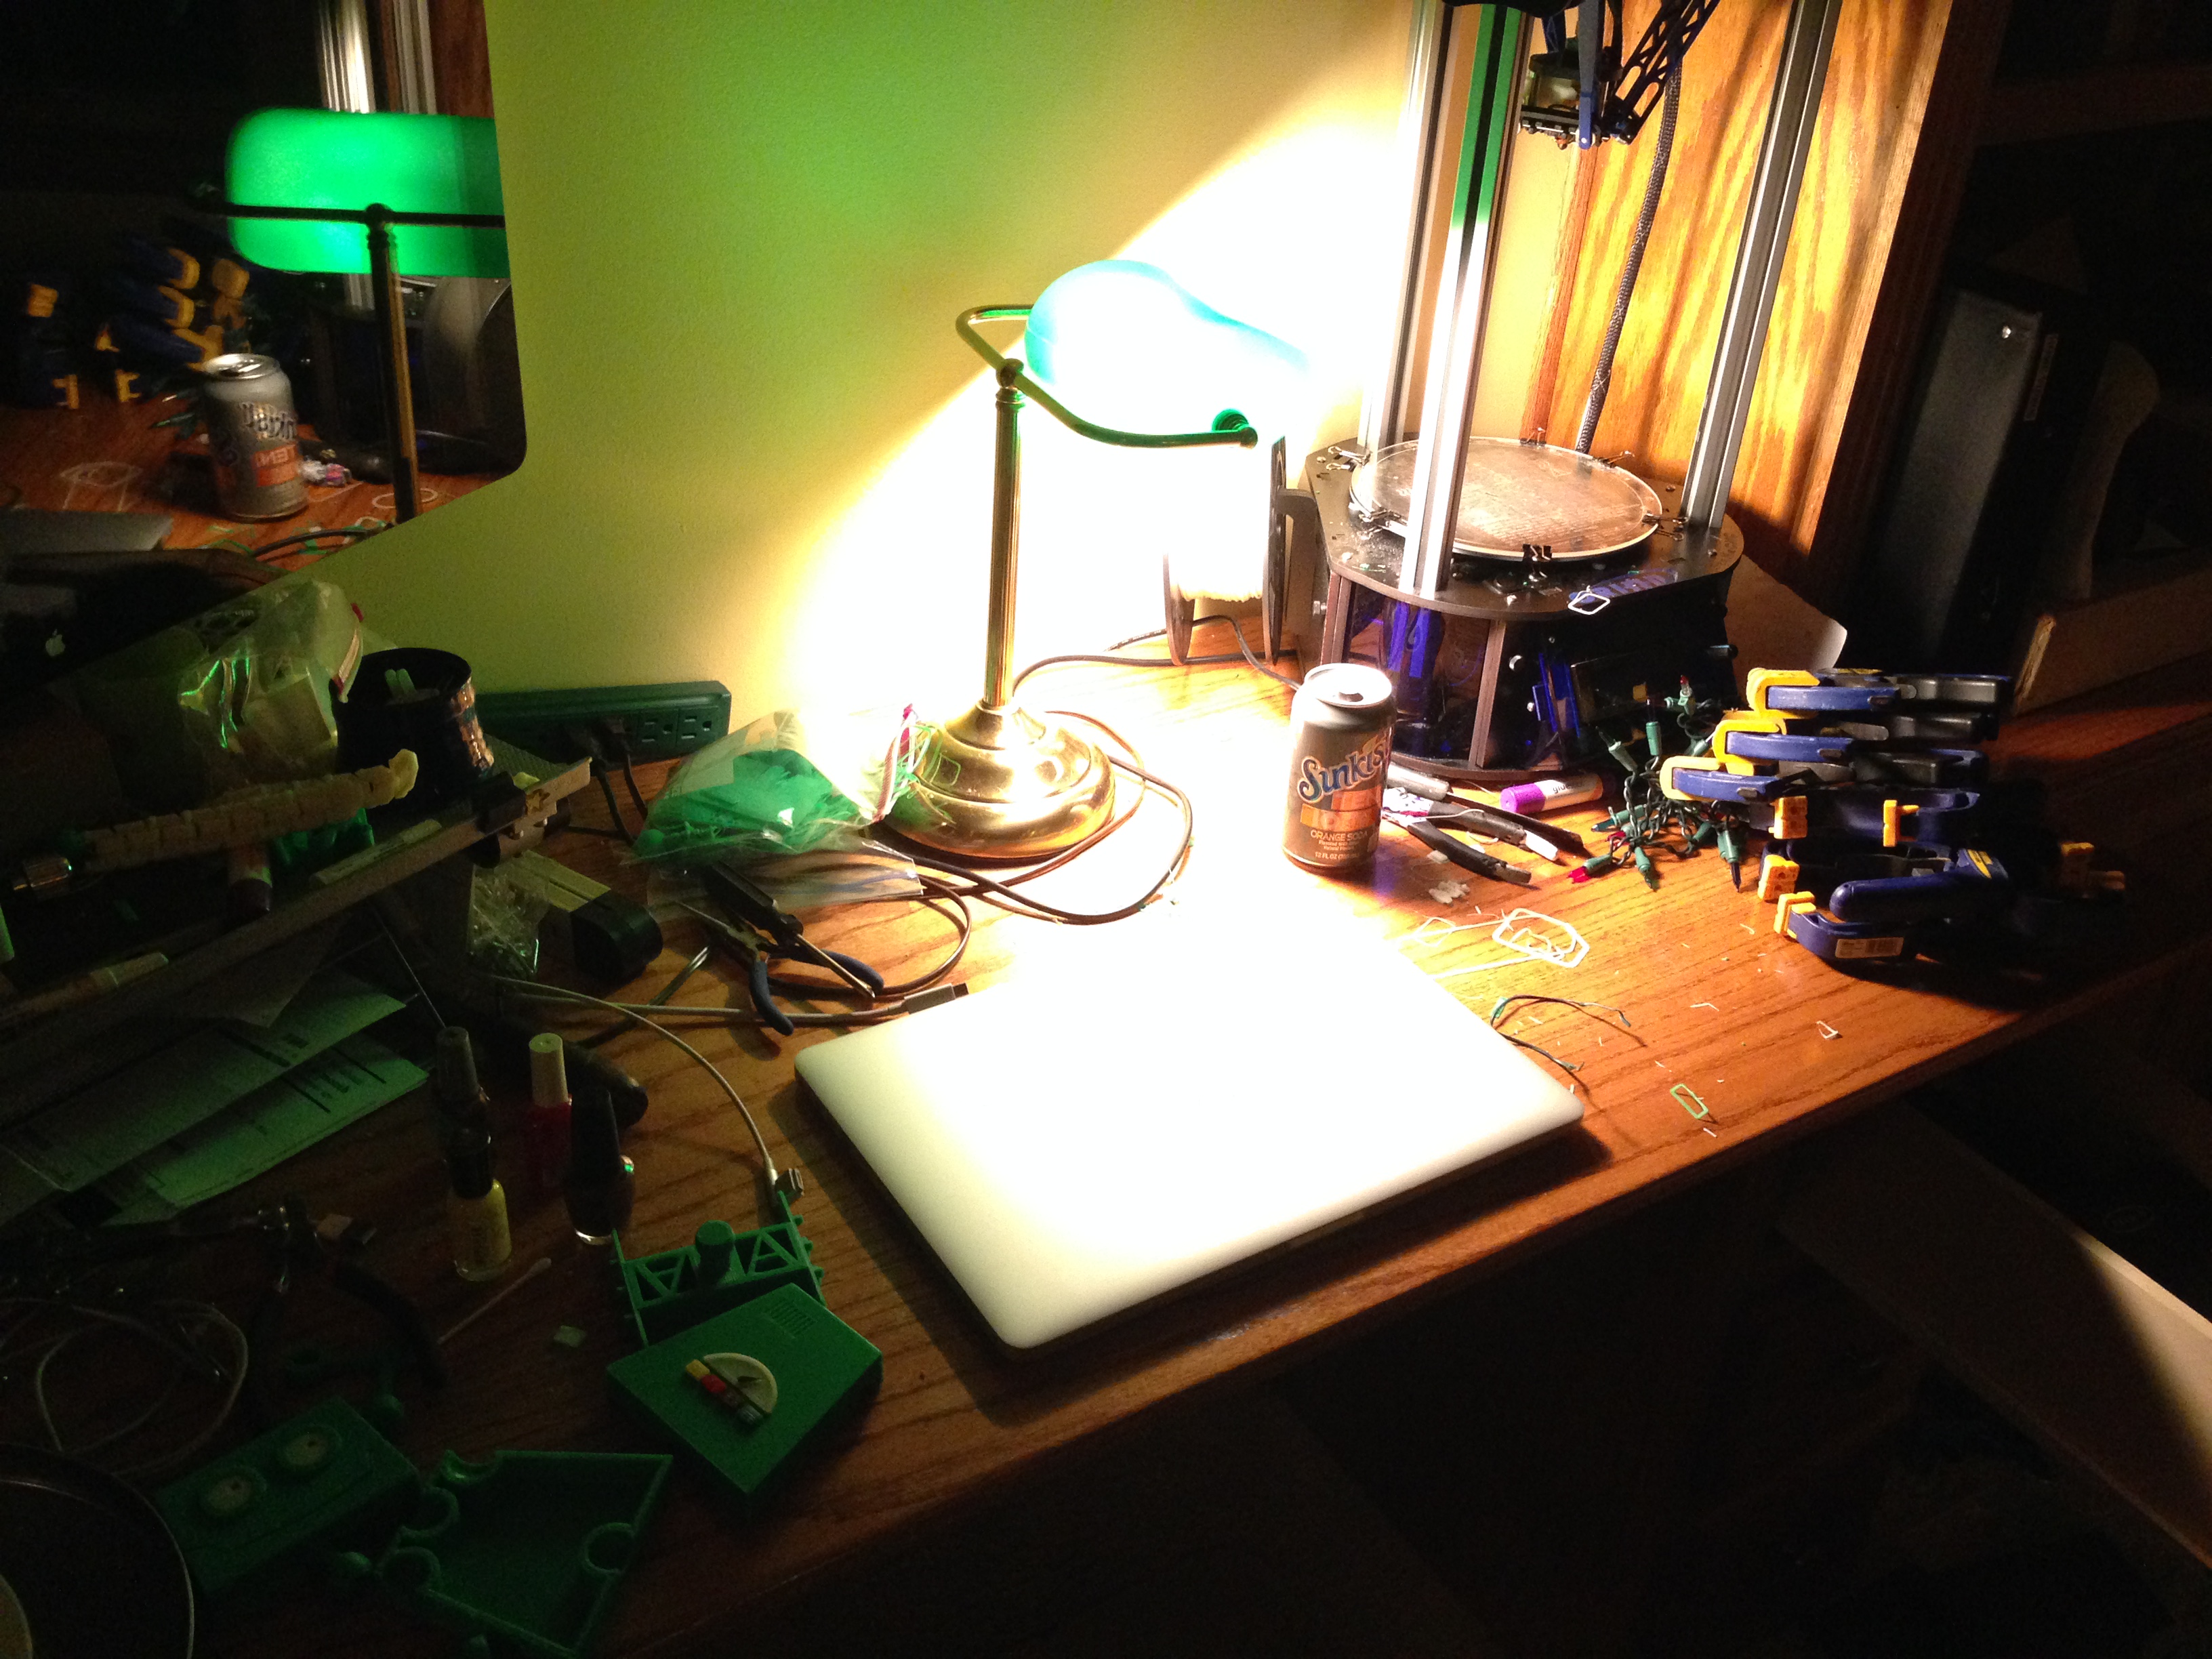
This was my desk shortly before finishing the project. It’s a graveyard of surplus plastic and deformed robot parts.


The tread was created using a pretty neat technique taken from MakerBot user emmett. You print just the perimeter of an object with a curlicued edge, and ABS is flexible enough that it creates a tread that can be routed around wheels. The modeled object is on the left, the printed perimeter on the right.

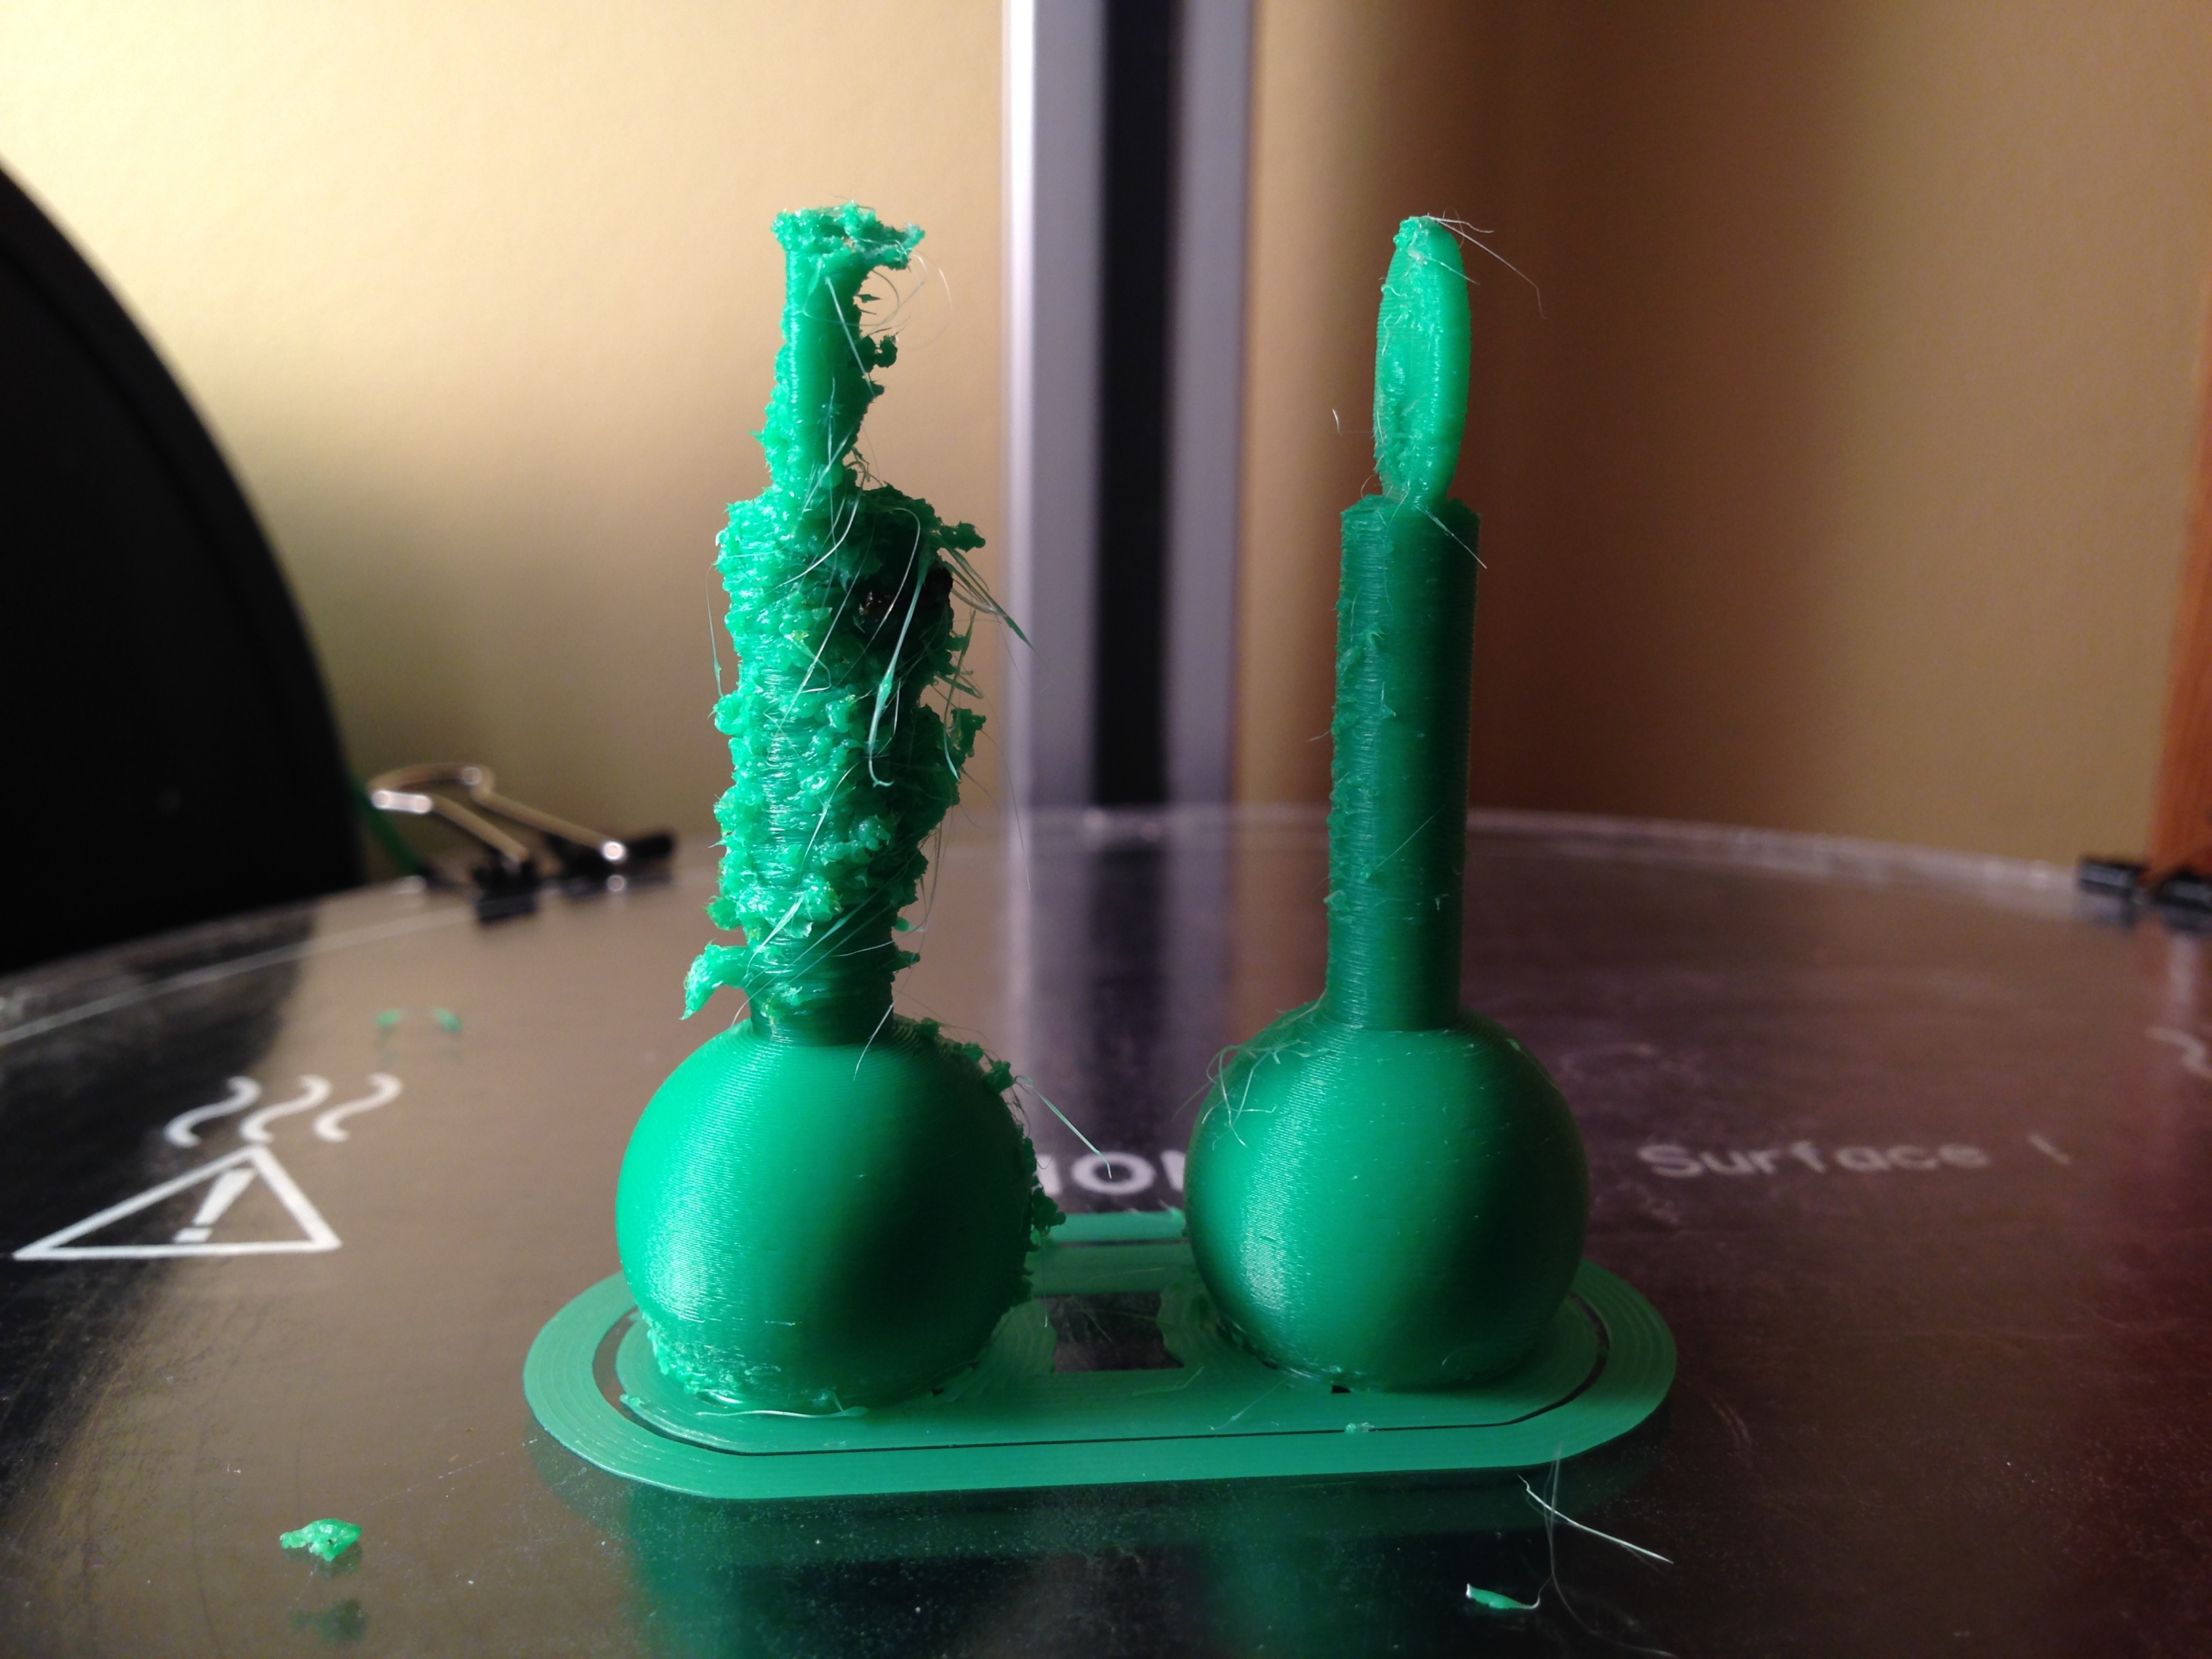
These antennas were tough to get printed without the ball snapping off; I gradually increased the radius of the rod until I got two successful prints and called it a day.
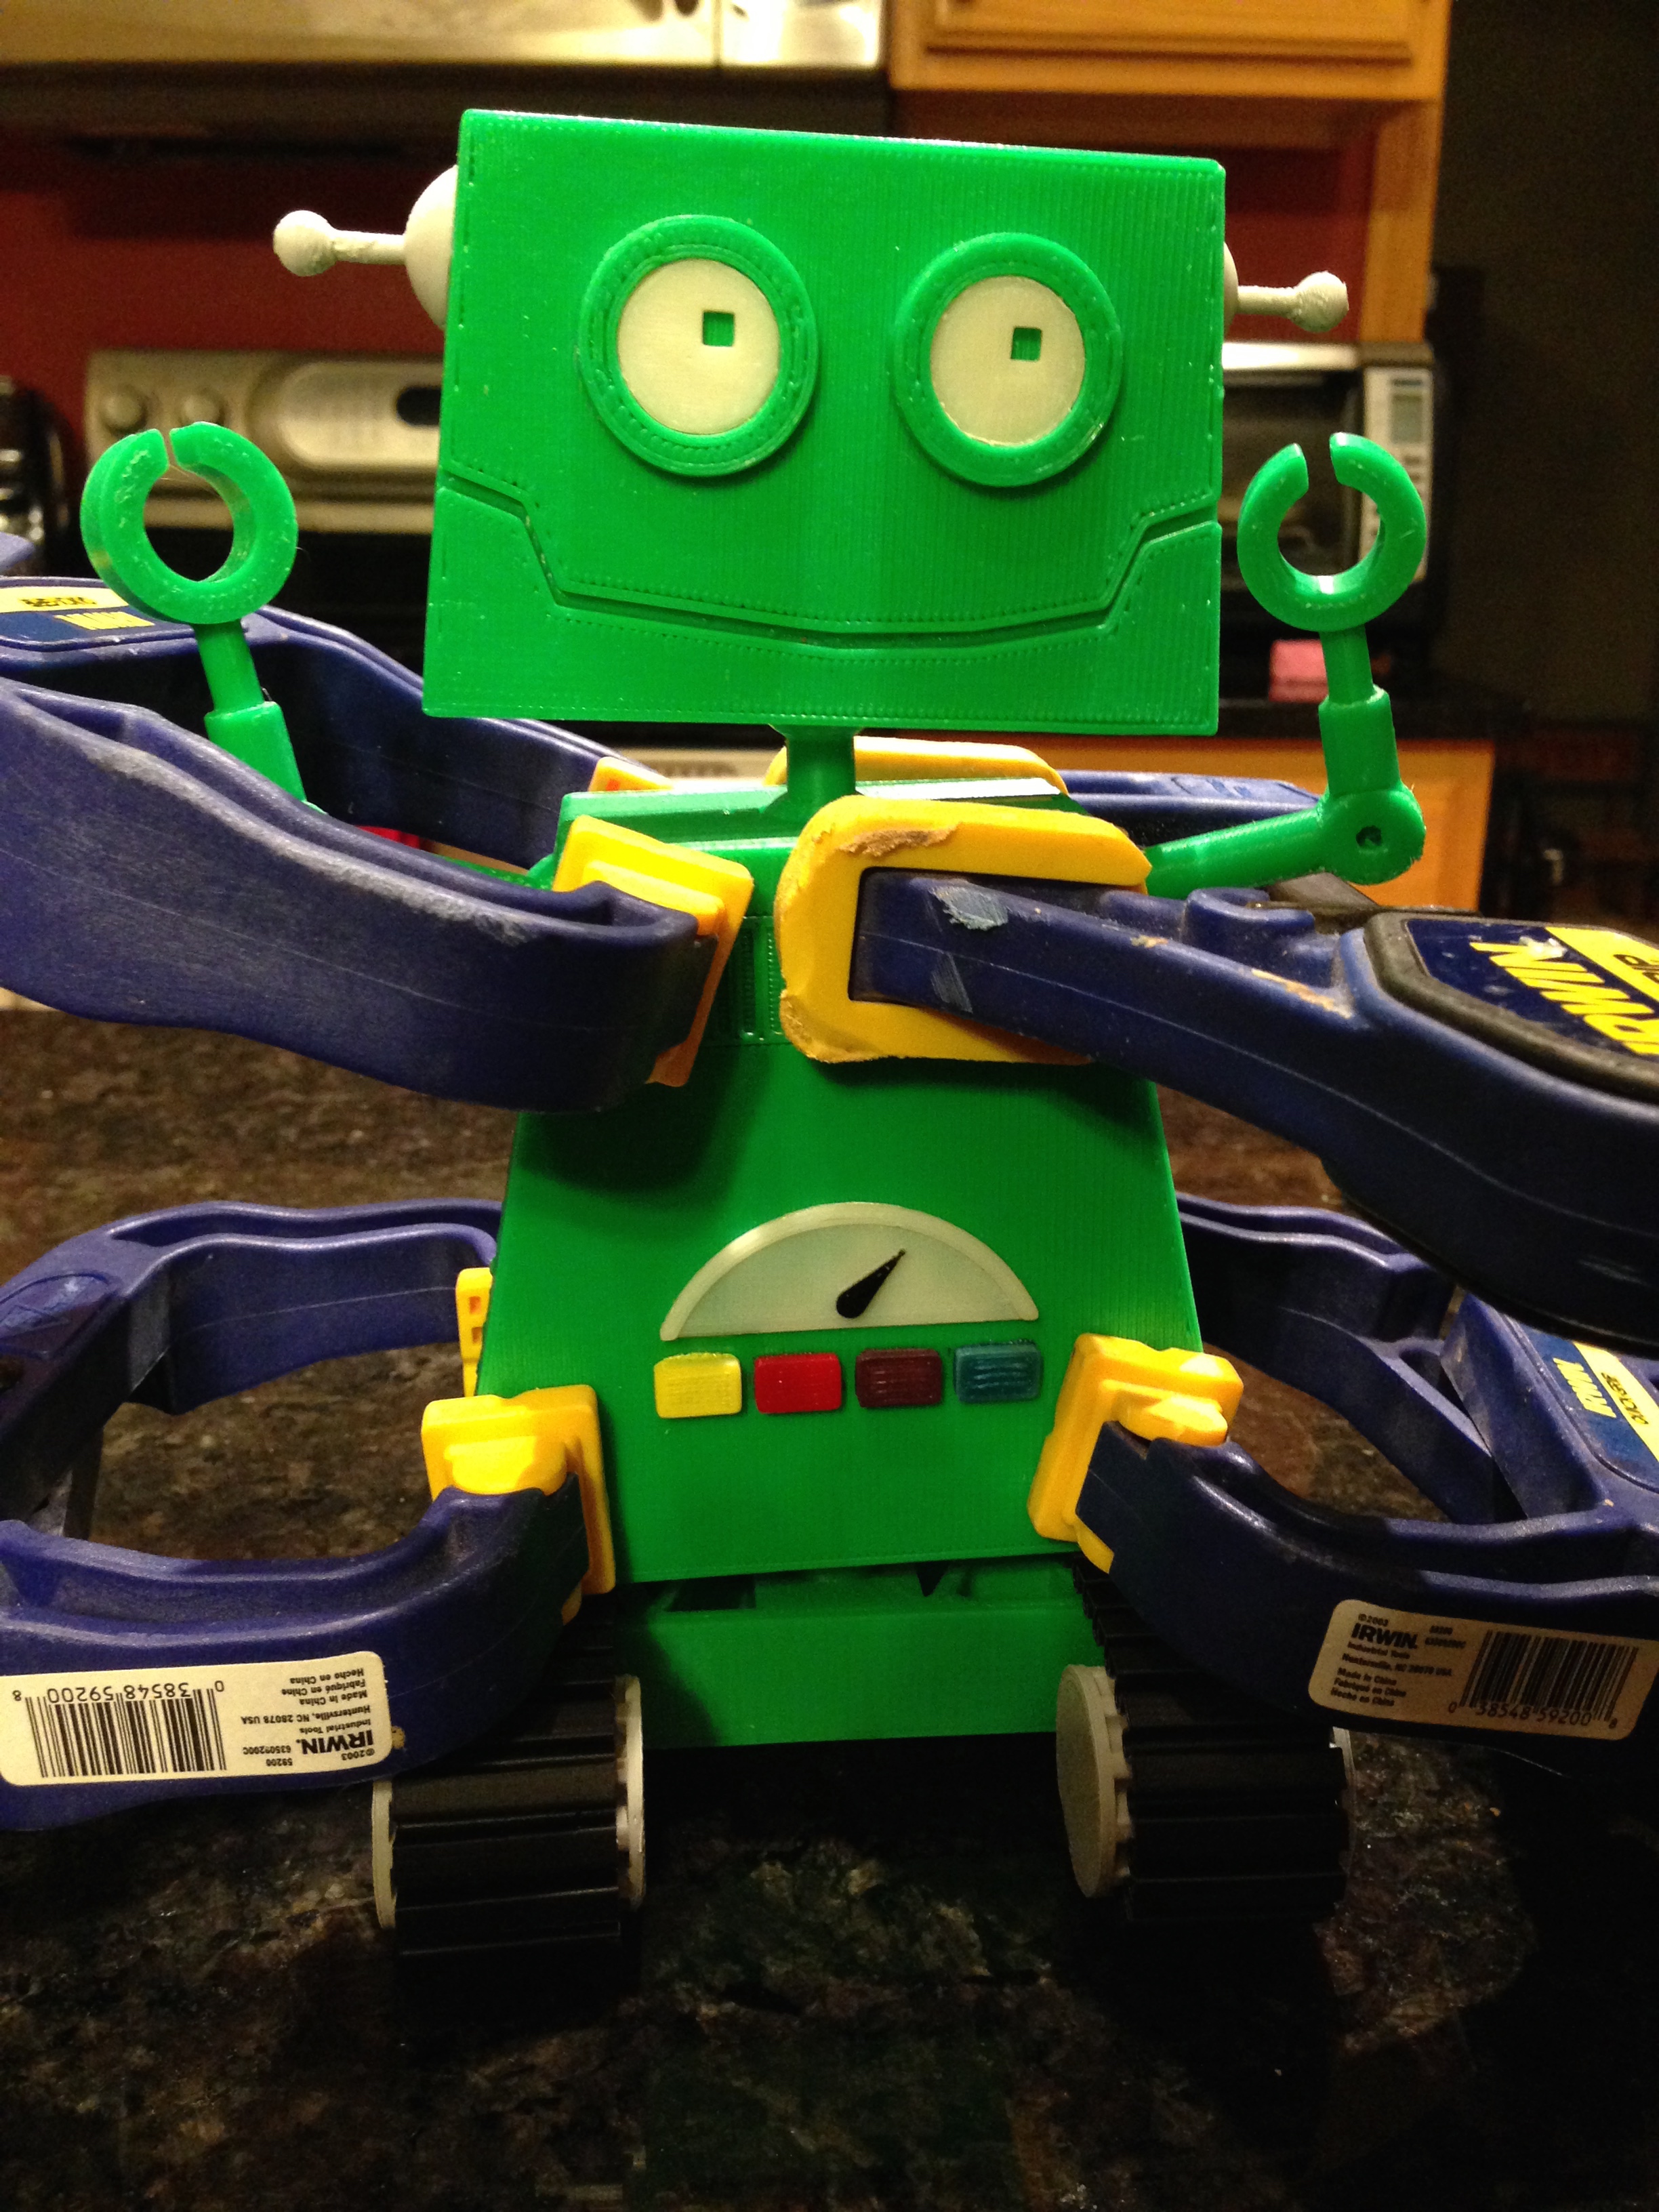
This is Akisbot during the final acetone glue-up and clamp-up. The ABS plastic I used is soluble in acetone, so to permanently connect two pieces of ABS, you can just dab some acetone on one and clamp them together. They’ll become bonded as if they were one piece of plastic.
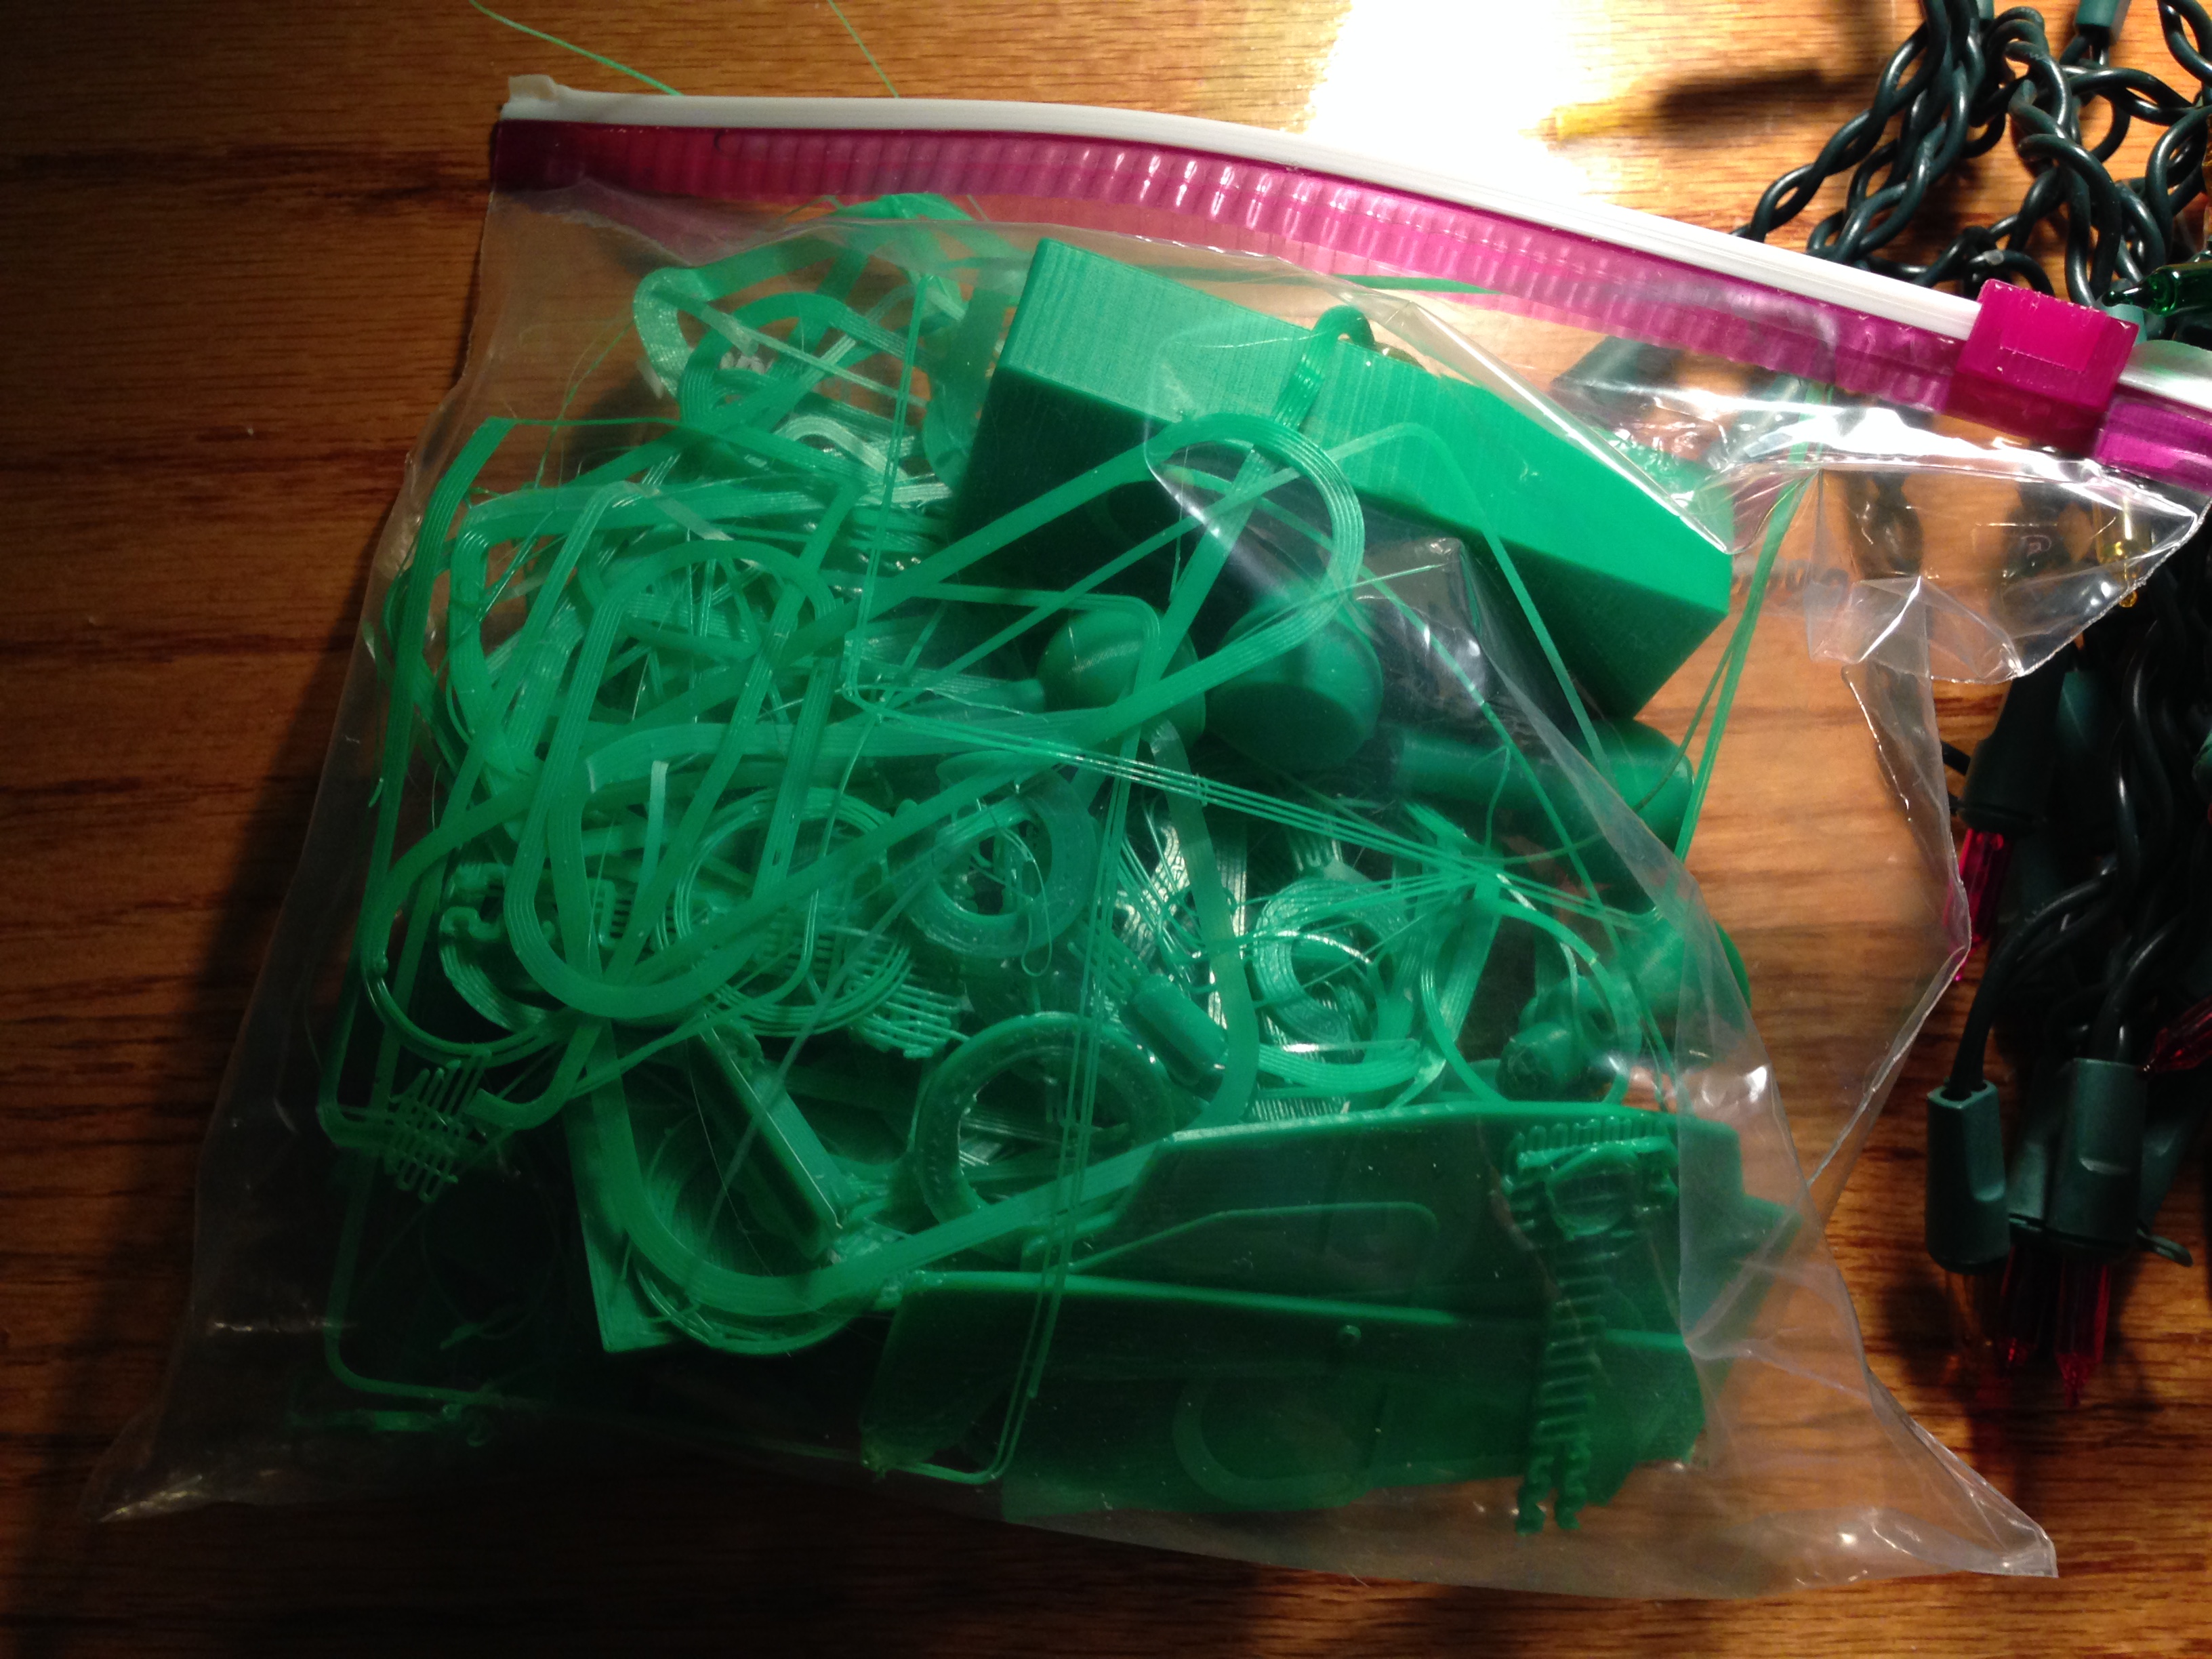
3D printing isn’t foolproof. This is the bag of just the green broken parts and extra plastic generated during the build process.
Akisbot’s total print time, not including assembly or design or re-prints, was about nineteen hours.
Hallo Christopher,
I’m a newby to this internet story. Website still in progress, as you can see.
Even so akismet had already intercepted over 2800 spam attacks.
Thanks for that, and also for keeping a watchful eye on my website.
When I look at just your eyes over the top of the monitor, I cannot help but think that you guys doing this job is like the refuse collectors, postmen, policemen, soldiers, what others consider non-people, they just don’t see them, and yet you are essential, if you’re not there things just doesn’t work.
Well, before I cry all over your monitor, have a great Christmas, and a splendid New Year.